How to Remove Backgrounds From Your Images With the Background Tool

Have you ever wanted to isolate a subject in your photo, or replace the background with some different scenery? Has the task felt daunting or seemed like it required uber-expensive software? The reality is that manipulating images like this doesn’t have to be a hassle. With BeFunky’s Background tool (not to be confused with the Cutout tool, which can also be used for the same purpose), you can remove or replace backgrounds in just a few simple clicks.
How to Remove a Background from Your Image
Removing a background comes in handy when you want to add a new background to a photo you’ve already taken. Transparent backgrounds are also helpful when you want to add a picture of your subject—and only your subject—to a graphic design piece, like a website logo or an invitation.
Luckily, erasing backgrounds from photos isn’t as difficult as it may seem. All you have to do is open up the Background tool to get started.
Step 1: Open an Image
You can directly access the Background tool here. Drag and drop or click the Open button to choose your photo.

The easiest images to edit will be those with a distinct subject. However, even with more complex images, you’ll be able to erase the parts you don’t want and keep the parts you do.
Once you’re in the Background tab, your entire image will automatically become transparent. Don’t be alarmed! First, uncheck Transparent, and then head on over to the Erase tab.
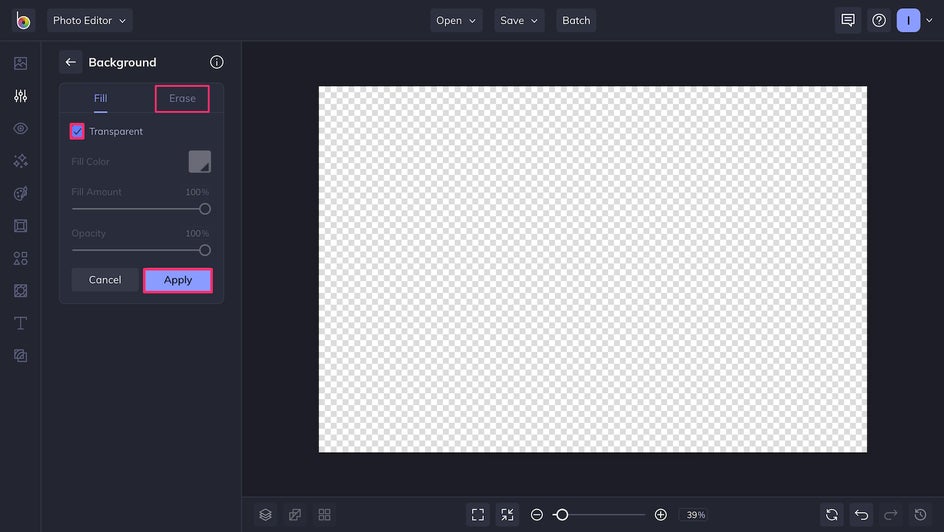
Here we recommend clicking the Show Mask button so you can see what you’re working with at all times. When this feature is on, all areas of your image that you want to keep intact will appear in red. Any non-red areas will become transparent.
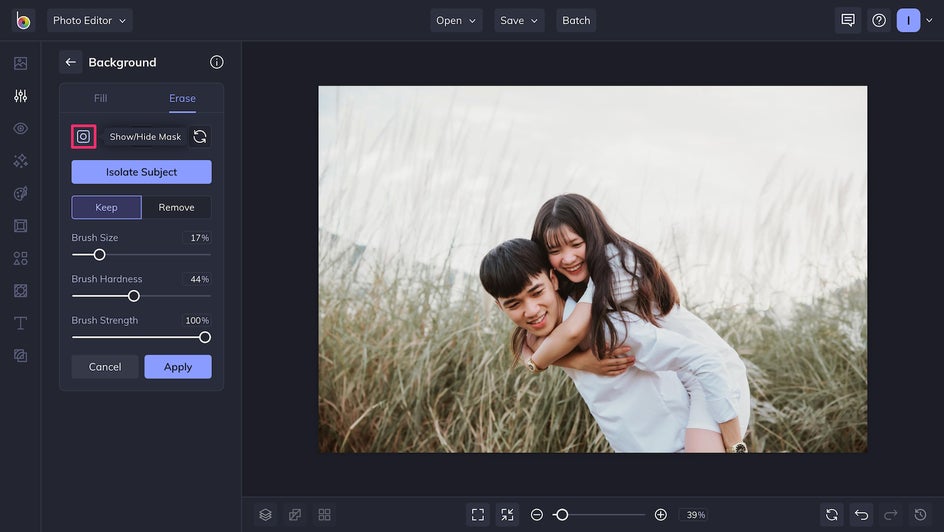
Step 2: Isolate Your Subject
The Erase tab is full of helpful tools. One of the most useful is the Isolate Subject button, which automatically detects your subject and erases the background around it. Click this button for the quickest, simplest background removal! You can always toggle the Show/Hide Mask button to see your transparent background at work.

Step 4: Clean Up the Details
If the A.I. accidentally erased small parts of your subject or missed some stray pixels in the background, just use Keep to paint over the parts of your image that you’d like to retrieve. Use Remove to erase the parts you’d like to make transparent.
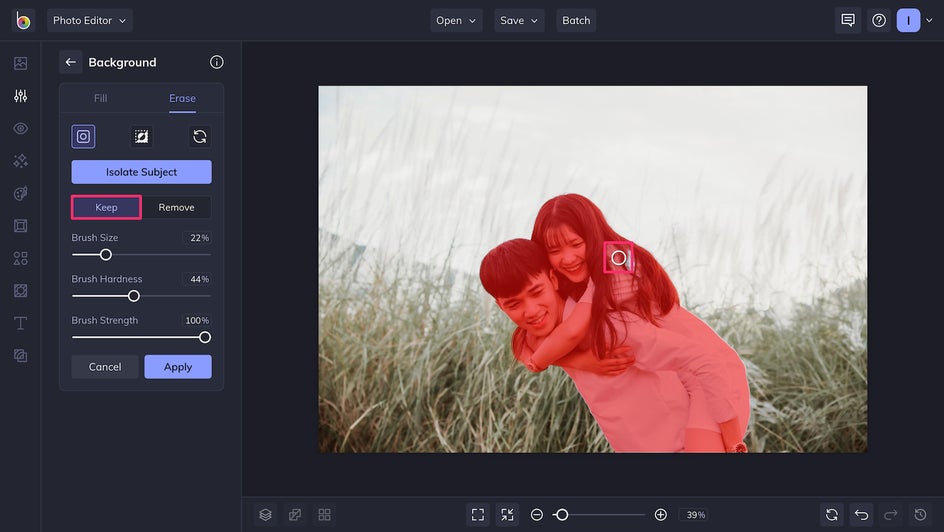
Hide Mask to double-check your work and make sure there are no background pixels left, and that your subject is completely intact.
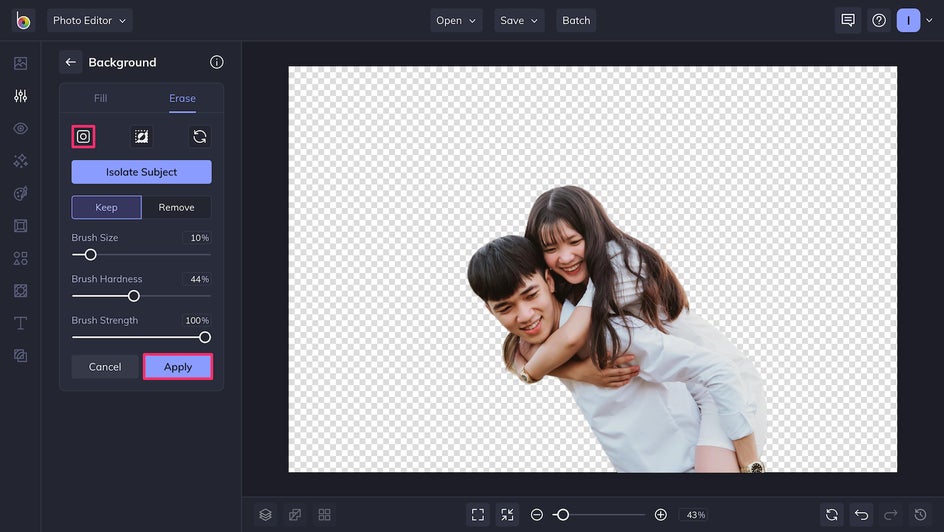
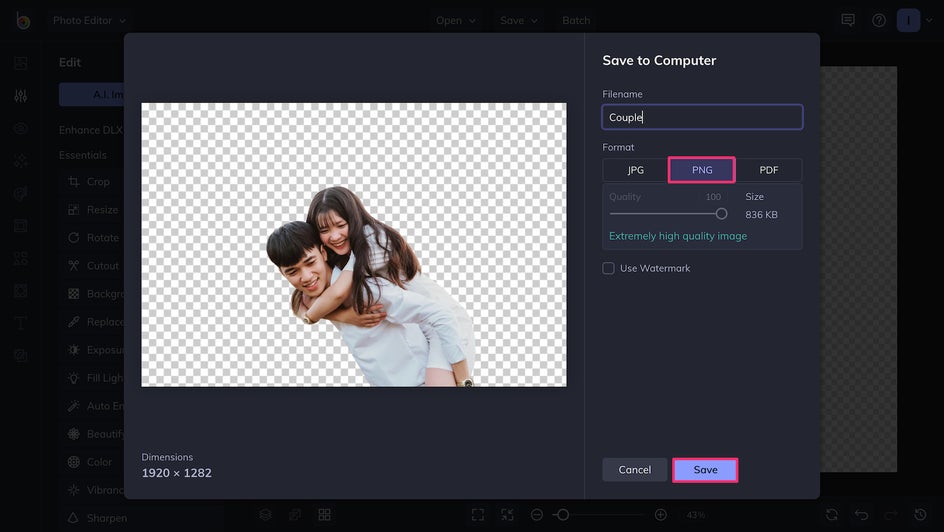
And that’s it! You’ve removed a background in three easy steps. Click Apply to make your changes permanent. When you save, don’t forget to save it as a PNG to keep your background transparent.
Want to learn how to add a whole new background to your image? Keep reading to find out.
How to Replace Backgrounds In Your Photos
Now that you have an image with a transparent background, you can put your subject in a whole new setting. Believe it or not, this takes even less than three steps.
Step 1: Upload Your Background and Subject
In the Image Manger, you can upload both the subject image and the background image that you want to use. Click the thumbnail of the background image, followed by Set as Background.
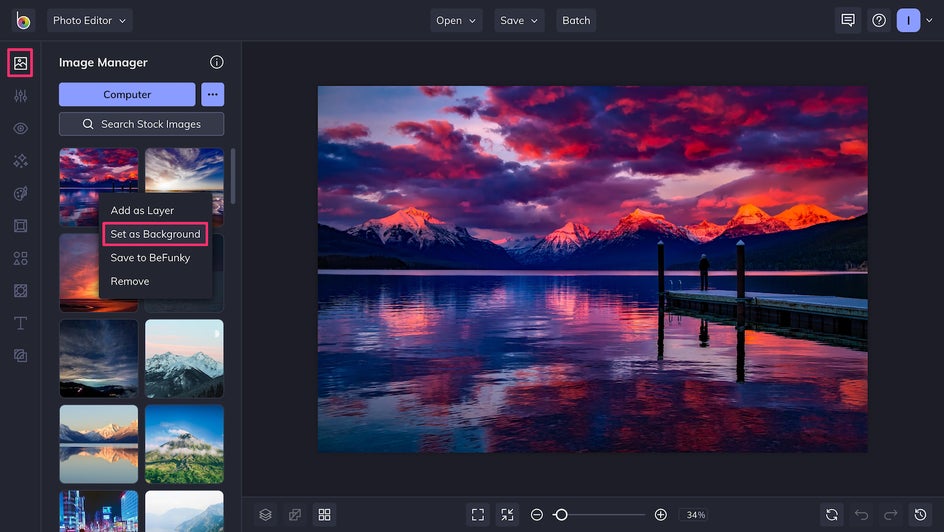
Now click the subject image. You can Add as Layer to layer the subject on top of the new background.
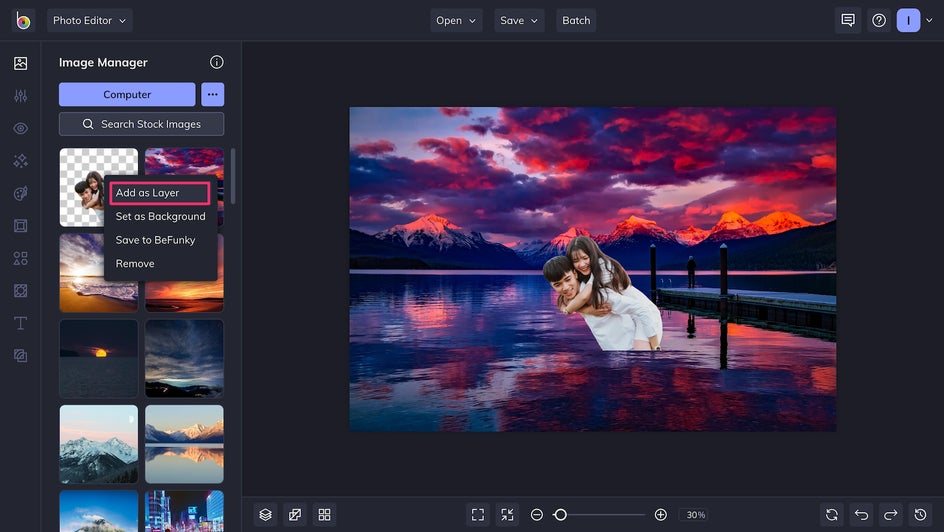
Step 2: Blend Your Images
As you can see, our subject when first uploaded is an awkward size compared to our background. The first step to making the subject and background cohesive is to resize this layer. You can do this by clicking and dragging the circles at any of the layer’s corners.

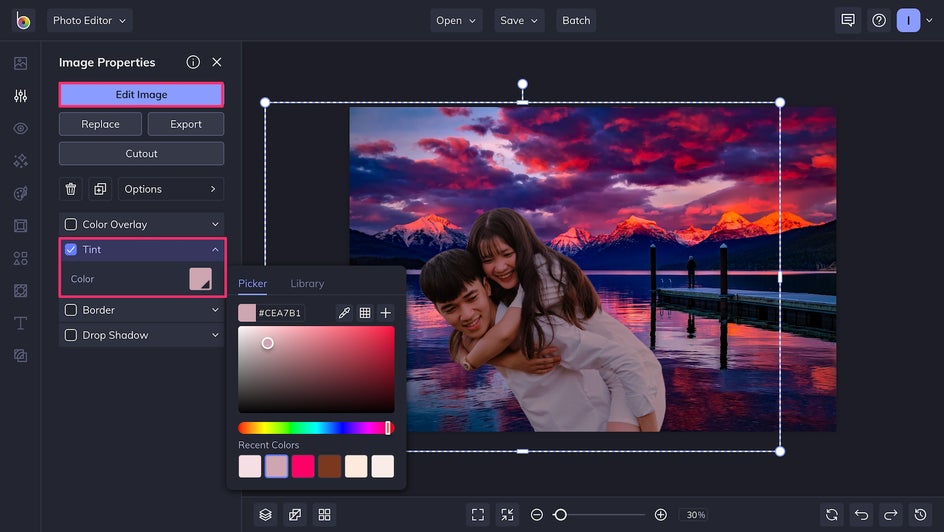
The lighting of the subject also doesn’t quite line up with the background. You can click Edit Image to adjust exposure, contrast, and more. But for a quick fix, add a Tint to make your subject look like it was photographed in similar lighting.
And that’s it! Replacing a background is as easy as uploading the images you want to layers, and it’s not difficult to make the two different images blend seamlessly.
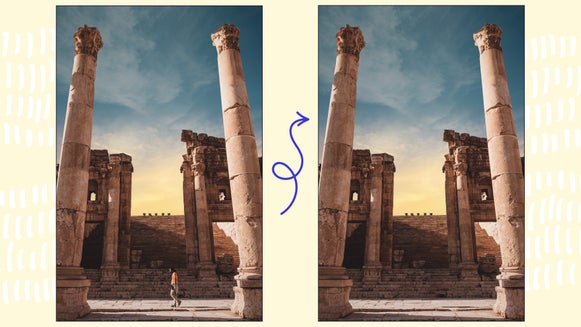
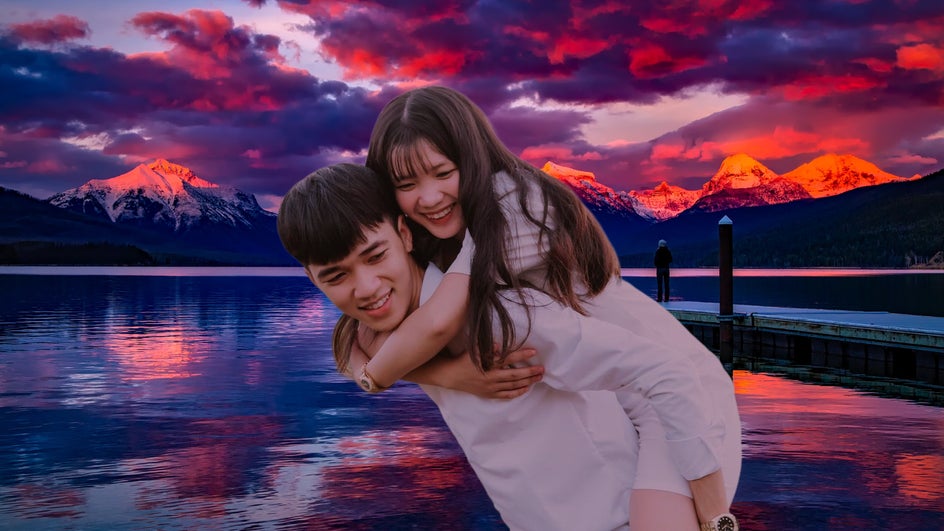
Final Results
The original image was lovely, but was photographed in a fairly generic location. By replacing the background, we’re able to add a romantic, fantastical aesthetic that’s difficult to achieve otherwise.

Elevate Your Photo Editing With the Background Tool
Now you know how to remove and even replace a background in seconds. As we said, it doesn’t have to be hard! With the ability to replace a background, you can quickly change the energy of any photo. By leaving a background transparent, you can create any number of professional-looking designs. The creative opportunities are limitless. Just check out the Background tool to get started!