How to Design Blog Post Headers That Attract Readers
Many bloggers understand the importance of having high-quality imagery throughout their posts, but here’s an important element you may not have given much thought to: blog post title images.
They're arguably the most important image in each blog post, as they're not only the featured image thumbnail when readers are deciding which blog post to click on from your homepage, but also the element of your post that will be shared the most.
If you’re worried this adds another time-consuming task to your already-packed blogging workload, fear not. BeFunky’s Graphic Designer has a number of blogging templates just waiting for you to create cohesive, stand-out cover images within minutes.
In this guide, we'll show you how easy they are to customize; but first, let's cover the important elements that make up a good blog title image.

Best Practices for Blog Post Title Images
Before you create your very own blog title image in the Graphic Designer, it’s important that you keep the following best practices in mind. These tips will ensure your title image is as effective and share-worthy as possible.
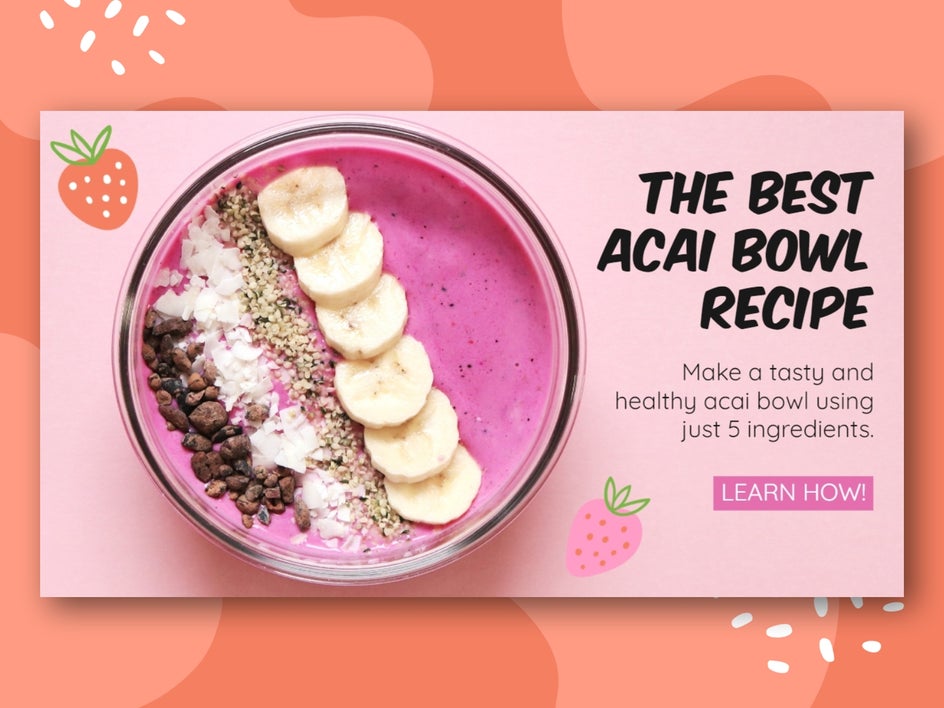
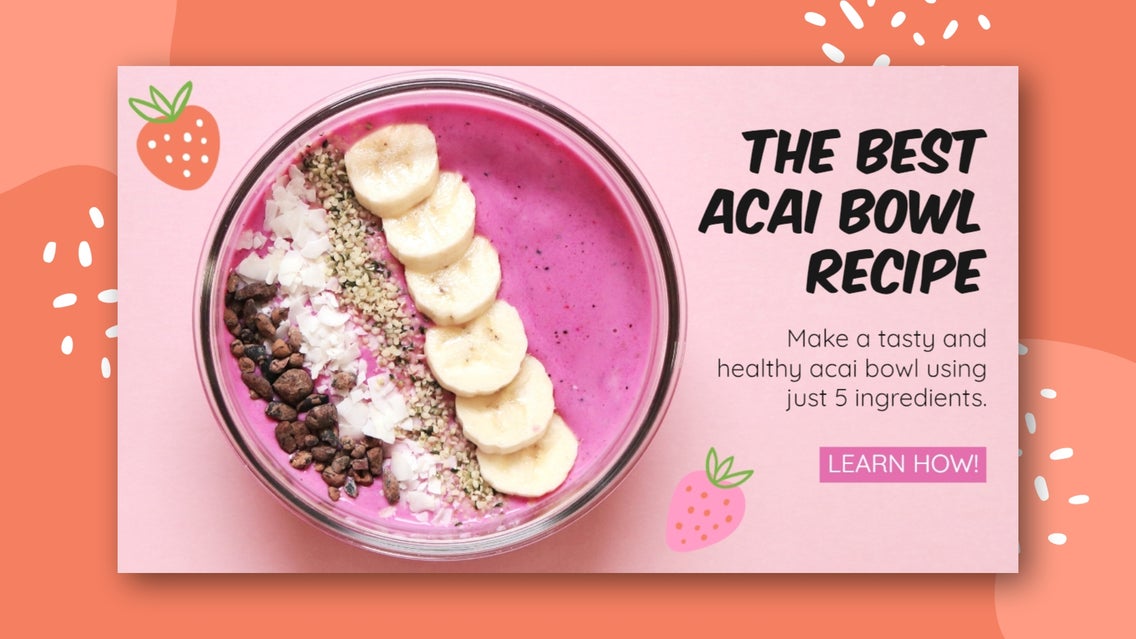
Include an Eye-Catching Photo
The imagery you include on your blog title image should primarily represent what your blog post is all about. Viewers should be able to determine the topic of your content just from a single glance at this photo, so whether you use a stock photo or capture your own imagery, you’ll want to be strategic about which one(s) you choose to use.
You’ll also want to ensure this image is as high-quality and eye-catching as possible. This is where BeFunky’s photo editing tools come in handy, as you can ensure your image’s exposure, brightness, saturation, and sharpness are on point.
Furthermore, consider how you should present this imagery in your title image. Can vector graphics add further context to your content and make it more attention-grabbing? Or would a collage featuring several images be more relevant to your blog post? This will come down to your blog’s aesthetic, as well as the individual topic of the blog post.
Conduct SEO Research
Before you wrote or drafted your actual blog post, you would’ve done some SEO research to determine what keywords to include within your content. This research will also come in handy for your blog title image, as it tells you what readers are specifically searching for, and therefore, the combination of words you should include on your image to ensure it’s as relevant as possible.
If you’re not familiar with how to carry out keyword research for your blog posts, this helpful guide by Ahrefs will help.

Include Alt Text
Alt text simply refers to ‘alternative text’ and it involves keywords or phrases that describe what your image is all about. Remember the SEO research we mentioned above? Along with incorporating these keywords on your blog post title image, you’ll also want to include them within the Alt text of your actual image file.
This means when people are searching for those phrases on Google, your content is more likely to appear. The benefit of this is that it puts even more eyes on your title image, potentially bringing extra traffic to your blog post.
Include a Call-to-Action (CTA)
Blog title images aren’t just there to look good. They also serve the important purpose of encouraging viewers to click through to your content, thus increasing your blog’s reach, views, and engagement.
This is why it’s super important to include a call-to-action, or CTA, on your title image. Think about phrases that will convince viewers to take the desired action. "Read more," "Find out how," and "Click to learn more," are just three examples of a CTA you can use in relation to your blog content.

Ensure Correct Sizing and Quality
Depending on what blogging platform you use, there will be specific dimensions for your blog title image that you must follow to ensure it looks its best. In the Graphic Designer, most blog title templates measure 560 x 315 pixels, however, you can easily resize any template to your own desired measurements in the Customize menu.
Additionally, you don’t want your blog cover image to be blurry or of less-than-optimal quality. When saving your image in the Graphic Designer, ensure the Quality slider is set to High-Quality Image or Extremely High-Quality Image, whether you’re saving your file as a JPG or PNG.
Maintain Consistency With Your Brand
Keeping your title image in line with your blog’s aesthetic and style will promote recognition. This is especially beneficial when your content is shared across social media, as readers will instantly know it’s from you. Not only does this generate trust, but frequently seeing your content will quickly boost your authority, cementing your role as a key influencer within your niche.
Establishing an overall aesthetic for your blog through cohesive visual elements (such as fonts, color palette, imagery, etc.) also gives you an additional way to stand out from the crowd and this is vital if you want to succeed in the blogging industry.

How to Create Blog Cover Images Using BeFunky
Now that you know the best practices for creating an effective blog title image, it’s time to start designing your own. Head to the Graphic Designer and start a new project to begin.
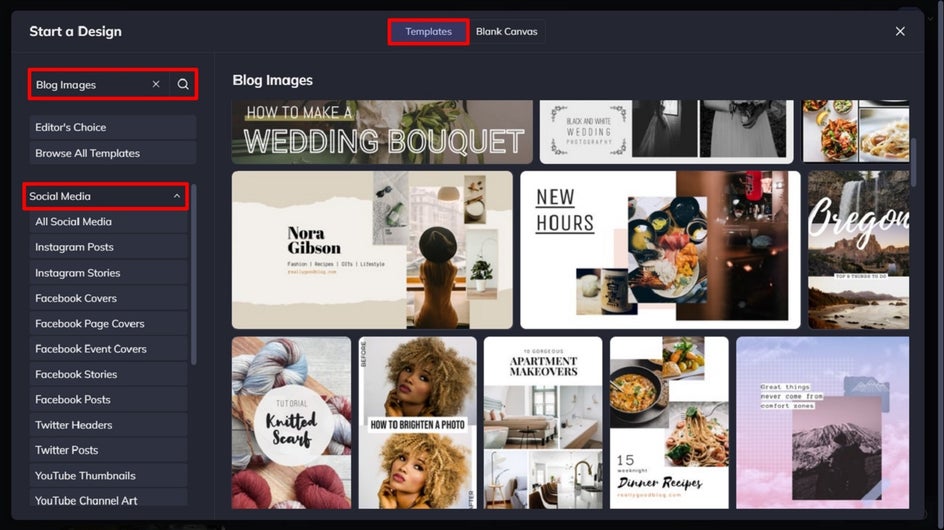
Step 1: Choose a Blog Template
Within the Templates Library, navigate to Social Media, followed by Blog Images. Alternatively, you can simply type Blog Images into the search bar in the top-left of the screen. Here, you’ll find BeFunky’s wide range of templates dedicated to bloggers.
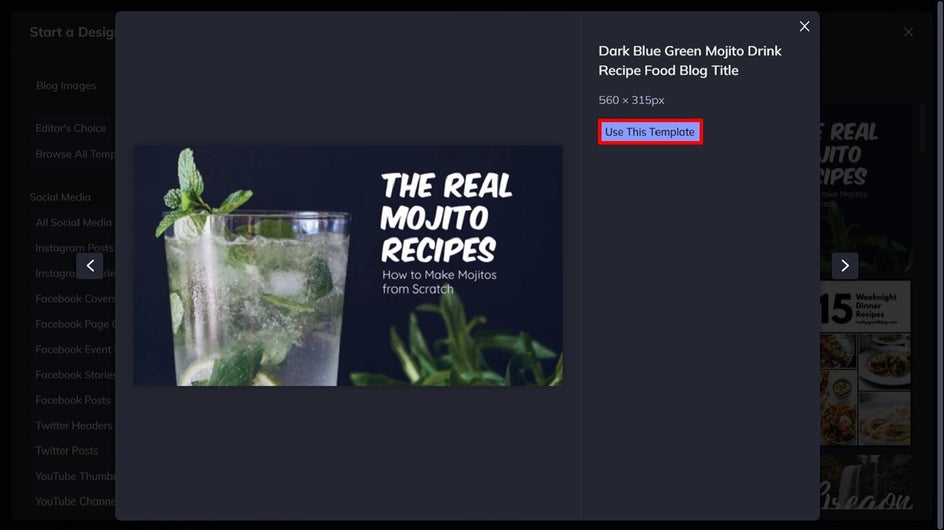
Select the design that takes your fancy, then click Use This Template to begin the editing process.
Step 2: Choose an Eye-Catching Image
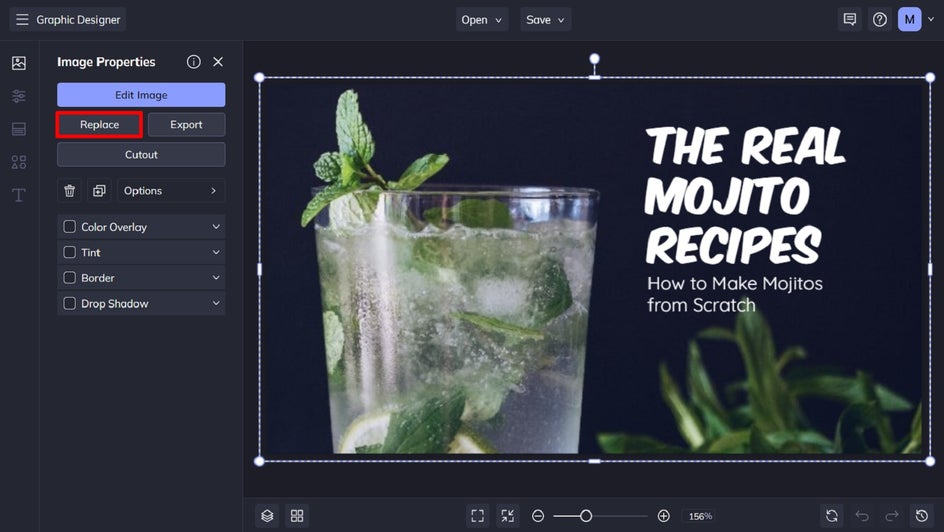
First up, you’ll want to change your template’s photo to reflect your own blog post content. To do this, click on the photo and an Image Properties menu will appear. Selecting Replace Image will allow you to open an image from your own files.
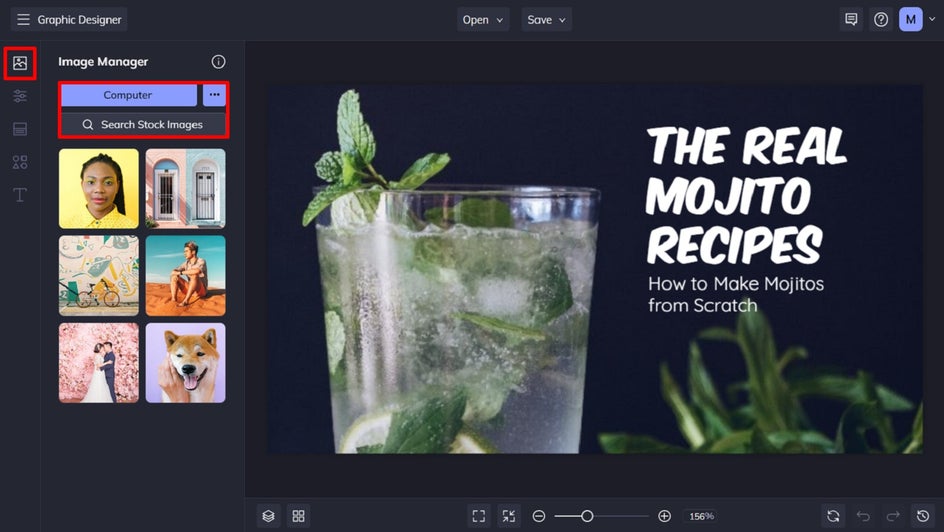
Alternatively, you can also locate Image Manager in the menu on the left. From here, you can upload an image from multiple destinations, such as your computer, Befunky account, Facebook, or even BeFunky’s own huge library of free-to-use stock images.
Pro Tip: Need to move elements on your template around to better suit the composition of your image? You can do this by clicking and dragging them with your mouse. Additionally, you can delete any unwanted elements by selecting them with your mouse and hitting Delete on your keyboard.
Step 3: Add Engaging Text to Your Blog Header
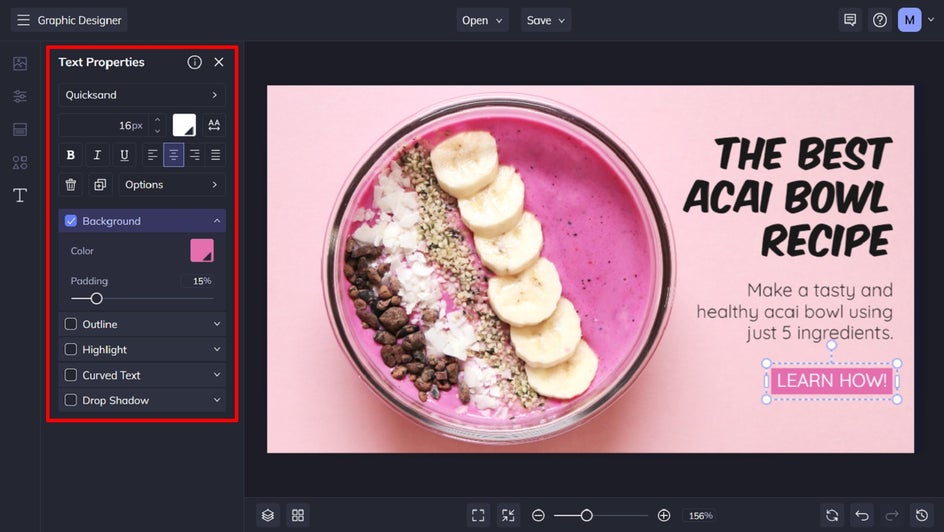
The next step is to edit the template’s existing text, so it reflects your own blog post’s title. You can do this by clicking on the text boxes you want to change before typing the new text. When you click on any text box, a Text Properties panel appears, from which you can change elements such as font, font size, spacing, alignment, color, and more.
To make your CTA button stand out, simply add a background color to that text box from the Text Properties panel.
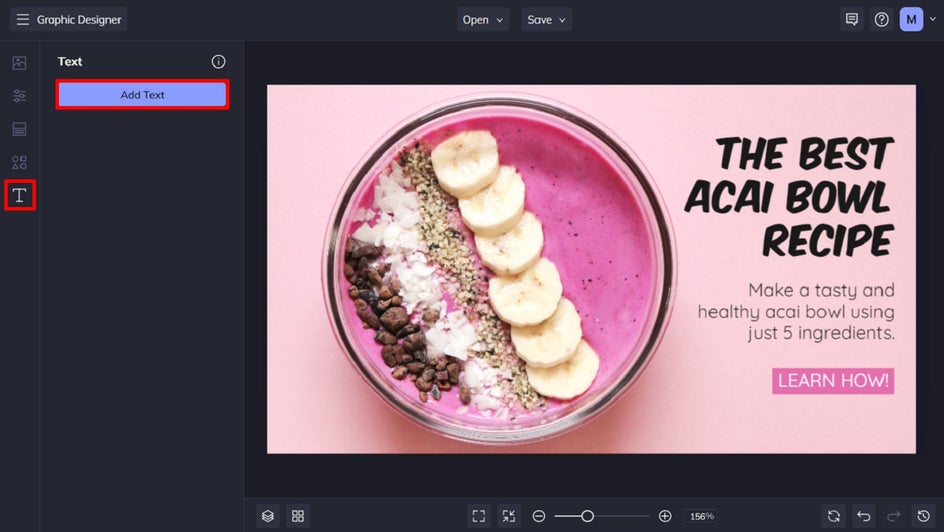
You can also add a new text box by navigating to the Text menu on the left, then clicking Add Text.
Step 4: Add Any Additional Graphics
If you wish, you can also add a wide range of graphics by navigating to Graphics in the main menu. Upload your own from your computer, or click Search Graphics to access BeFunky’s own extensive library.
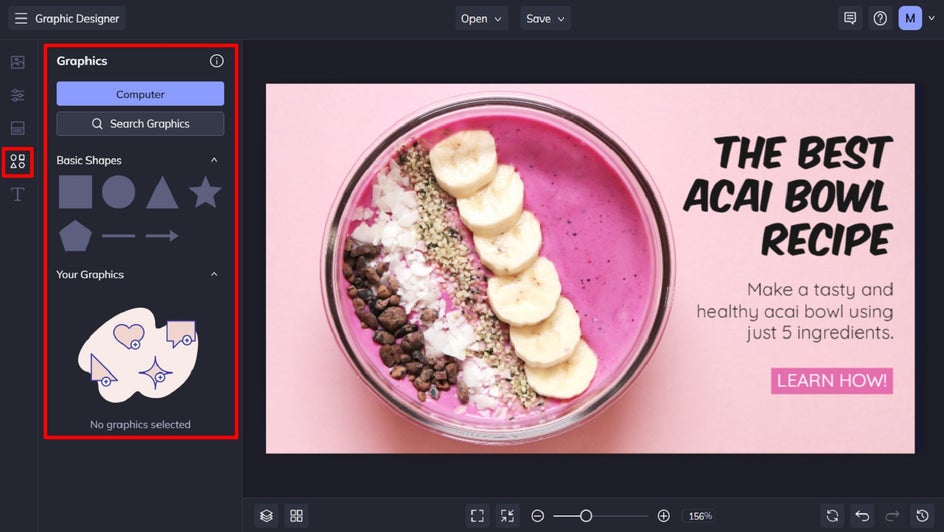
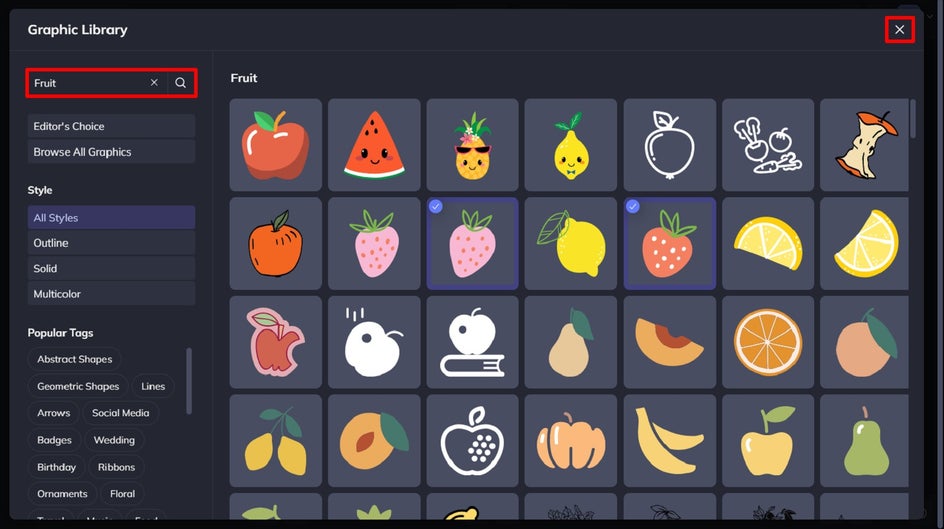
Within the Graphics Library, you can search for theme-specific graphics using the search bar in the top-left of the screen. Click on the graphics you wish to use, and they’ll be available in the Your Graphics section once you exit the Graphic Library. Simply drag and drop them onto your design, then resize or reposition them using your mouse.
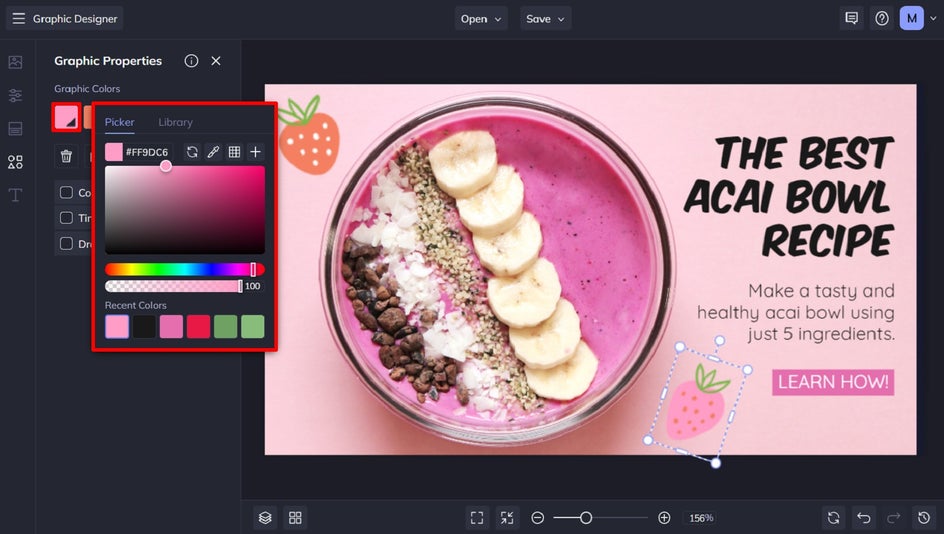
Step 5: Edit the Color of the Graphics
Need to change the color of any of your graphics? Click on the graphic you wish to alter, and a Graphic Properties panel will appear. Then, click the Color Overlay or Graphic Colors swatches (depending on your graphic) to select a new color from the Color Picker.
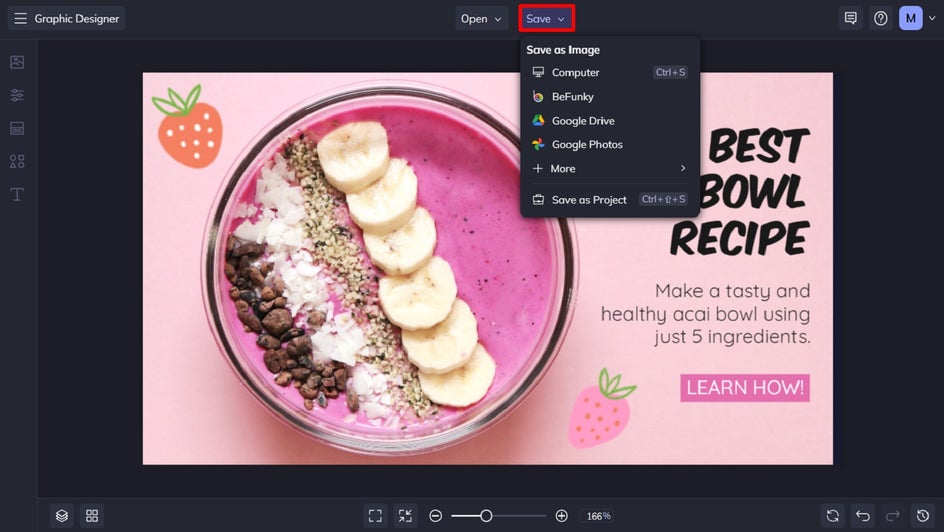
Step 6: Save Your Blog Title Image
Once you’re completely happy with your blog title image, the final step is to save it so you can then insert it into your blog post. Click Save at the top of the screen, then select your desired save location.
We also recommend the Save as Project option, as this will allow you to come back and edit your title image in the future should you need to (for example, to correct any typos or re-use it as a template for future blog posts).
Create Blog Images in a Fraction of the Time
How easy was that? In just a few minutes, you too can create your very own blog title image.
Blogging can be hard work, but thanks to our wide range of pre-made blog title images (and extensive blogger resources), getting extra eyes on your content is a breeze.
BeFunky’s Graphic Designer also provides free templates for social media, infographics, blog logos, and more to help you take your blogging game to totally new heights. Check out the Graphic Designer to see what amazing designs you can create for your blog!