How to Create Dreamlike Photos With the Soften Tool
A quite common technique for photographers is to sharpen the details in an image so that every inch of the photo is enjoyed. However, the opposite style of photography is gaining popularity! This softened style of photography is being used to create photos that feel like they have an ethereal glow by blurring some of the details. This softened focus effect creates pure magic that feels like a dream.
Now, you may be wondering how to achieve this look without dropping tons of money on a new camera lens?
If you’ve ever wanted to mimic the soft and dreamy look that a high-quality, soft focus lens produces, then you’re in luck! BeFunky’s Soften Tool is your best bet for achieving this soft focus effect without blurring any of your photo’s important details.
Best Photos to Use With the Soften Tool
Before we start the tutorial, let's go over some genres of photography the soften tool would be perfect for.
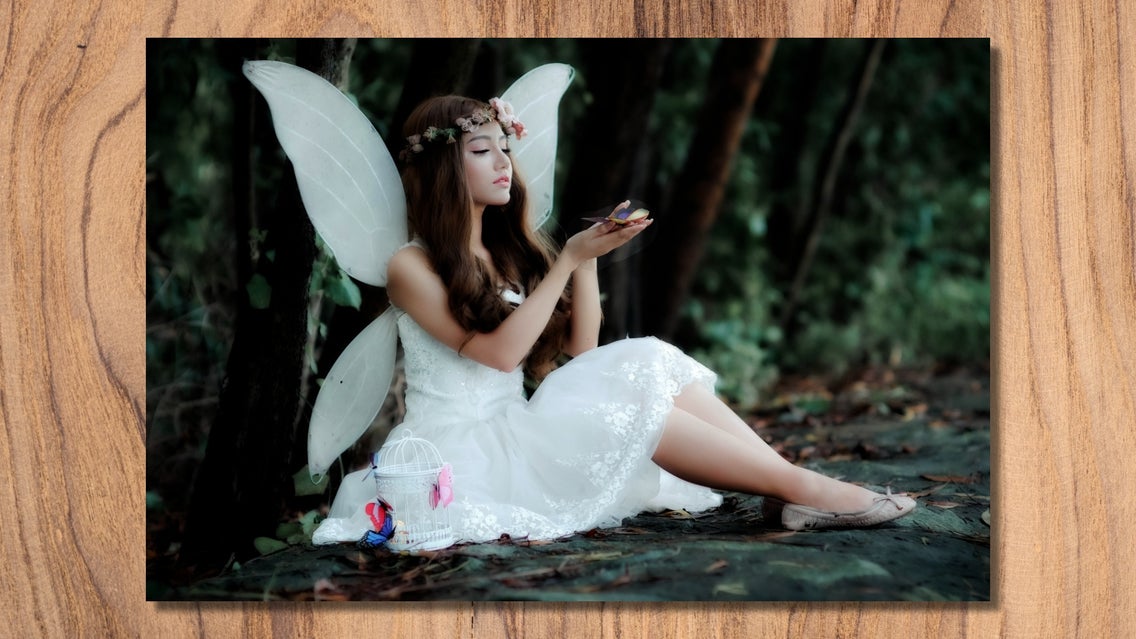
Portrait Photography
Because portrait photography tends to feature its subject close-up, it’s the perfect genre for that soft-focus look. The Soften tool is best used to soften elements within the foreground or background of your image (whilst keeping your subject in the middle ground). This ensures your subject remains the focus of your viewer’s attention, but in an artistic, dreamy way.


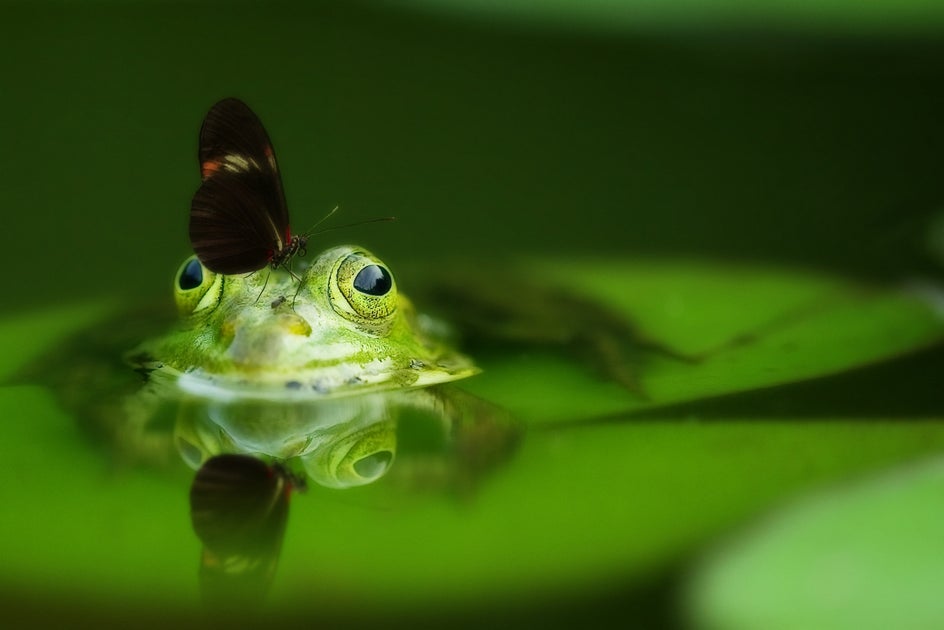
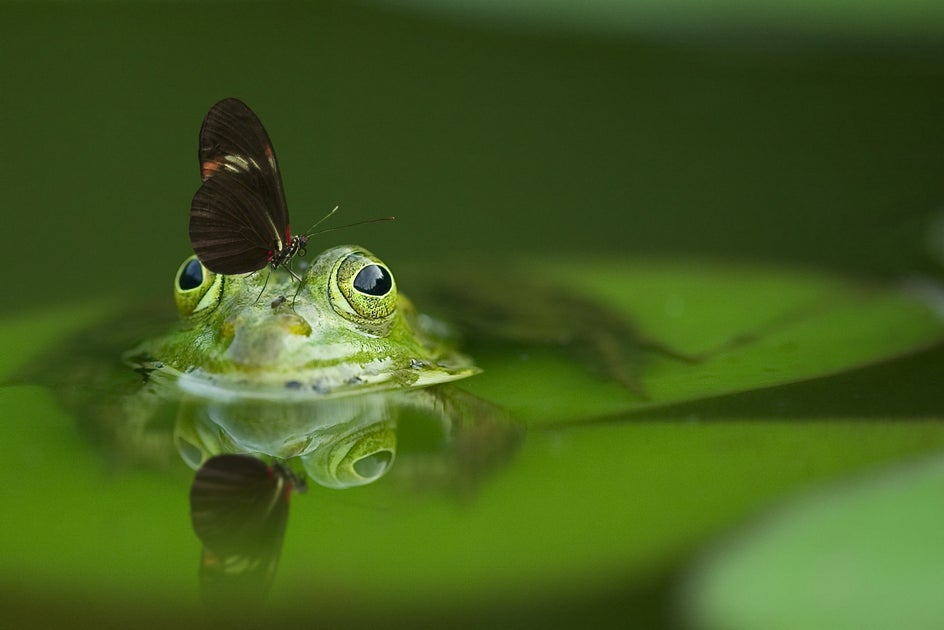
Macro Photography
Macro photography is extreme close-up photography that often features living things in nature – making them feel larger than life. By using the Soften tool on little creatures or plant life, it softens the background, thus allowing the tiny being to shine in all its glory.
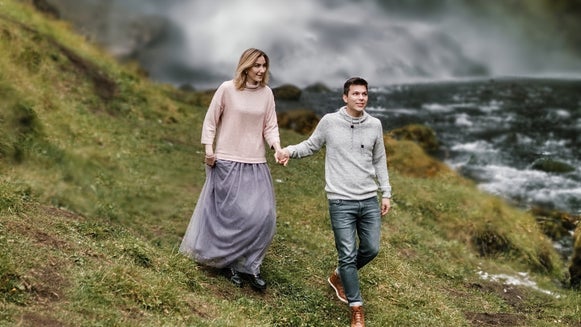
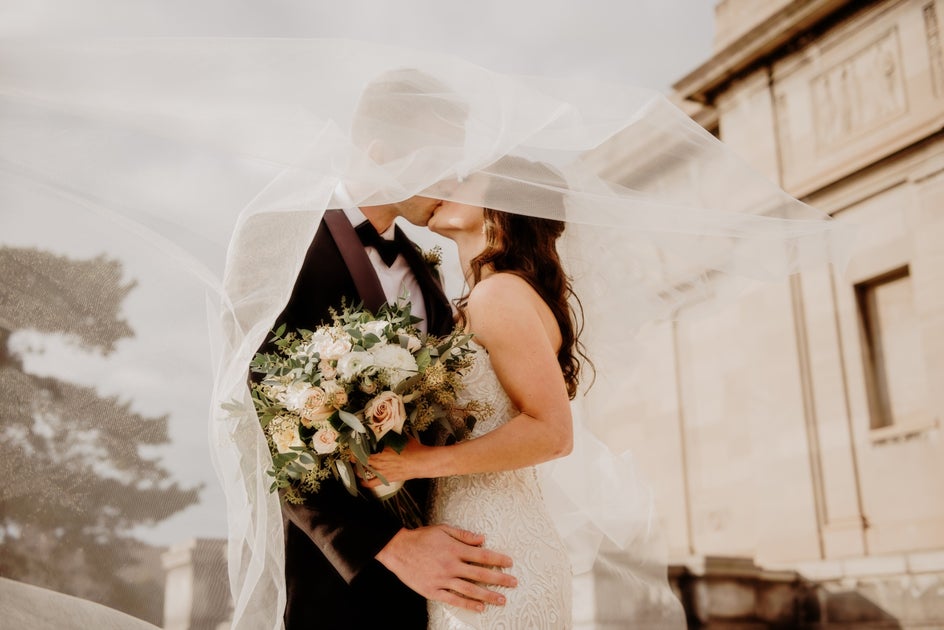
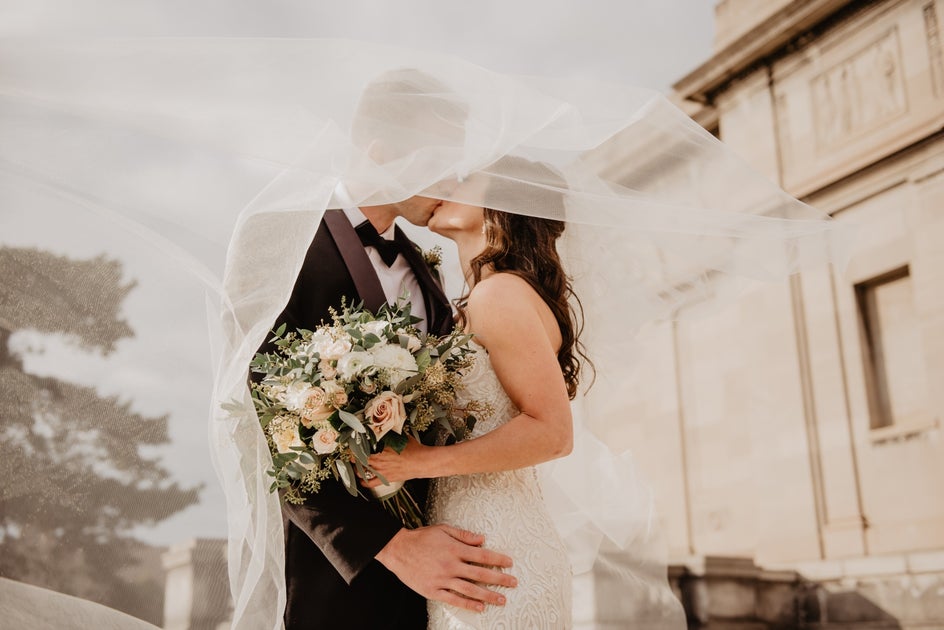
Wedding Photography
This is the perfect genre for the soften tool because the tool is associated with a romanticizing of images, and what can be more romantic than a wedding? Aside from adding a near-magical touch to every photo, the soft-focus look is also wonderful for slightly blurring out distractions in the backgrounds of photos.
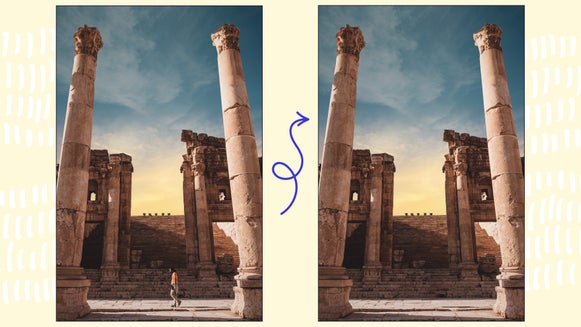
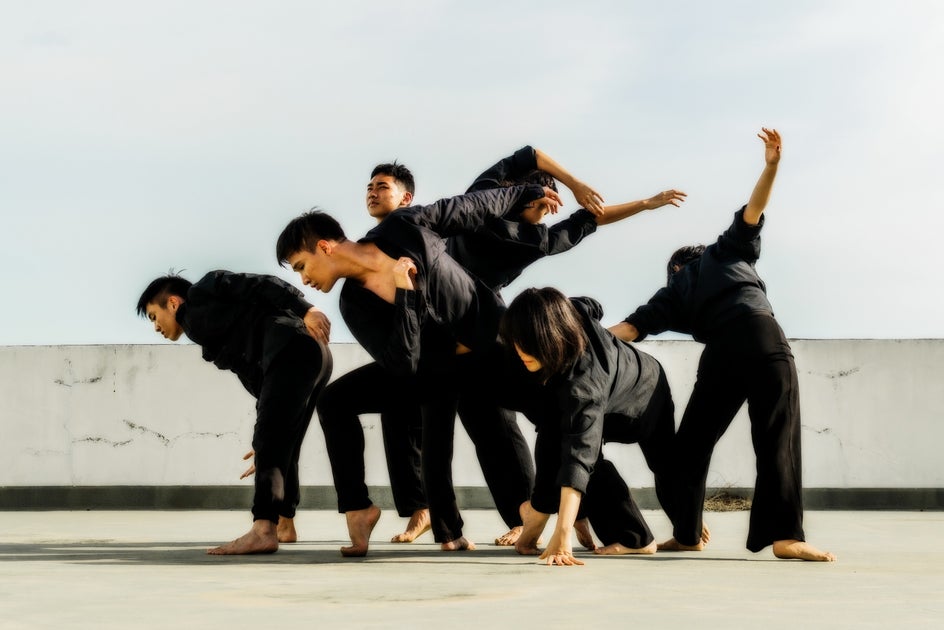
Fine Art Photography
Although there is no one true definition of Fine Art Photography, it is generalized as artistic photography. Photos in this genre are usually a mix of realism and imagination, creating a sense of wonder when you look at the image. The Soften tool is best used with the partnership of Erase Mode to highlight the sense of wonder in the primary subject while keeping the background more elusive.
Whatever type of photography is your strong suit, the Soften tool can help give it the dreamy, artistic edge you’ve been pining for.
How to Use the Soften Tool
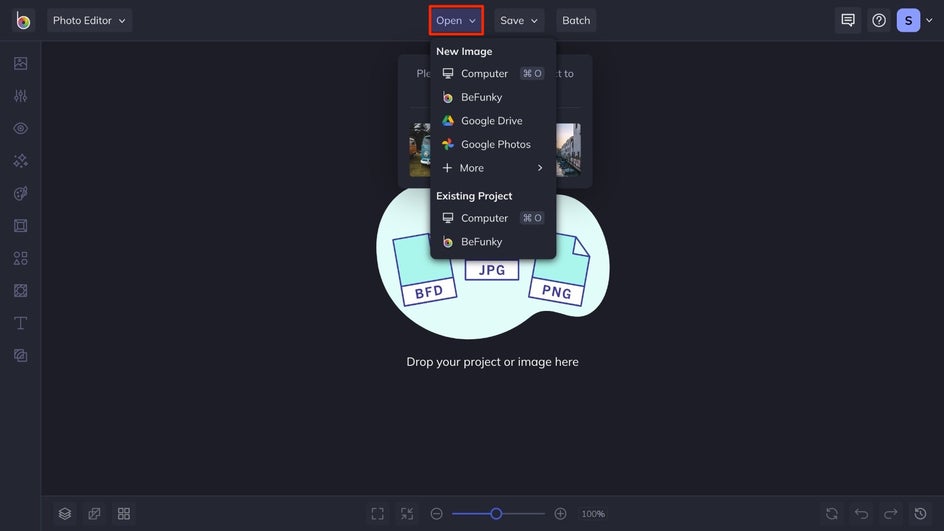
When you are ready to try your hand at softening your images, click on BeFunky’s Photo Editor and open up your photo to get started. You can use the open button at the top of the interface, or drag and drop your image into the canvas to start using the effect!
Step 1: Navigate to the Soften Tool and Adjust
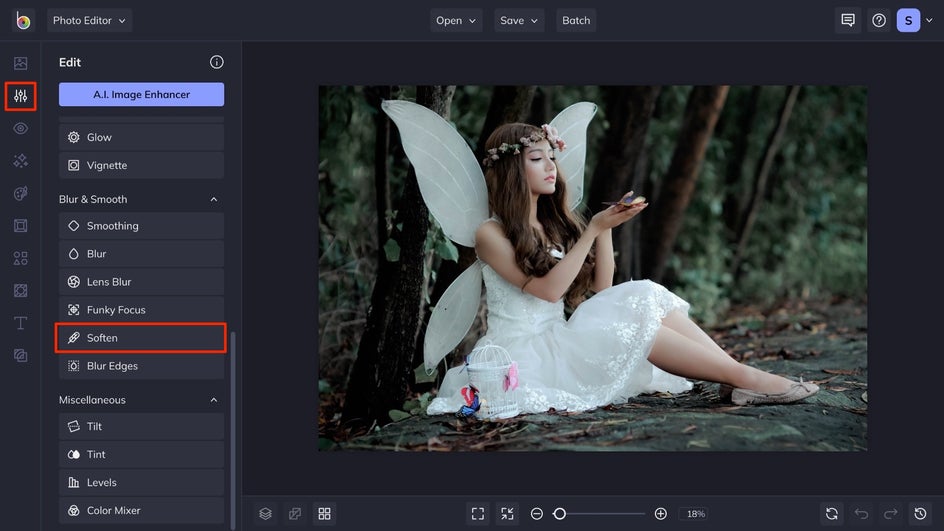
In the Edit menu on the left of the interface, navigate to the Soften tool. This is found under the Blur & Smooth section.
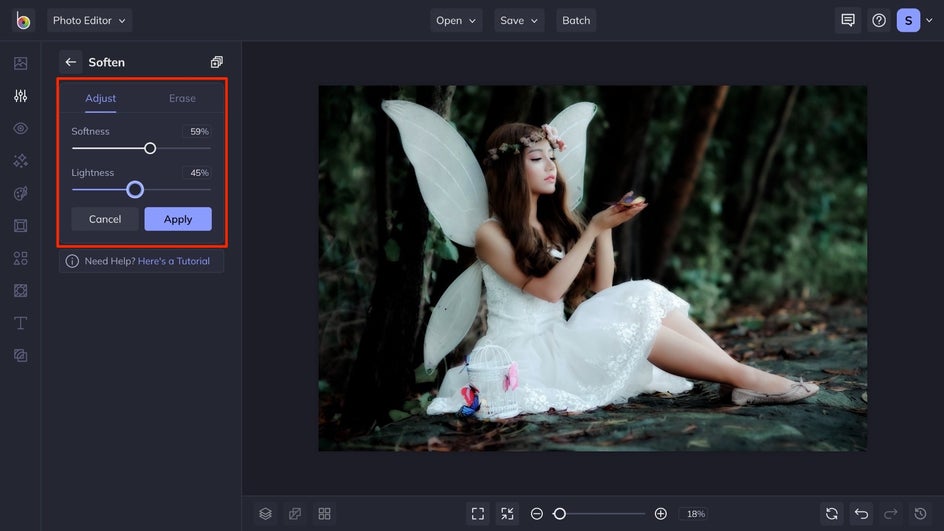
This will open a box with sliders that are able to be used to adjust the softness applied to the image. The more the Softness slider is increased the more the background blurs and the subject becomes more dreamlike. The Lightness slider increases the whites in the image, and creates more of a glow to the photo.
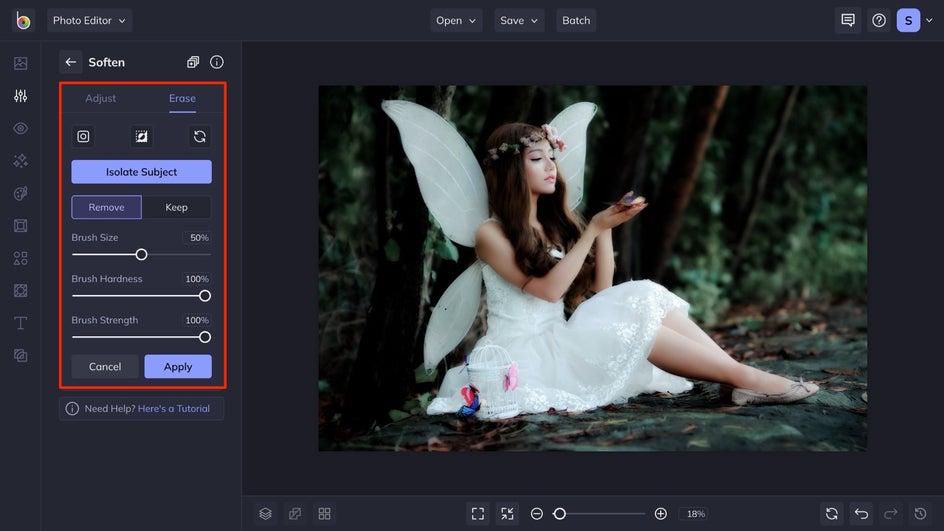
Step 2: Utilize Erase Mode
If you want to have the primary subject of the image a bit more in focus and the softness applied to a certain area, you can use Erase Mode to have the original image in some areas without softness. To do this, click on the Erase tab where you are able to adjust the Brush Size, Brush Hardness, and Brush Intensity. Simply click on the sections of the photo that you want to remove the softness from, it is best used on the primary focus of the image like the face of the subject.
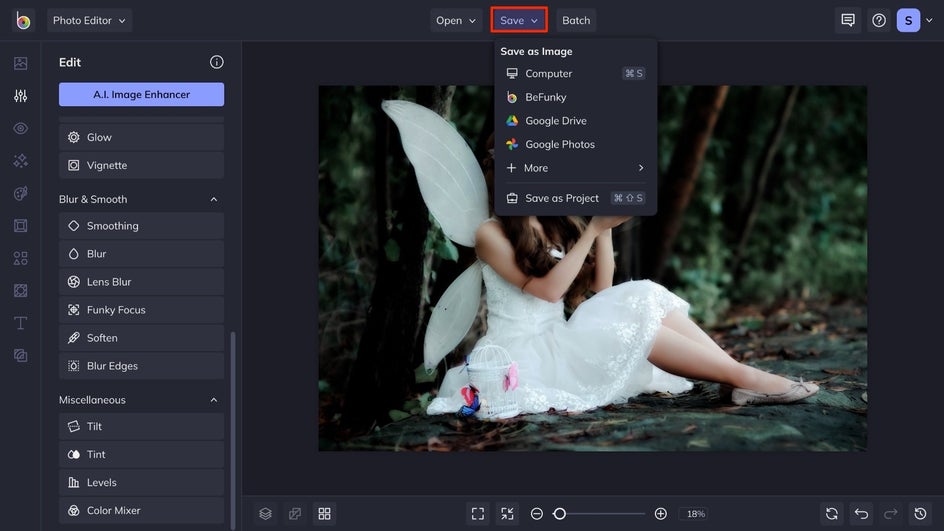
Step 3: Apply the Effect and Save Your Image
Once you are satisfied with the effect on your image, click on the Apply button to have the effect applied to your image. You can then continue your photo editing process by using more tools and effects, when you are happy with how your image looks, click the Save button at the top of the interface and choose your desired location.
Soften Photos in Just a Few Clicks
In just three simple steps, you are able to create a dreamy image that rivals a photographer with a fancy expensive lens.
Instead of forking over a fortune for photography classes and a new camera lens, you can achieve the same dreamlike images with only a few clicks and BeFunky’s Photo Editor! Click here to get started on making your own softened images now.