How to Add a Bokeh Effect to Your Photography

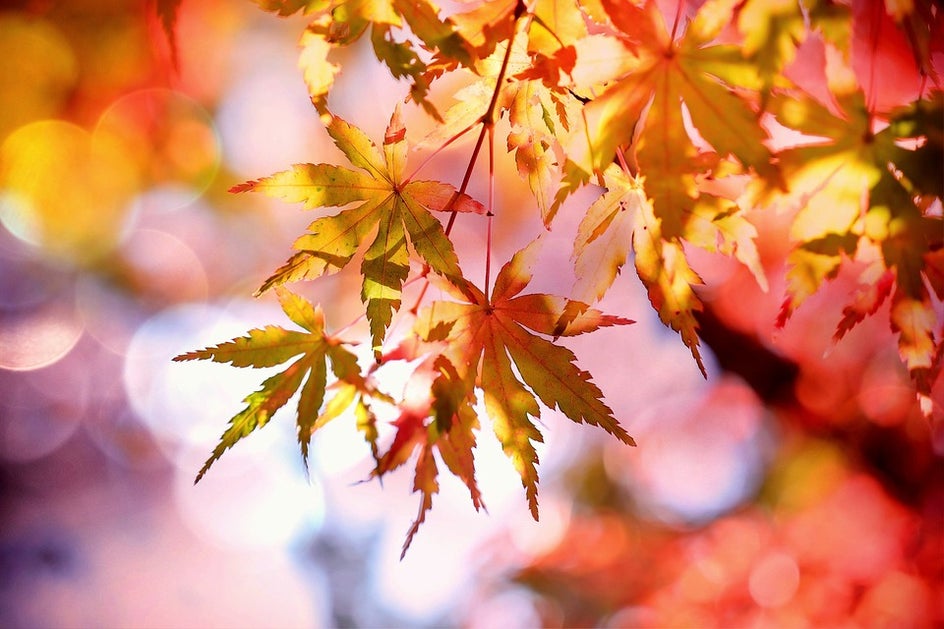
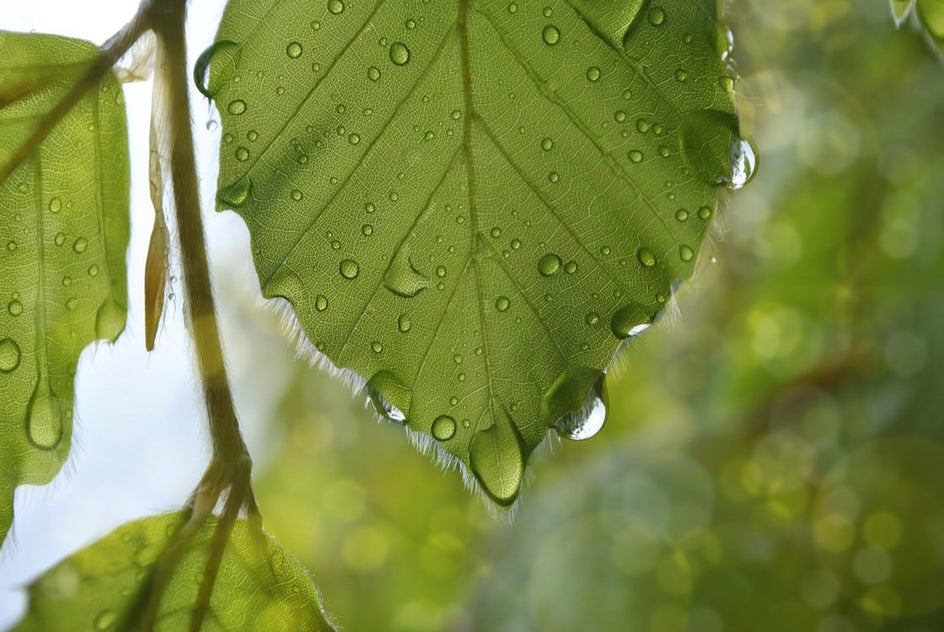
When it comes to photography, light is everything. Whether we’re talking about natural or artificial, without light, a photograph simply can’t happen. One of the coolest phenomenons that light can produce in photos is the bokeh effect – when light renders the out-of-focus areas of your photo to produce something almost dreamlike. Light shining on drops of dew or through tree leaves transforms into beautiful orbs when out of focus, which is entirely the point of bokeh.
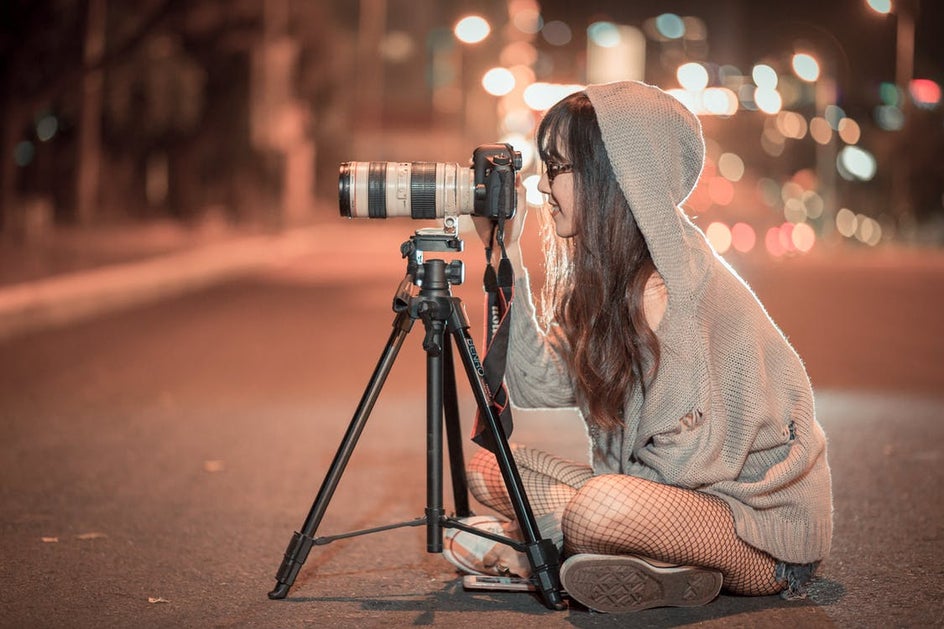
Bokeh photography is naturally captured using a DSLR camera under certain settings and conditions. We’ll show you how to capture it naturally, as well as how to achieve the look digitally by adding BeFunky's Bokeh effects.
How to Capture Bokeh With a Camera
Bokeh comes from the Japanese word "boke," which means "blur" or "haze." It’s an aesthetic that’s achieved in the out-of-focus parts of your photograph, and typically is captured using a fast lens at wide apertures (around f/2.8 or wider).
One of the easiest ways you can achieve natural bokeh in photography is to create distance between the background and your subject in the foreground. By focusing solely on your subject in the foreground, your background will easily blur into lovely bokeh. The more color and light in the background, the more visible the bokeh effect.
When to Use Bokeh Effects
Since we here at BeFunky know how magical bokeh can be, we’ve created a way for you to add it to your photography in the editing process. Even if you don’t own a DSLR or fancy mobile camera, BeFunky’s Photo Editor features realistic-looking Bokeh effects for enhancing your photos, so you’ll look like a professional photographer – even if you lack the equipment.
But before you go all bokeh-crazy on your photos, here are a few instances where the effect really shines:
Macro Photography
When you’re shooting really close up, the background of your photo tends to naturally blur. And when you add bokeh outside of the depth of field, magic happens.
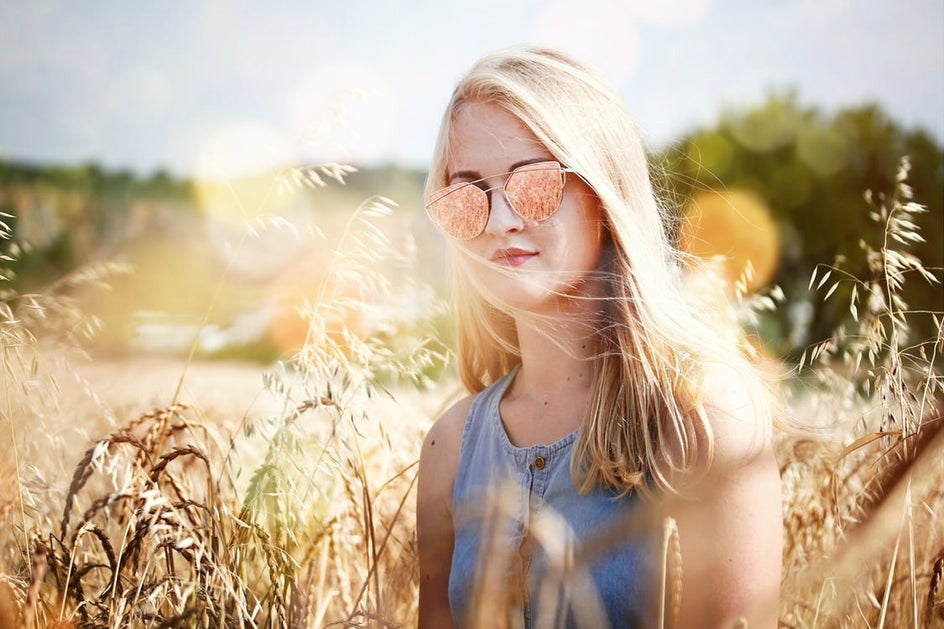
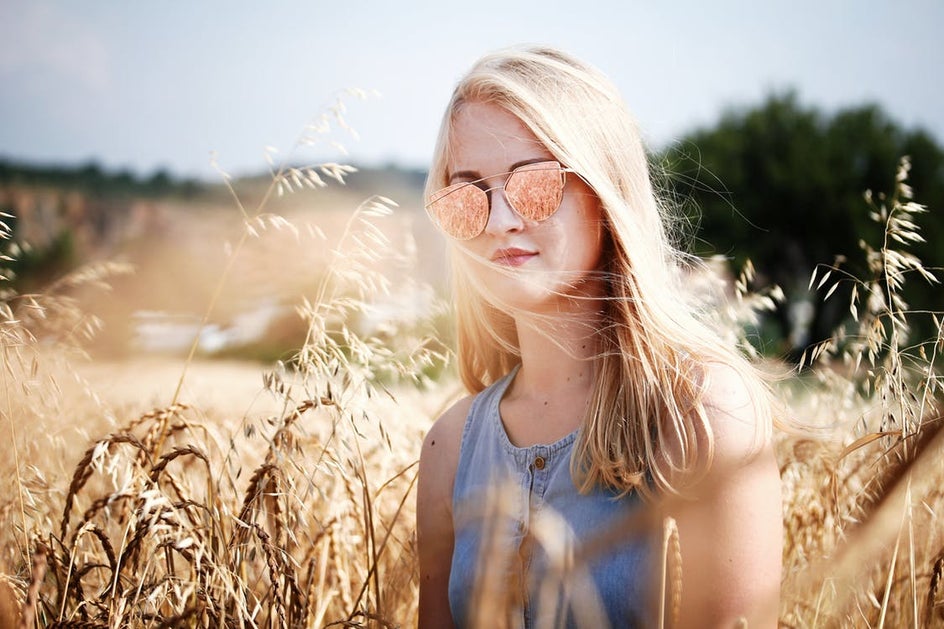
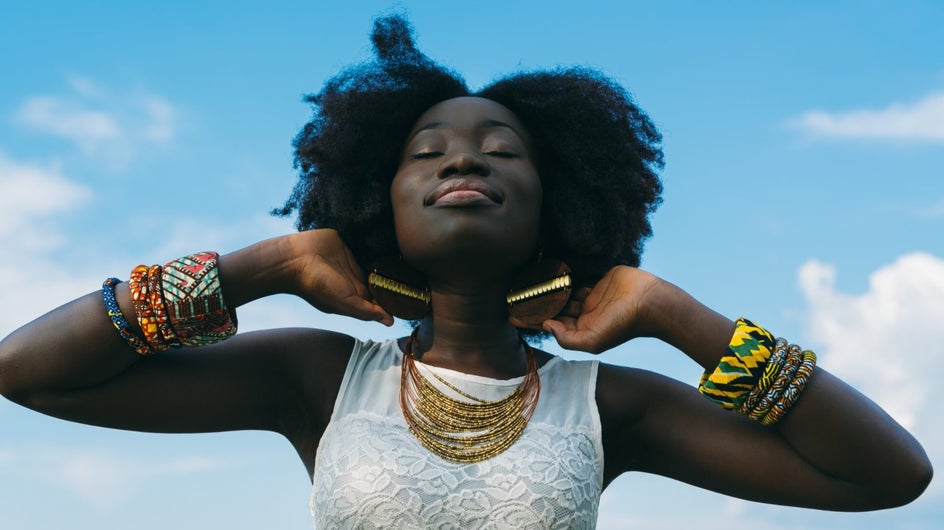
Portrait Photography
When you want to create an intriguing background, bokeh is the way to go. You can use these effects selectively so that your subject is always the focal point of the shot.
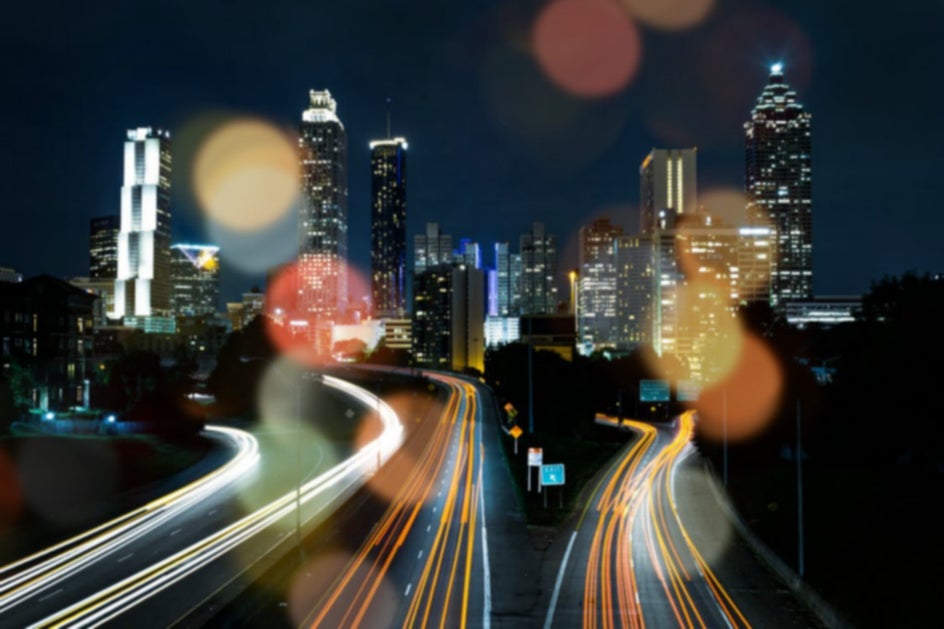
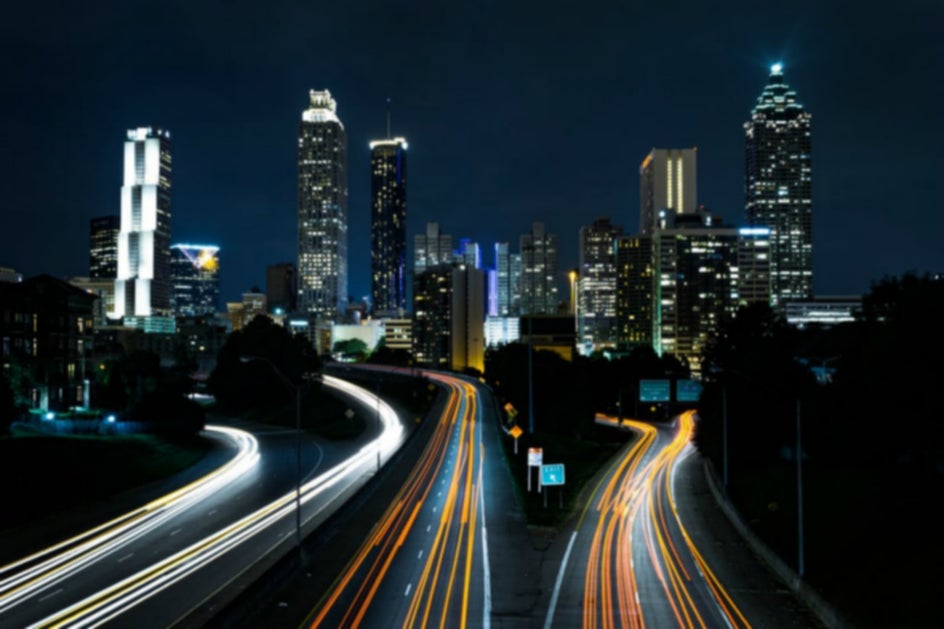
Blurred Photography
Whether you’re working with a photo that’s naturally blurred or you decide to blur the image in post, adding bokeh effects can create an extra artistic element. Think of the lights on a Christmas tree or a scene of a city at night - the light sources become orbs of color when they’re out of focus, and that can really exaggerate the mood of your photo.
How to Add Bokeh Effects to Your Photos
If you want to add this effect to your photo digitally, click here to head to BeFunky’s Textures section of the Photo Editor.
Step 1: Choose Your Bokeh Effect
From the left-side menu, select the Bokeh category.
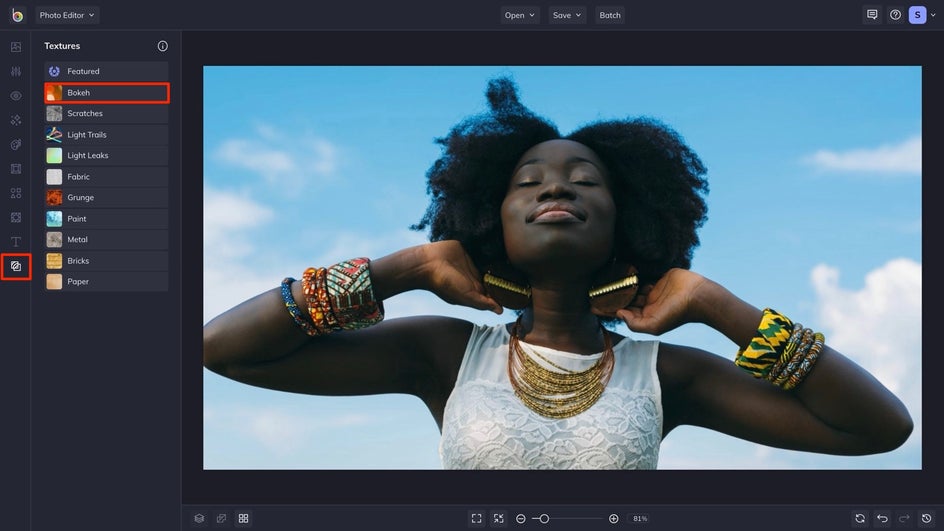
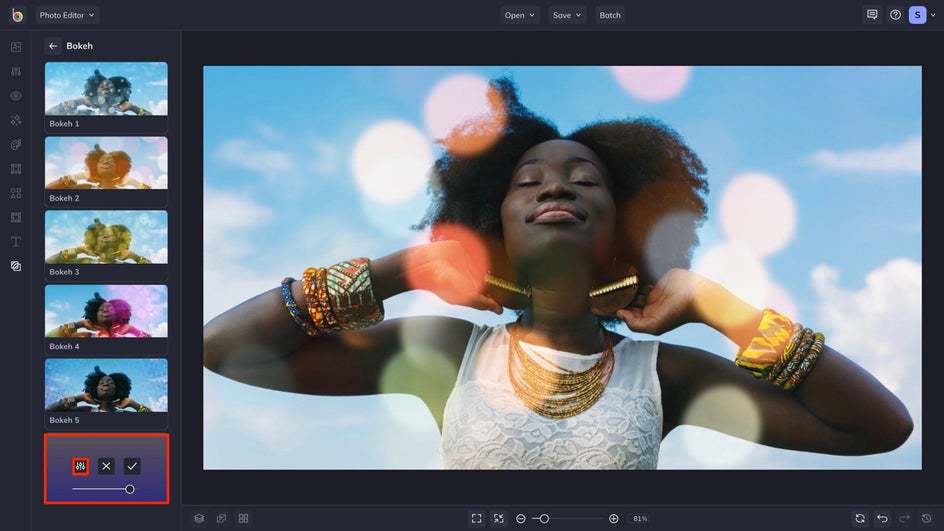
You’ll find several Bokeh effects that you can preview on your photo by clicking on them. Adjust the opacity with the slider or click on the Settings menu button to see all customization options.
Pro Tip: Remember how we talked about bokeh naturally occurring in the blurred part of your photos? If you want to blur backgrounds first, you can start in the Edit menu and use the Blur tool to make certain areas out of focus before adding bokeh.
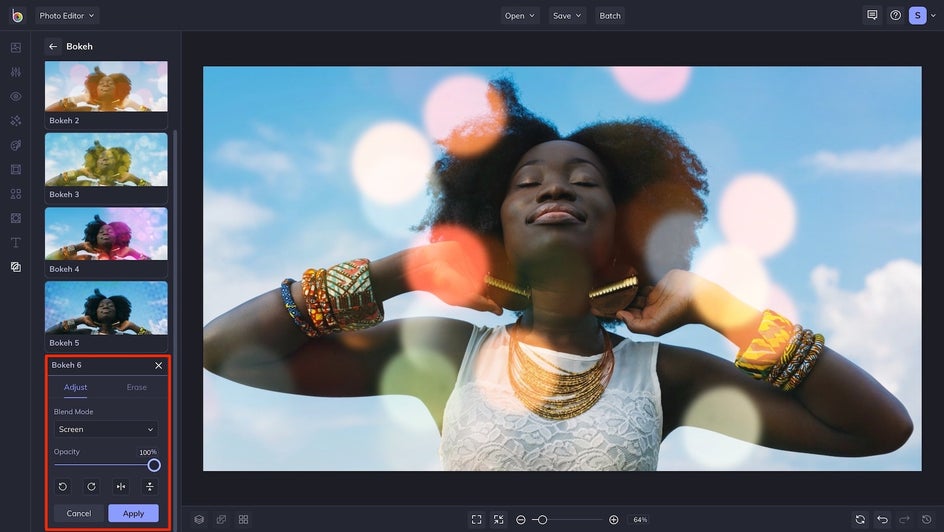
Step 2: Customize the Effect
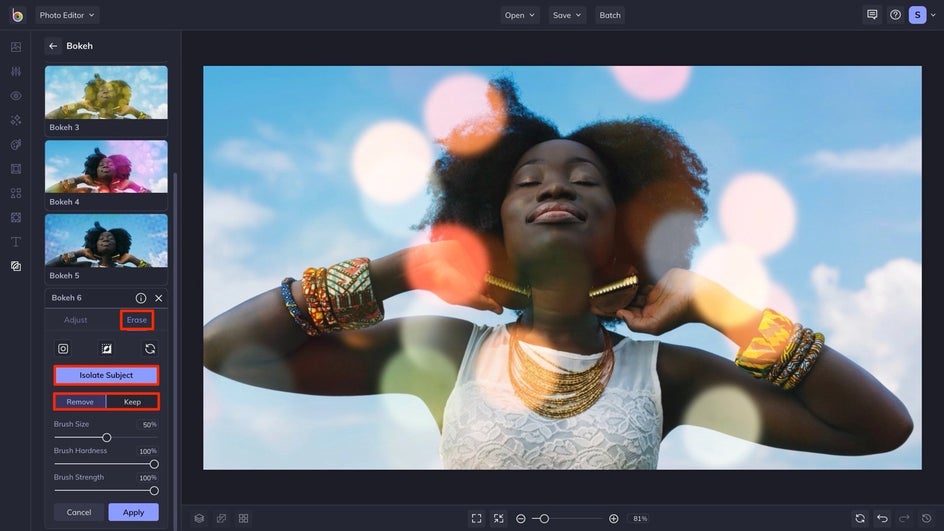
If you want to use the effect selectively (like add it to the background while keeping the foreground crisp and clear), click on the Erase tab in the Settings menu.
Here, you can click and drag to erase the effect from certain areas of your photo. You can also click Isolate Subject to make adjustments directly to your subject with more accuracy.
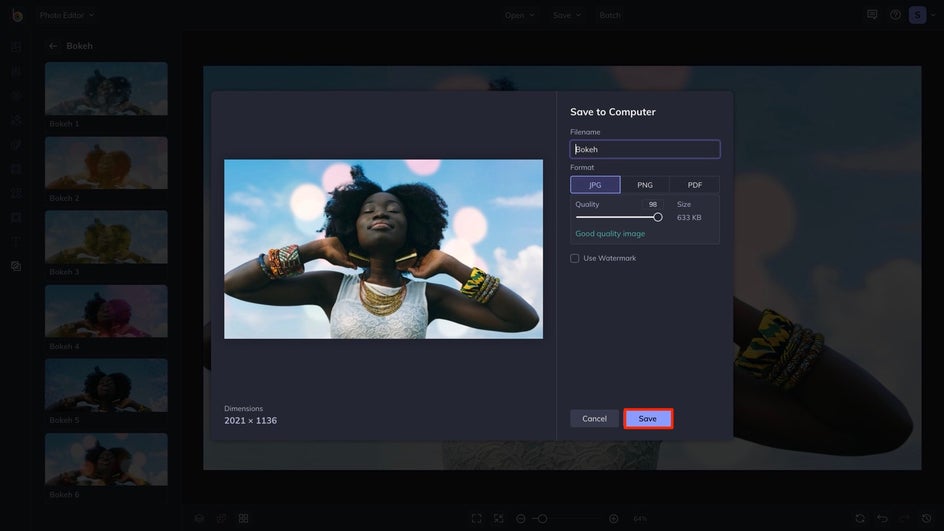
Step 3: Save Your Photo
Save your work by clicking on the Save button at the top of your canvas. From here, choose your preferred location. You can also save it as a project for future editing.
Bokeh Magic
Voila, you can have a professional-looking bokeh background in minutes! Feel free to layer as many Bokeh effects as you want, or use them on the entire photo instead of limiting yourself to the background only.
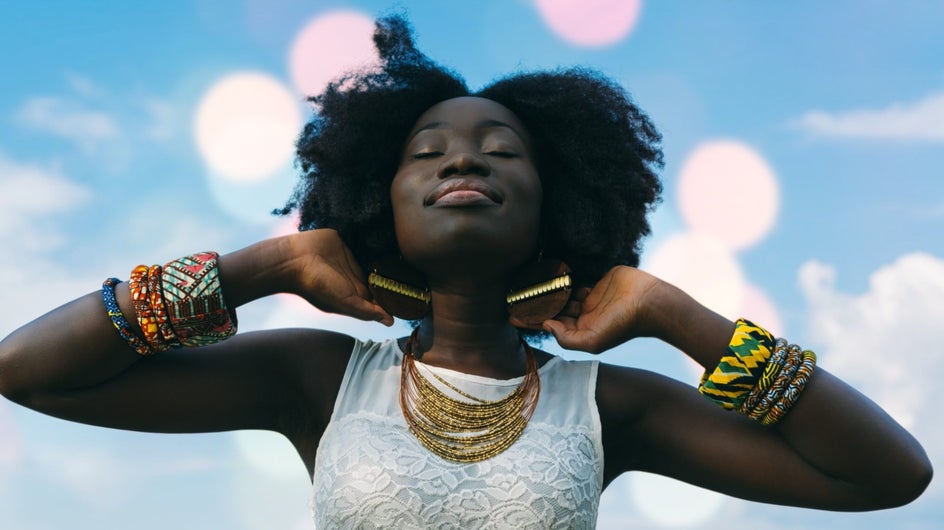
Whether you create something realistic or more on the artistic side, these Bokeh effects will destine your photos for greatness. Add a bokeh effect to your photos by heading to the Textures section of the Photo editor.