How to Add Brushstroke Overlays to Photos
If you’ve ever wanted to fuse artistic creativity with photographic flair, then you’ll love the brushstroke effect. You might be wondering, however, how do you add brush strokes to your images? And where do you find brushstroke overlays online for free?
Thanks to the Photo Editor's wide range of overlays, we’ve got you sorted. Here’s everything you need to know about brushstroke overlays, including how you can add a brushstroke effect to your own photography!
What Is an Overlay?
If the word ‘overlay’ has got you scratching your head, don’t worry. An overlay simply describes a layer on top of a photo with a cut-out revealing a certain shape.
Our Brush Overlays reveal a shape just like brush strokes, making it a popular option for those wanting to turn their photos into modern works of art. These effects come in a wide range of designs too and can be altered in many ways to create something unique.
How to Add an Online Brush Overlay to Your Photo
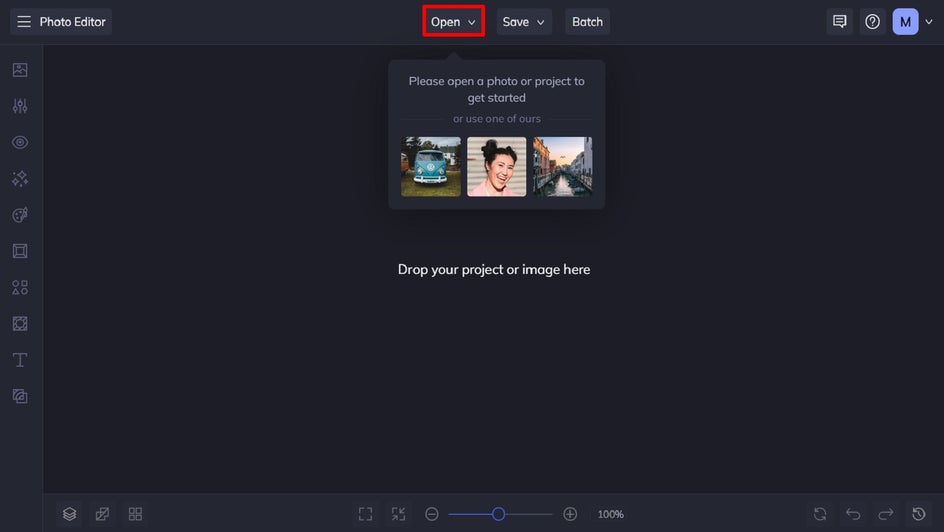
To get started, head to BeFunky’s Photo Editor and open a photo of your choice. Alternatively, you can drag and drop your image into the interface.
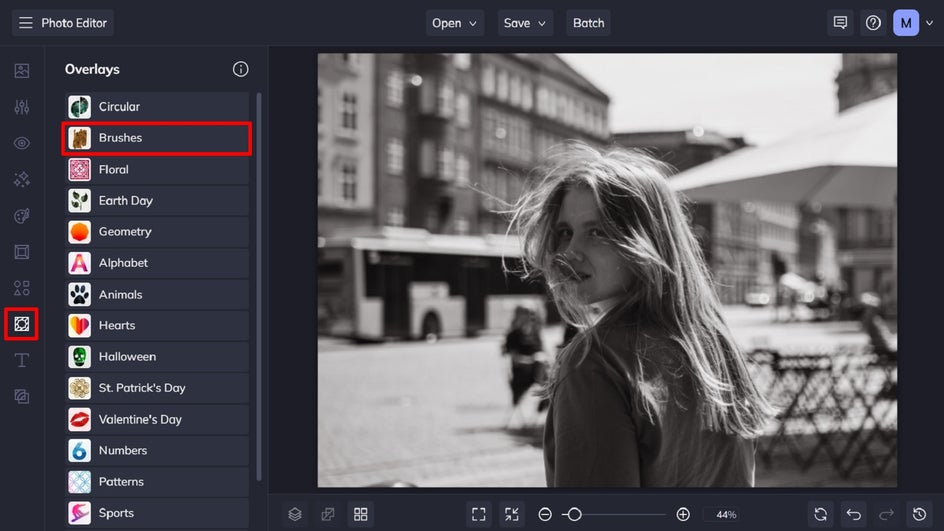
Step 1: Navigate to the Brush Overlays
First, navigate to Overlays in the left-hand menu, followed by the Brushes category. Here you’ll find a wide range of Plus and free brushstroke overlay effects.
Step 2: Choose Your Brushstroke Overlay
You can click on any brush overlay to preview how it would look on your photo. You can also use the overlay’s corresponding slider to increase or decrease the strength of the brushstroke effect on your photo.
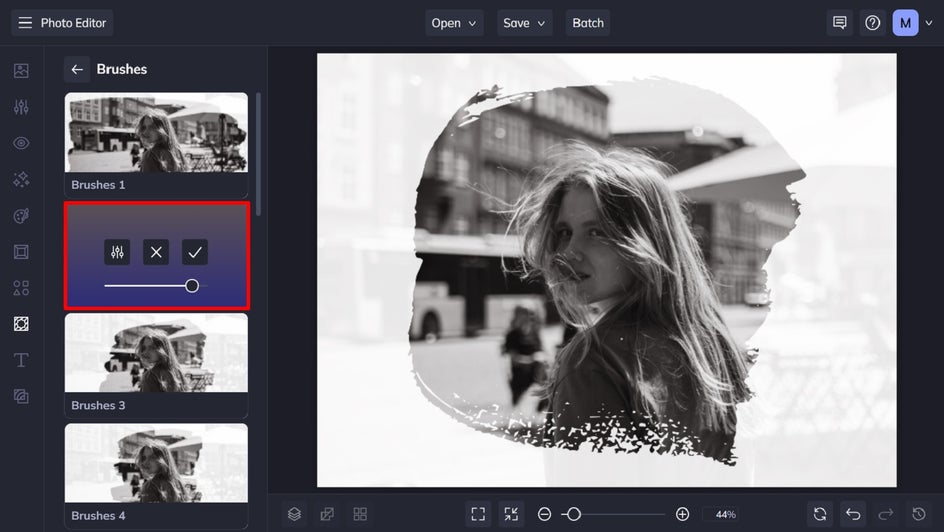
Step 3: Customize Your Overlay
You also have the choice to further customize your brushstroke overlay if you wish. To do so, click the Settings button to view your options. From here, you can adjust the overlay’s background color, opacity, size, rotation, blur amount, and shadow amount.
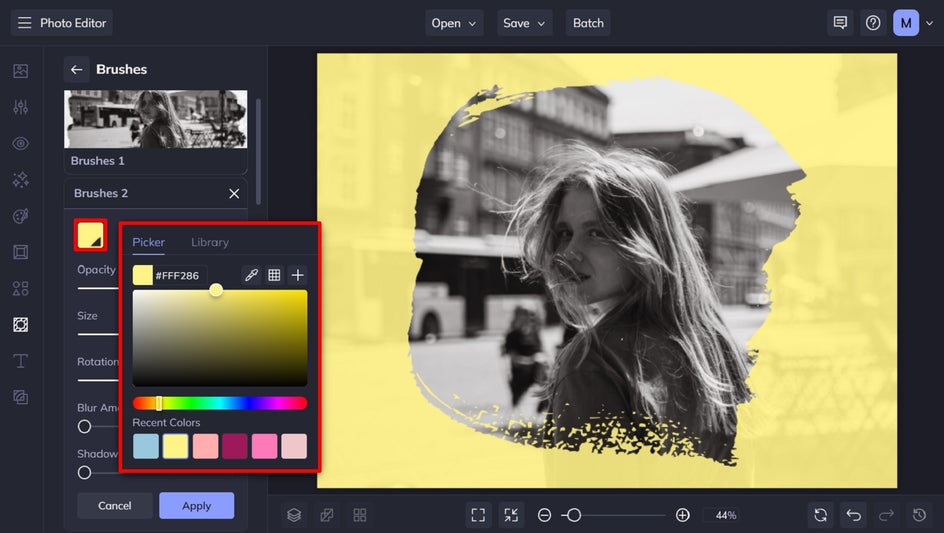
Clicking on the color square at the top will give you access to the Color Picker, letting you choose a hue for your overlay. If you have a super specific color in mind and know the HEX code, you can also type this in. Alternatively, you can use the handy Eye Dropper Tool to select an existing color straight from your photo.
Pro Tip: While your overlay automatically sits in the middle of your image, it doesn’t have to remain like that if you don’t want it to! To move your overlay cut out to a new position on your photo, just drag it using your mouse.
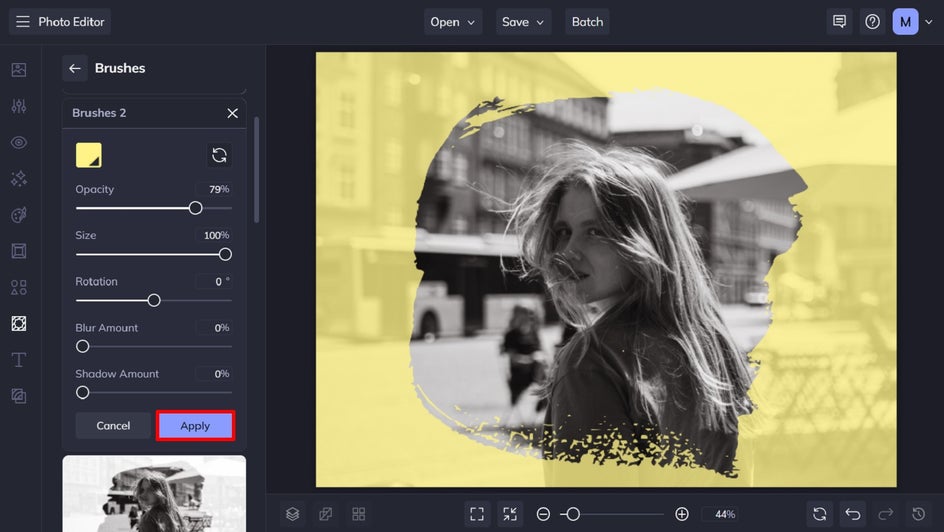
To increase or decrease the opacity of the overlay, use the slider. Sliding to the right will make your overlay more opaque, resulting in less of your photo behind the overlay being seen. Sliding to the left, however, will make more of your photo underneath peek through as the overlay becomes more transparent.
You can also make the cut-out in your overlay smaller or larger by adjusting the slider underneath Size. Those wanting to rotate their overlay will find the Rotation option handy. Again, just slide left or right to turn your overlay accordingly.
If you wish to blur the section of your photo underneath the overlay, adjusting the Blur Amount will allow you to do this. You can even add an outline or shadow to your overlay’s cut-out by moving the Shadow slider to the right.
Once you’re happy with how your brushstroke overlay effect looks, click Apply.
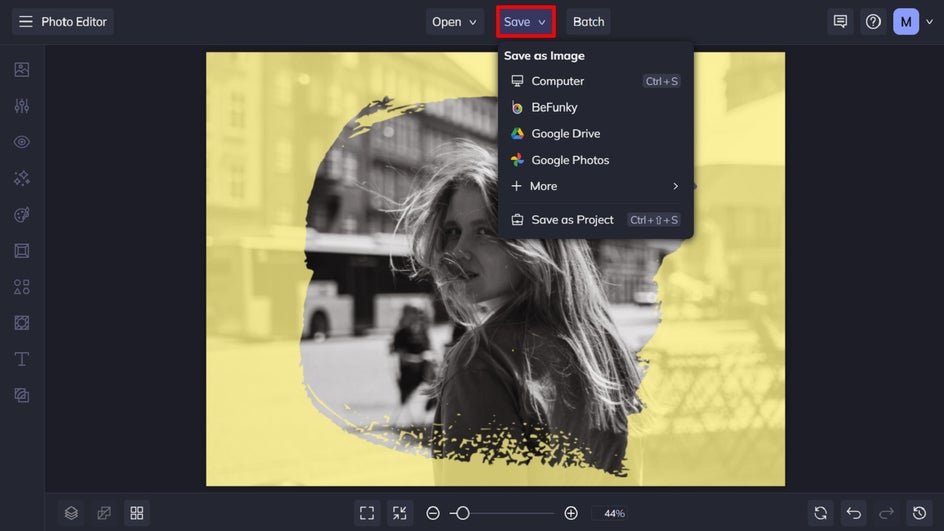
Step 4: Save Your Brushstroke Photo Effect
Click Save at the top of the screen before choosing a destination (such as your Computer, Dropbox, or Google Drive). You can even use the Save as Project option to come back to it at a later time if you wish to make additional edits.
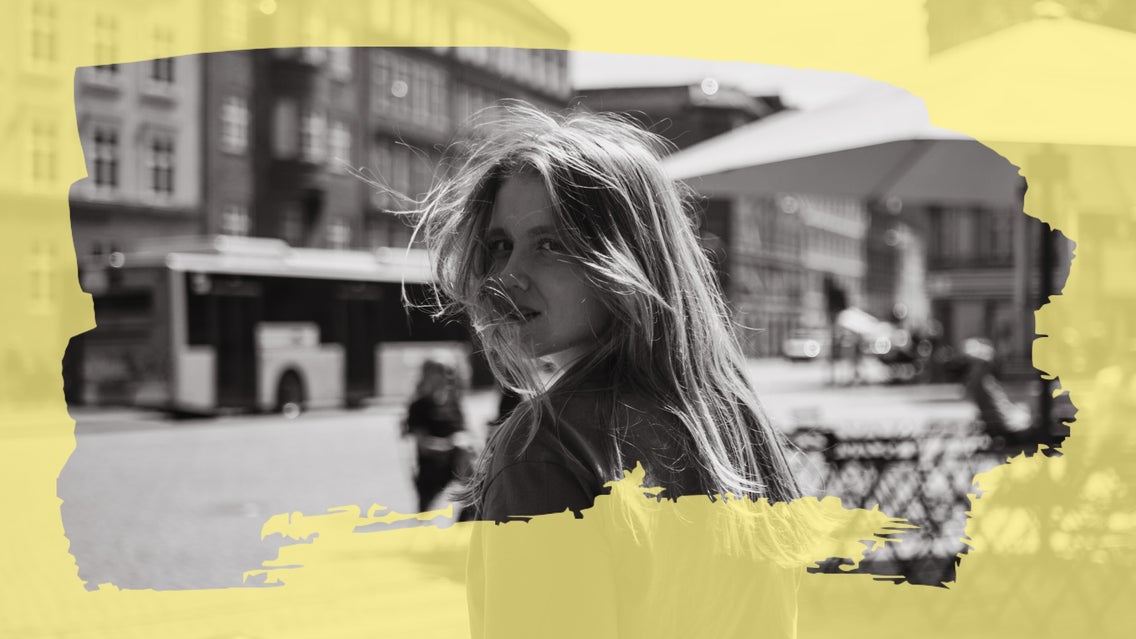
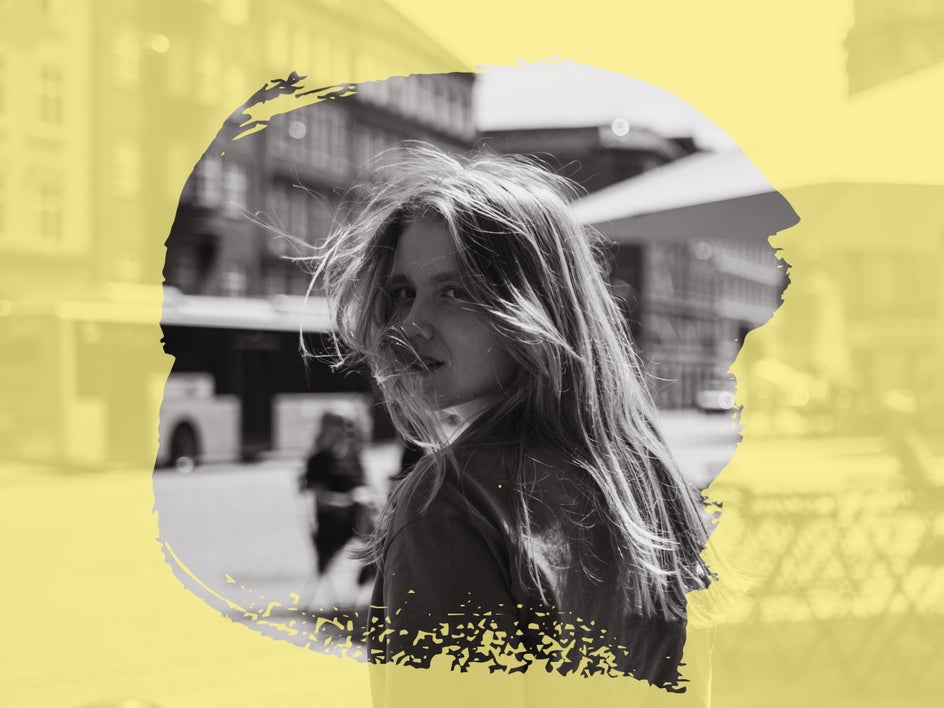
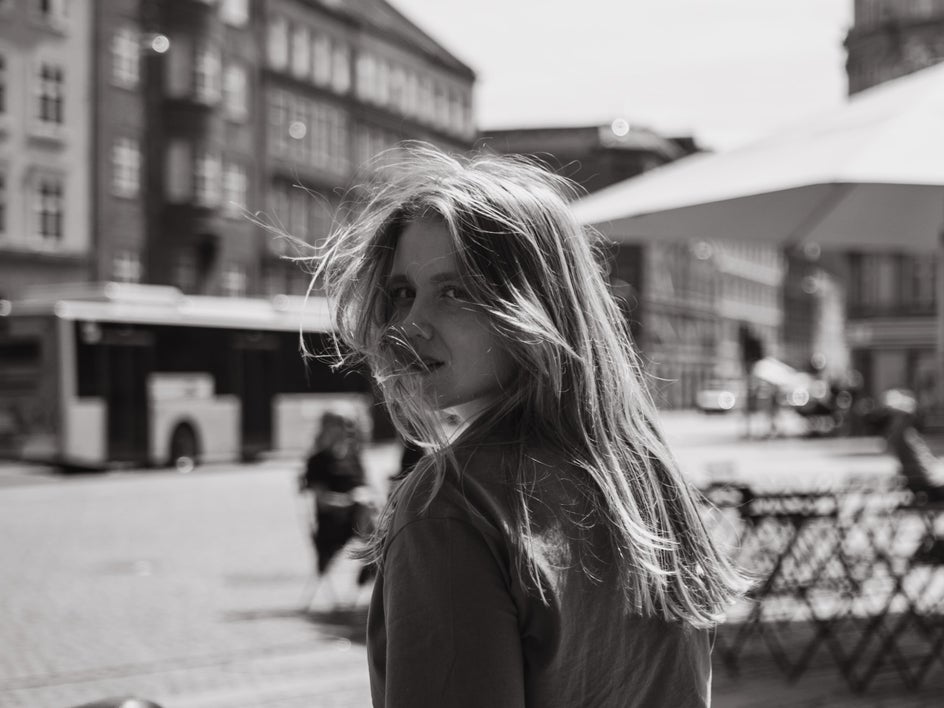
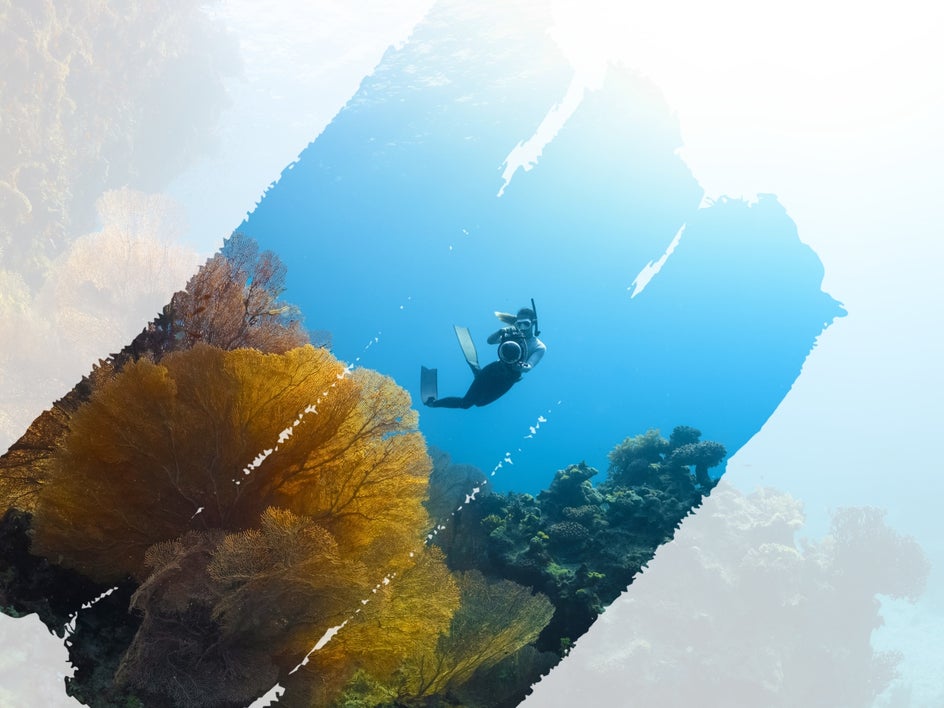
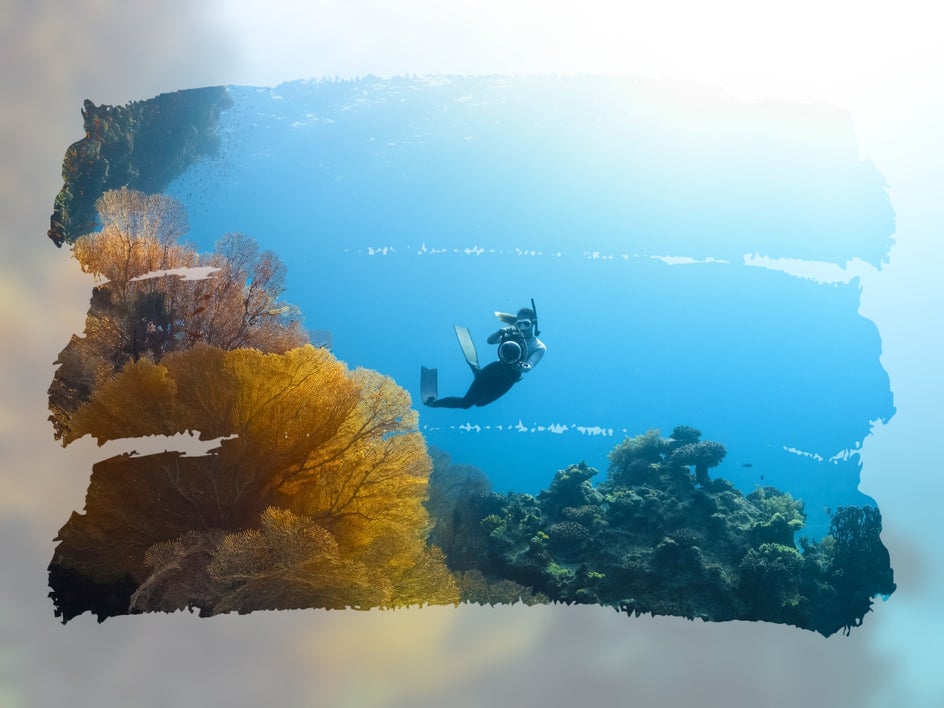
Brushstroke Overlay Before and After
All it took was four simple steps in the Photo Editor to create this overlay photo. Just think of it as your very own brushstroke photo effect app!
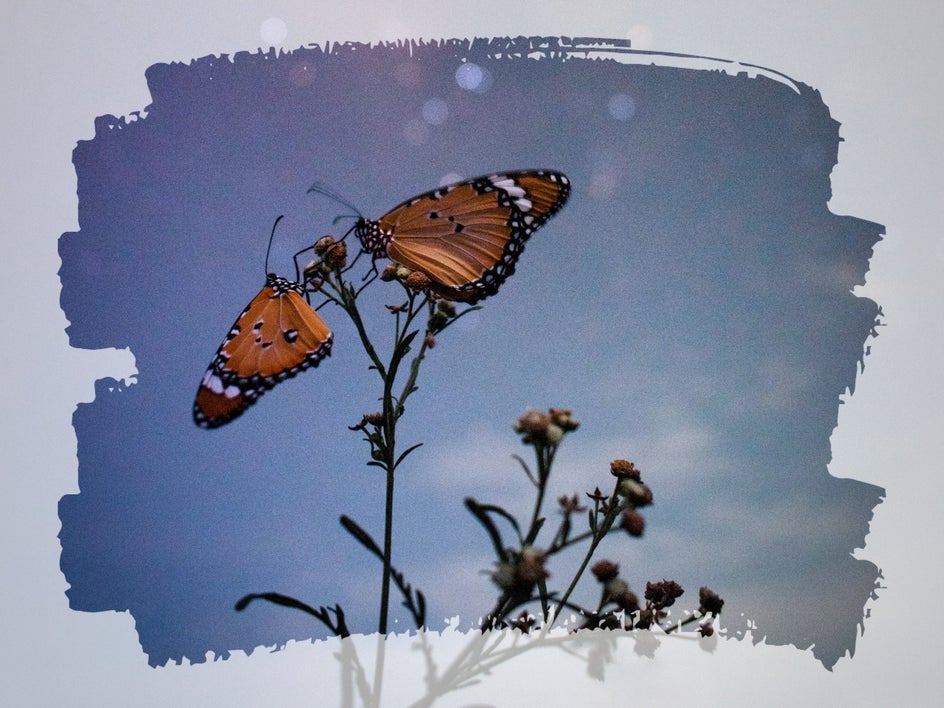
Brush Stroke Photo Effect Inspiration
Now that you know how to add brush stroke overlays to photos, you might be wondering how you can take these effects to totally new heights. Here are just some examples of the ways you can customize a brush overlay in your next project.
Add Color
You can change the background color using the Color Picker tool to affect everything outside of the overlay. If you have a super specific color you want to use, you can even type the HEX Color Code into the corresponding box.
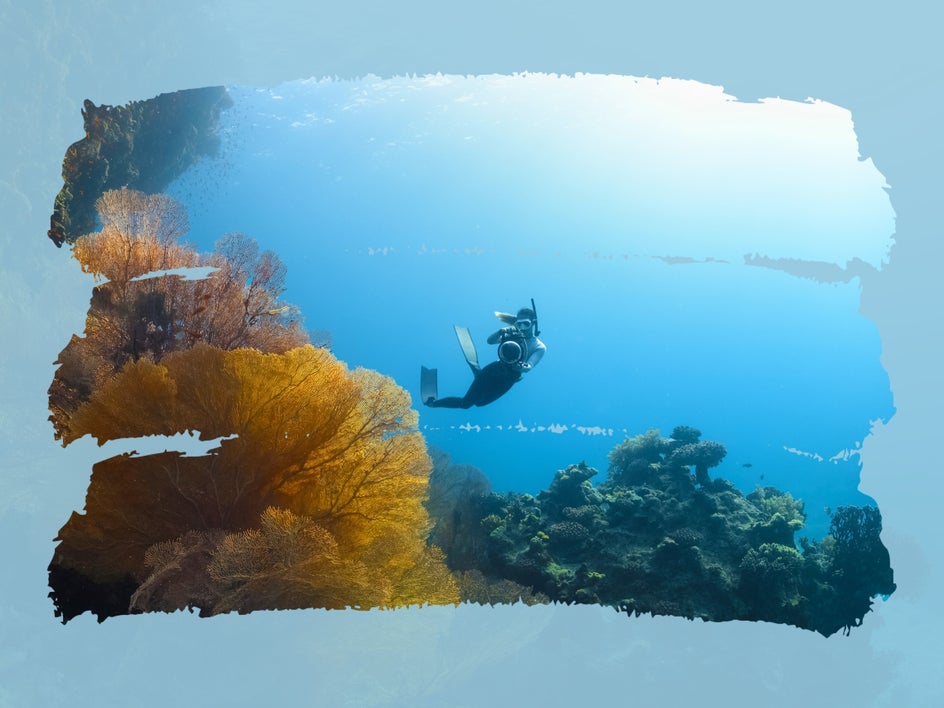
Adjust Opacity
Make the overlay as opaque as you want, or as transparent as you want with the Opacity slider.
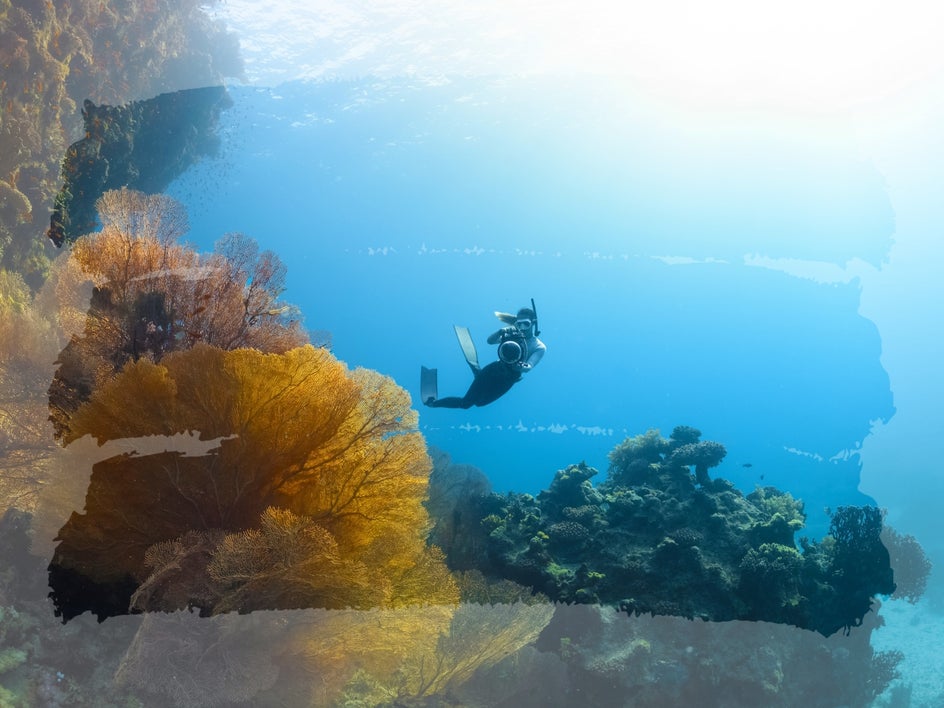
Rotate and Reposition
You can change the position of the overlay by adjusting the Rotation slider, or simply click and drag it around your photo until the cutout is in the perfect spot. Think the cutout is too big? You can also adjust the size to fit perfectly!
Change the Blur Amount
Make the portion of the background that's covered by the overlay blurry or crisp by adjusting the Blur Amount Slider.
Ready to Use Our Brush Stroke Photo Effect App?
Thanks to BeFunky’s wide range of Brush Overlays, adding an online brush overlay to your photo has never been easier. Once you’ve created your own brush stroke overlay effect, why not turn it into a DIY wallpaper for your phone, or print it out to frame and display as home decor? You can even share your artistic image on social media or use it in your email newsletter.
Check out the Photo Editor to see just how fun creating your own brush overlay can be!