Create Custom Christmas Cards With BeFunky

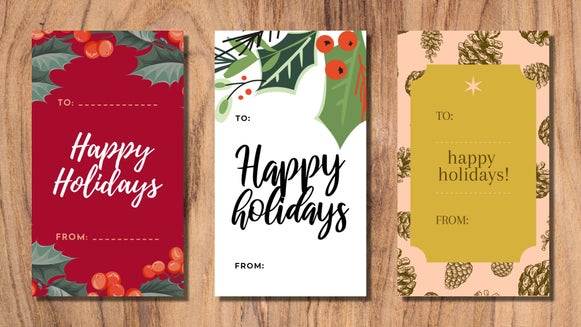
It’s the most wonderful time of the year! The holiday season is in full swing, and pretty soon your mailbox will be overflowing with everything from your latest Amazon orders to holiday greeting cards from your friends and family. If you’re a Christmas card enthusiast like we are, creating something personal to send to your loved ones is a must.
With your end-of-year to-do list getting longer by the day, it only makes sense that you should get on top of your Christmas cards now. After all, they serve as the perfect opportunity to send your best photos to your loved ones, along with a quick update on how your year has been.
We know what you’re probably thinking though: Doesn’t creating your own homemade Christmas cards involve a lot of time and effort? You’ll be pleased to hear that this isn’t the case! Thanks to the customizable Christmas Card templates in BeFunky’s Card Maker, you can skip the Holiday card aisle entirely and whip up your very own, all within just a few clicks!
How to Create DIY Christmas Cards Using BeFunky
There are a couple of ways to make a holiday card in BeFunky’s Designer platform. The first, and easiest way, is to use our pre-designed templates. Click here to head to the Holiday Card Maker.
Step 1: Choose a Christmas Card Template
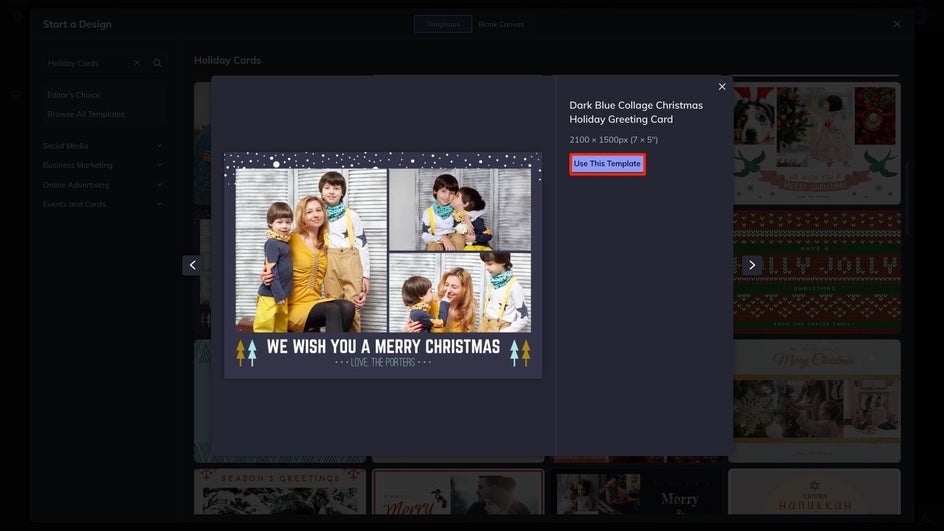
Once you land in the Holiday Cards section, scroll through our selection of pre-made holiday card templates. Once you've found a template you like, click on it and then select Use This Template.
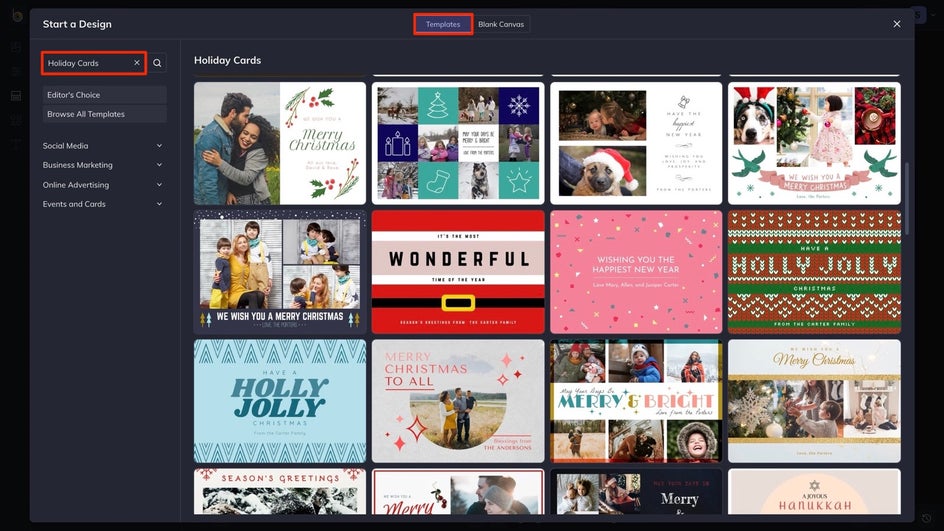
Once you've found a template you like, click on it and then select Use This Template.
Step 2: Add Your Photos
To change the imagery on your Christmas card template, simply upload your favorite photos to your Image Manager. You can do this via your computer, a drag-and-drop, or your Image Library.

Then, you can either click on each preset photo to swap it out, or you can simply drag the thumbnail of the photo you want into that spot.

Next, if you need to reposition things a little, all you have to do is double-click your image. From the Crop Image menu, you'll see options for Zoom, Fit to Frame, or Fit to Image. But if you want the positioning to be very specific, it's better to just drag your photo to your desired location.
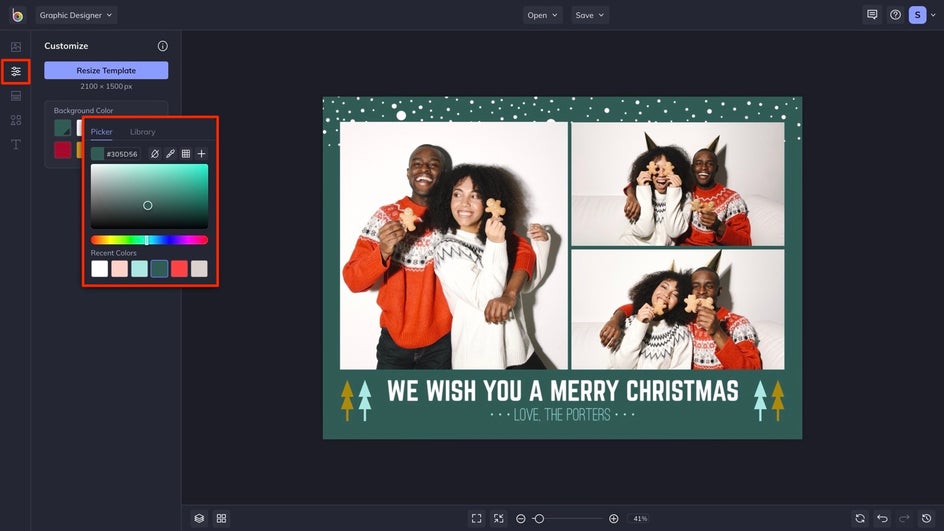
Step 3: Customize the Background
Next, let's head to the Customize tab to change the background color. To do this, just click on the top-left color swatch under Background Color. Here, you can enter a custom HEX code, use the Eye Dropper Tool on a color in your design, and more.
Step 4: Customize the Graphics
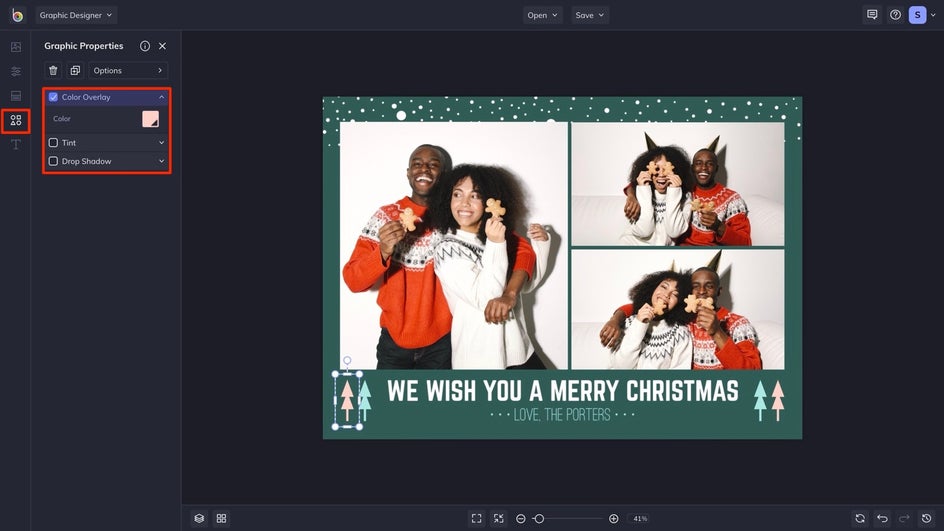
You also have the option to edit the preset graphics or add your own! For this example, we've decided to simply change some of the Christmas tree colors. To do this, click on the graphic you want to change and a Graphic Properties menu will pop up. Then, click on Color Overlay, and choose your color!
If you want to customize your graphics further, head to the Graphics tab, where you'll find our Graphic Library, as well as the option to upload your own! There are plenty of festive graphics to choose from, including Christmas trees, Santa Claus, gifts, candy canes, and so much more.
Step 5: Add Original Text
Now, it's time to express yourself with words. Your message will vary, depending on who you're sending these cards to. We've decided to write something funny and from the heart for this card.
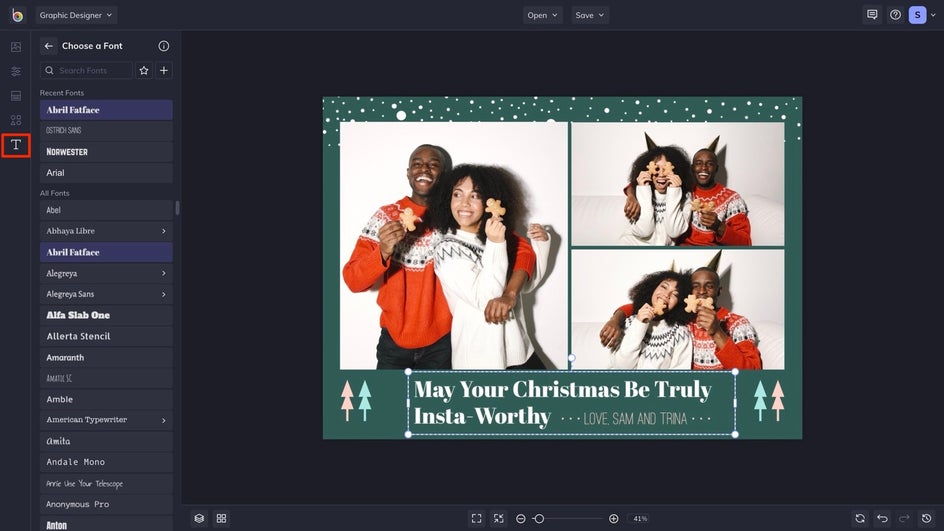
If you want to add your own text, head to the Text tab, where you'll find plenty of festive fonts and presets for you to play with.
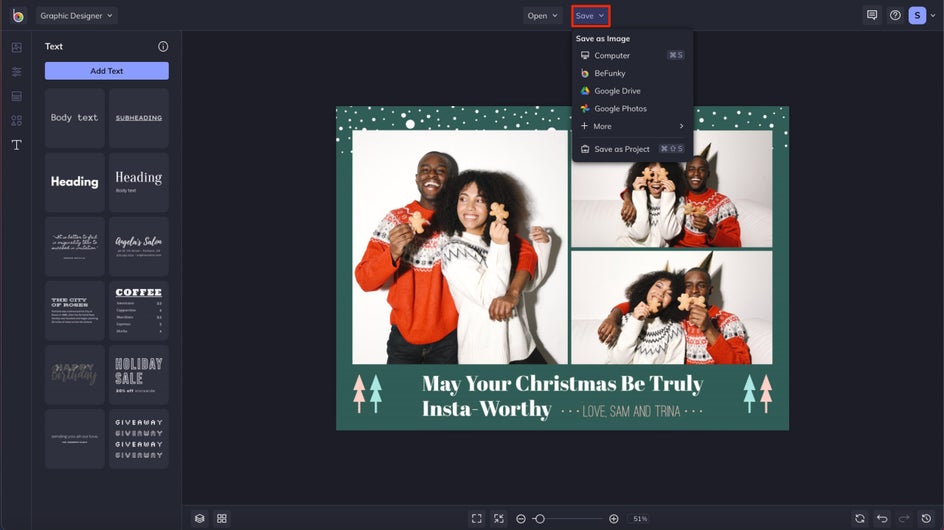
Step 6: Save Your DIY Christmas Card
Once you've finished customizing your Christmas Card template, click on the Save button, found at the top of the window. From here, you can choose to save your card as a PDF for easy printing, as a project to edit later, and more.
Our DIY Festive Christmas Card: Before and After
With BeFunky, you can create a meaningful Christmas card in minutes. All you have to bring is a couple of photos, some personal flair, and your Christmas spirit. Head to our Holiday Card Maker to get started!


DIY Christmas Card Ideas to Inspire You
Now that you know how to create your own DIY Christmas card, you may be in need of some inspiration for your very own Christmas card design. Below, we’ve rounded up just four of our favorite Christmas card ideas to celebrate the holiday season in style.
Minimalist
If you find traditional festive elements a little over-the-top, then a minimal Christmas card template will be right up your alley. Take this design below, for example, which features Christmas tree baubles against a plain white background. Simple, yet effective!

Pastel
If you’re looking to break away from the traditional holiday season colors of red, green, and gold, then why not try a pastel Christmas card template? Our Card Maker is full of alternative holiday card templates, like this pastel pink one below.

Vintage Inspired
There’s just something magical about Christmas movies, advertisements, and cards of eras gone by. You can easily recreate the look with one of our vintage-inspired Christmas card templates, like the one we’ve featured below.

Winter Wonderland
Dreaming of a white Christmas? Whether your holiday season is filled with snow or sunshine – depending on what part of the world you call home – we’ve got a frosty card template to help you feel that chill, like this template.

Homemade Christmas Cards, the Easy Way
With BeFunky, you can create a meaningful DIY Christmas card in minutes. All you have to do is add your favorite photos, some personal flair, and your Christmas spirit. Head to our Holiday Card Maker to get started!