How To Capture Brilliant Christmas Light Photography

Christmas light traditions go back to before electricity was invented. Before electricity, households would light candles in windows and hang lit candles on their Christmas trees (talk about safety!) – and guess who invented the first Christmas light display? None other than Thomas Edison. He and his apprentice are to thank for the little bulbs we use today. Ten years after their invention, they started being mass-produced and the rest is history.

Christmas lights are now extravagant pieces of decoration both inside and outside of the home. People go all out decorating their houses as well as decorating their holiday trees – people even make neighborhood competitions out of it. Even though we don’t have anything new to invent here, our innovation comes from how we set up our displays each year.
Whether you’re trying to capture the spirit of the season in your next outing or you want to show off your holiday display, we’ll show you how to properly photograph Christmas lights and edit them to perfection in BeFunky’s Photo Editor!
Camera Settings for Christmas Light Photography
Because most of your Christmas light photos will be in dimly lit settings, you’ll need to know the right camera settings to make those festive decorations pop.

We’ll explain the three most important camera settings for shooting in low-light scenarios: ISO, Aperture, and Shutter Speed.
ISO
When shooting in low light, you’ll need to adjust your camera settings to compensate for the lack of light. To shoot in low light, you want to bump your ISO up. Just keep in mind that the higher your ISO, the grainier your images can be. As a rule, adjust your ISO but keep it as low as you can for the setting. I generally set mine to around 600, if you need a starting point.
Aperture
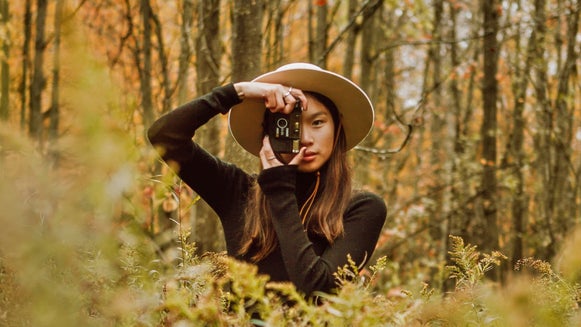
Depending on what you are shooting, you’ll want your aperture low – somewhere between f/2.8 and f/4. If you are shooting an entire light display, you will want to increase your aperture between f/6-f/10. The higher your f-stop, the more the whole of your image will be in focus. The opposite applies in that the lower your f-stop, the more concentrated your focal point is. You can keep your aperture lower if you are taking close-ups of Christmas lights. Keeping your aperture low is also a good setting if you want to create a bokeh effect in the background.
Shutter Speed
Once your aperture and ISO are adjusted it is important to adjust your shutter speed to allow more light into your photo. The slower your shutter speed, the more light can be captured. The thing with using a slow shutter speed is that the camera’s ability to capture will be very sensitive to movement, so a tripod is essential. If I am going handheld, I try not to set my shutter speed setting lower than 1/50. If you are on a tripod, shooting a display with your ISO around 200 and your aperture around f/8, try starting with your shutter speed between ⅛ of a second and ⅖ of a second and see what works best for your light scenario.
Tips for Getting the Perfect Shot
Getting the perfect shot involves patience and timing. With these additional tips and tricks, plus a little intentionality, you'll be set up for success:
Mobile Christmas Light Photography
Depending on the app you are using, you may not be able to adjust the above settings on your camera’s phone. Apps like Moment allow you to adjust these settings individually. Depending on where the new Android and Apple phones are in their development, these settings can be limited.

Generally speaking, mobile cameras have built-in capabilities for capturing low-light photography and are usually perfectly capable of capturing Christmas lights.
Photograph at Twilight or Dusk
Christmas lights are vibrant at night, but if the sky is pitch black, they’ll end up looking like they’re floating in an abyss. Timing your shot just right is a key to success, and you’ll get a lot more photographic texture if you try capturing at twilight or dusk. If you shoot in these settings, you’ll be able to see the shapes of the house they’re on and more of the surrounding elements.
Ten minutes after the sun goes down is a magical time to capture Christmas lights as well. It's called Blue Hour when the whole sky will turn a cool shade of blue on a clear day. During this time, you'll be able to capture the vibrance of holiday lights and their environment, but be quick - Blue Hour only lasts about ten minutes, after which the sky starts getting dark.
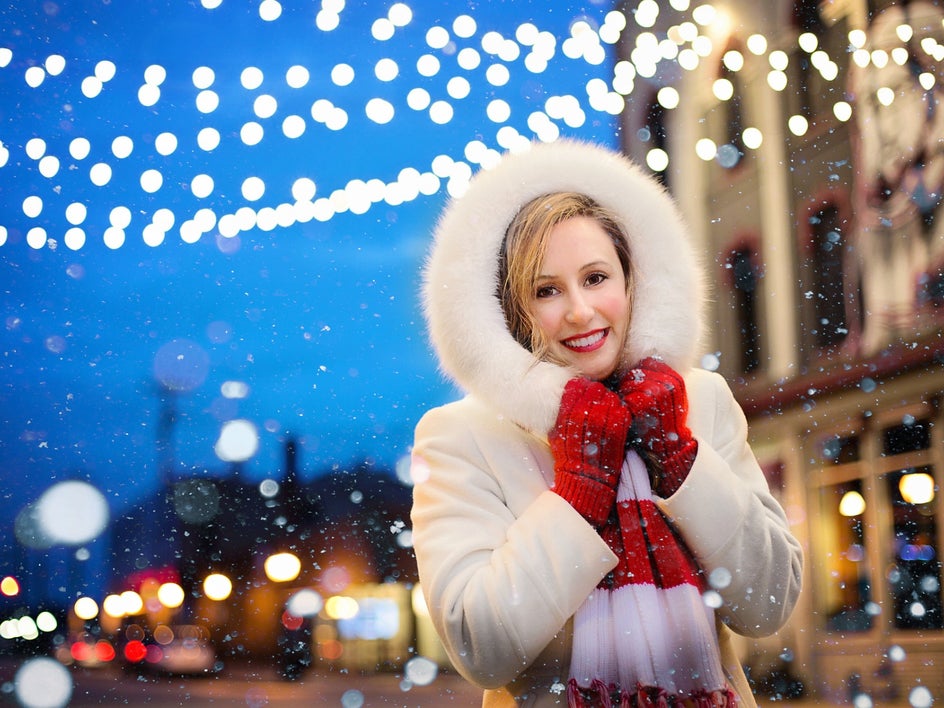
Create a Bokeh Effect
There are so many creative ways to use bokeh in your images. You can photograph a subject in front of Christmas lights, keep your aperture low, and get a nice buttery bokeh effect in the background. You can also have the lights in front to get them in the foreground.

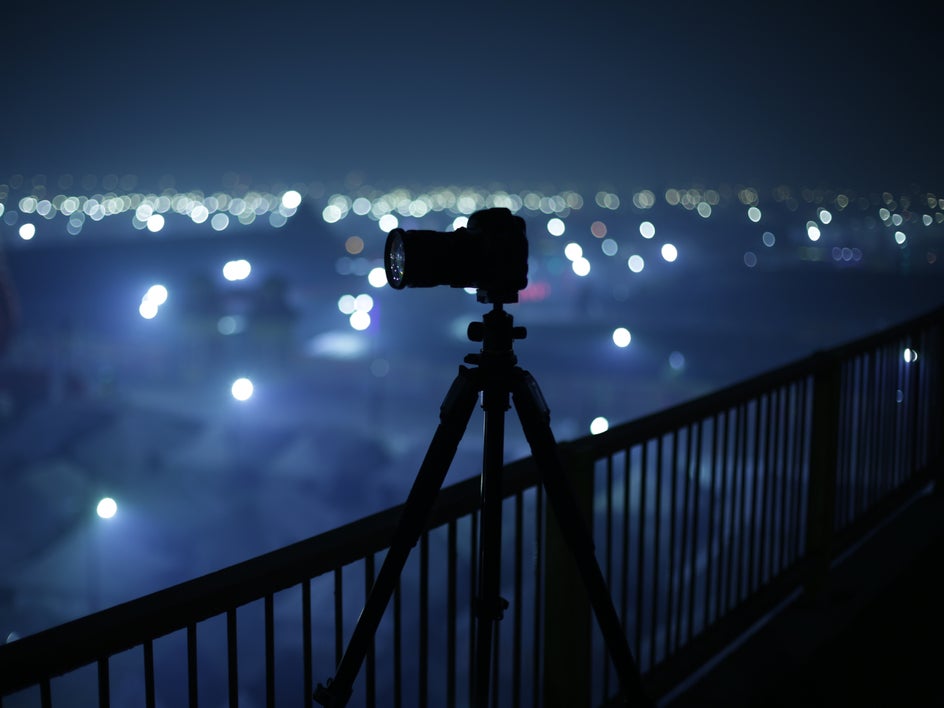
Use a Tripod
When your shutter speed is low, any amount of movement will produce a blurry photo. To ensure that your image stays crisp and clear with the ideal camera settings, use a tripod. If you are trying to get a professional shot, make sure that you use a remote or timer while using a tripod – this will ensure that you take the crispest photos.
Don’t Use Flash
If you follow the settings above, there should be no reason to use flash. It will also counteract the lights in the photo. If you need extra lighting, set up a foreground light and then adjust your settings accordingly to create balance.

Editing Tips for Christmas Light Photography
Once you have your Christmas light photo, it’s time to edit it. First, upload your favorite image into BeFunky’s Photo Editor. There are many tools in the Edit menu that you can use on your photo to make it pop.
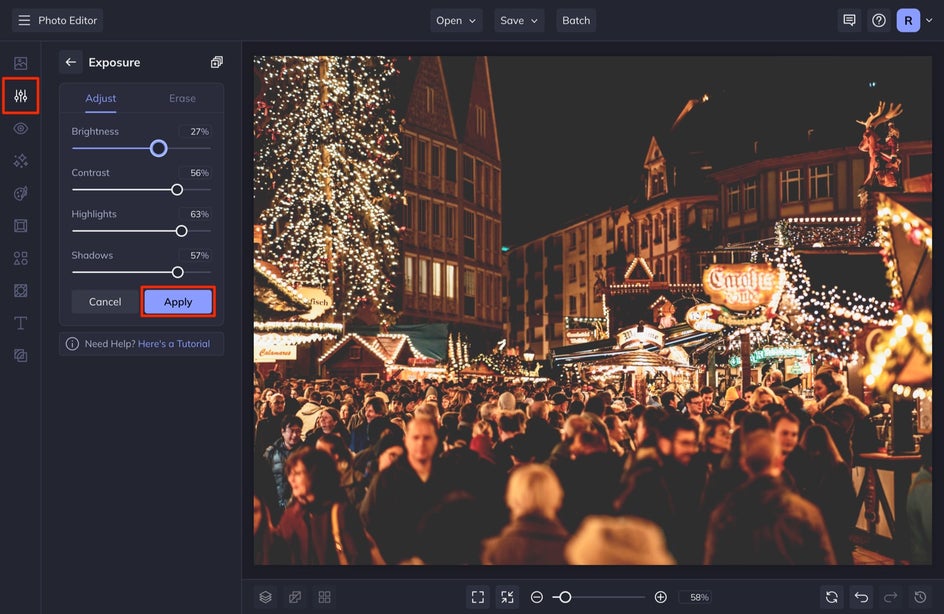
Step 1: Edit the Exposure
In the Edit menu on the left, click on the Exposure tool. This one’s perfect for quickly brightening a dark photo. Use the sliders to adjust Brightness, Contrast, Highlights, and Shadows until your image looks more balanced. When you’re finished adjusting the sliders, click Apply.
If you need more control over your photo’s exposure, try using the Levels tool.
Step 2: Rely on BeFunky’s Smart Tools
If you need a smart tool to fix the exposure, try using any of Befunky’s Enhance DLX effects. These are perfect for adding dimension, sharpening photos, and bringing out vibrant colors in your shot. They’re meant to fix problematic photos, and since Christmas light photography is commonly shot in dim lighting, these tools will help a ton. Click the big button labeled Enhance DLX at the top of the Edit menu.
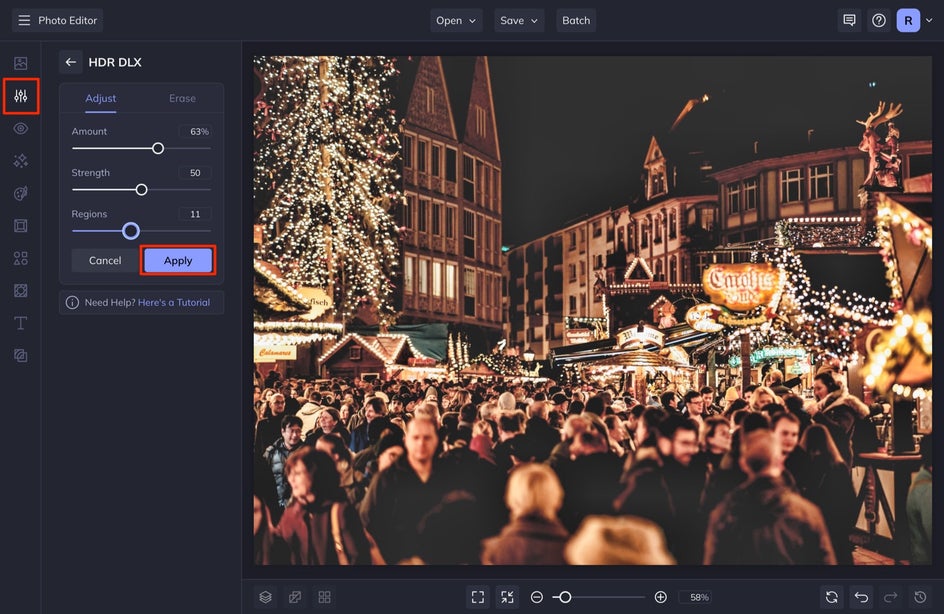
For this photo, we used HDR DLX. This will enhance your photo in only the areas that need it by adjusting the background and foreground exposure in a balanced method. It can analyze every pixel and only apply highlights and contrast where it needs. Click on HDR DLX to add the effect in one click, then adjust the Amount, Strength, and Regions sliders.
Try using the rest of the Enhance DLX effects if you need more help with the exposure (HDR DLX), sharpness (Sharpen DLX), vibrance (Vibrant Colors DLX), or noise reduction (Denoise DLX).
Step 3: Add Some Glow!
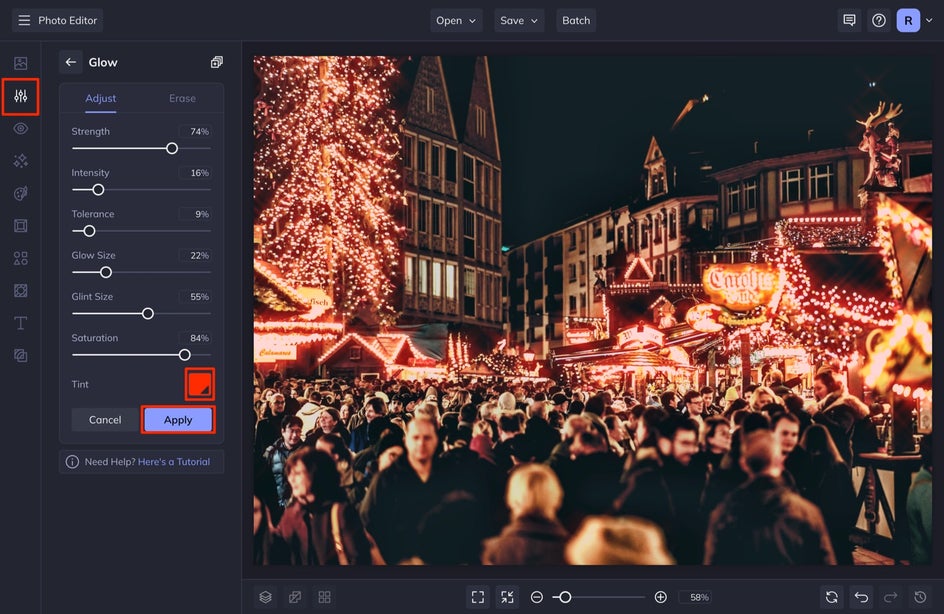
Sometimes that Christmas light glow and glint can get lost in the photo-taking process – but with BeFunky’s Glow tool, you can add in the Christmas light glow to make your scenes look closer to what you remember when taking the photos.
Click Glow in the Edit menu on the left. You can adjust the color of the lights by selecting the Tint color swatch. You can also adjust the intensity of the Glow Size and Glint Size and many other options! Play around with these sliders to get the perfect glow.
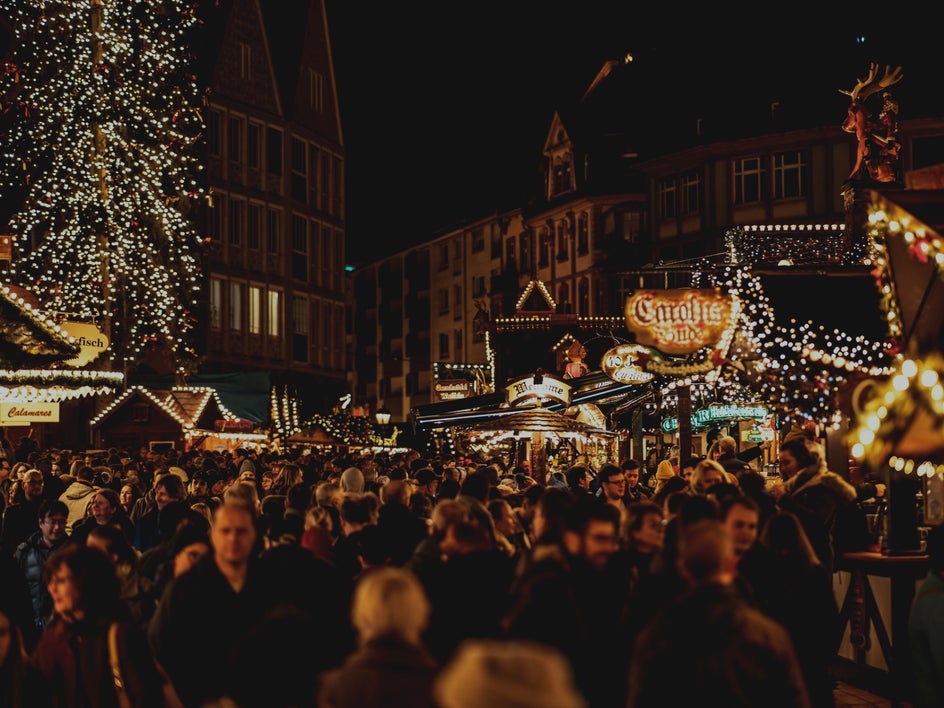
If your glow got too out of hand, before pressing Apply, select the Erase tab and use the brush provided to erase the portion of your photo where there is too much glow. I wanted to keep the glow around the lights but erase the part that got onto the crowd. Reduce the Brush Hardness and Brush Strength to achieve this same effect.
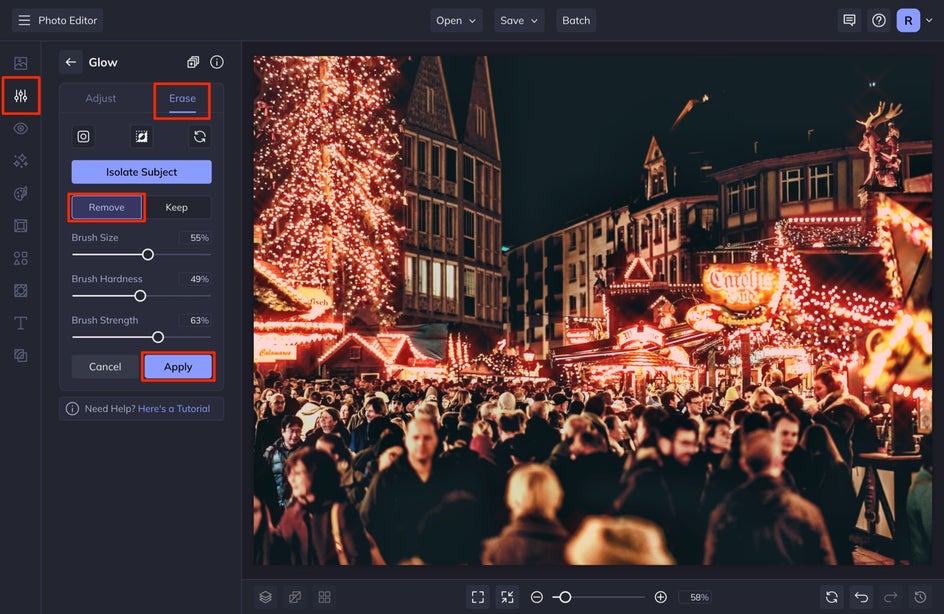
Once you are finished with this tool, select Apply.
Step 4: Save Your Christmas Light Photo
Once you are finished editing your photo, head up to the top of your screen and select Save. Then select Computer.
You’re Ready to Capture Christmas Light Photography
Now that you know the best camera settings and photo editing tools to make your Christmas light photography pop, start taking your photos and follow the tips above with Befunky’s Photo Editor!