Achieve Award-Winning Photos With These Cinematic Effects

Have you ever watched a movie and been gobsmacked by just how beautiful its cinematography is? Whether it's that vintage-inspired film grain, retro distortion, or subdued nostalgia, cinematic effects are so effective at capturing—and keeping—our attention for long periods.
If you’re wondering how you can create cinematic photos, you’re in luck. We’ve developed a set of stunning Cinematic photo effects in our Photo Editor to help you transform a simple image into a showstopper! These Photo effects let you turn your photos into scenes from the big screen, all within a few clicks. We’ll show you how!
How to Create Cinematic Photos Using BeFunky
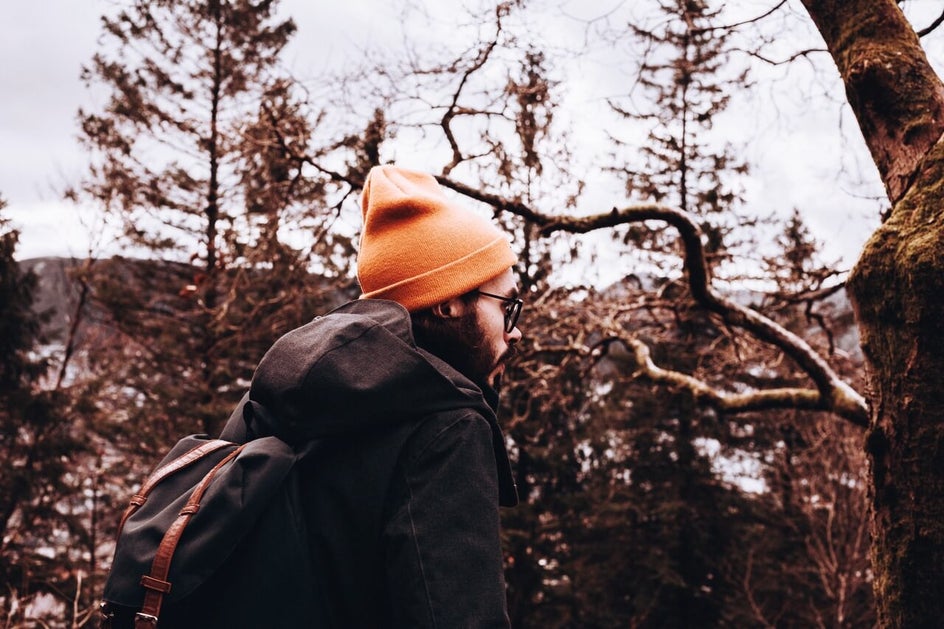
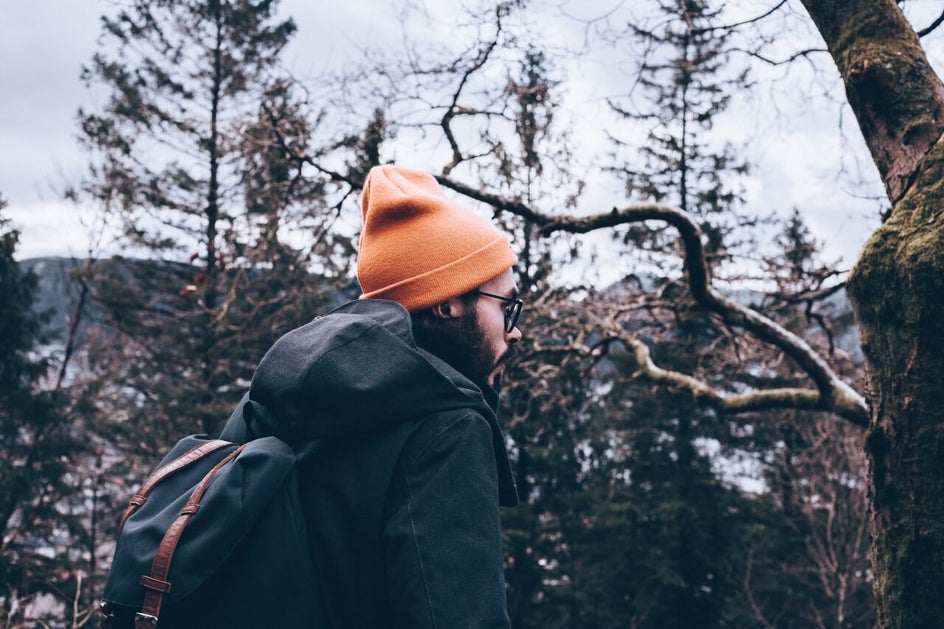
Ready to create your own cinematic photos? To get started, head to BeFunky’s Photo Editor and open a photo of your choice.
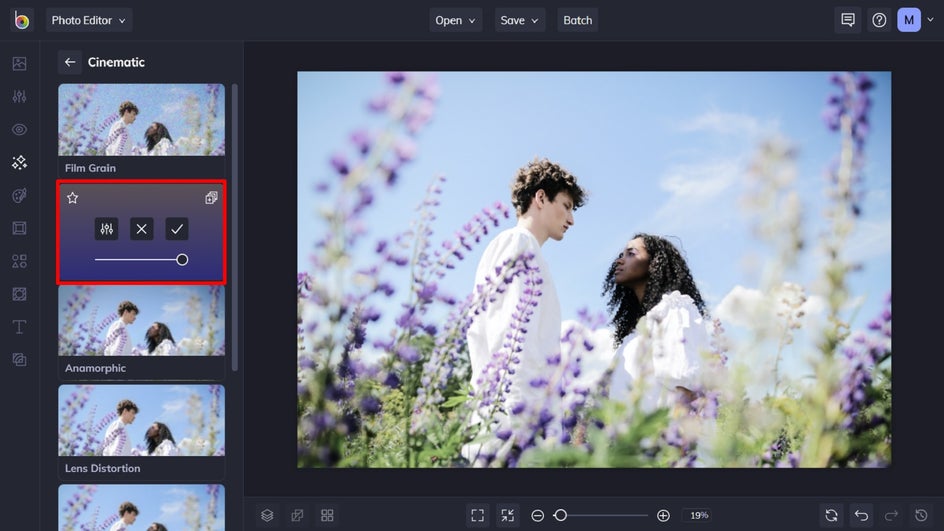
Step 1: Navigate to the Cinematic Photo Effects
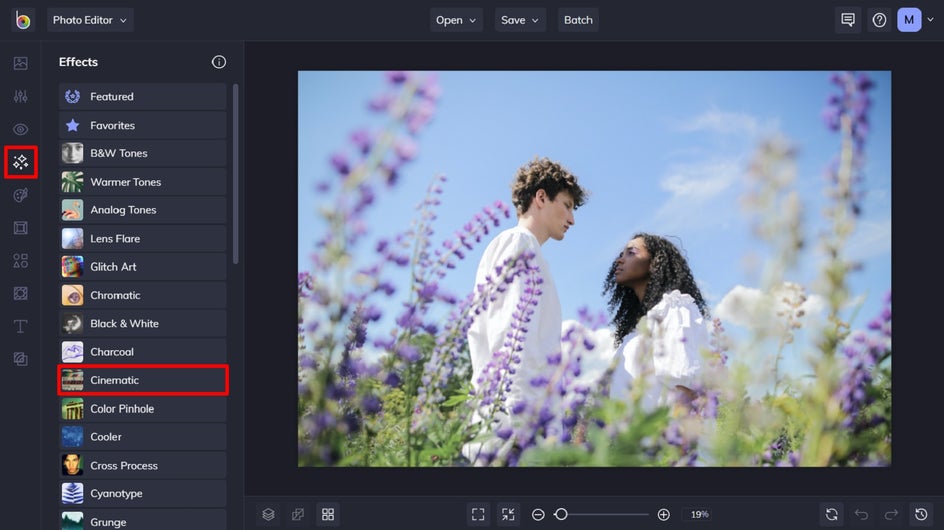
Click on Effects in the main menu on the left, then scroll down to select the Cinematic category.
Step 2: Select a Cinematic Effect
Click through each of the effects to preview what cinematic photos they create. You’ll also notice when you click on an effect, three options are available: Settings, which allows you to alter the effect further; Cancel, which cancels the selected effect; and Apply, which applies the effect as-is. You can also adjust the strength of the effect using the slider.
Once you’ve chosen the Cinematic effect you wish to use, click Settings to see what further customization options are available.
Step 3: Customize Your Cinematic Photo
Each Cinematic photo effect will have different customization options depending on the effect you choose. For this example, we’re using the Color Grading effect.
In the Settings menu, you can control the amount of the effect in addition to assigning different colors to the shadows, midtones, and highlights in your image. Clicking the color tile next to Shadows lets you choose a color for the darker areas of your image. In the Color Palette that appears, you can either slide the rainbow slider and circle around the color palette to choose any hue you’d like. Or, use the Eye Dropper Tool to select a color from your photo.
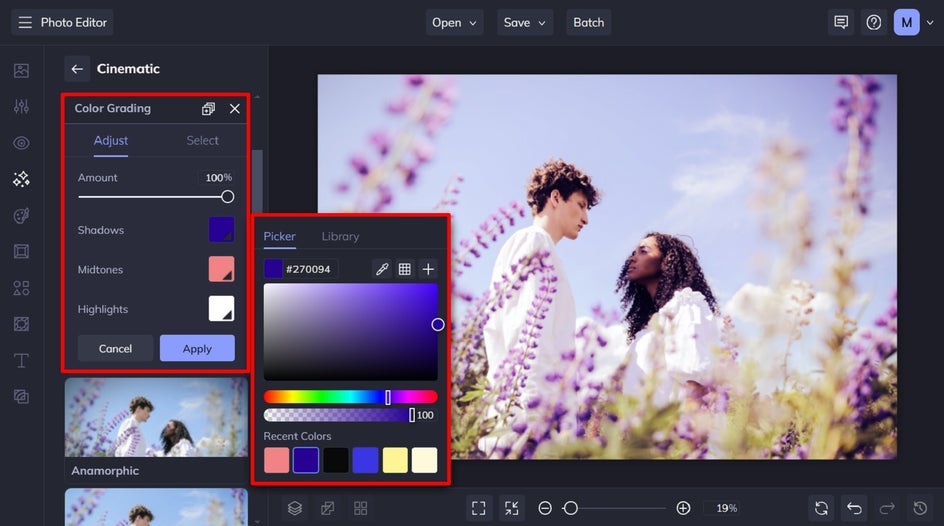
Choosing a color for the Midtones assigns that color to the shades between light and dark, and Highlights assign a color to the lightest parts of your image. Keep in mind that you can turn down the Intensity slider on any of the colors to keep them minimal, or even non-existent.
When you’re happy with the effect, click Apply. You can then add other Cinematic effects to your image, if you want, or keep it as-is.
Choosing a color for the Midtones assigns that color to the shades between light and dark, and Highlights assign a color to the lightest parts of your image. Keep in mind that you can turn down the Intensity slider on any of the colors to keep them minimal, or even non-existent.
You can also utilize the Select tab to apply your chosen Cinematic filter on a particular area of your image, should you wish.

From there, you can apply the Cinematic photo effect to just the foreground, background, or the entire image. You can also invert where the effect is applied by clicking the Invert Selection button, or use the Paint Brush to decide what areas you want to keep manually.
When you’re happy with the effect, click Apply. You can then add other Cinematic effects to your image.
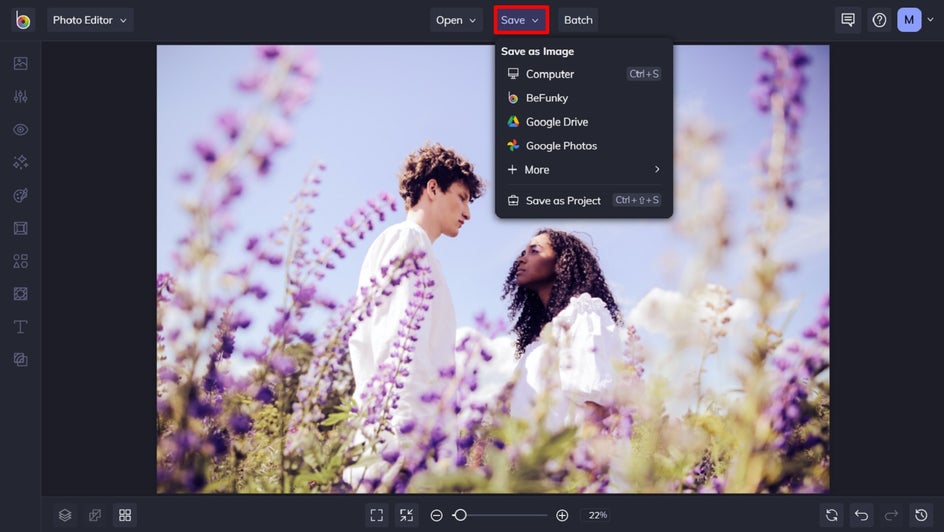
Step 4: Save Your Cinematic Photography
All that’s left to do is to click Save at the top of the screen and select your desired save location.
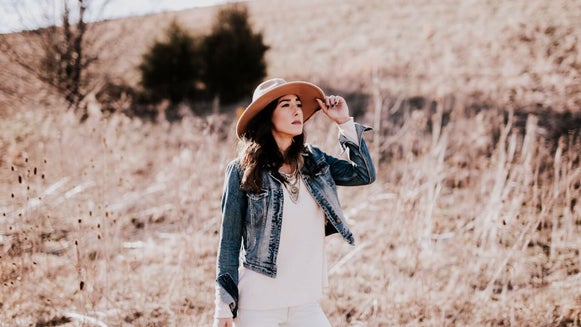
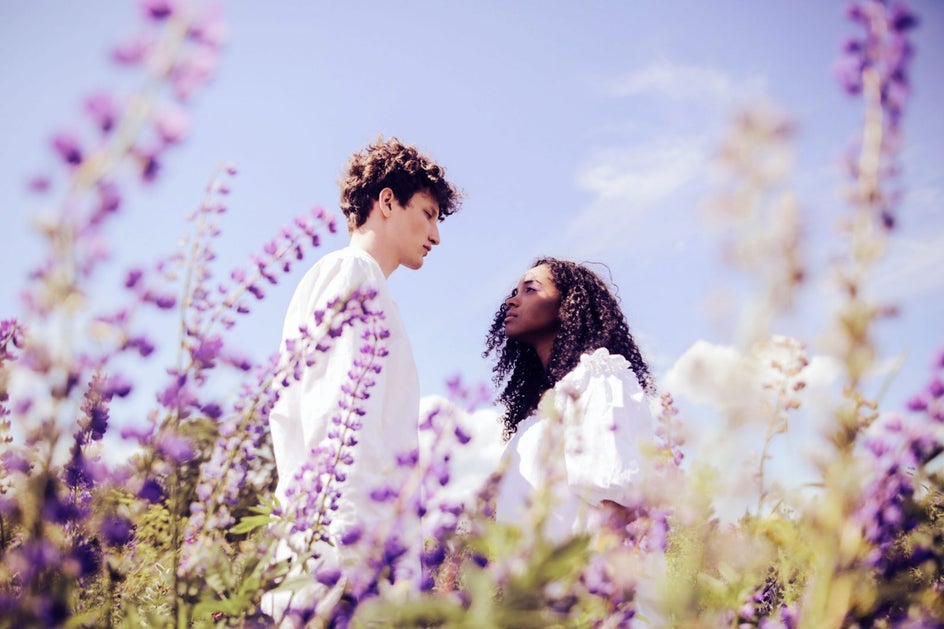
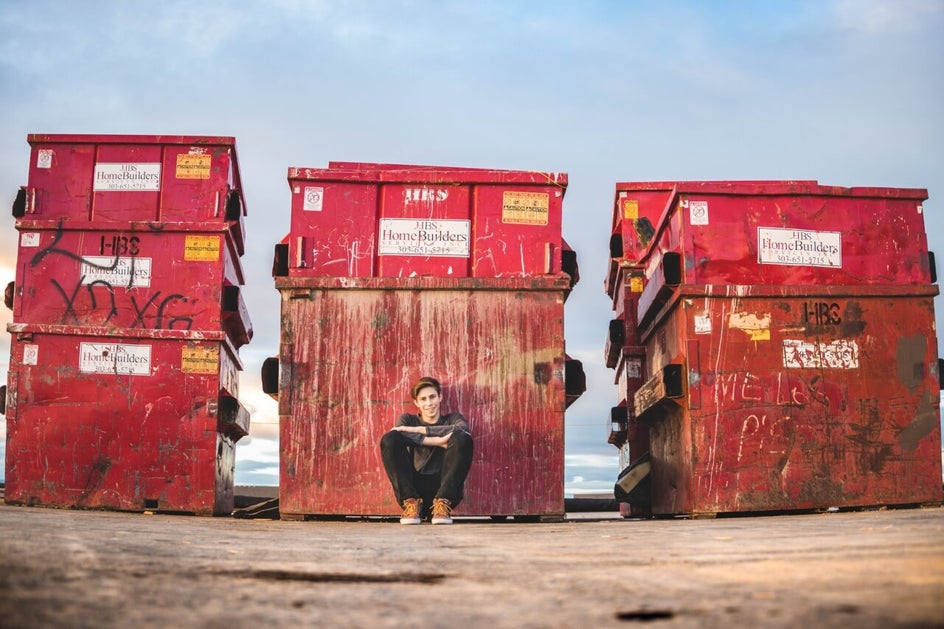
Final Results: A Cinematic Masterpiece, Worthy of the Big Screen
How’s that for a showstopper? Thanks to the Cinematic effects, replicating the looks of your favorite TV shows and movies – in photography form – is now possible!

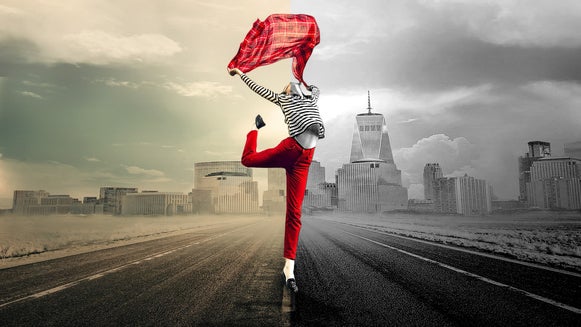
Cinematic Photos: Our Favorite Examples to Inspire
The Cinematic category is overflowing with effects that will make your photos pop. From strong color adjustments to fixing lens distortion to making your photographs appear like they were taken on film—the Cinematic photo editing effects certainly won't disappoint.
The Cinematic photos featured below are sure to inspire your next project!
Film Grain
The Film Grain filter is a perfect recreation of what a film camera would capture. It adds the effect of film grain to your image, giving it a nostalgic and retro feel.
The greatest aspect of the Film Grain effect is that you have complete control over the appearance and amount of film grain applied to your image. The default effect is RGB (red, green, and blue), which is ideal for colorful photos, but you may also choose Monochromatic for black and white or monochrome photography. In the Film Grain effect's Settings menu, you'll find everything you need if you wish to customize the effect further.


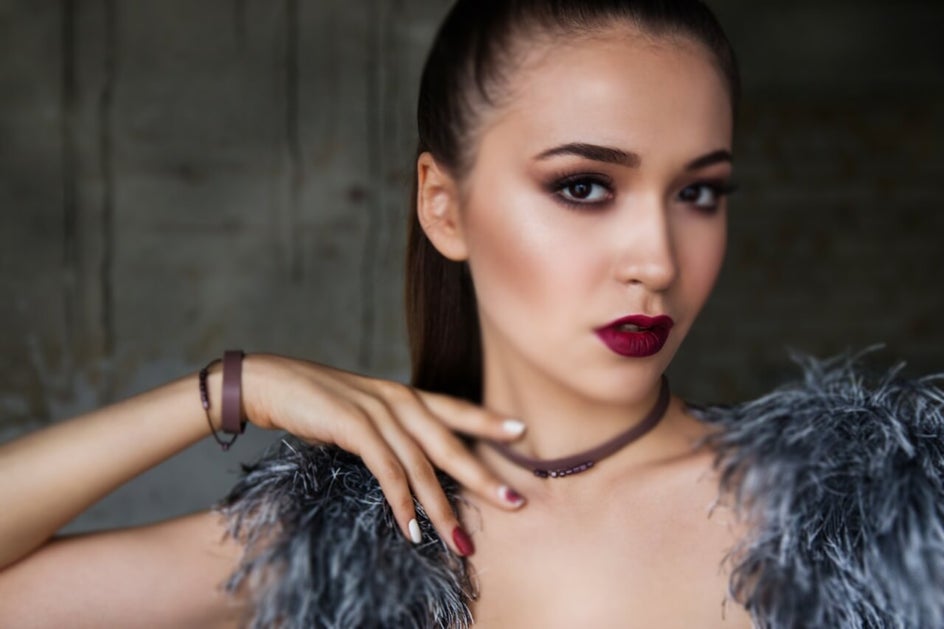
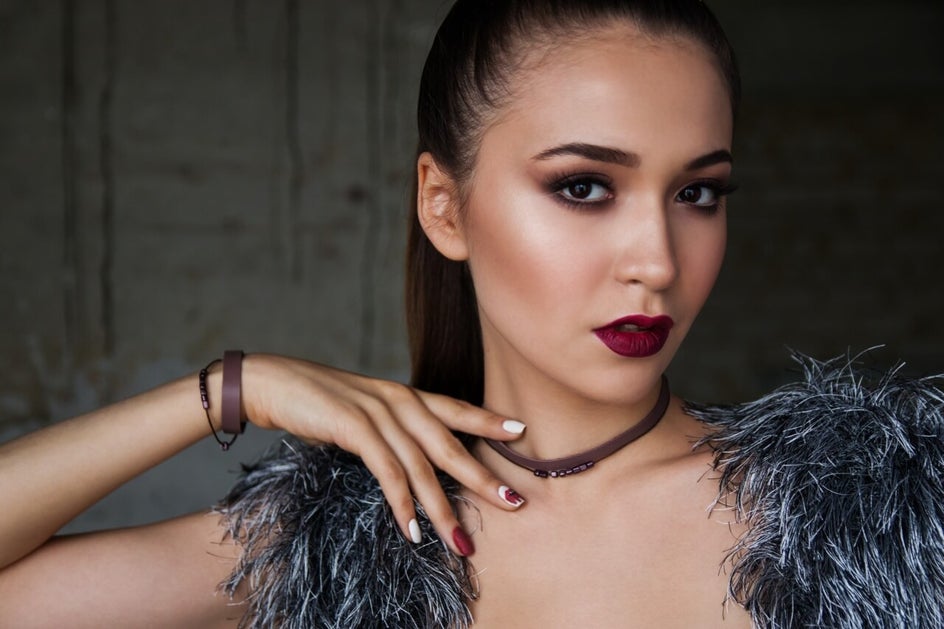
Color Grading
Whether you want to make your own photo filters or merely need to enhance a photo's color, the Color Grading effect is for you. You can apply multiple colors to your image's Shadows, Midtones, and Highlights within the Settings menu to create a completely customized color scheme. You can be as creative or as natural as you like, as the color options are unlimited. As a result, you'll be able to design unique photo filters that no one else has!
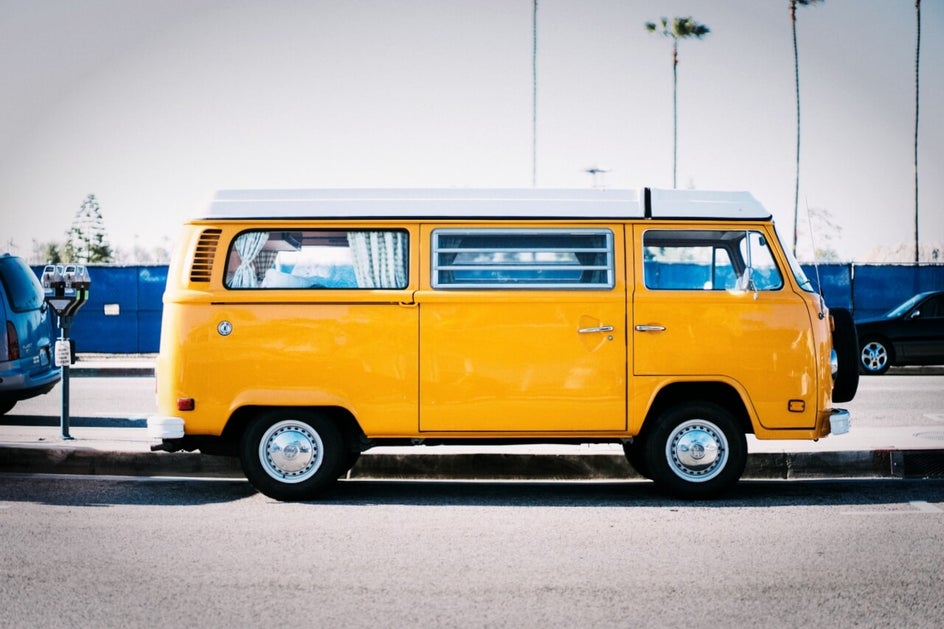
Anamorphic
If you’ve ever wanted to create a Wes Anderson vibe with your photography, the Anamorphic effect is perfect for this. Using the customization options within the Settings menu, the effect lets you stretch your photographs, as well as apply distortion, vignette, and edge blur – all of which are famous Wes Anderson-inspired film effects.
The Anamorphic effect works particularly well with landscape-oriented photographs, so why not utilize the Cinematic crop aspect ratios within the Crop tool? The Cinema 1.825:1 crop is especially perfect for this.

Lens Distortion
The Lens Distortion effect can help your photos in two ways. You can use it to either generate a fisheye effect, which makes it appear as though your image was shot with a fisheye lens, or to fix an unwanted fisheye effect.
All it takes is a single slider adjustment within the Lens Distortion Settings menu and you can ensure you get the camera angle you need.
Warped Blur
The Warped Blur effect is a unique technique of blurring photographs. It provides a similar appearance to crumpling up a piece of cellophane and placing it in front of your camera lens before snapping the photo. Simply put, certain parts of your image will be sharp, while others will be out of focus at random.
The coolest aspect of Warped Blur is that you can decide which sections of your image are sharp and in focus using the Settings menu. You can use the Phase slider to move the blurred portions around your image until they're where you want them, in addition to setting the Blur Amount. The Scale slider can be used to modify the size of the blurred sections, while the Lightness slider can be used to regulate how bright or dark they are.
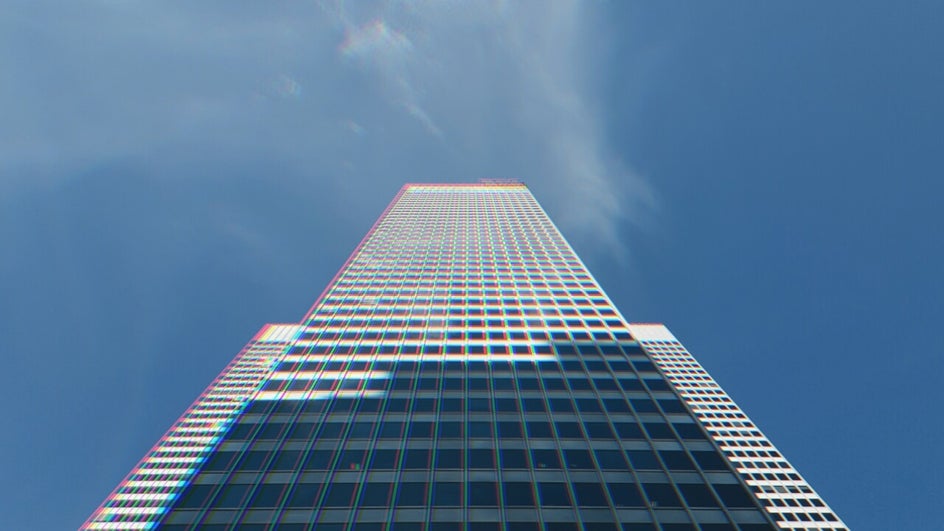
Chromatic Aberration
The Chromatic Aberration effect emulates the way that light waves refract through a lens. In the natural world, light waves are composed of red, green, and blue channels that separate as they refract through a lens. A chromatic aberration occurs when these channels get distorted, causing color fringing around objects.
Although chromatic aberration is considered an error when you’re trying to get crisp, clear photography, we think it can be super artistic, which is why we created the Chromatic Aberration effect. You can use the Settings menu to control how dramatic the effect is, resulting in somewhat of a Holga Art or Motion Color effect made of RGB colors!
Cinematic Photo Filters Worth Celebrating
In addition to making your photos more stunning, the Cinematic effects in our Photo Editor will even correct your colors and camera angles. They’re just an all-around great collection to have in your photo editing toolset.
Ready to create Cinematic photos that’ll turn heads? Head to the Photo Editor to see our unique Cinematic photos feature for yourself!