Create Unique Designs With Image-Filled Shapes and Text
With BeFunky, it’s always been possible to add text to photos, but did you know that opposite is true, too? With our Clipping Mask feature, you can fill any text with the image of your choice.
And in the same way that you can add images to text, the Clipping Mask feature also lets you add images to any graphics. That means you can add a photo within a triangle graphic, a square, or any one of the thousands of graphics and icons we have available.
Masking makes it easy to fill text or graphics with images because there's no need to cut out images to fit complex shapes. It's a quick way to add a little extra flair by utilizing the various design elements on your canvas. Read on and we'll show you how to do it yourself!
How to Use Clipping Masks In BeFunky
Whether you use it for adding photos to text or graphics, the steps are essentially the same. For this tutorial, we're going to use the Clipping Mask feature on some text. Stay with us until the end for some other examples of this in action.
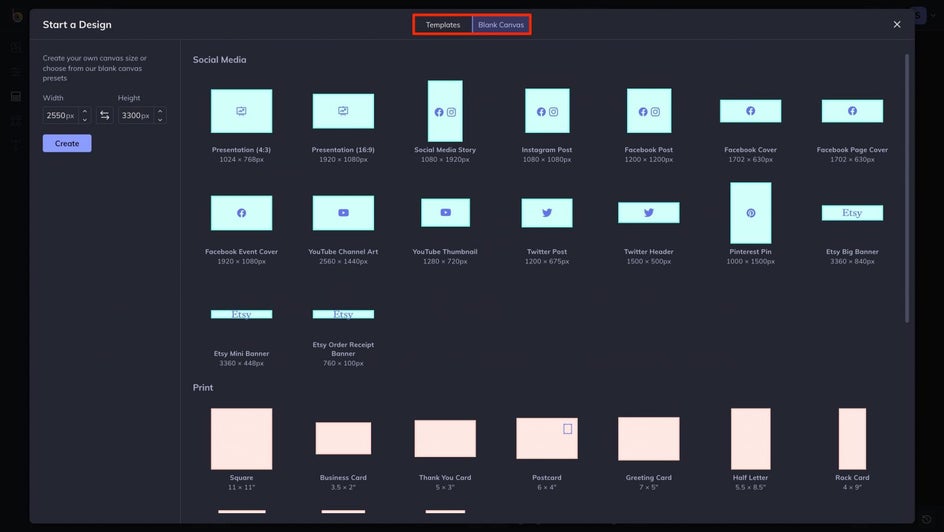
Step 1: Prep Your Canvas
First, head to BeFunky’s Graphic Designer and choose a blank canvas or template. Here, we went with a 4x3 blank canvas.
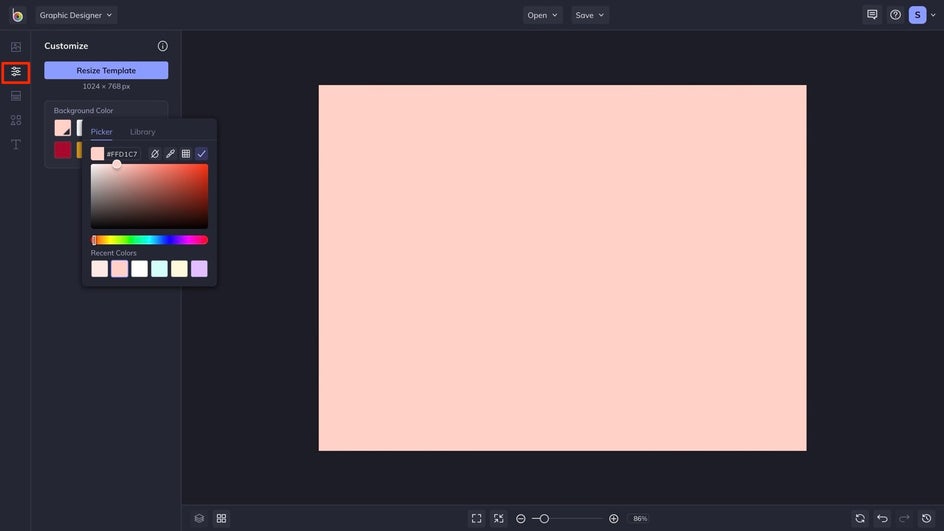
Next, we gave the background a solid color by utilizing the Background Color tool in the Customize tab.
Step 2: Add Your Text
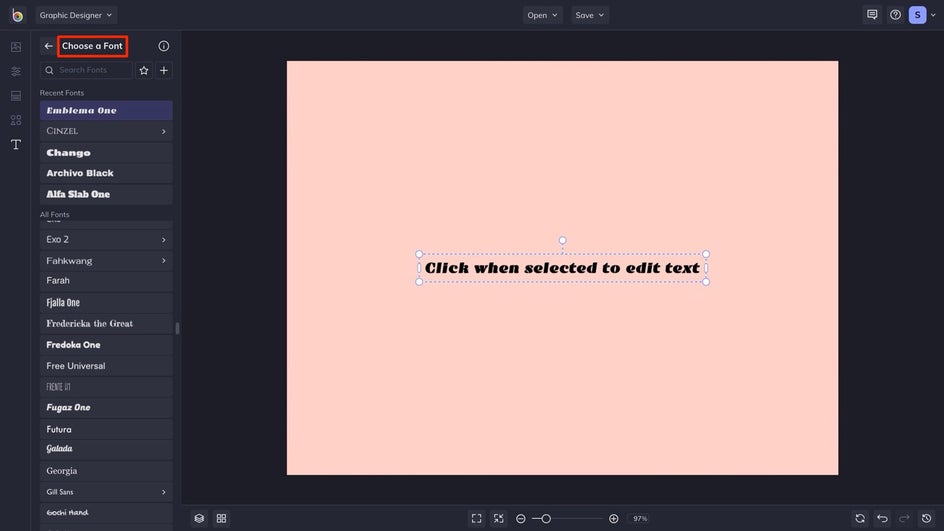
Next, we're going to add some text for our masking designer. Click on the Text tab, followed by the Add Text button.

Select whatever font you want, and start typing!
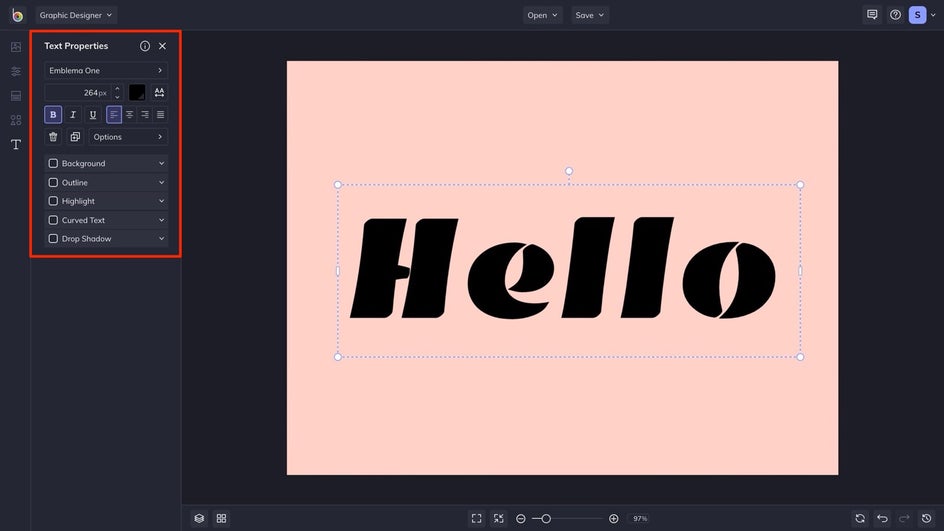
Then, you can use the Text Properties menu that appears to customize the font, letter spacing, font size, and more. Use the white circles in each corner of the textbox to make it bigger or smaller.
Step 3: Clip an Image Mask
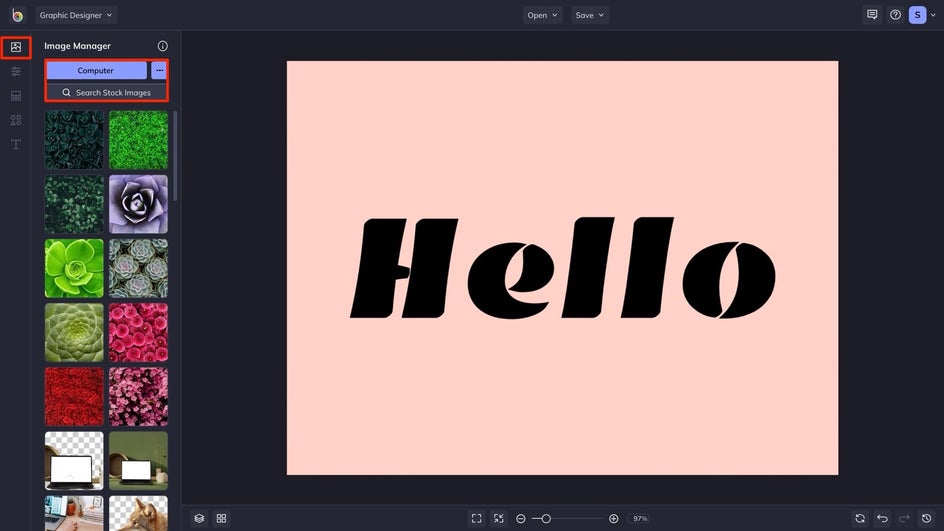
Now for the fun part: adding an image within your text. Click on the Image Manager. From here, you can upload your own image files by clicking the Computer button, clicking the Search Stock Images button, or by dragging and dropping them straight into the Image Manager. Once your images are selected and uploaded, they’ll appear as thumbnails.
Drag and hover an image thumbnail from the Image Manager over your textbox until the text turns blue. Then, drop it to fill the text. Once you do, the Image Properties menu will pop up.
You can continue dragging and dropping until you find the perfect image to use as your clipping mask.
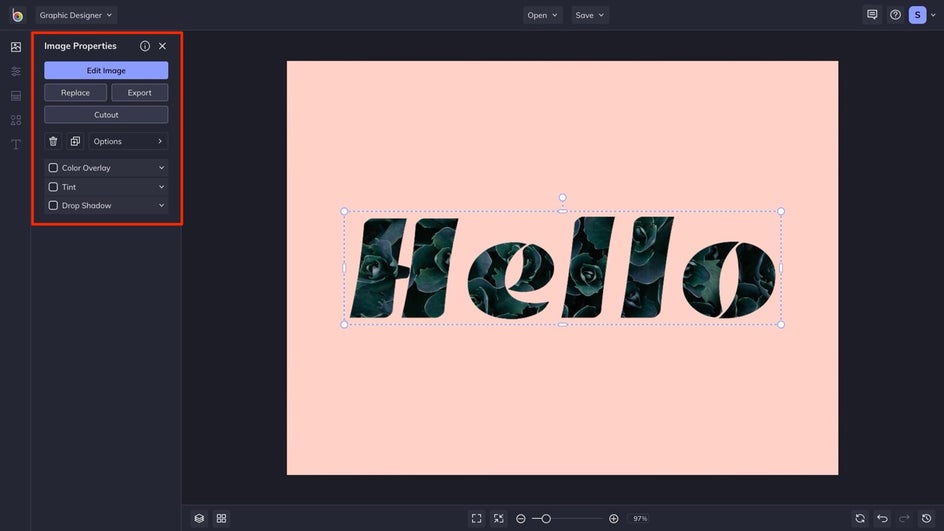
Step 4: Customize It (Optional)
Once the text is masked with an image, you can leave it as-is or customize it further.
Use the Image Properties menu to add a color overlay or tint. To do so, just click the box next to either of those options and choose a new color from the Color Picker that appears. You can also use the Options button in the Image Properties menu, you can change the opacity and orientation of the image.
Pro Tip: You can’t change what the text says after masking it, so be sure your text is free of typos before adding your image.
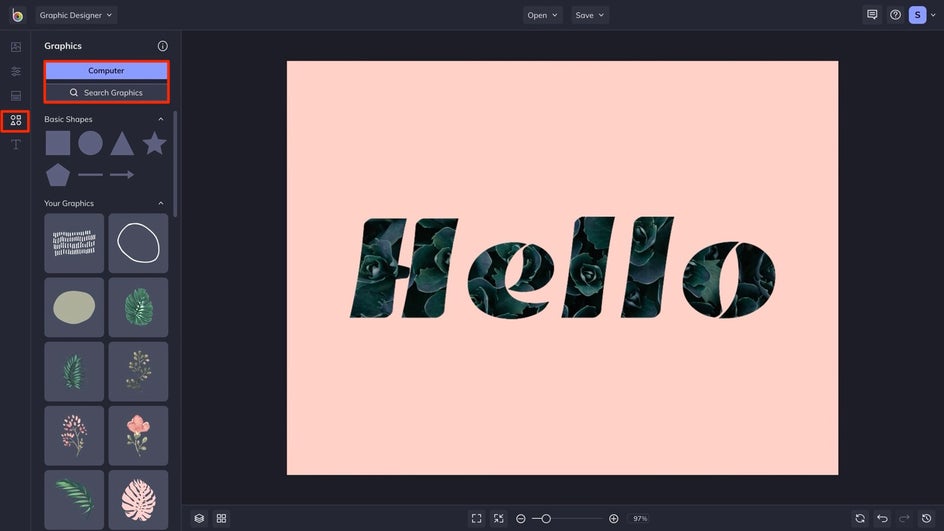
We've also gone and added a graphic to the background of our text by heading to the Graphics tab and selecting one from the Graphic Library.
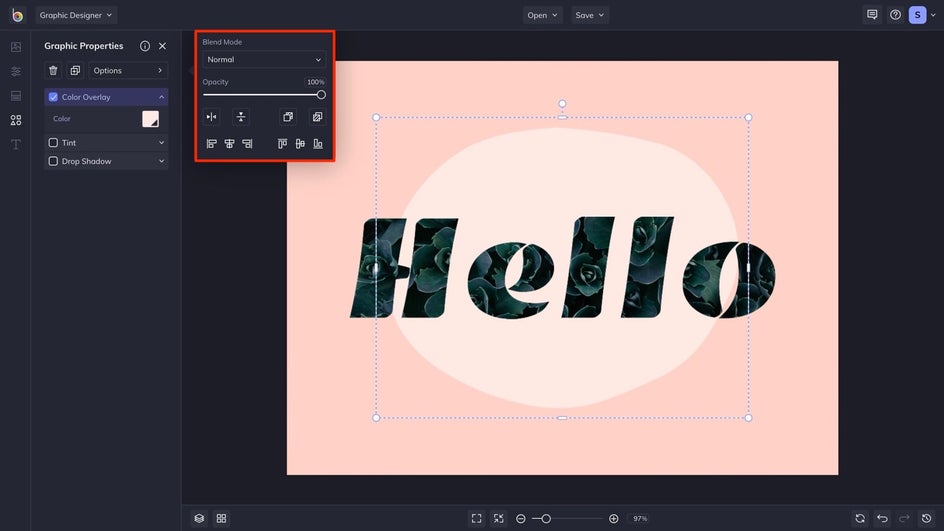
By using the Graphic Properties menu, you can add a tint or drop shadow, control the blend mode or opacity, move graphics in front of or behind other elements, and more.
Step 5: Save Your Design
From here, note that any additional text or graphics you add to your project can be easily masked following the steps above. Once you’re finished, click the Save button at the top of the Photo Editor to save your work.
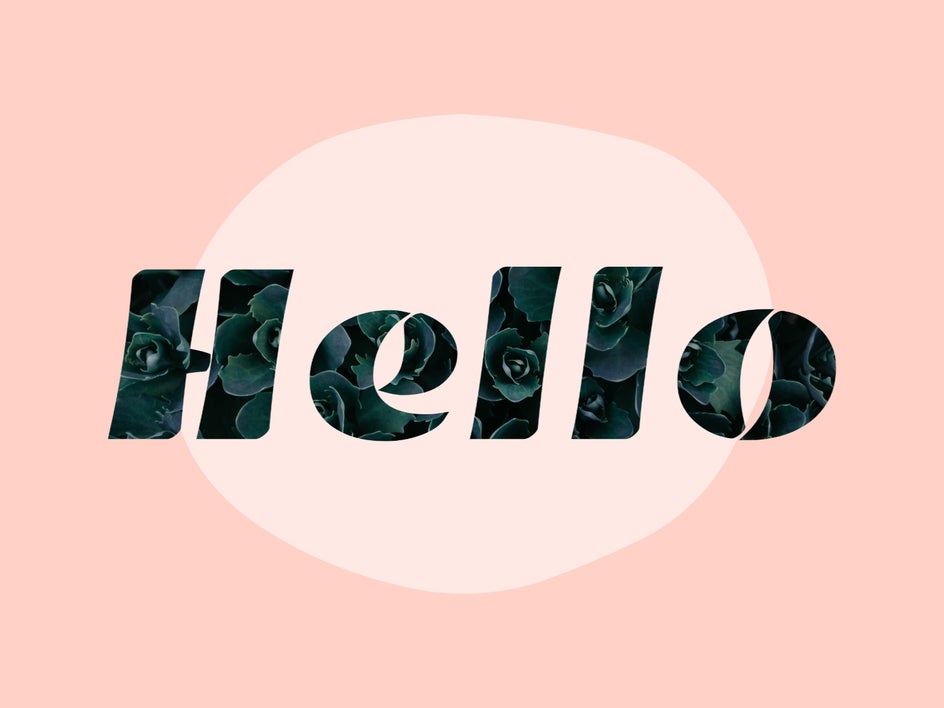
Final Results
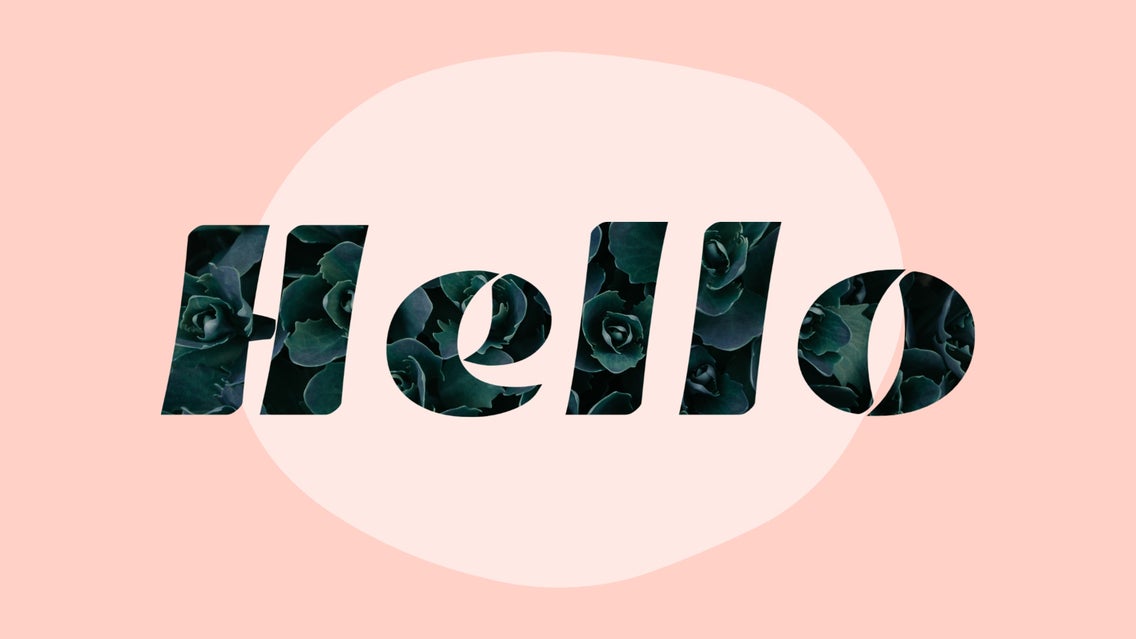
Thanks to our Clipping Mask feature, we've added a pop of color to an otherwise basic design. It's a great way to customize text, graphics, or a mixture of both. Read on for a little more inspiration, and then start creating your own.
Clipping Mask Inspiration
Masking allows you to get creative with your text and graphics and produce design imagery that’s truly unique. Below, we’ve whipped up a few examples of designs you can easily create by masking text and graphics, all with a few simple drag-and-drops.
Text Masking
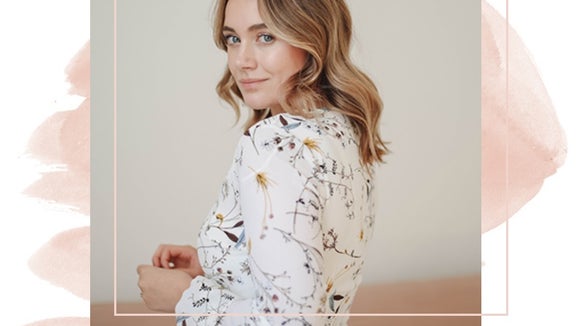
You can add text to photos in any solid color you want, but it’s so much more captivating to add an image as your fill color! Just type anything you want, drag-and-drop your favorite photo into the textbox, and you’re good to go.

This look is perfect for social media imagery, advertising campaigns, website graphics, and other marketing materials. It’ll work in any font you’d like, so whether you have a favorite or you’re sticking to all things on-brand, you’ll find all the customization options you could need.
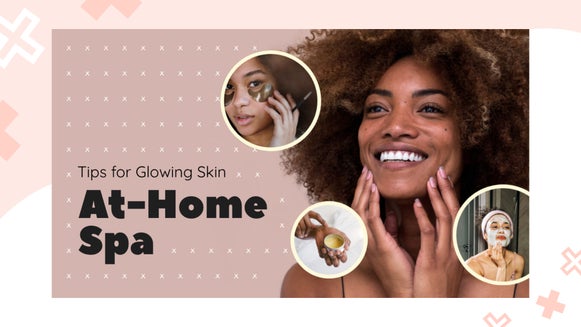
Graphic Masking
When browsing our extensive library, you’re bound to find the ideal graphics and icons no matter what kind of project you’re working on. And since our Clipping Mask feature works with graphics, adding a photo within your design elements is just a drag-and-drop away.

Creating Polyscapes
Polyscapes are a particular style of graphic design that combines the use of geometric shapes and photography. The name means “many scenes." In a Polyscape design, you will see multiple views of varying scenery organized with geometry.

Polyscapes have never been easier to design than with our Clipping Mask feature. Just upload your favorite photo, add some geometric shapes, and drag-and-drop other images into those shapes. They’re perfect for album covers, branding, or social media imagery.