Create a Custom Template With BeFunky
BeFunky’s Graphic Designer has had a variety of templates for nearly every occasion; from social media headers to wedding invitations there has been a template size for it. Now, you can do even more with custom design template sizes!
Skip the hassle of having to resize your designs after you make them and start the process with the size you need. You can enter your height and width specifications to get the perfect size for your project at the beginning, so there is no second-guessing your work.
When to Create Custom Template Sizes
Although the Graphic Designer has templates that are sized to a wide variety of needs, they are not always perfect for every project. Occasionally, you’ll need a smaller canvas to design logos or buttons for your blog, perhaps you'll need a larger canvas to fit a printable design into an oddly-shaped frame for interior decorating. Here are three examples of where the custom size option will come in handy:
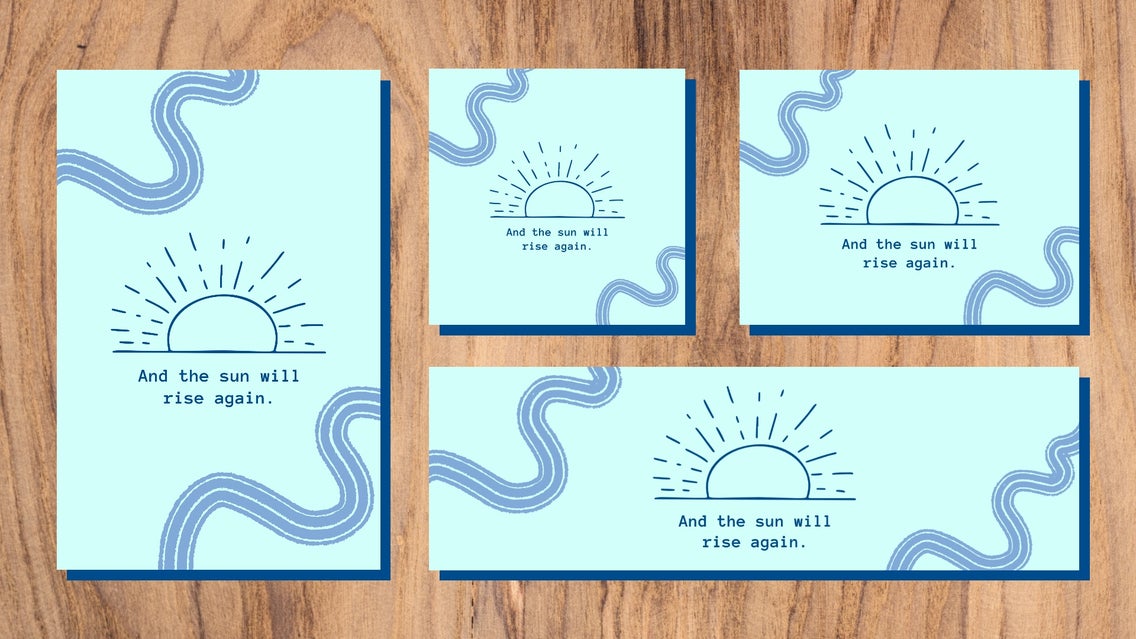
Create Accurately-Sized Printables
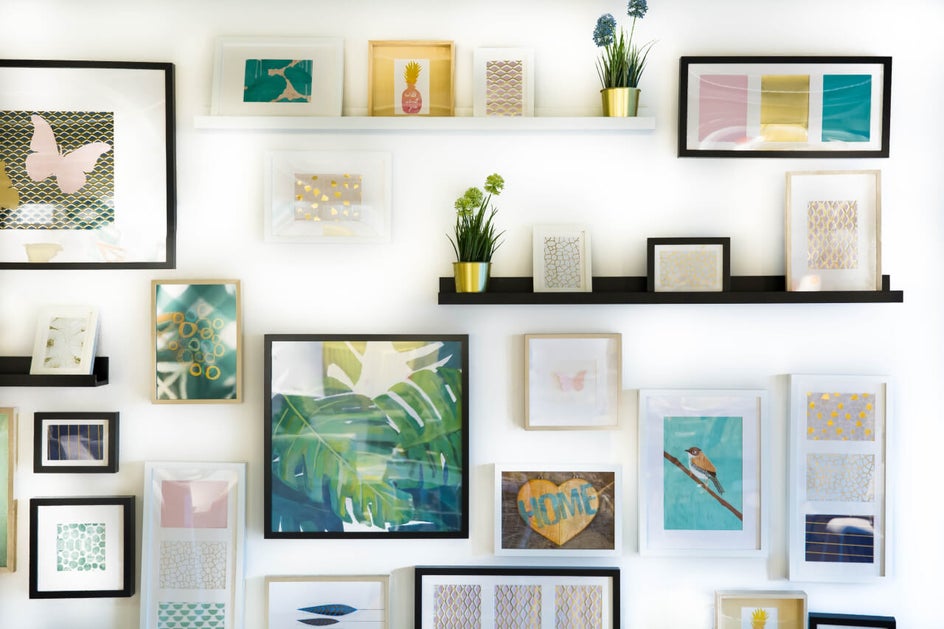
In the Blank Canvas section of the Graphic Designer, you’ll already find a selection of standard print sizes. But what happens if the template size is just shy of the frame size you purchased? You can use the Custom Size option to create any size for what you’re wanting to print. You can use them for that strange size frame you picked up at a flea market or to add some new designs to your Etsy shop.
Get Your Blog Looking Sharp
From starting a new blog to giving your existing blog a makeover, custom sizes are the perfect answer to your design needs. Create designed buttons that are custom sizes or a new page header! Simply find the specifications of your blog theme, type them into the dimensions, and create all the blog assets you need. You can even turn your custom template into a transparent canvas; it’s never been easier to create blog graphics that fit seamlessly wherever you need them to.
DIY Logo Design
A logo is key to a cohesive website and brand, this will help you be instantly recognized whenever you put it on your images as a watermark! With custom sizes, it is easier than ever to create your own logo in the exact size you want it to be! Simply enter your size specifications into the Custom Size menu, set the background to transparent, and get started designing!

How to Create a Custom Template Size
When you have the dimensions in mind for the canvas you want to use, get started by opening the Graphic Designer.
Step 1: Select Your Canvas
Under the Templates tab, select the Blank Canvas tab to open up a large selection of preset templates – here, you'll find the custom size section.
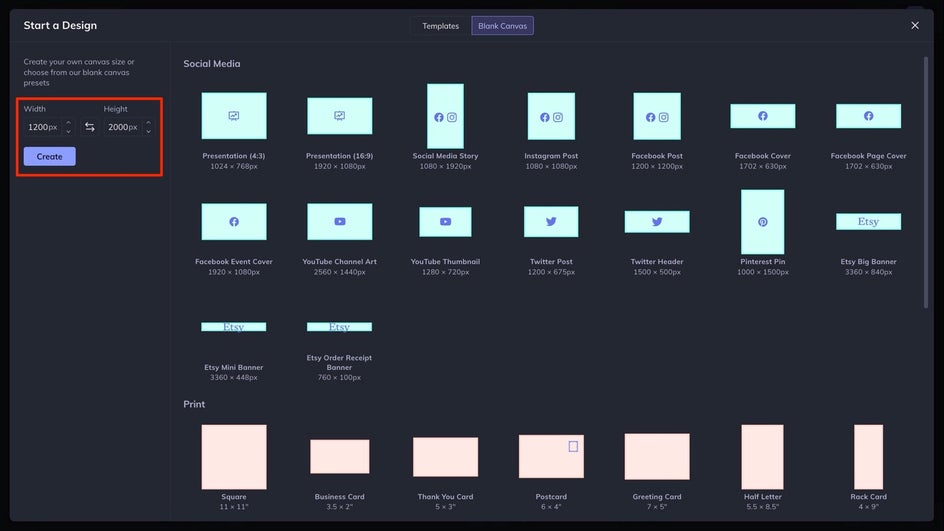
On the left side of the template gallery, you can type your specific dimensions into the Width and Height boxes before clicking the Create button. Then, your perfectly sized template will appear right before your eyes!
Step 2: Start Designing
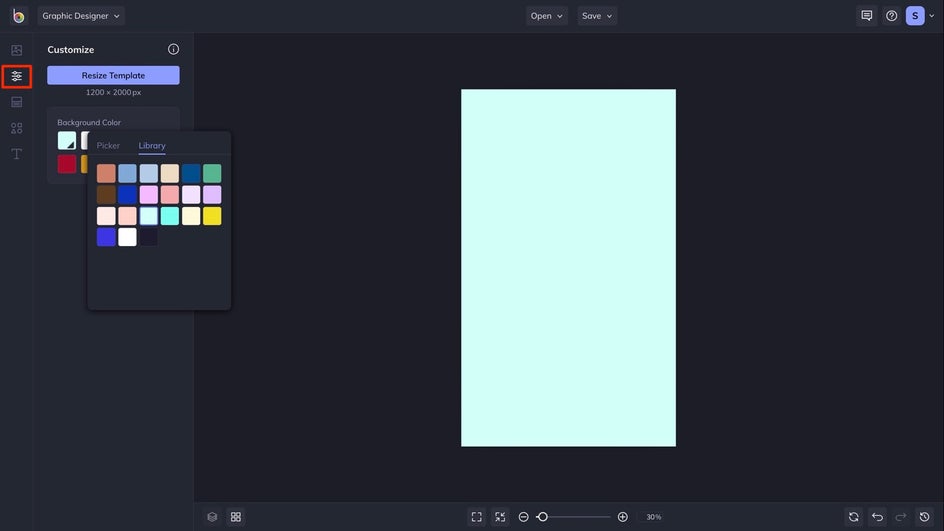
From here, you can add photos using the Image Manager tab or click the Customize tab to change the background color. This will bring up a selection of colors that you have recently used for you to select, but if you click on the first color swatch you can choose a new color for your custom-sized canvas. You can even make the entire template transparent by selecting the No Color button.
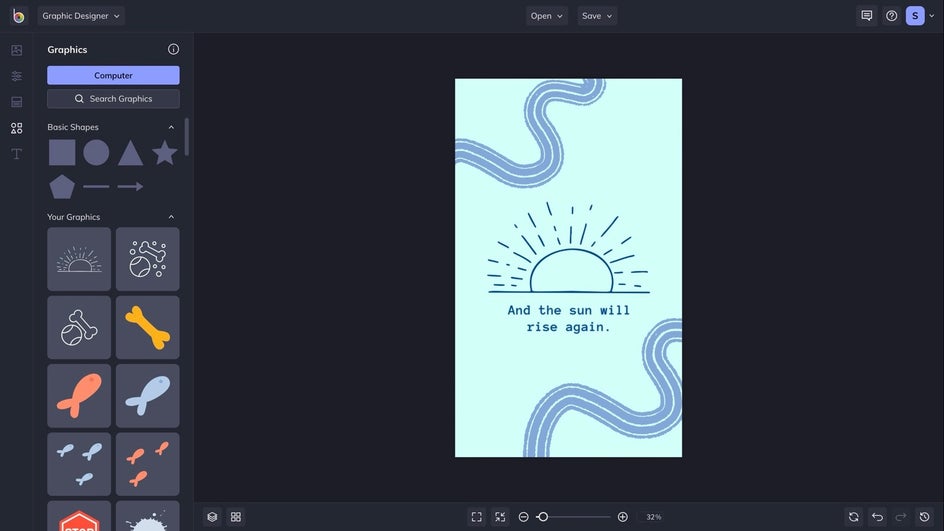
Next, choose what assortment of photos, graphics, and text you want to add to your template. You can create a template with a specific placement of assets for easy info swapping, or keep it simple for less structured customization.
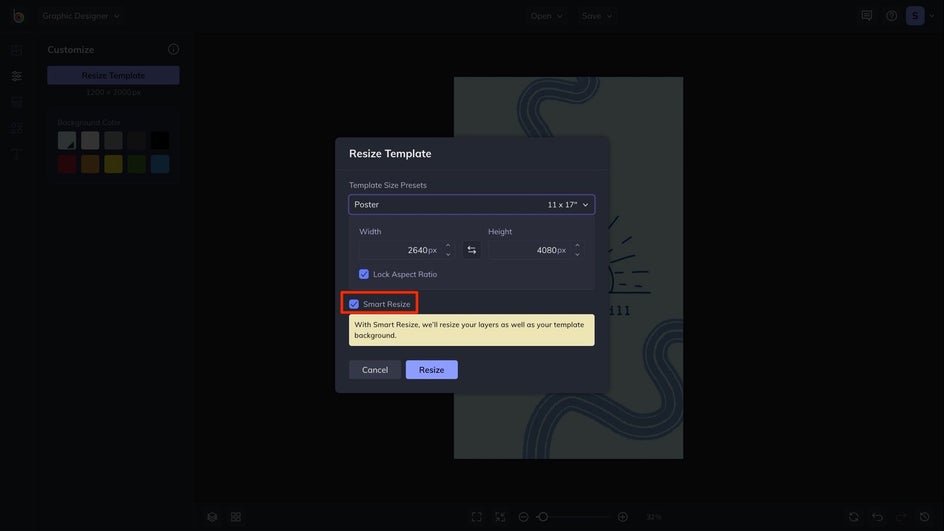
Step 3: Resize Your Template, If Necessary
Once you start designing, you may decide that your template would look better with different dimensions. To make this change, head to the Customize tab and select Resize Template. Using the Freeform option will allow you to enter your specific dimensions, or you can choose one of our presets. Selecting the Smart Resize box will make transitioning your current assets to a new size easier.
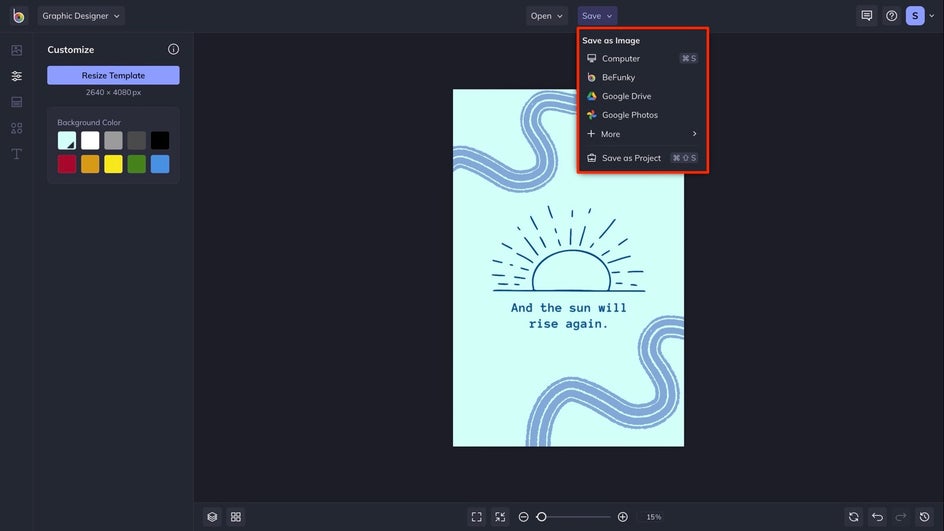
Step 4: Save Your Custom Template
Once your template is complete, click the Save button at the top of your canvas and click Save as Project. This will allow you to customize the template as many times as you want. You can store your template as a project in BeFunky or on your computer.
Create Custom Design Templates With BeFunky
In just a few clicks, you can create your own custom canvas size in BeFunky’s Graphic Designer, and start designing the perfect creation for your home, blog, or logo. Take the guesswork out of sizing, and simply create your own size. The beauty of the BeFunky Graphic Designer and custom sizes is that you can change your mind about size in the middle of your creative process, and not have to resize every graphic and text with the changes! Get started creating today!