How to Cut Out Photos and Replace Backgrounds
If you’ve ever wanted to remove an image background or place a subject against a different backdrop, you’re not alone. In the past, doing this online wasn’t easy. Some have even had to use expensive photo editing software just to make it work.
Thankfully, BeFunky’s easy-to-use Cutout and Background Remover tools are changing the game. They offer a fast and simple way to cut out an object or person from a photo, allowing you to create a transparent background or switch up the backdrop entirely.
Keep reading to learn how you can make use of these incredible tools in our Photo Editor!
BeFunky's Cutout and Background Remover Tools
Ever wanted to step up your selfie game and transport yourself from a boring bathroom to a tropical paradise? Or perhaps you want a plain background for your professional portrait? It doesn’t matter what look you’re trying to achieve; our photo editing tools will let you combine layers to create completely new images.
The Cutout tool lets you isolate the photo’s subject using an erase brush. This gives you full control over how much or how little of the background is erased. The Background Remover tool, on the other hand, automatically recognizes the main subject of the photo and isolates it from the background in a single click.
Keep reading to learn how you can use each tool with ease!
How to Cut Out an Image Using the Cutout Tool
With our Cutout Tool, you can place yourself in any photo setting imaginable! Ready to try it on your own images? Simply head to the Photo Editor to get started.
Step 1: Choose Your Images
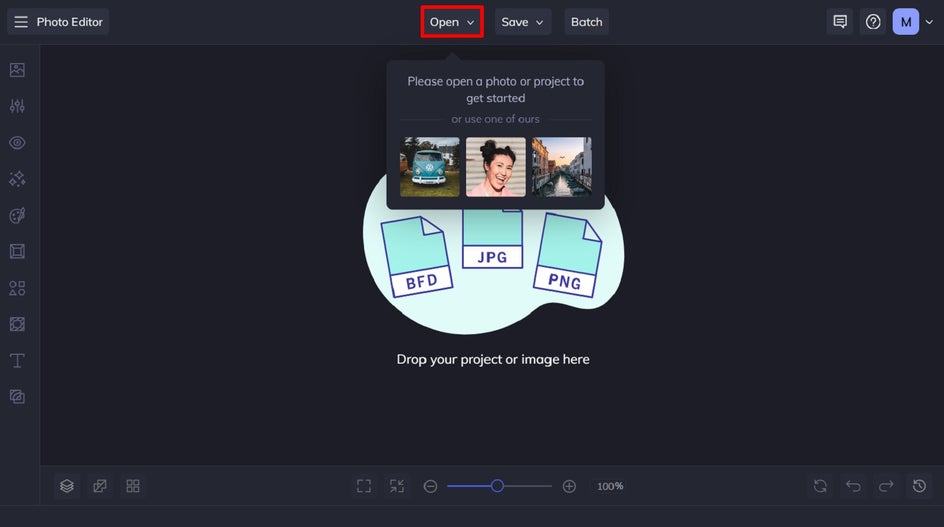
First, upload the photo you’d like to use as your background image. Then, click the Image Manager tab on the left, followed by Computer, to upload the image you’d like to place on top of the background image. Alternatively, you can click the … button to open an image from your BeFunky account, Facebook, or Google Photos.

If you don’t already have an image in mind, you can also use the Search Stock Photos button to access over a million free stock photos.
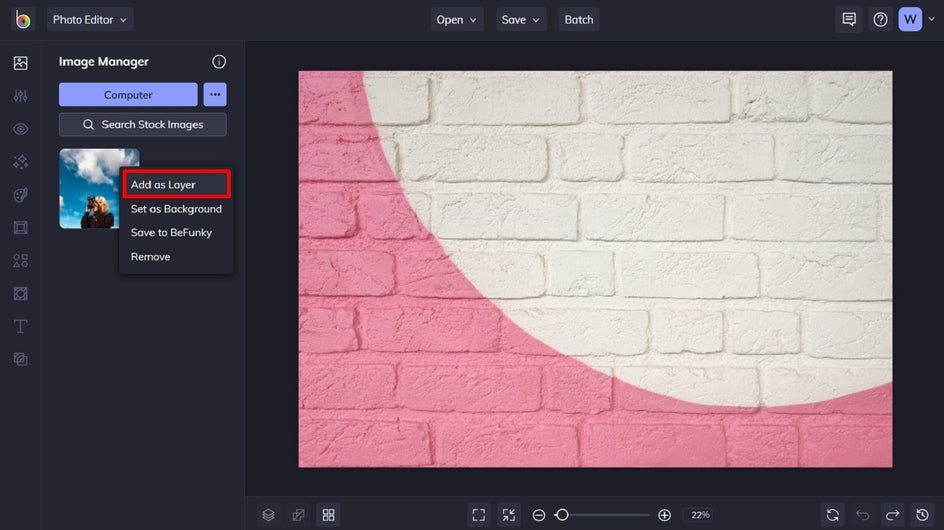
Step 2: Add as a Layer
With your background image on the canvas, click on the thumbnail of the image you’d like to add on top and select Add as Layer. This thumbnail should be located in the Image Manager.
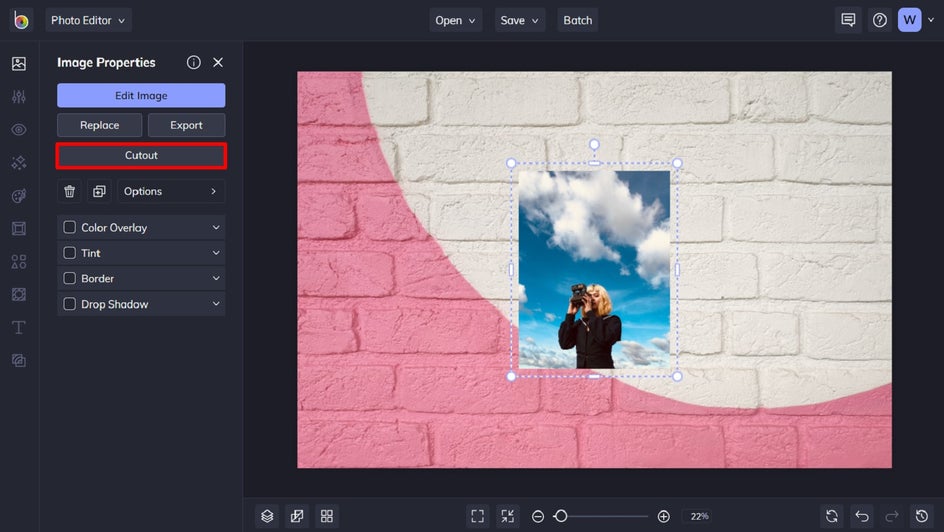
Step 3: Cut Out Your Subject
Click on your top layer image, then select Cutout from the Image Properties menu that appears.
From the Cutout menu, select a brush option that will work best for cutting out your object. We’ve gone with Magic Brush for this one, as it makes it easier to trace complicated subjects. Make sure the Remove button is clicked. Selecting Remove will remove any area you paint over, while selecting Keep will keep the areas you paint over. Drag the brush around your object to begin erasing the background from the image layer.
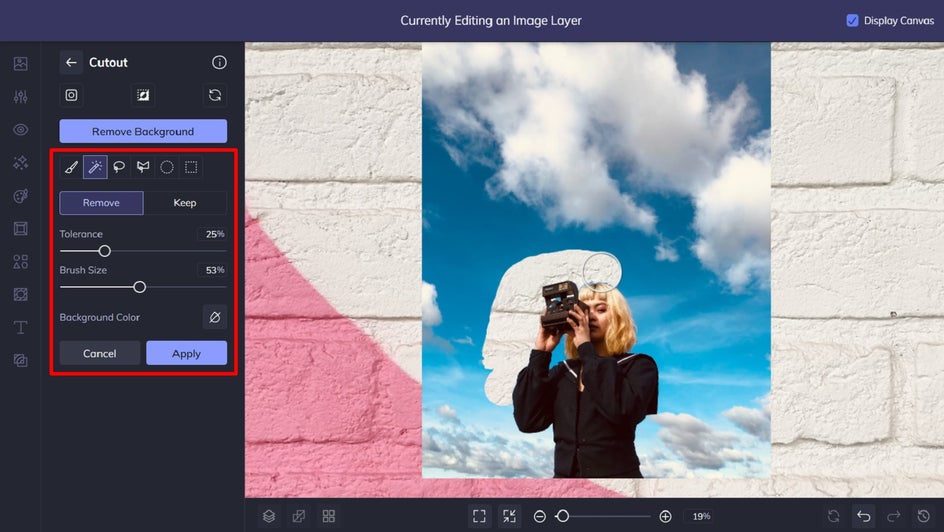
Pro Tip: If you accidentally erase an area you didn’t want to, press the Keep button and paint over the area to add it back in, or simply hit Undo.
Step 4: Export as Layer
Now that you have removed the background of your image layer, click the blue checkmark to apply the edit. A new menu will appear to help you save your Cutout layer. Select Trim Transparency to remove any extra areas of transparency from around your isolated object, if you wish. You can also select Export as Layer to add your cutout as a new layer and keep the original image layer intact. Click the blue checkmark to navigate back to the canvas with your new layer created.

Step 5: Resize and Rearrange Your Image Layer
Now that the background of your image layer has been completely erased, you can use the blue circles around it to resize and rotate the layer. Simply drag it into position against the background photo until it’s perfectly placed.
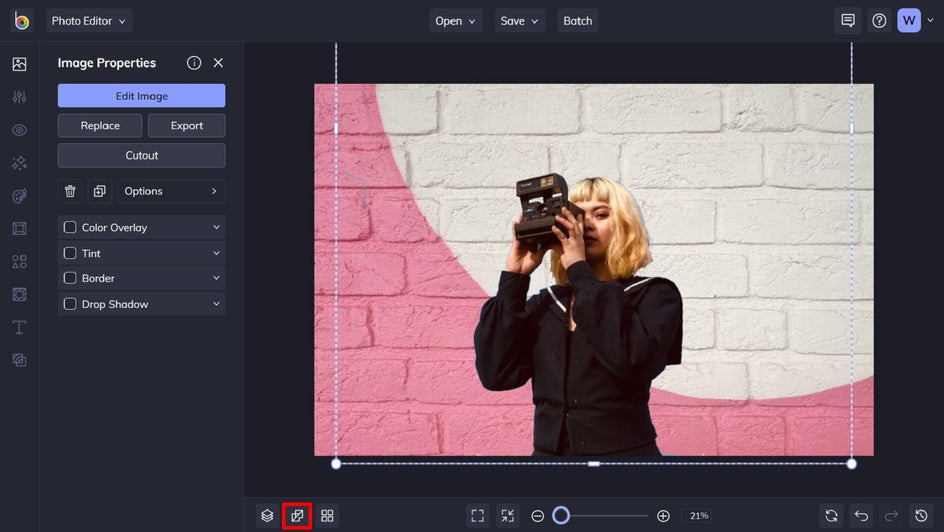
You can also click the Flatten Layers button (located at the bottom of the screen) to “glue” the image layer down onto the background photo and continue your photo editing session if you’d like.
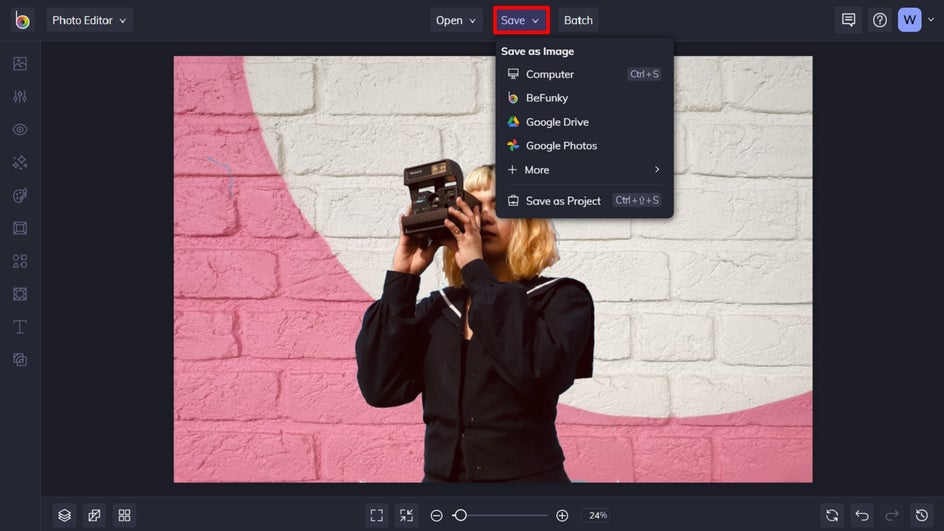
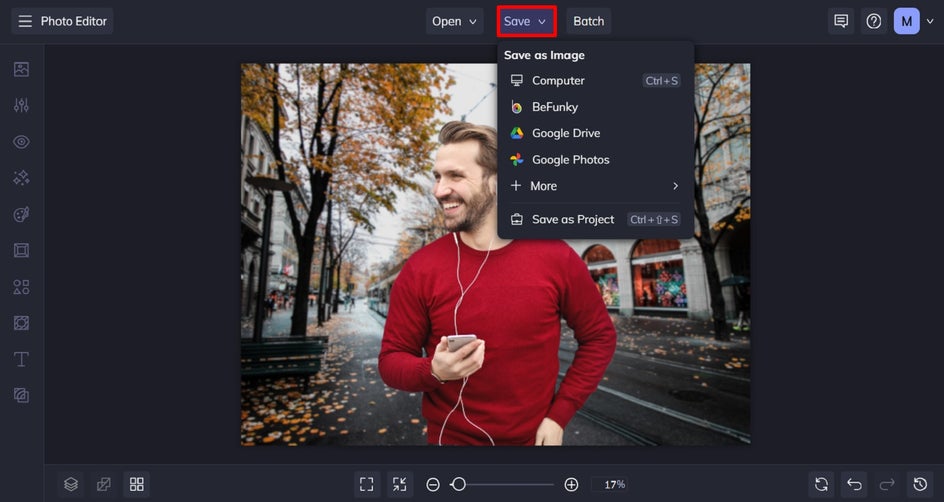
Step 6: Save Your New Image
click the Save button at the top of the Photo Editor and select your preferred save location.
Final Results
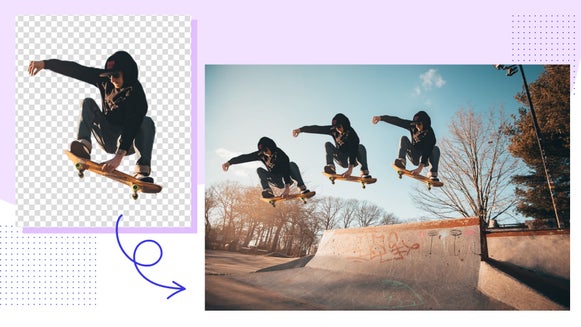
Using the Cutout tool is like creating a portal to a whole new world! Next, we'll do the same thing using the Background Remover tool.


How to Cut Out an Image Using the Background Remover Tool
The Background Remover is another great option for removing the background from an image online. Again, this can be achieved in the Photo Editor. Head there, then open the image you wish to cut out to begin.
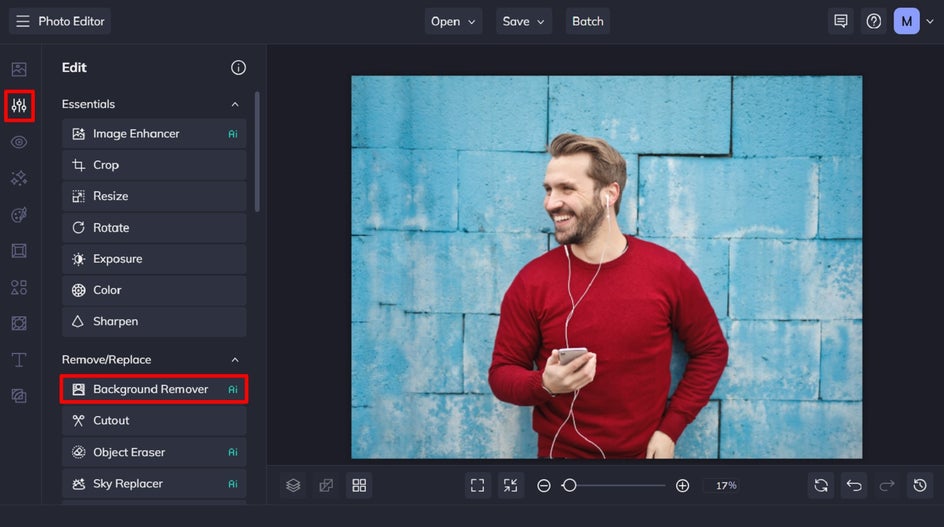
Step 1: Locate the Background Remover
Once you’ve chosen and uploaded the photo whose background you want to remove, it’s time to use the Background Remover tool. To locate it, navigate to the Edit tab. You’ll find the Background Remover in the Remove/Replace category.
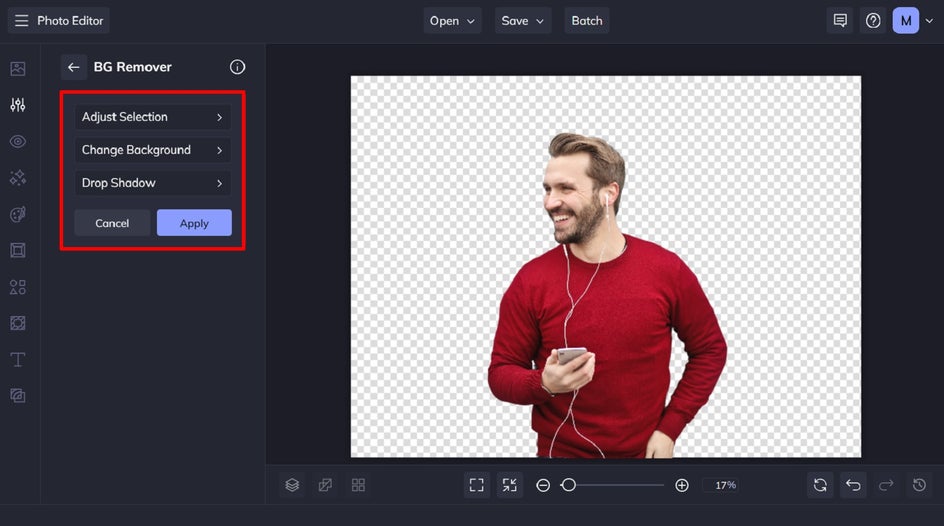
Step 2: Remove the Image’s Background
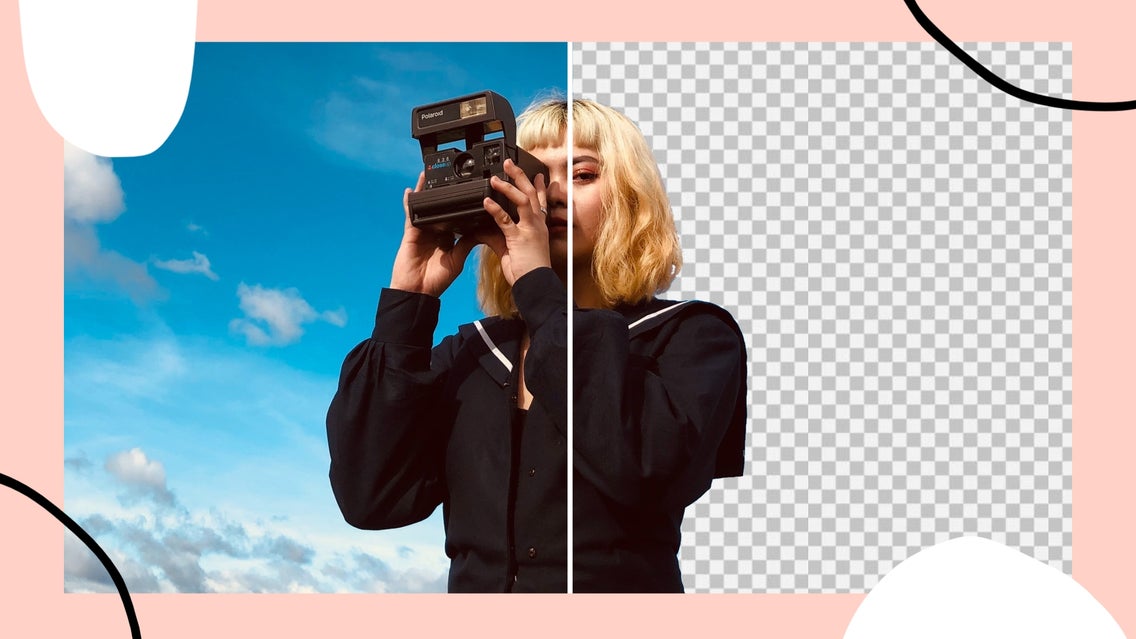
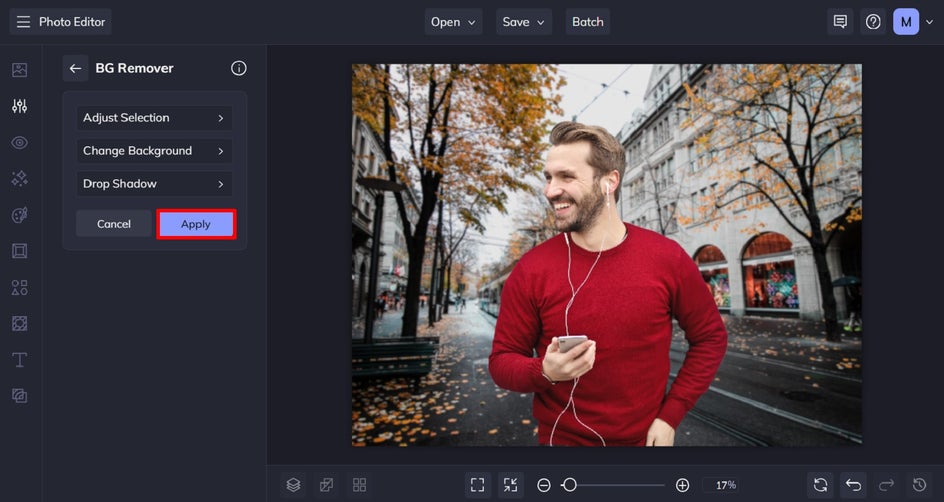
When you access the Background Remover tool, your image’s background will automatically be removed to display a transparent background. If you don’t need to adjust your image’s background any further, just click Apply.
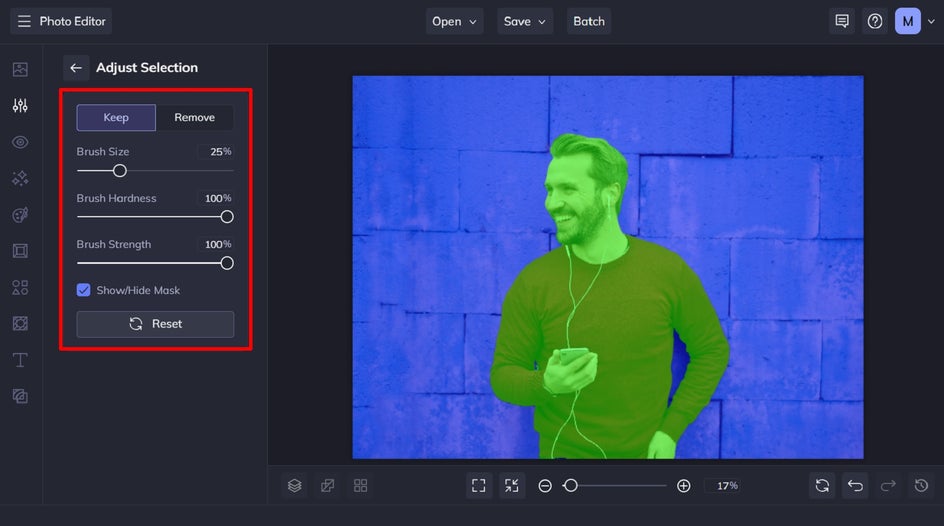
If you’d like to modify the part of your image that has been removed, click on Adjust Selection. By default, a green overlay will mask your subject selection. To hide this overlay, uncheck the Show/Hide Mask box.
When adjusting your selection, you can toggle between the Keep or Remove buttons based on your needs. “Keep” will keep the parts of the image you select, while “Remove” will erase selections from your new image. Click and drag your cursor to make these adjustments. You can even alter the Brush Size, Brush Hardness, and Brush Strength by adjusting their corresponding sliders.
Step 3: Add In Your New Background
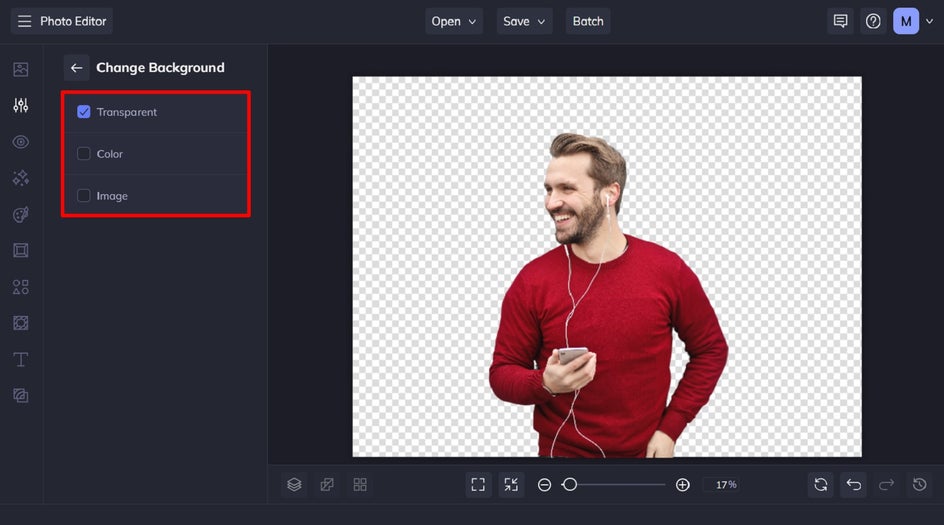
Next, select the Change Background menu to choose a new background for your subject, if you desire.

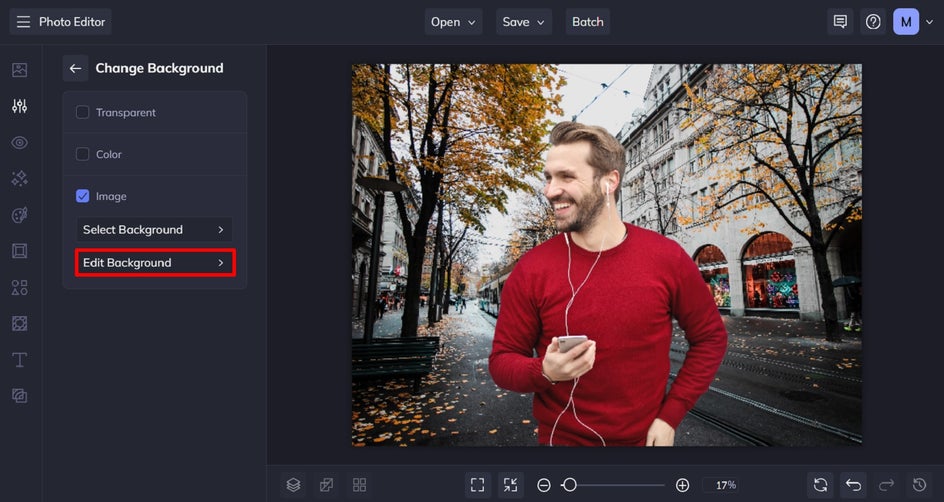
Within this menu, you’ll have three options: transparent, color, or image. Transparent is the default setting, but you can also check Color to place your subject on a colored background or you can check Image to place your subject on a photo background – either from our stock image library or a photo from your own files.
For this tutorial, we’ll be placing our cutout subject on an image background.
When you select Image, you can access the Select Background menu. From here, you can choose from our selection of curated backgrounds or click Computer to upload one of your own files. Alternatively, clicking Stock Images lets you select a background from our huge library of free stock images.
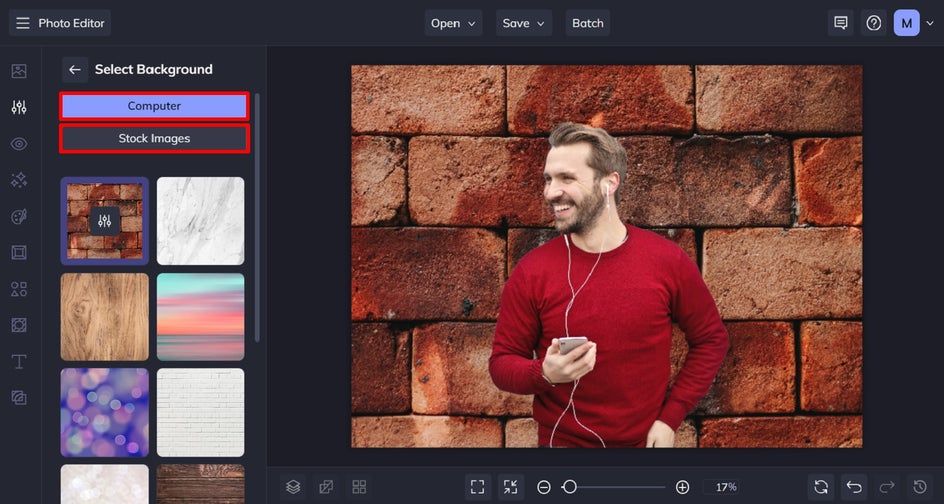
You can even use the search bar in the top-left to search for the specific background you have in mind. Then, select the background(s) with your cursor that you wish to use.

Step 4: Edit Your Background (Optional)
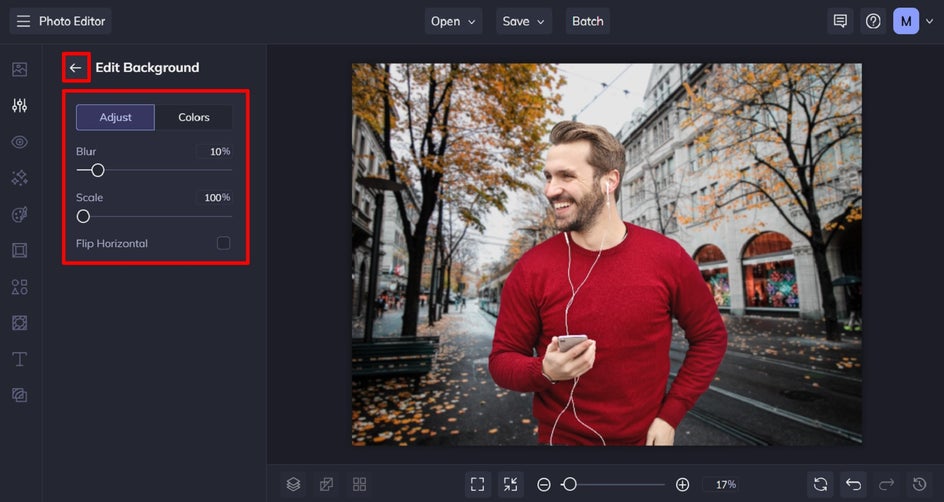
Want to edit your new background? Just click Edit Background within the Change Background menu.
In this example, we’re adding some blur to create a greater depth of field.
Once you’re happy with your new background selection, use the back arrows to navigate to the main Background Remover menu, where you can click Apply.
Step 5: Save Your New Background Image
Finally, all that’s left to do is to save your new image. Click Save at the top of the screen, then select your desired save location.
Final Results Using the Background Remover Tool
As you can see, our A.I.-powered tool does all of the hard work for you in just a few clicks!