Day Of The Dead Skull Makeup Tutorial
While Halloween is a holiday celebrated far and wide across America, Dia De Los Muertos, aka "The Day of the Dead", is a Mexican holiday celebrated on November 1st and 2nd to honor and pay respects to family members who have passed.
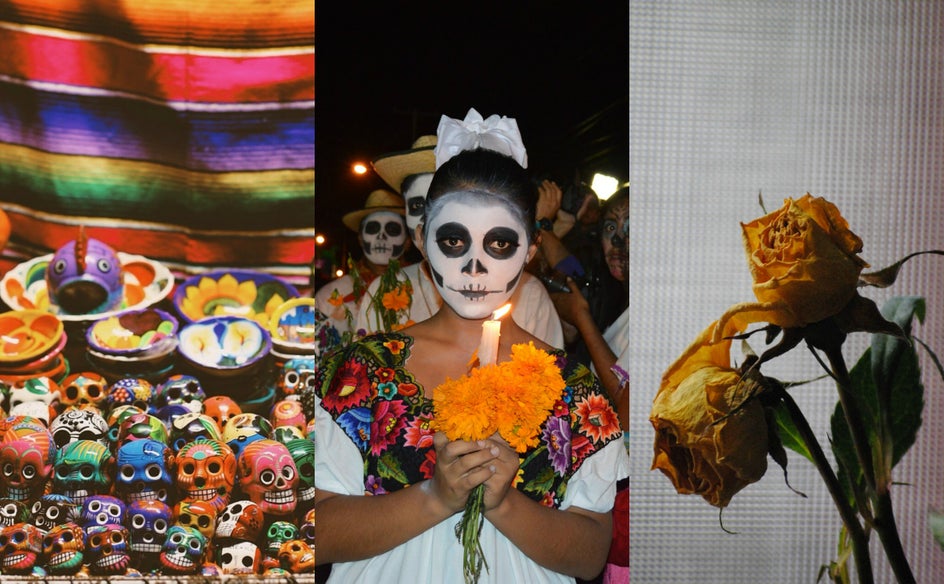
Many seek out to honor those who have died by building small altars and decorating them with revered items like crosses, candles, flowers and colorful skulls, as the celebration is not only meant to honor the dead but to celebrate the life of the deceased as well. The most familiar symbol of the festival, however, are its calacas and calaveras (skeletons and skulls), which, in turn, inspired the "Sugar Skull" look we've all come to know and adore.
With Halloween and Dia de los Muertos (Day of the Dead) coming up, today we're going to show you how to create a sugar skull makeup look perfect for beginners. Now's the time to let your creativity flow and have fun with your looks! Thanks to Befunky's Collage Maker, you can follow the step by step pictorial to achieve this look in no time. Keep reading for the steps!
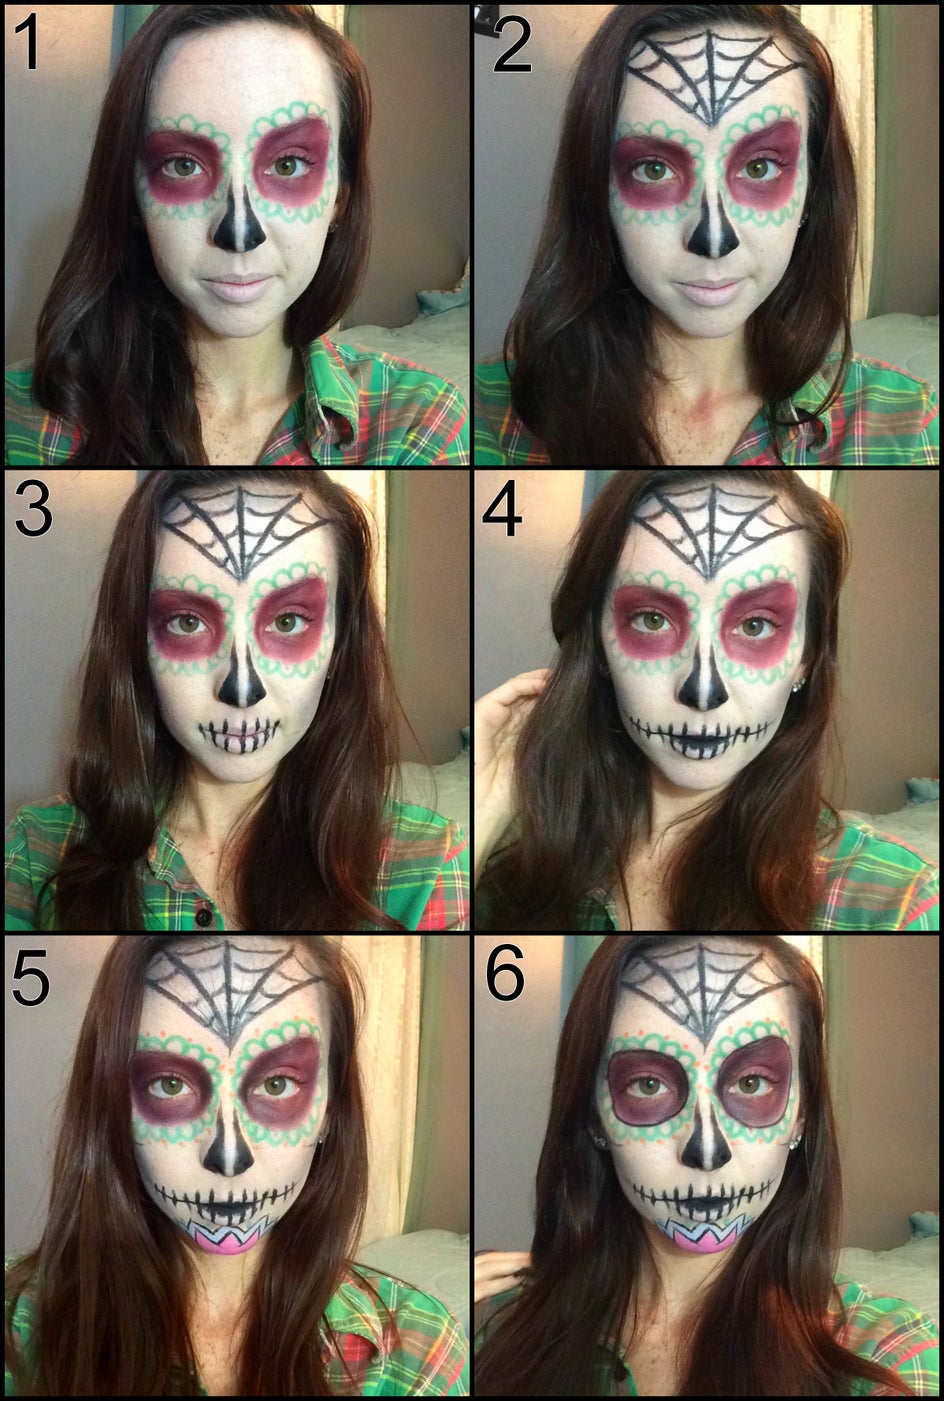
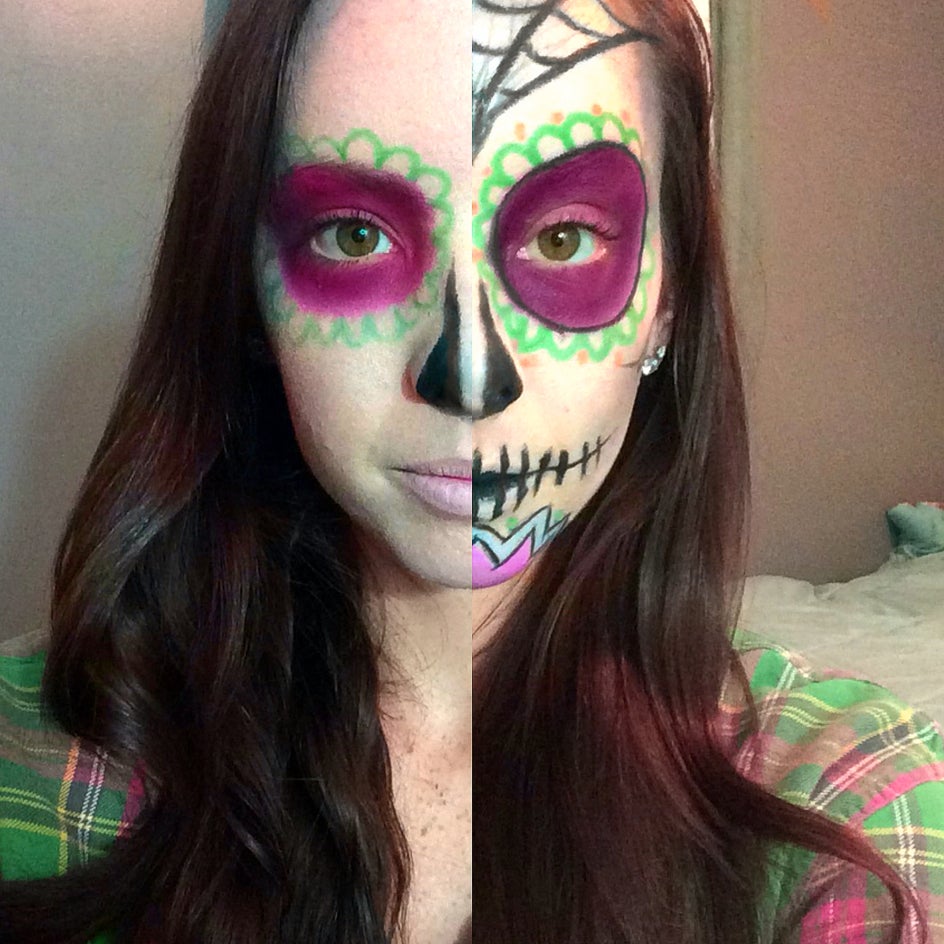
- Using a white paint, cover your entire face and lips in a thin layer. Add a burgundy eye shadow in large circles around the eyes, and smaller circles with green paint surrounding each one. Create the skeletal look by adding black in a triangle shape to either side of your nose.
- Using a black paint, create a spider web in the center of the forehead. Simply add five vertical lines and connect them all with horizontal lines.
- For the mouth, add short vertical lines with black on the lips. You want to give the illusion of teeth here.
- Continue your vertical lines on both sides of the mouth and add one long horizontal line through the entire mouth. Use black eye shadow to contour your cheek bones and forehead for a sunken in look.
- For the design on the chin, take a blue and pink face paint and create any desired look. Next, outline your design in black to make it pop. You can also add tiny black lines throughout your spiderweb design to make it appear more realistic. Then, embellish your eyes even further by adding orange dots around the green circles.
- To finish off the look, add black eye shadow as shading inside the burgundy color to make your eyes appear more sunken in. Outline the burgundy shade in a black border and you're done!
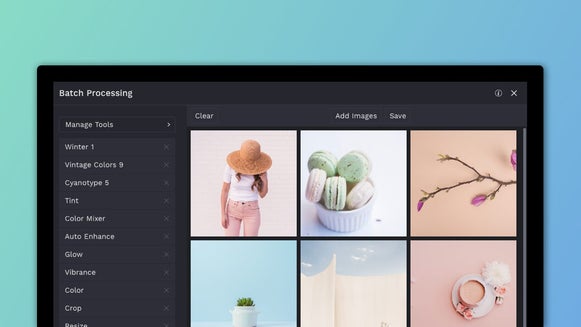
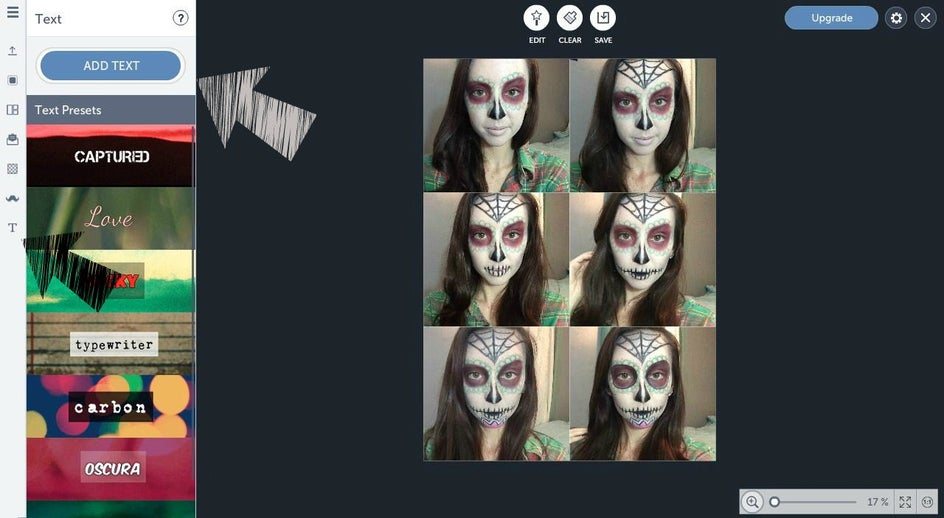
Befunky makes it super easy to put together your own tutorial using their Collage Maker! Here's how.
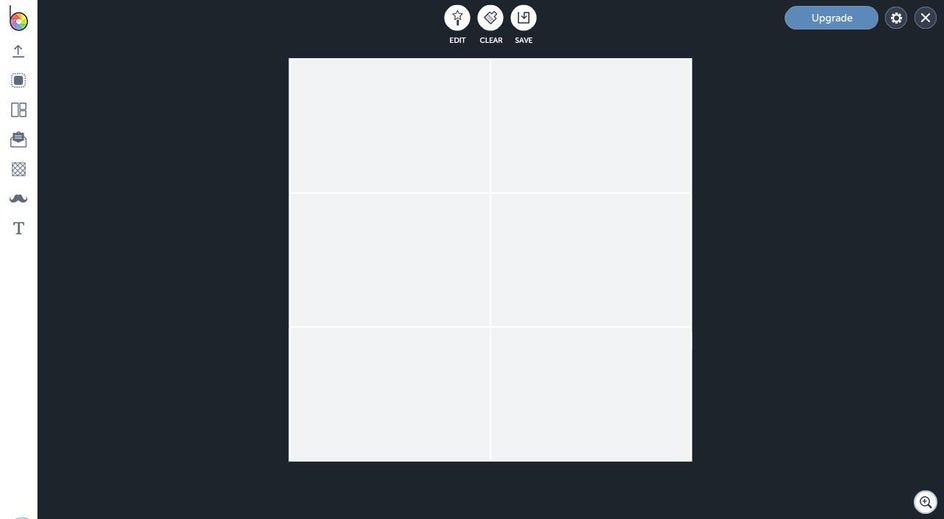
Once you've chosen the collage maker, you can customize your tiles to the specific number and size you want for your photos. In my case, I needed six tiles with three rows of two.
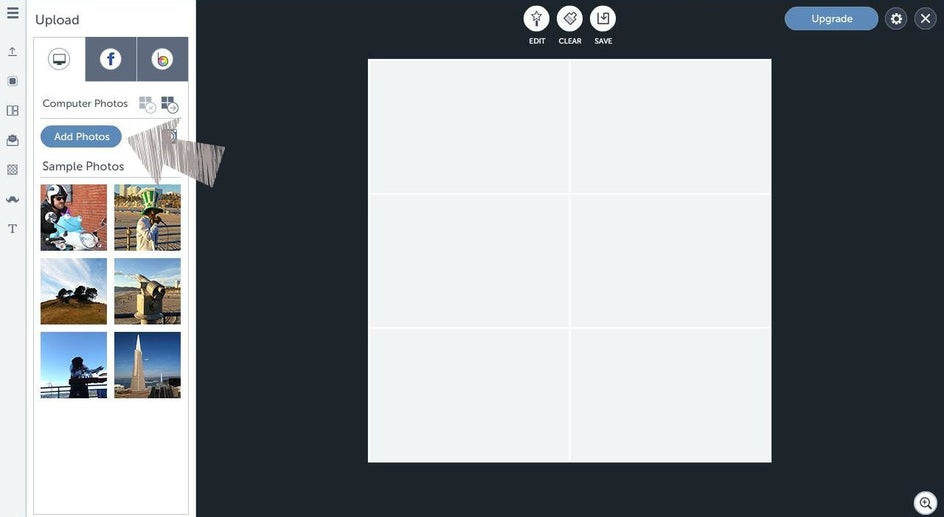
Now you can take your pick of sample photos, or upload your own to add.
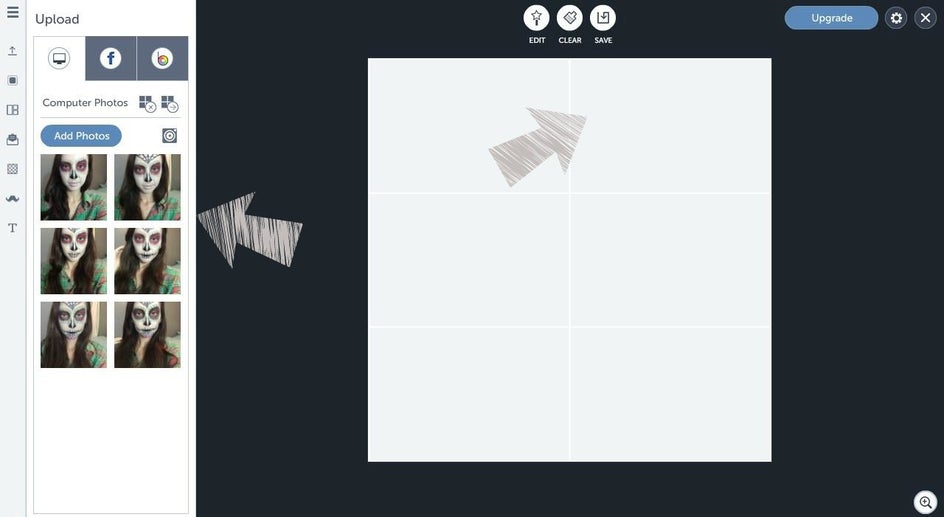
Once you have all of your photos selected, simply drag each photo to the exact tile you want.
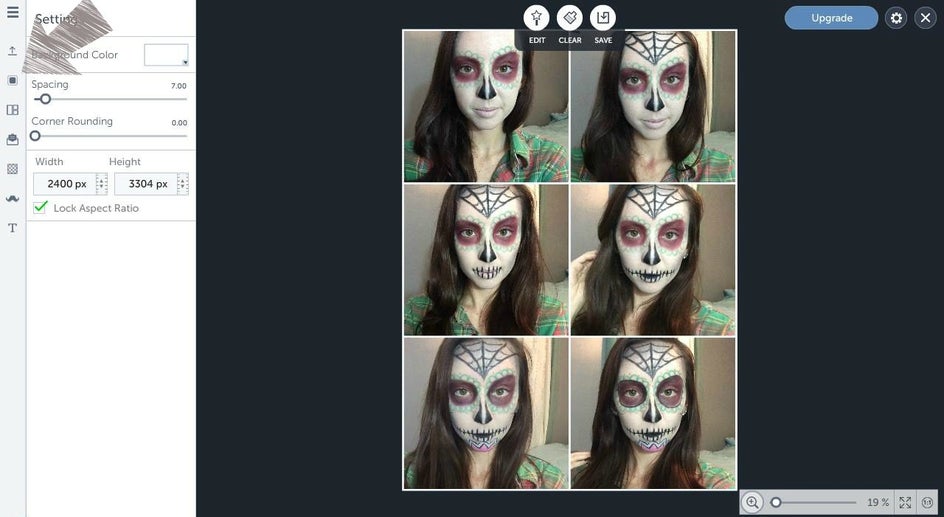
I then like to go in and adjust the border around each photo. I want mine to be almost completely gone, but you can adjust it to your liking.

I simply reduced the spacing of my border to zero so the pictures blend together.
Now it's time to number your tiles! You can click "Add Text" and choose what font you'd like your numbers to be.
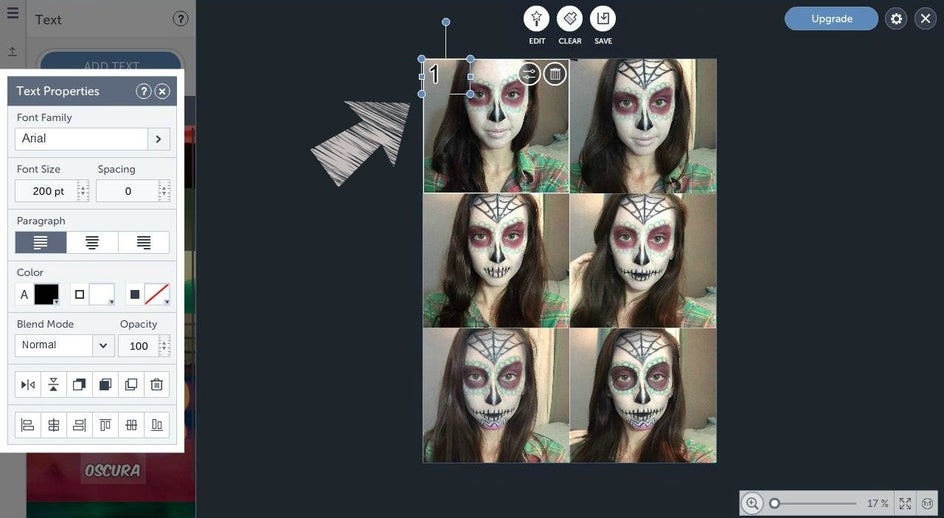
Lastly, all you have to do is adjust the size and color to your liking, and place in the corner of the tiles. Now you're done!
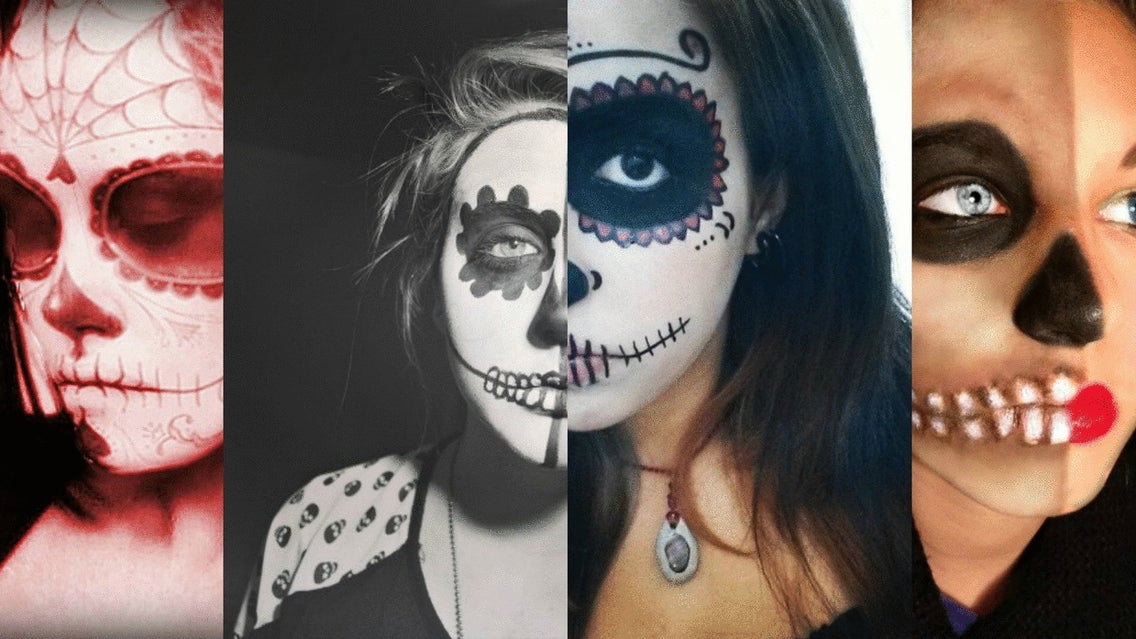
Let's see some of those awesome creations today!