DIY Birthday Cards They’ll Cherish Forever

Got a loved one’s birthday coming up on your calendar? Before you rush down to your nearest store to buy them a card, think about this: is a store-bought card as personal and thoughtful as a card you’ve made yourself? We didn’t think so.
If you really want to show someone they’re special, taking the time to make them something that makes them feel known is key. Luckily, BeFunky’s Graphic Designer birthday card templates can help you make the most perfect birthday card in just a few minutes! Keep reading to find out how.
How to Design DIY Birthday Cards
Designing a birthday card with BeFunky’s templates is easy and fun. It also gives you the freedom to personalize the card to your loved one. Send them a message of love and support by customizing a birthday card to their unique style. Here’s how to get started.
Step 1: Choose a Template
To get started, go to BeFunky’s Graphic Designer. Within the Events and Cards menu is a section labeled Birthdays. Click into this category. Here you’ll see a huge variety of templates to choose from. Keep in mind that you can fully customize whichever version you choose. Select a template that is modest and simple or get creative with a photo collage.
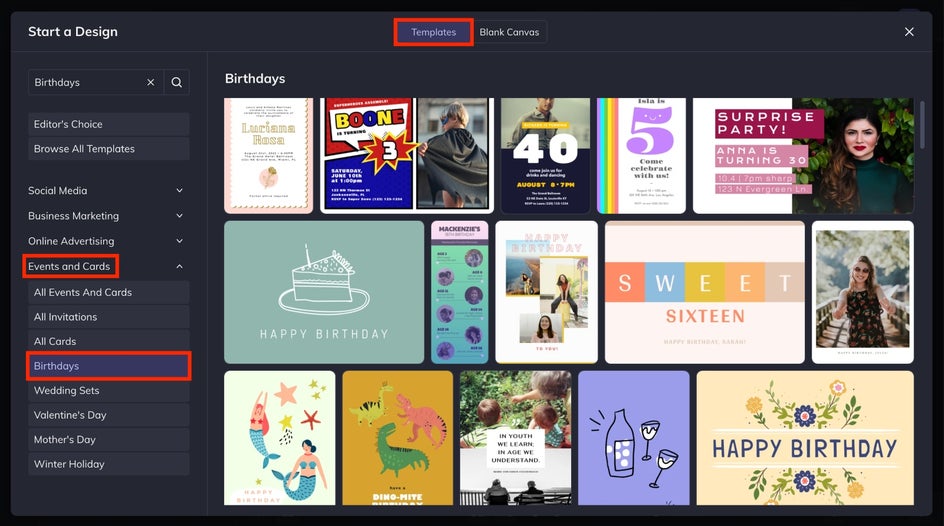
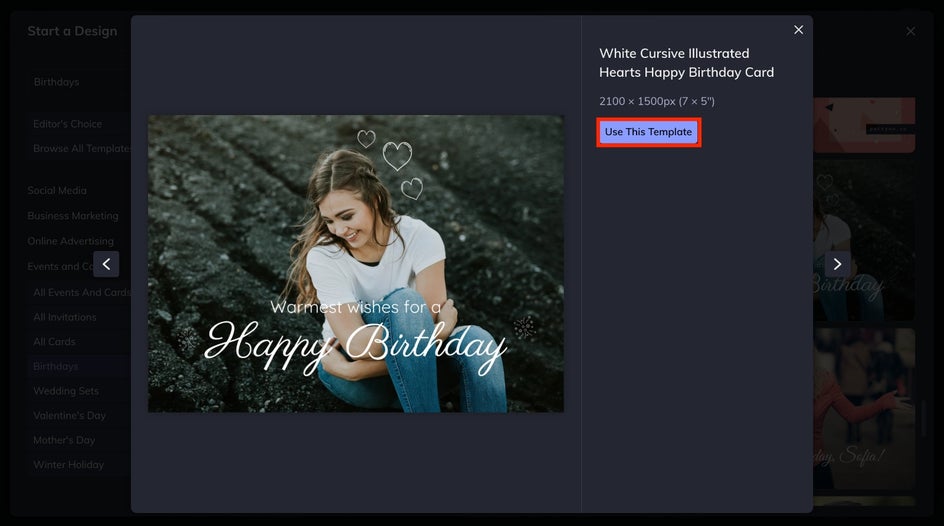
Here, we’ve chosen a single photo template to begin our DIY birthday card design. Click the template you want to edit then click the blue Use This Template button. Your template will now load inside the graphic designer.
Step 2: Update the Birthday Card Photo
First up, you’ll want to swap the template’s existing photo with one of your recipients. For this example, we’re going to use a photo with two friends – one who is gifting the card and one who is receiving it.
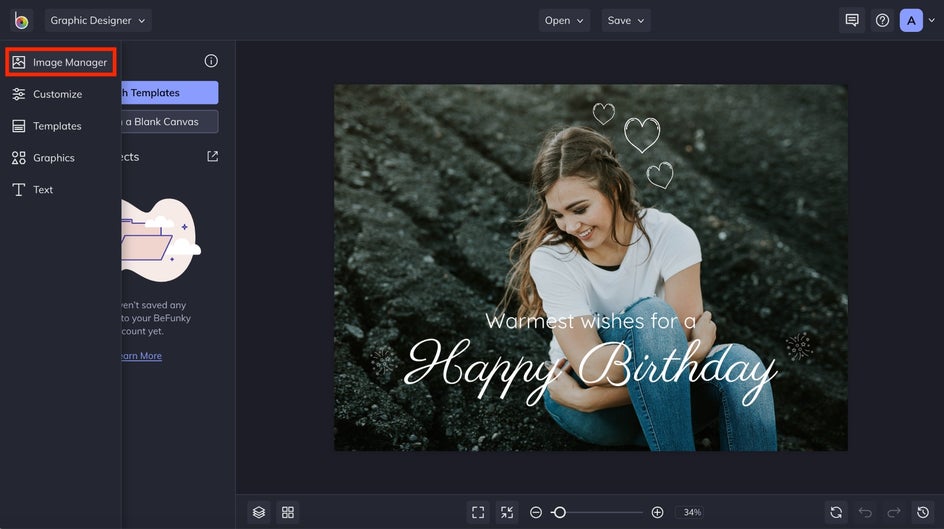
Navigate to the icon menu bar on the left side of the screen. The topmost icon resembles a small mountain in a frame. Hover over the icons for the menu to expand. Click Image Manager.
To add a photo of your own from your computer, click the blue Computer button to upload. For this example, we’ve chosen a photo from BeFunky’s photo library by clicking the Search Stock Images button directly below the Computer button.
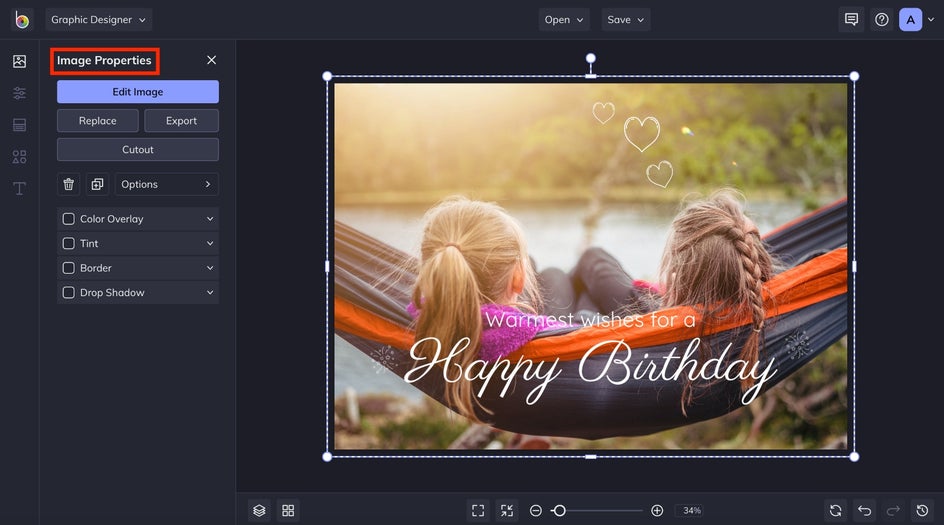
Once you’ve added your photo, use the white dots in the corner of the selected image to adjust its size. We increased the size of our sample photo to fit the entire birthday card.
Pro Tip: Want a simple, colored background instead of a photo? Easy! Just delete any existing image and navigate to the Customize tab in the menu on the left, then select your background color. You can either choose from the available colors shown, or click on the first color tile to choose any hue you'd like.
Step 3: Change the Text
Next, it’s time to edit your template’s existing text. Whether it’s a traditional "happy birthday" or an inside joke your recipient will love, simply double-click your text and type what you want to say. When your text is selected, you’ll also notice a Text Properties toolbar is present. Use it to customize elements of your text, including Font, Font Size, Font Color, Spacing, and more!
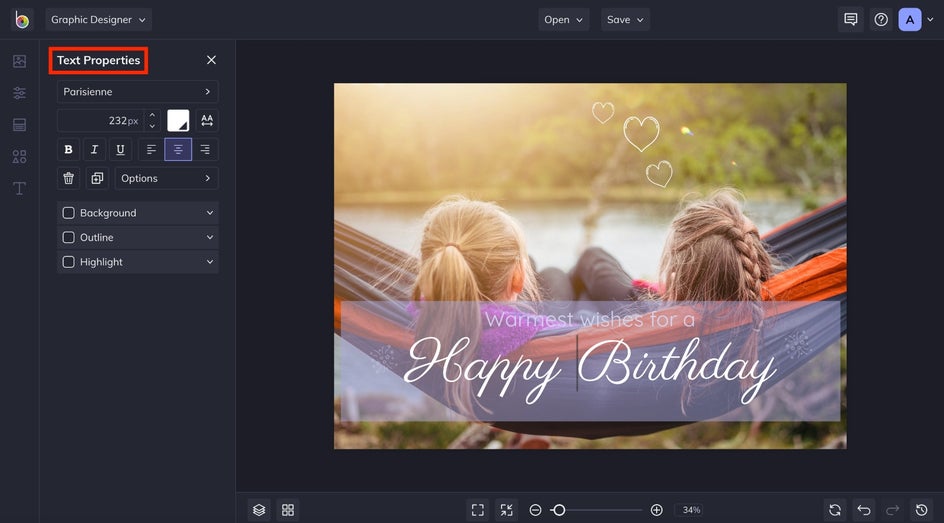
Use the box that appears around the selected text to adjust its size or move it to another place on the template.
Step 4: Add Unique Graphics
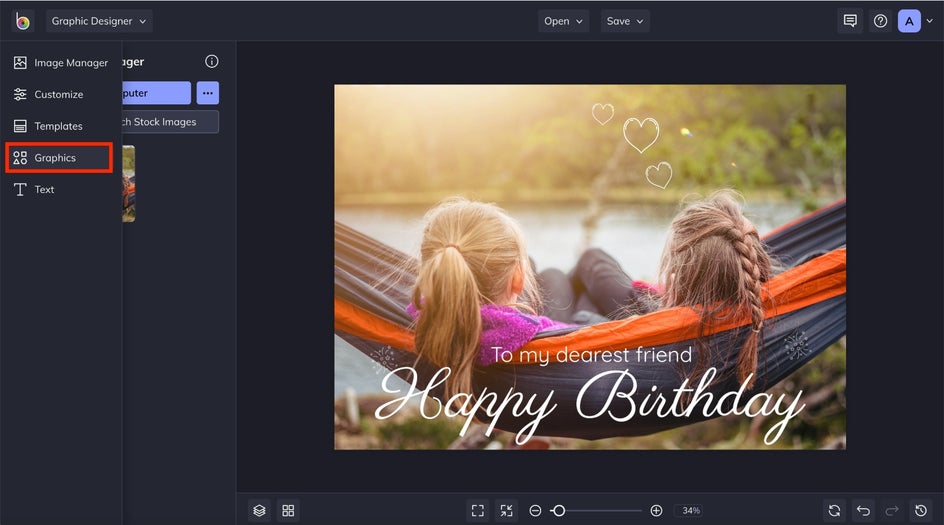
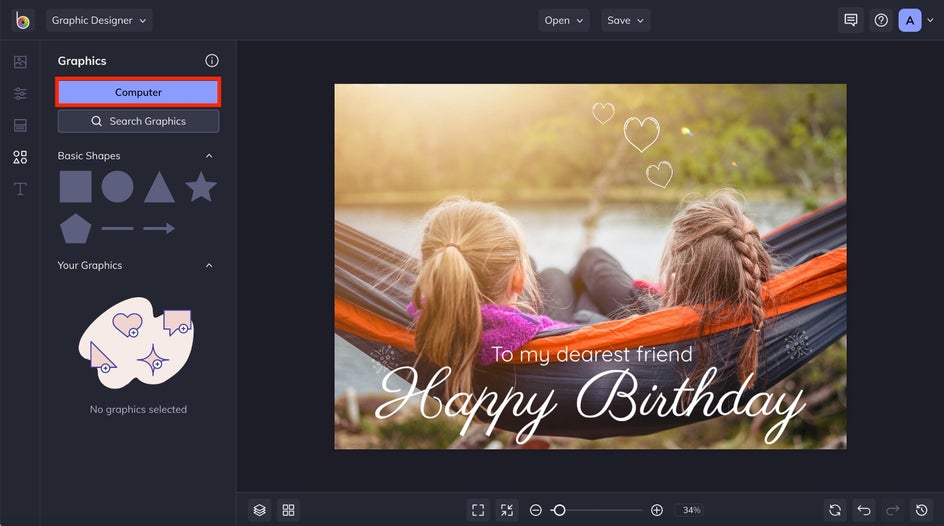
Want to give your DIY birthday card some extra wow-factor? There are plenty of fun graphics, illustrations, symbols, shapes, and more located in the Graphics menu in the side menu. Hover your cursor over the menu until you see Graphics. Click it.
Upload a graphic from your computer by clicking the blue Computer button or browse BeFunky’s extensive graphics library by clicking Search Graphics. Here, we’re going to choose a couple of fun graphics from the library.
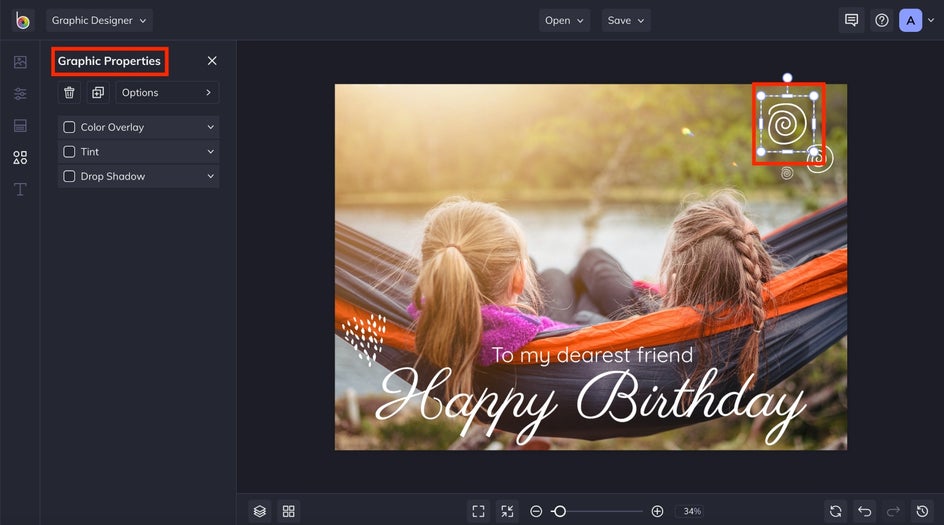
The graphics you uploaded or chose from the library will appear on the left side of the screen under Your Graphics. Click and drag or double click each graphic for them to appear on the template.
Make sure you delete any preexisting graphics on the template that you don’t want to use. When you add any graphic to the template, you can click and drag the blue circles around it to resize and rotate it, as well as use the Graphic Properties toolbar to change the color, blend mode, and more. Get creative with adding more than one of different or the same graphics.
Step 5: Save Your DIY Birthday Card
Once you’re happy with your DIY birthday card, it’s time to save your design so you can print it out and surprise your lucky someone! Click on Save at the top of your screen to save your work to your computer, share it on social media, and more.

Before and After
Nice work! Who wouldn’t love and appreciate a DIY birthday card that has been designed just for them? We think it's the perfect way to make your friends and loved ones feel special.


Ready to make your own personalized cards? Whether it's for a birthday, holiday, thank you card, or just a little note to say you care, Befunky’s Graphic Designer has a template for all of the above (and then some!). Use this step-by-step for guidance and get started today!
DIY Birthday Card Inspiration
If you’re at a loss for how to expertly design your DIY birthday card, don’t worry. We have a few creative examples that you can use for inspiration when designing your own birthday card. You can completely personalize a card with just a few clicks (and without even having to leave your house)! Just use the templates as your design guide while you drag-and-drop photos, customize the text, change up the colors, and make it totally yours. Here are a few ideas to help inspire your DIY Birthday Card design:
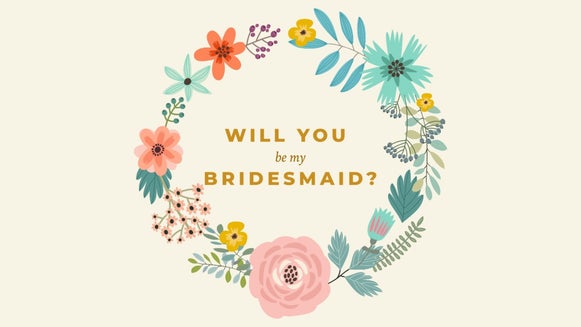
Keep It Simple and Lighthearted
A graphic-driven template is perfect for incorporating personal jokes, puns, or anything else that requires a simple design and eye-catching text to bring it to life.

BeFunky’s Card Maker is home to hundreds of fun vector graphics and icons for you to use in your card designs. Adding a graphic or two is a quick and easy way to personalize your DIY birthday card for your loved one, all the while giving it that professional look and feel!
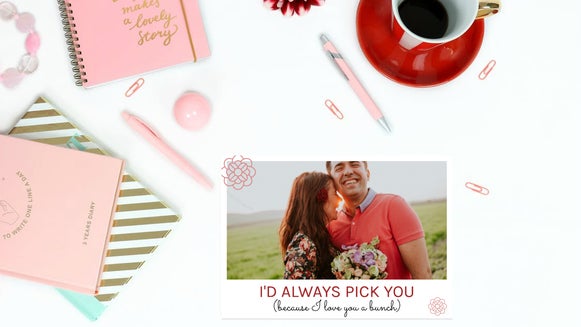
Incorporate Your Favorite Photo
Got a photo of your loved one looking a little silly? Or perhaps it’s a favorite photo of the two of you that gets you laughing every time? Card templates containing a single photo are a simple, yet effective way of showing your loved one you value their relationship.

Not only do they get a surprise when they open it, but your recipient will also enjoy displaying their personalized card all year round, even once the birthday celebrations are over!
Create a Photo Collage
Nothing says effort quite like a DIY birthday card containing not one, but multiple images of your loved one. Perhaps you use the photos to tell a story of your recipient, or to showcase a timeline of some of the most memorable moments of their life so far (like a birthday pic from every year up to the present). And forget taking forever to line up your images perfectly; you’ll find birthday card templates that already contain a collage layout, letting you drag-and-drop photos directly into place without any hassles.

Create Your Own DIY Birthday Cards
Now that you’re feeling inspired with a design direction for your DIY birthday cards, it’s time to show you how to bring your creative visions to life! It couldn’t be easier, and we know you’ll find a design template for any look you’re going for.