DIY Birthday Party Invitation
Whether you’re throwing someone else a birthday party or one for yourself, first thing’s first: you’re going to need some invitations. Sure, you could simply send a text to the invite list but where’s the fun in that? Instead, up the celebration factor by making your own stunning birthday party invitations using BeFunky’s Birthday Invitation Maker. No matter what age you’re partying about, you’ll find fully customizable birthday party invitation templates there to use as a starting point.
The best part about BeFunky’s Birthday Party Invitations is that they’re already pre-designed by professional graphic designers and customizable in just a few clicks. That takes all the guesswork out of the whole experience, so even if you’ve never made your own graphic design before, you won’t have to stress about layout. You can get as creative with color schemes, fonts, graphics, and imagery as you want – all you need is the party details and a few minutes to get those invites ready to send out!
How to Design Birthday Party Invitations
When you’re ready to get started with your Birthday Invitation design, head over to BeFunky’s Birthday Invitation Maker and follow the steps below:
Step 1: Choose a Birthday Invitation Template
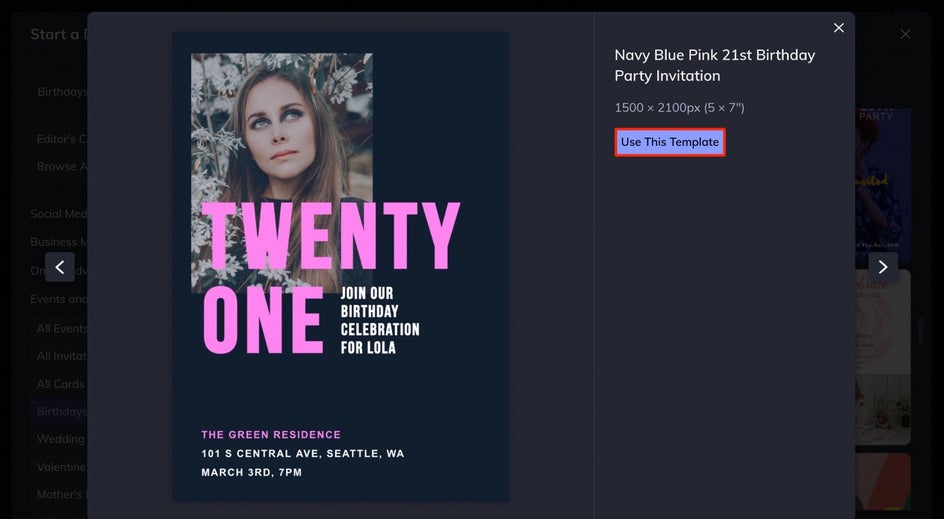
After clicking the link above, you’ll be directed right to the Birthday Invitation templates library. Click through the different thumbnails to see an up-close preview of any template.
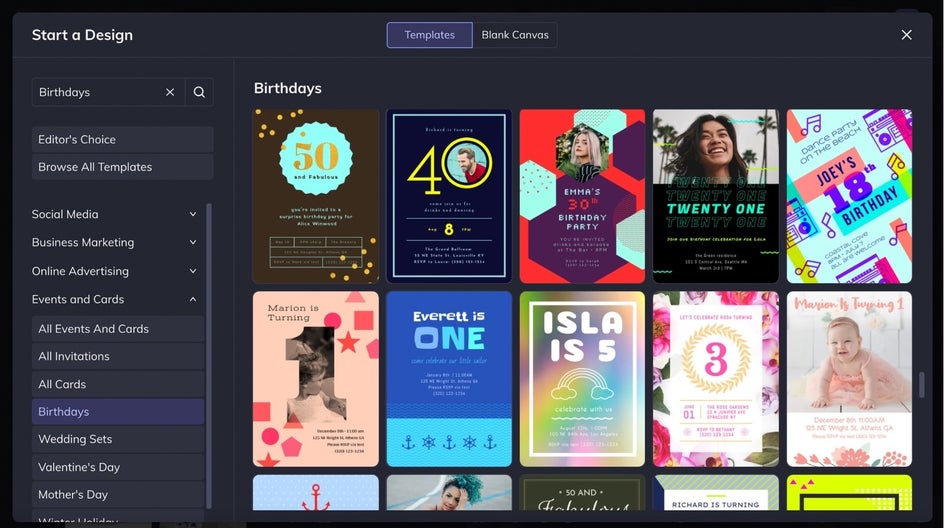
Once you’ve found a Birthday Invitation you love, click the Use This Template button.
Step 2: Add Your Image
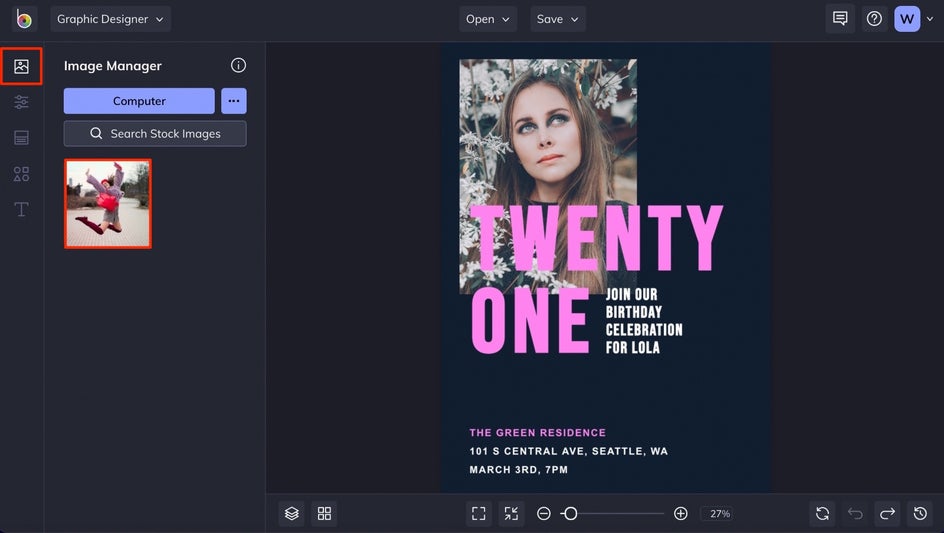
If the template you chose has an image that you want to replace (or you want to add an image), click on the Image Manager tab at the top of the left side menu. Use the Computer button to upload images from your computer, or click the … button to upload images from even more sources. When your image is uploaded, it will appear as a thumbnail in the Image Manager tab. Simply drag and hover the thumbnail over the existing image until it turns opaque, then drop to replace it.
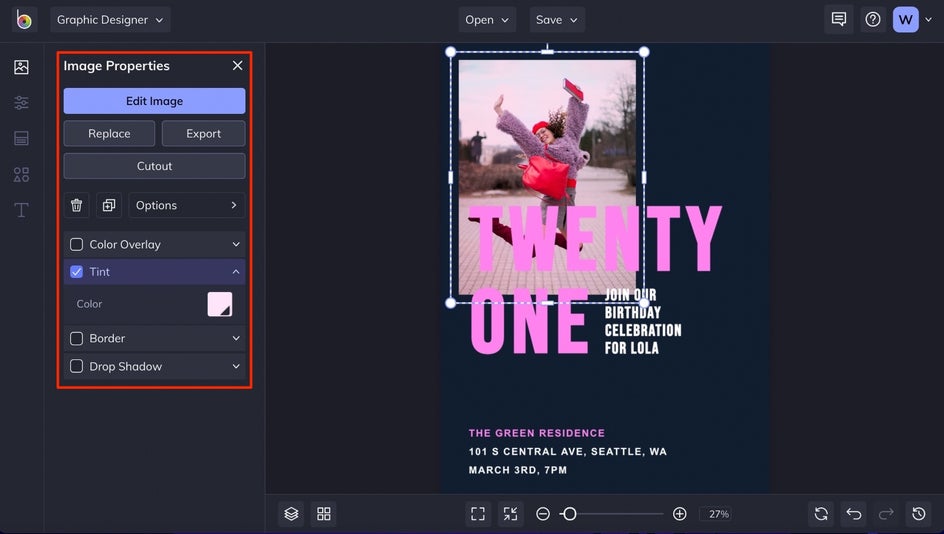
If you want to add a photo to an otherwise imageless template, simply drag and drop the thumbnail onto the template and use the circles around it to resize, rotate, and more. Notice that when you select the image, an Image Properties menu appears on the left, allowing you to add a Color Overlay, Tint, Drop Shadow, and more. Play around with the different settings until it looks just right.
Step 3: Customize the Background Color
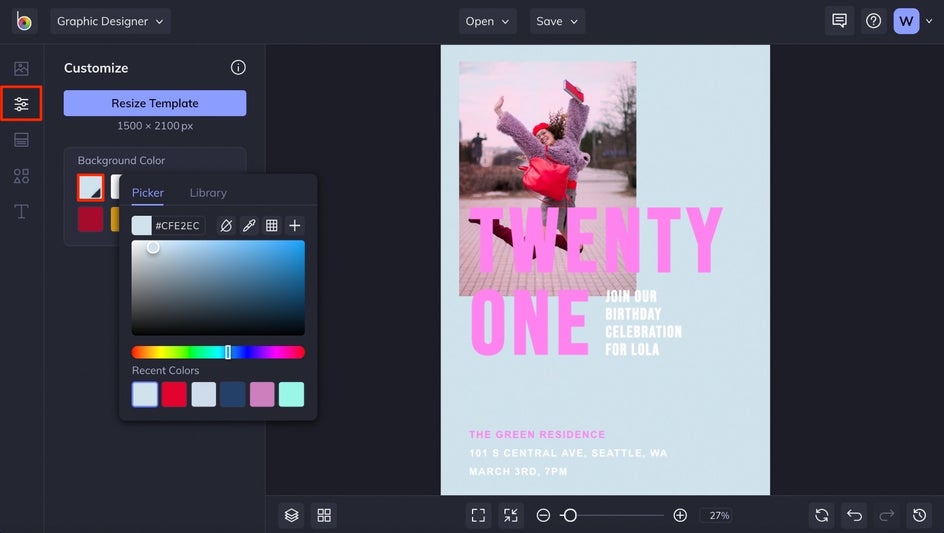
To change the background color of your invite, click on the Customize tab in the left side menu. Then, choose the first color tile beneath Background Color. You’ll be presented with a color picker menu that will allow you to choose any hue you can think of.
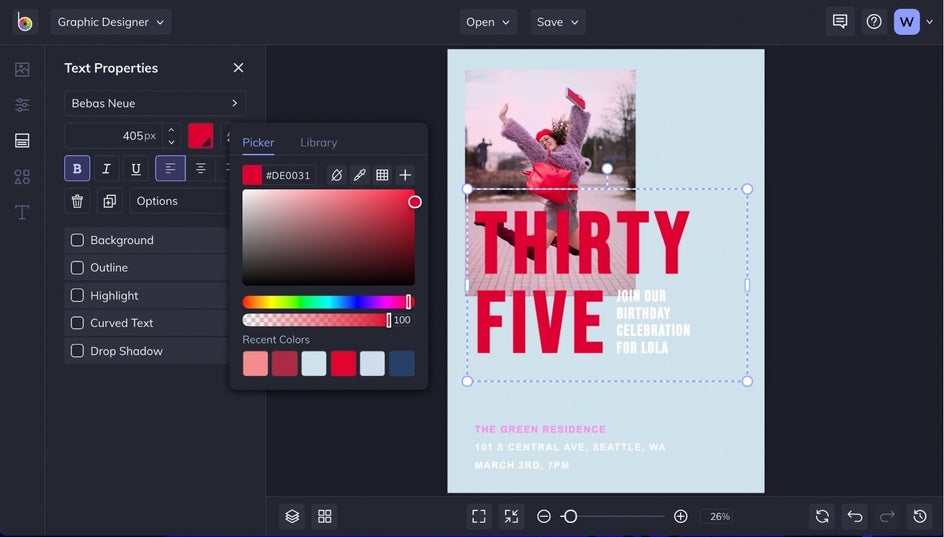
Step 4: Add the Birthday Party Details
Now it’s time to really make this birthday party invite your own. Double click any textbox on your template and type something new. Notice that any time you have a textbox selected, a Text Properties menu appears. This is where you can change the font, color scheme, letter spacing, and more.
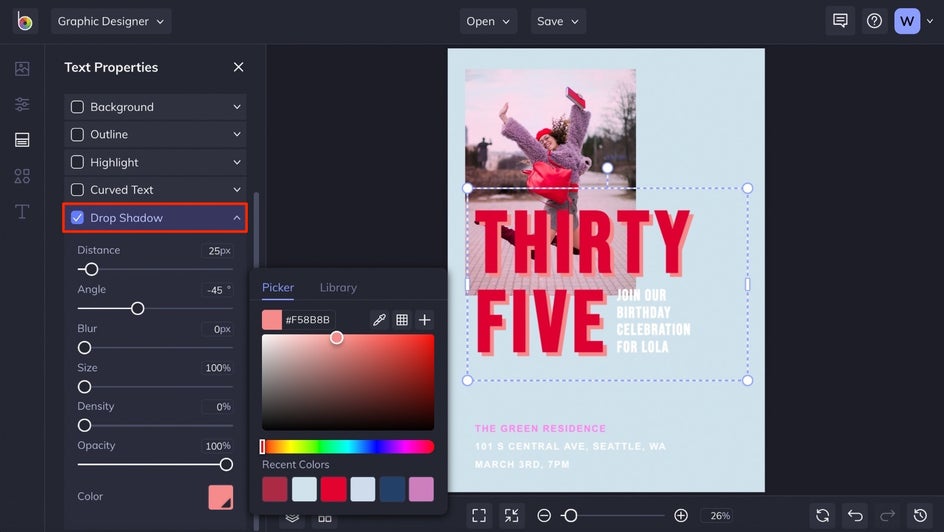
One cool way to enhance the text on your Birthday Party Invitation is to add a drop shadow. Simply click the box next to Drop Shadow in the Text Properties menu and choose your preferred settings.
Continue adding and customizing the text until it looks just right.
Step 5: Add Some Graphics
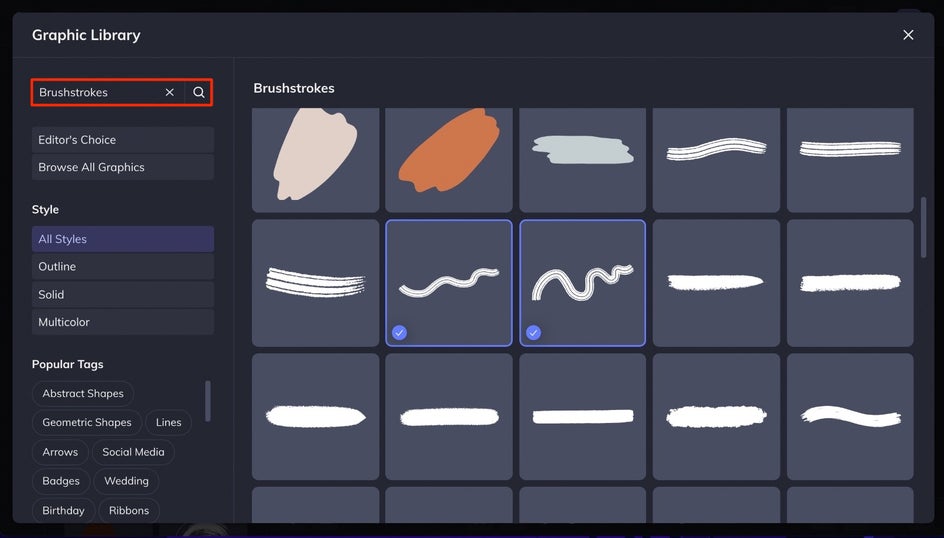
If you want to really make your invite pop, click on the Graphics tab in the left side menu, then click Search Graphics. This will lead you to BeFunky’s massive Graphic Library where you can search for just about anything you can think of.

When the Graphic Library opens, type in a search term and press Enter on your keyboard. We’ve chosen to go with some brushstrokes for our invite. You can alternatively search by clicking on Popular Tags, Editor’s Choice, and more. Click on all the options you think you’ll want to try, then click the x in the upper right corner of the Graphic Library to close it.
Once you close out of the Graphic Library, you’ll see all the graphics you chose in the Your Graphics section. Drag them onto your template to start designing with them.

You’ll notice that each time you select a graphic on your template, a Graphic Properties menu appears that will allow you to add a Color Overlay, Tint, move the graphic between other layers, and more. Here’s some more info about working with graphics.

Step 6: Save Your Birthday Party Invitation
When your Birthday Party Invitation looks perfect, click the Save button at the top of the page. You’ll be presented with several options for saving your work.
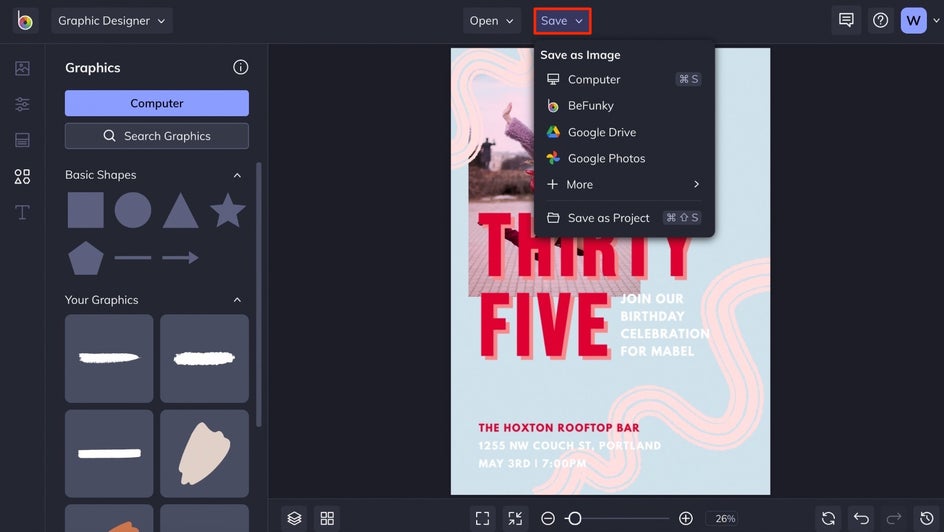
We recommend saving your Birthday Party Invitation as a PDF to keep it in high resolution if you’re planning on printing, and as a project, just in case you need to make any future changes.
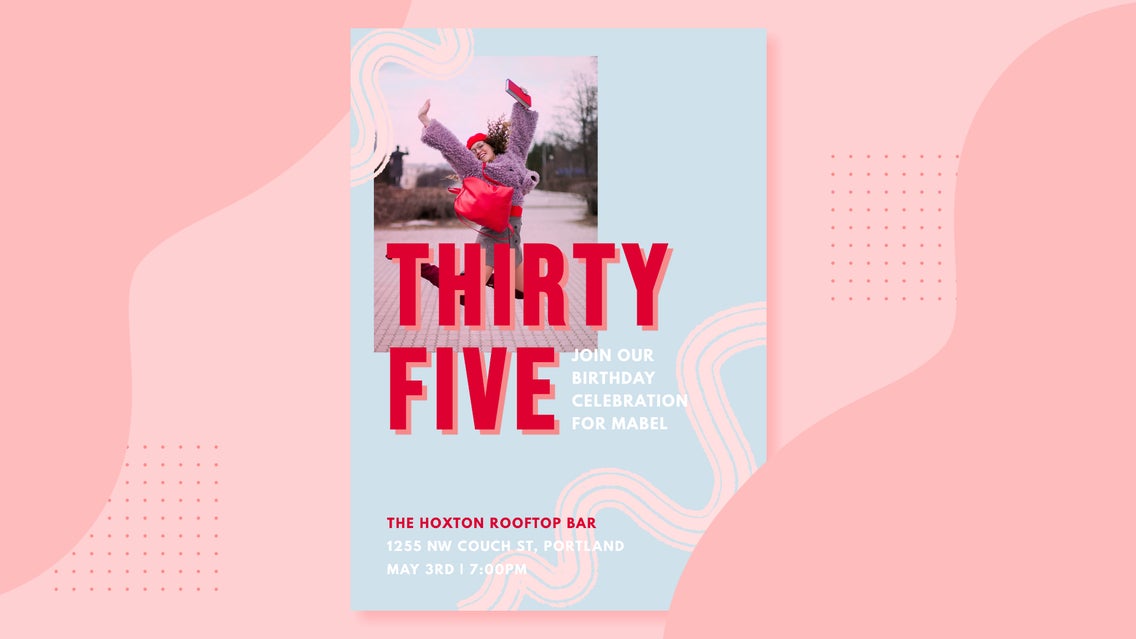
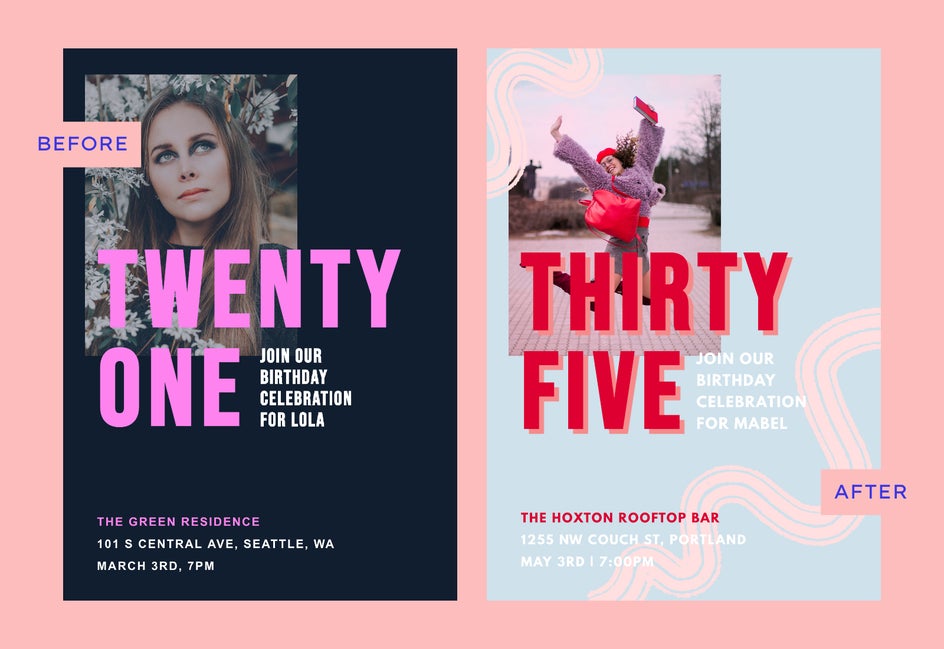
Birthday Party Invitation Results
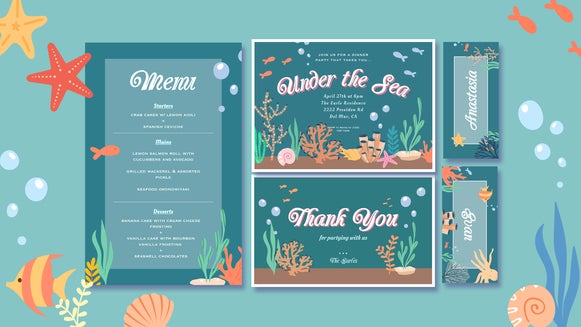
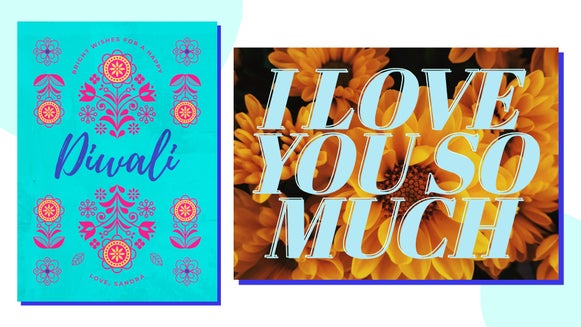
And just like that, a truly one-of-a-kind Birthday Party Invitation for your big soiree. Everyone’s going to ask where you got your invitations, so be prepared to blow their minds and tell them it was all you (and a little BeFunky magic).
Get the Party Started With DIY Birthday Invitations
Ready to start designing some Birthday Party Invitations? Head to BeFunky’s Birthday Invitation Maker and have some fun before you get to all that party planning!