DIY Christmas Cards

It’s the most wonderful time of the year…and also the most stressful, sugar-laden, and gift/re-gifted time. No matter what your fruitcakes may be (be they actual or in-laws), you can give better than you get with do-it-yourself Christmas cards! Use BeFunky’s Photo Editor and Designer Toolset to make this the season for heartfelt or whimsical greetings.
1. Choose your template.
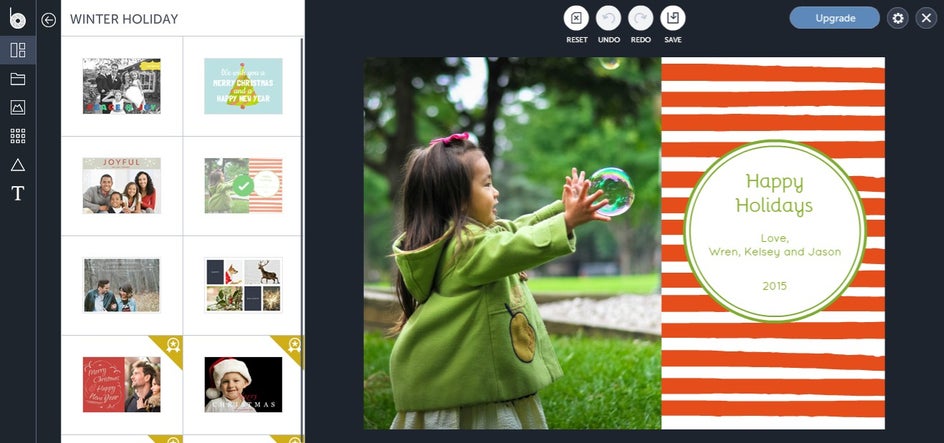
Pick from existing greeting card templates where you can make as many or as few changes as you want. You can check out this snazzy post to take a look at some of BeFunky's newest holiday cards, and if you're in need of some design inspiration Pinterest is always a good idea, too.
2. Upload your photo.
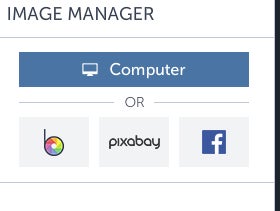
Once you’ve chosen your template, upload your holiday photo of choice. Choose a photo from your computer, Pixabay or even Facebook. We're all about those options, baby.
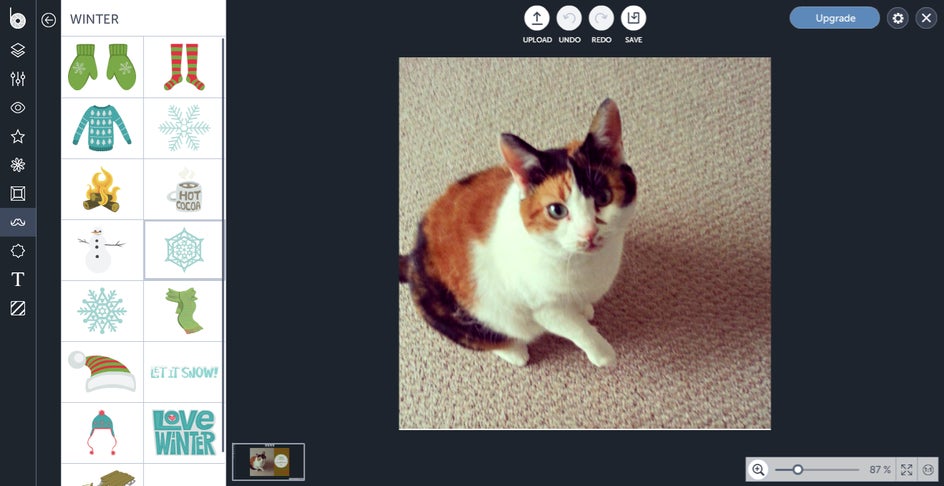
3. Edit your heart out.
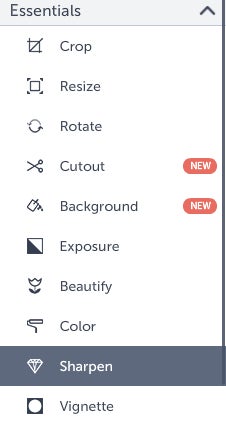
Next, drag and drop your photo onto the template. Choose to open the photo in the Photo Editor, and take a moment to be sure it’s looking its best: edit if necessary. The BeFunky Photo Editor offers various editing elements, including basic options like adjusting contrast, saturation, and sharpening your image along with a whole slew of dazzling filters, graphics and more. Though a cat doesn’t smile with its teeth, your relatives might! Use the Touch up tools to brighten teeth, reduce red-eye, and more!
4. Adjust background and template graphics.
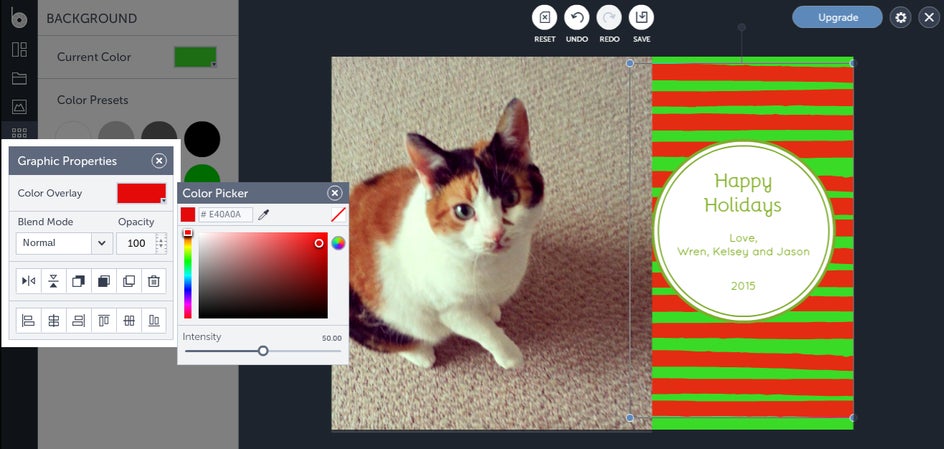
While in the Designer Toolset you can adjust the background and existing graphic colors to your liking. I like to edit my photo first (just hit that nifty 'Open Image in Editor' button), then adjust your colors, since you want it all to coordinate.
5. Add seasonal elements!
From within the Photo Editor you can add any assortment of jolly elements you like. BeFunky lets you add seasonal ones with the click of the mouse. Santa hat? Check. Snowflakes? Double check. Once you add your graphics the Photo Editor will ask you if you want to apply them. Click "Apply" when everything looks good!
6. Add your greeting!
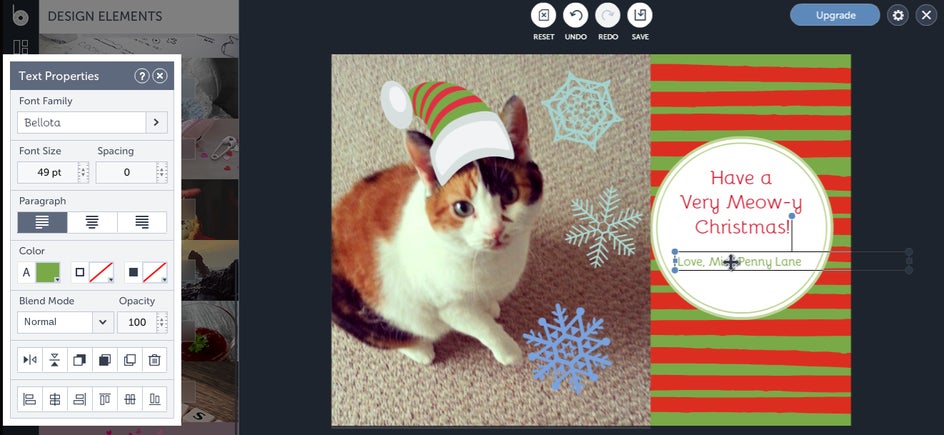
Add text, whatever your message may be. Hi mom!
7. Save it.
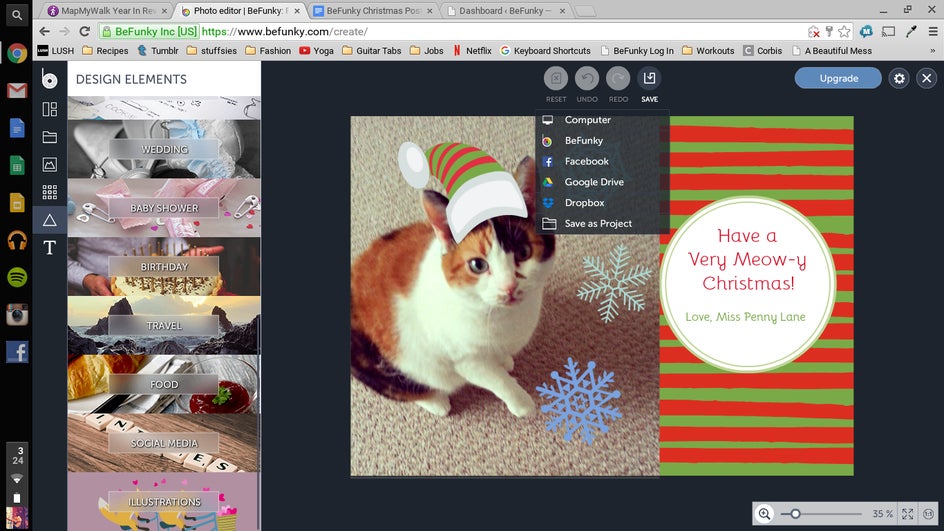
Save your beautiful card to your computer, or publish it to social media.
BeFunky makes it easy to take your favorite holiday photos and create unique greeting cards for everyone on your list!
So what are you waiting for? Get started on your holiday masterpiece today: