Holiday Gift Tags That You Can DIY

When it comes to the season of giving, anytime is the perfect time to turn your attention to not just what you’ll buy for your loved ones, but how you’ll present them too (no pun intended).
The first place to start is with a custom holiday gift tag that lets your recipients know they’re in for something special! Using our Graphic Designer’s wide range of holiday templates, you can create a festive and fun DIY gift tag within just minutes. Keep reading and we’ll show you how!
How to Create Custom Holiday Gift Tags Using BeFunky
Ready to create your own holiday gift tags? Head to the Graphic Designer to get started!
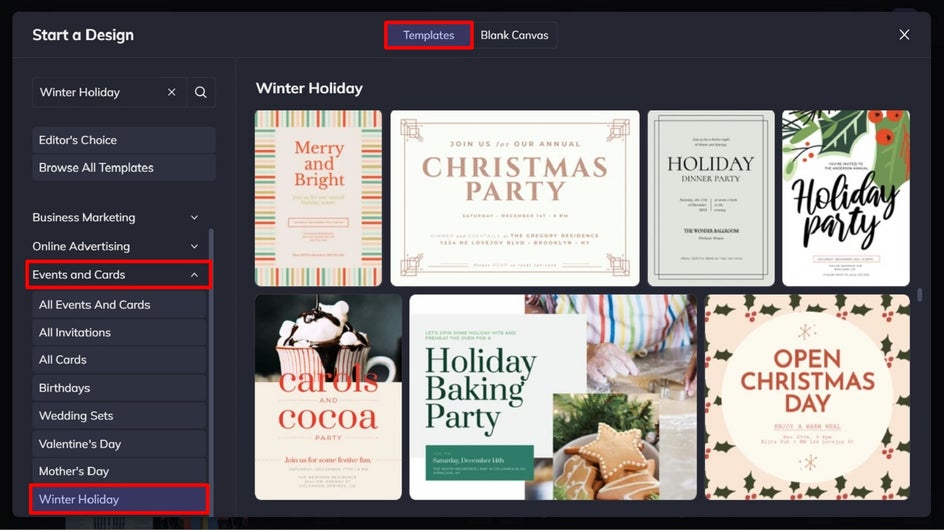
Step 1: Locate the Winter Holiday Templates
In the Templates Library, navigate to Events and Cards, followed by Winter Holiday. This will take you directly to BeFunky’s collection of winter holiday-themed templates, all of which are perfect for turning into custom gift tags.
Simply click on the design that takes your fancy, then select Use This Template to get started.
Step 2: Resize Your Holiday Gift Tags
Next, you’ll want to resize your chosen template so it’s the perfect size for your custom gift tags. To do this, navigate to Customize in the main on the left, then click Resize Template.
There are no rules here, but gift tags are generally around the same size as a business card, measuring 3.5” x 2”. If you want to stick with these measurements, simply select Business Card from the Template Size Presets dropdown menu.
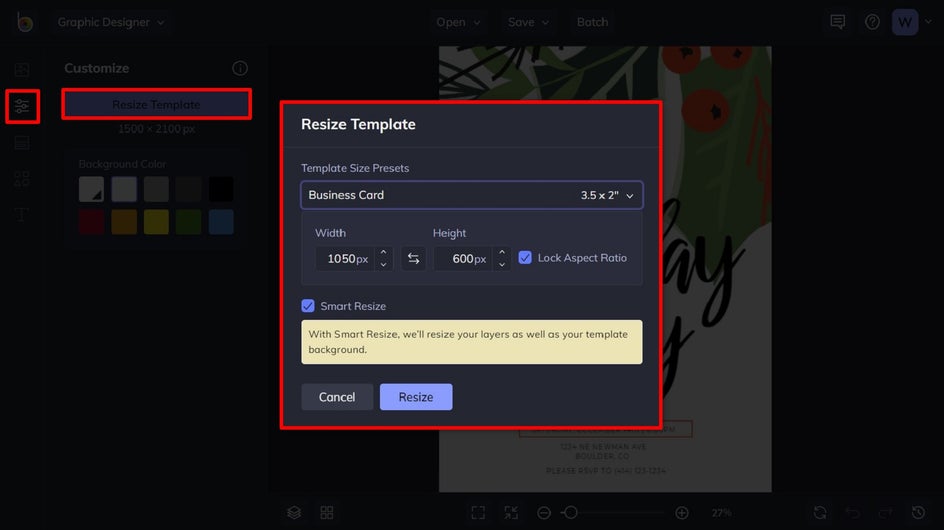
These preset dimensions are for landscape orientation, so if you wish to create a portrait gift tag, just swap the two measurements around. Ensure Lock Aspect Ratio is unchecked, then type 600 into the Width column and 1050 into the Height column. Keep Smart Resize checked and click Resize to finalize.
Step 3: Make Any Necessary Adjustments
After resizing, your design may look a little different from how it did originally. Simply click and drag elements back into their desired position using your mouse. You can use the snap lines which appear to help guide you.
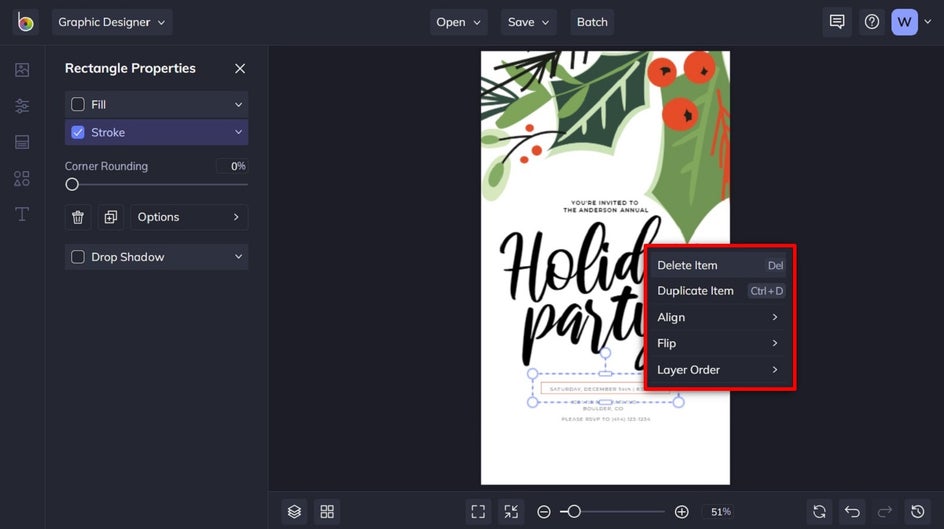
Step 4: Delete Any Unnecessary Elements
To create your custom holiday gift card, you might want to get rid of some existing elements in your template, such as unwanted text or graphics. To do this, select them with your mouse, then hit Delete on your keyboard. You can also right-click these elements to bring up a list of additional options, such as Align, Flip, Layer Order, and more.
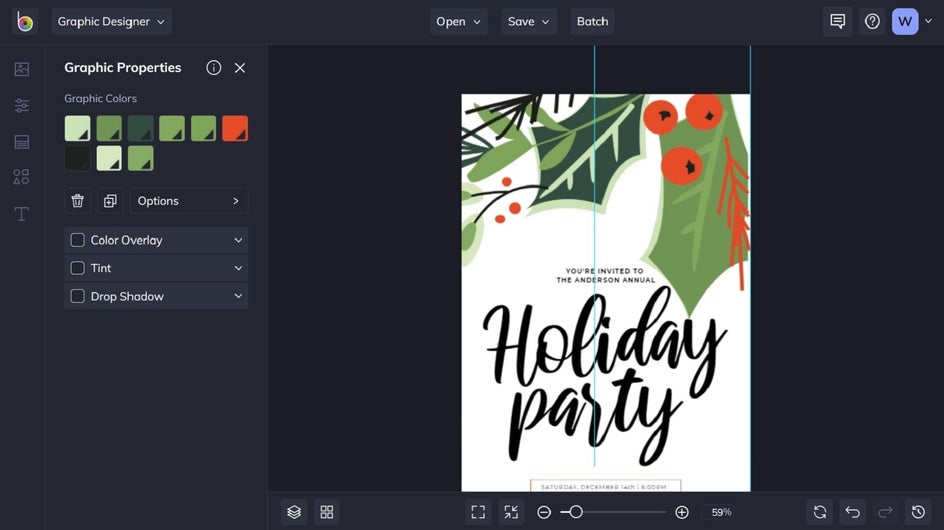
Step 5: Edit the Text
Now is the perfect time to edit the text on your template so it reads what you want your holiday gift tags to say. simply double-click on any text box you wish to edit and begin typing. When you select a text box, you’ll also notice a Text Properties panel appears. From here, you can change things such as the font, font size, text color, spacing, and more.
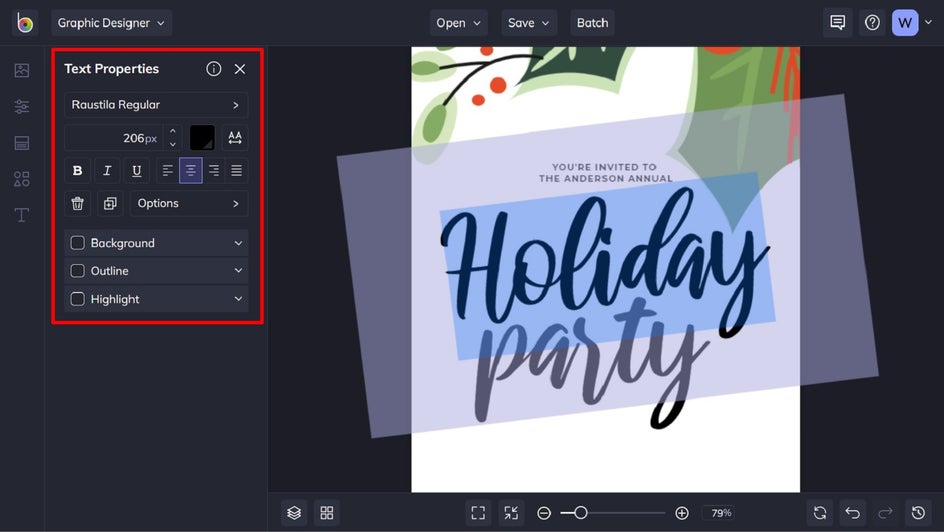
To change the color of the text, for example, click on the Text Color box and select a new color from the palette that appears. You can also use the Eyedropper tool to select a color already present in your template, or type in your specific color’s HEX code, if you know it.
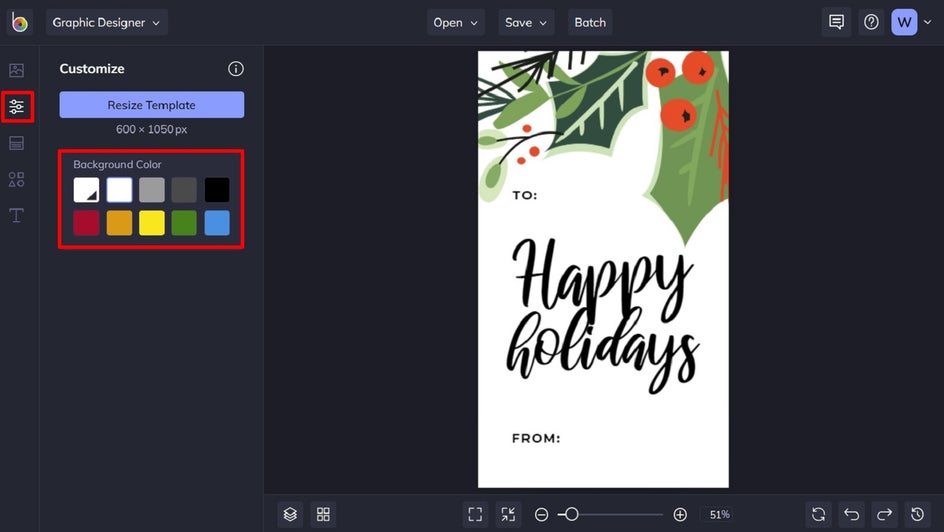
Step 6: Change the Background Color (If Necessary)
You can also change the background color of your template by navigating to the Customize tab in the main menu on the left. Select a color from the available swatches or choose a custom color by clicking on the first color swatch and choosing one from the color palette that appears. Again here, you can also use the Eye Dropper Tool or input a Color HEX code to use as the background color.
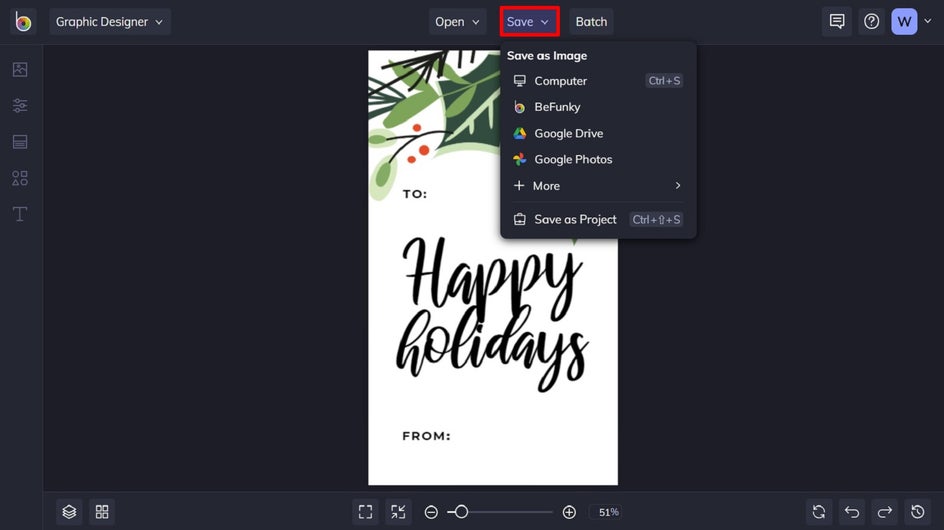
Step 7: Save Your Custom Holiday Gift Tag
Once you’ve finished editing your DIY holiday gift tag, click the Save button at the top of the page, then select your desired save location.
Final Results
Wasn’t that easy? All it takes is a few clicks and you too can have your own custom holiday gift tags!

How to Arrange Your Custom Gift Tags for Printing
Whether you have multiple gift tag designs to print or you just want to print the same one over and over, the Collage Maker can help you arrange your gift tags onto a sheet for printing! To get started, head to BeFunky’s Collage Maker.
Step 1: Find the Grid Templates
Navigate to Layouts in the main menu on the left, then click on Grid, located under the Layout Presets.
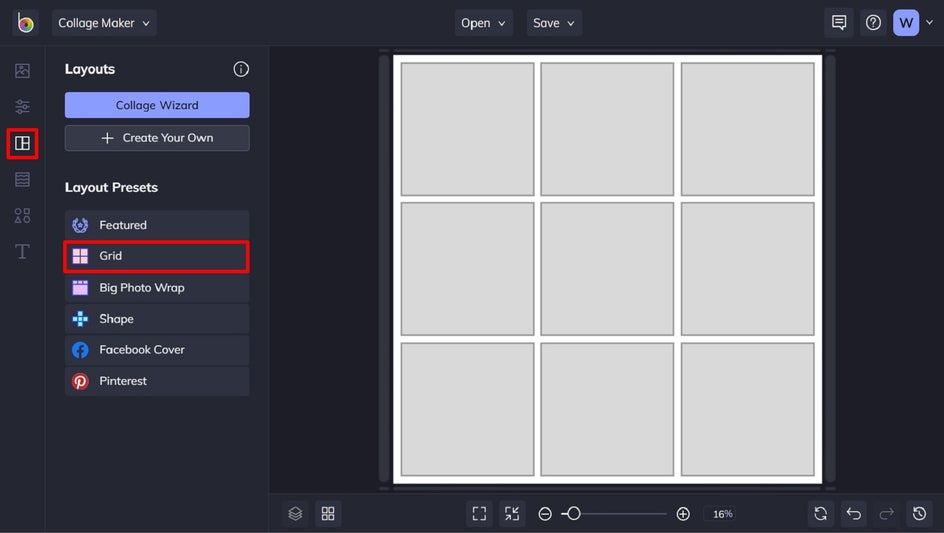
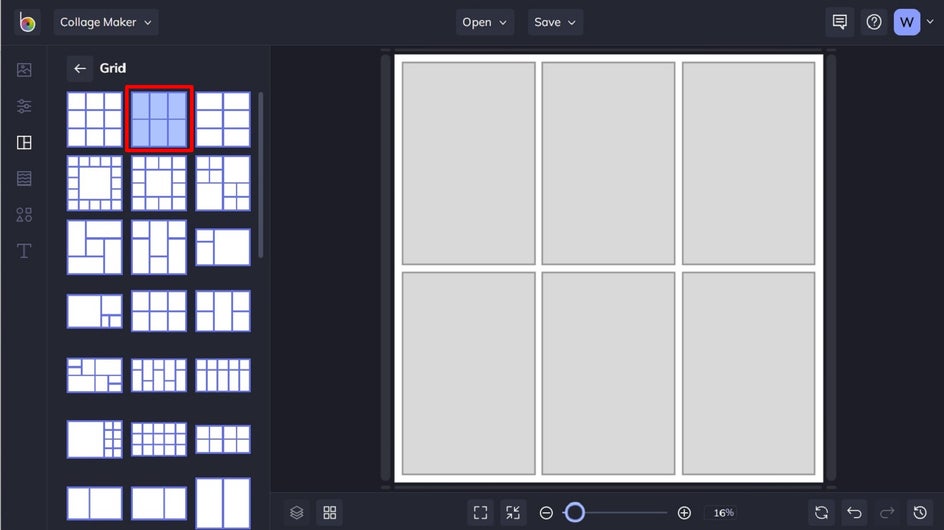
Step 2: Choose a Grid Template
Within the selection of grid templates, select the second option, as pictured. This will give you six vertical spaces in which to arrange your holiday gift tags.
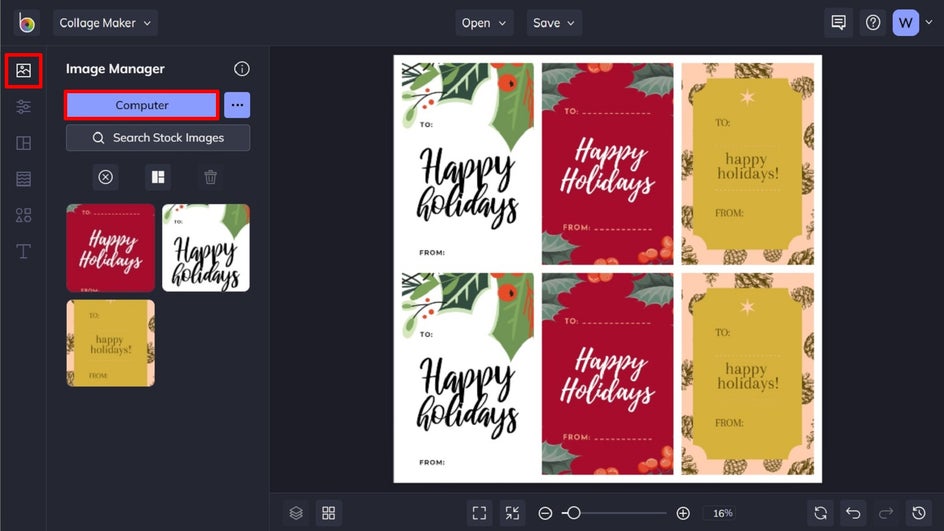
Step 3: Insert Your Gift Tags
Click on the Image Manager tab at the top of the menu on the left. You can either click the Computer button to upload your design files or drag-and-drop the files directly into the collage cells. Your designs will appear as thumbnails within the Image Manager for you to use over and over again.
Step 4: Resize Your Collage
Finally, click on the Customize tab in the menu on the left to perfectly size and space the collage. Since we know our gift tag designs are 600 x 1050 pixels, we did the math to increase the size of the collage as a whole (600 x 3 cells = 1800 pixels for the width, and 1050 x 2 cells = 2100 for the height).
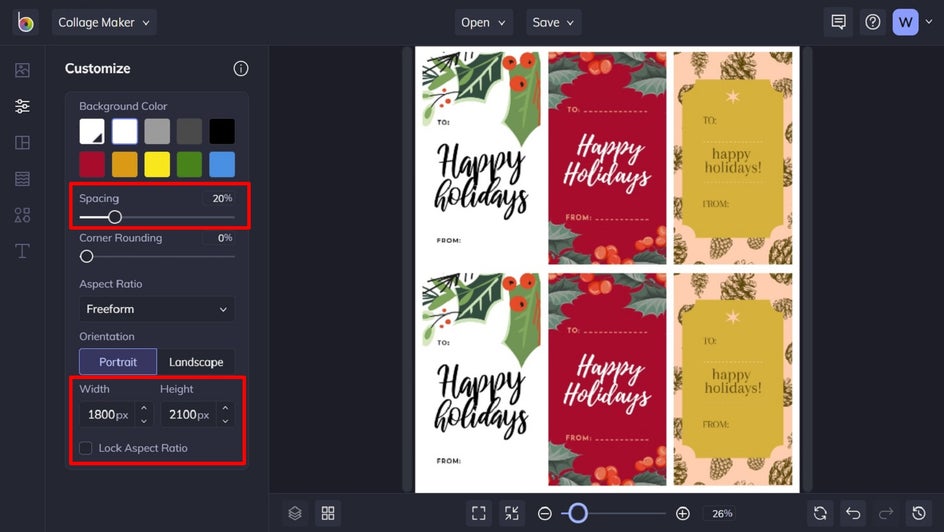
Type the dimensions for your gift tag collage into the Height and Width boxes to resize it accordingly. You can also use the Customize tab to increase or decrease the Spacing slider to create more or less space between your cells.
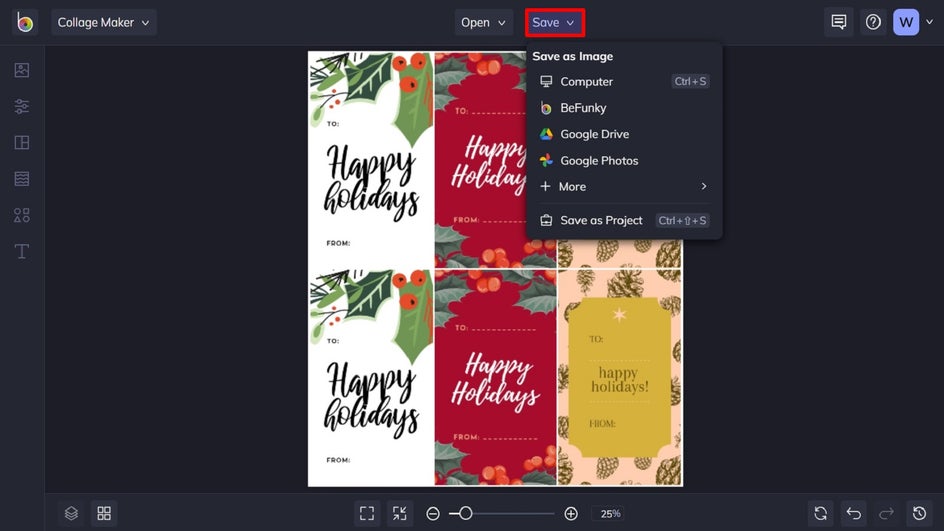
Step 5: Save and Print Your Gift Tag Sheet
When you’ve got the perfect layout and it’s sized just right, click the Save button at the top of the Collage Maker to save your gift tag sheet. From here, you can print the image file from your computer right at home! We recommend printing on cardstock to make your gift tags more durable.
Create Your DIY Holiday Gift Tags the Easy Way
Adding a personal touch to your gifts this holiday season is easy thanks to BeFunky’s wide range of Winter Holiday templates! All it takes is a few minutes to turn your favorite designs into DIY holiday gift tags that will delight. Go on, try it out for yourself!