DIY Save The Date Tips and Best Practices
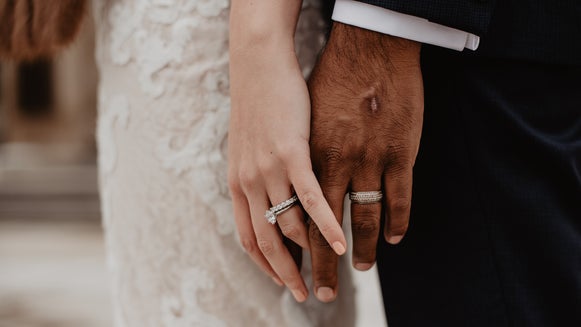
Getting engaged is an exciting moment in anyone’s life. Once you’ve organized important details such as the ceremony, reception venue, and date, however, it’s time to get your loved ones in on the loop. The best way to do this is with a Save the Date, which you can create with ease by using our wide range of Wedding Set templates – available in the Graphic Designer.
If you’ve never created a DIY Save the Date card before, you’re in luck. We’ve compiled all of our best inspiration and advice to help you get started!
Can You Make Your Own Save the Dates?
Of course! Going down the DIY Save the Date route isn’t just fun, but it also helps you to cut down that ever-growing wedding budget. BeFunky’s Graphic Designer is home to numerous Save the Date templates that have been pre-designed by professional graphic designers, so you know you’re in good hands!
Simply choose a template that takes your fancy, then tweak the text, swap out the photo, and save your design so it’s ready to print out and send to your guest list. But first, check out or tips and inspiration to make your Save the Date truly unique!

How Far in Advance Do You Send Out Save the Dates?
The general rule is to send out your Save the Dates anywhere between six to eight months before the big day, but if you’re planning a destination wedding that involves lengthy travel and accommodation, then you should give your guests the heads-up even earlier. This ensures they can save up, book what’s needed, and get their leave approved at work.
Top 4 Best Practices for DIYing
So, how do you make a good Save the Date? When it comes to your DIY Save the Dates, there are some things you must keep in mind to ensure they don’t only look great, but also provide your guests with the required information.
1. Stick to a Cohesive Theme and Color Scheme
Before creating your Save the Date, you’ll want to have your wedding’s theme and color scheme already sorted out. This way, you can design your Save the Dates with these in mind, along with the additional wedding stationery to follow.
Deciding upon a specific color scheme or design theme can be as simple as thinking about your personal preferences. Do you love big and bold elements, earthy colors, or soft and muted hues? No doubt, BeFunky has a Save the Date postcard design that will fit your aesthetic.
2. Make It Personable
Your wedding is a celebration of the two of you, as well as the love you have for each other, so embrace this within your Save the Date design. Utilize our pre-made templates to include your favorite photo together, a fun anecdote, or even a much-loved quote you both admire. There is no limit to your creativity!
3. Highlight the Date
It probably goes without saying, but one of the most important elements of any Save the Date is the actual date of your upcoming nuptials. Understandably, you won’t know this key detail until you’ve booked your ceremony and/or reception venue. Once these details are locked in, however, you’ll want to ensure they’re featured front and center within your design.
4. Include as Much Information as Possible
Along with the date, you’ll also want to include as many other important details as possible, including your names, the location of the wedding, etc. Additional details you may also want to include, although not necessary, are contact details – in case guests want to get in touch with any questions. At this stage, you don't need to collect RSVPs, so that information can wait until your wedding invitations.

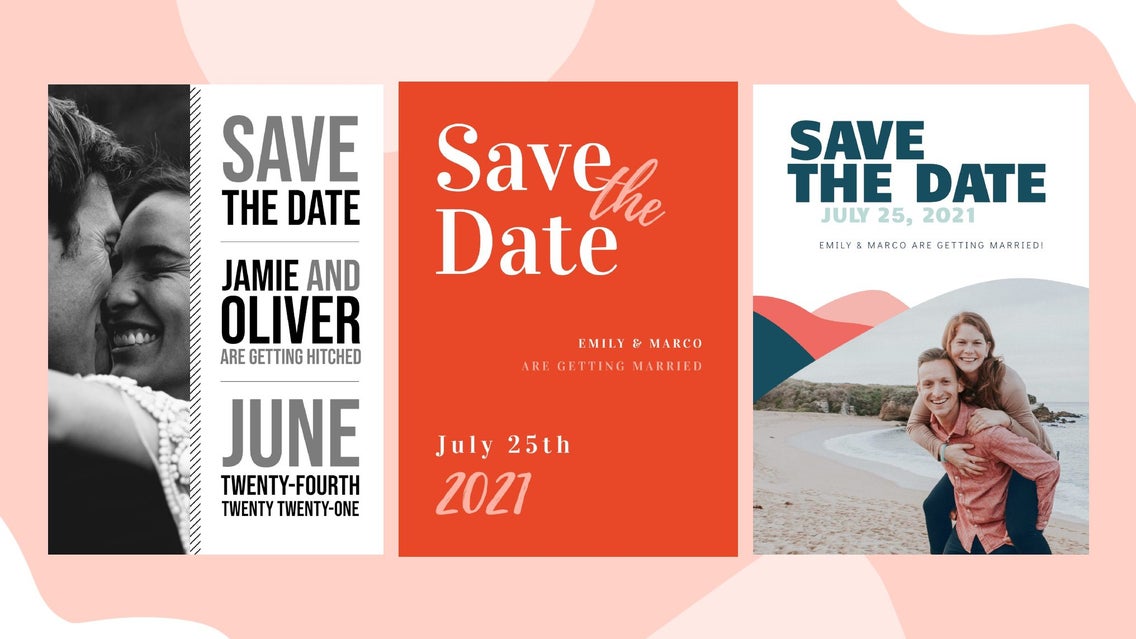
Save the Date Inspiration
To show you how easy it is, we’ve featured some existing Save the Date designs below. We added some quick, personalized touches to each of these within just a few clicks!
Simple and Fun
Even the smallest of adjustments to these templates can make a huge impact. This design might not feature any photos, but that doesn’t detract from its bright and playful style! We switched out the text to make it personalized, then added a fun graphic from the Graphic Library to complement the existing color scheme. Don’t be afraid to tweak even the smallest of things to make a design your own!

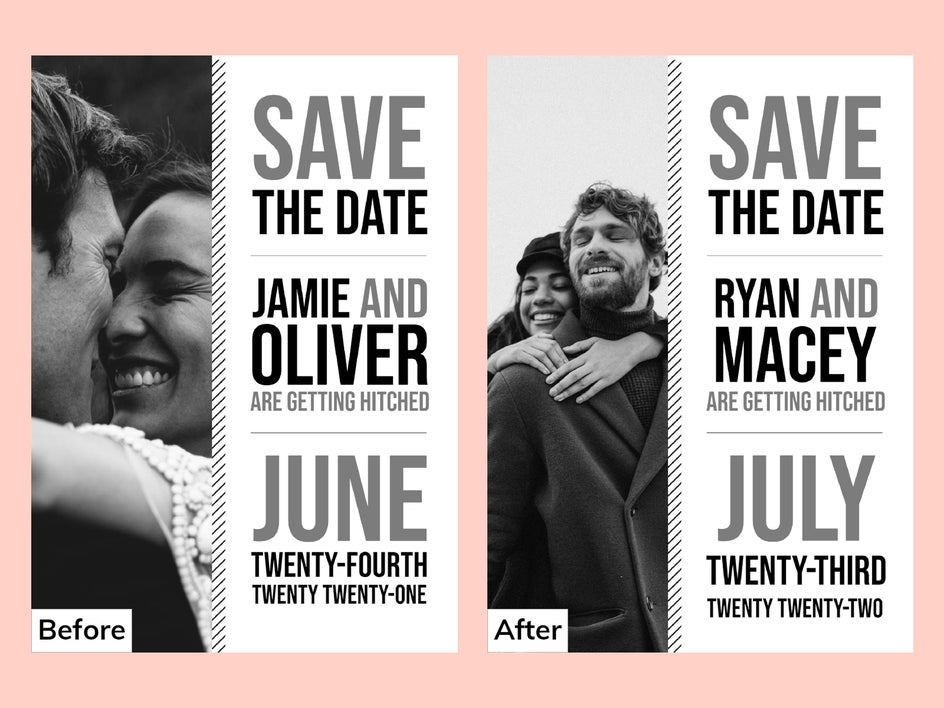
Black and White
All it took was some quick customization of the existing text and photo to personalize this template for a different bride- and groom-to-be. With additional features available within the Graphic Designer, like the ability to edit your photo on the spot without navigating to a different window, you can add a black and white photo effect to any picture you choose.
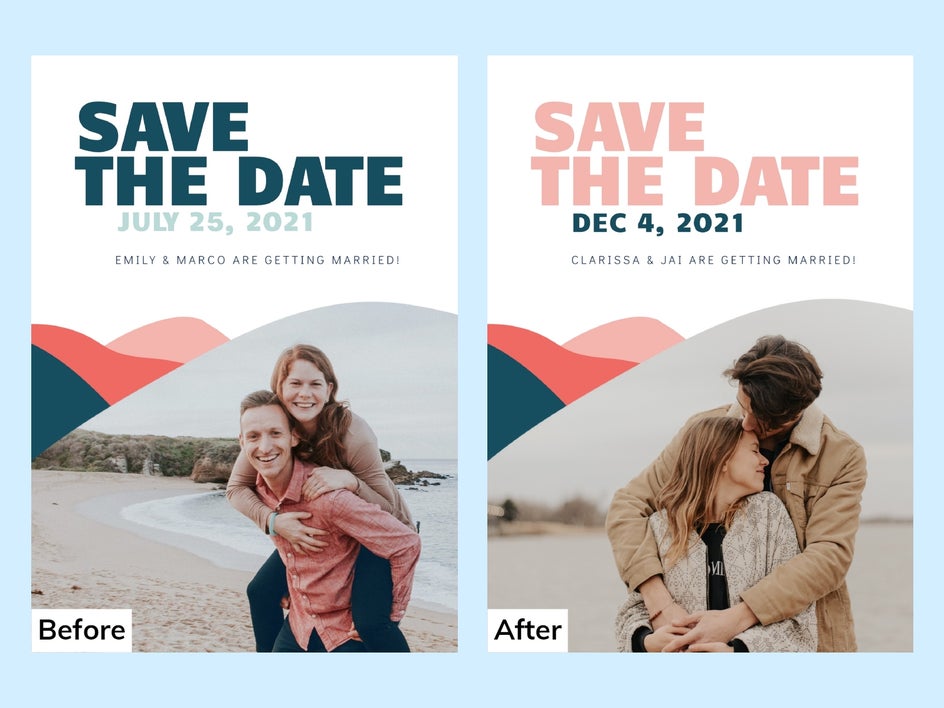
Pop of Color
As you can see with this quirky and colorful template, even the smallest of changes can make a great impact. We simply swapped out the existing photo, then altered the color of the headline and subheadline to match alternate shades of the featured shapes. All up, it took just seconds to do, yet we’re left with a professional-looking and beautifully designed Save the Date card that’s ready to print and mail out.
Create Your Own DIY Save the Date Cards
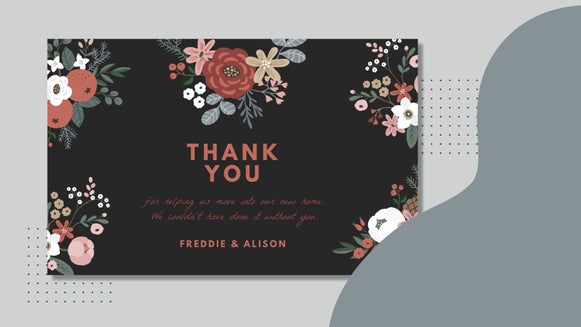
Now that you know the secret to creating the perfect Save the Dates, as well as been inspired by some of our favorite designs, it’s time to make your own! When it’s time to create the rest of your wedding stationery, including Wedding Invites, Menus, and Thank You Cards, we’ve got stunning premade templates for that too. Just head to the Graphic Designer to get started!