Wedding Fun, DIY Style
Wedding season is upon us (and boy does our wedding Pinterest board show it)! Those of you who are engaged know the tedious days ahead—tracking down your ideal venue, booking caterers and entertainment, finding the dress.. The list is never-ending until the day you say “I do!” When I planned my own wedding, my ultimate goal was to DIY most of the decor. Not only because of how expensive everything gets when you mention the word “wedding,” but because I wanted the ambiance to be a reflection of my husband and I. They call it “your Big Day” because it’s just that —yours (and your spouse’s). What a better way to celebrate the love that you two have for one another than with some personalization? Here are some fun (and simple) ideas on how to customize your wedding day decor with photos.
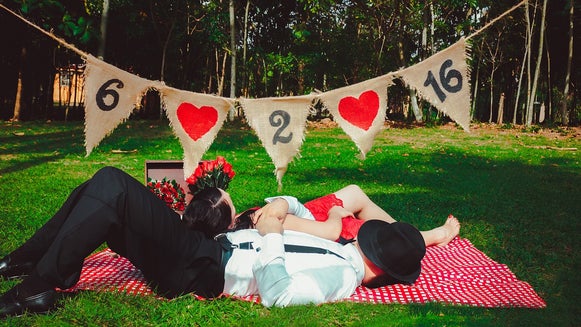
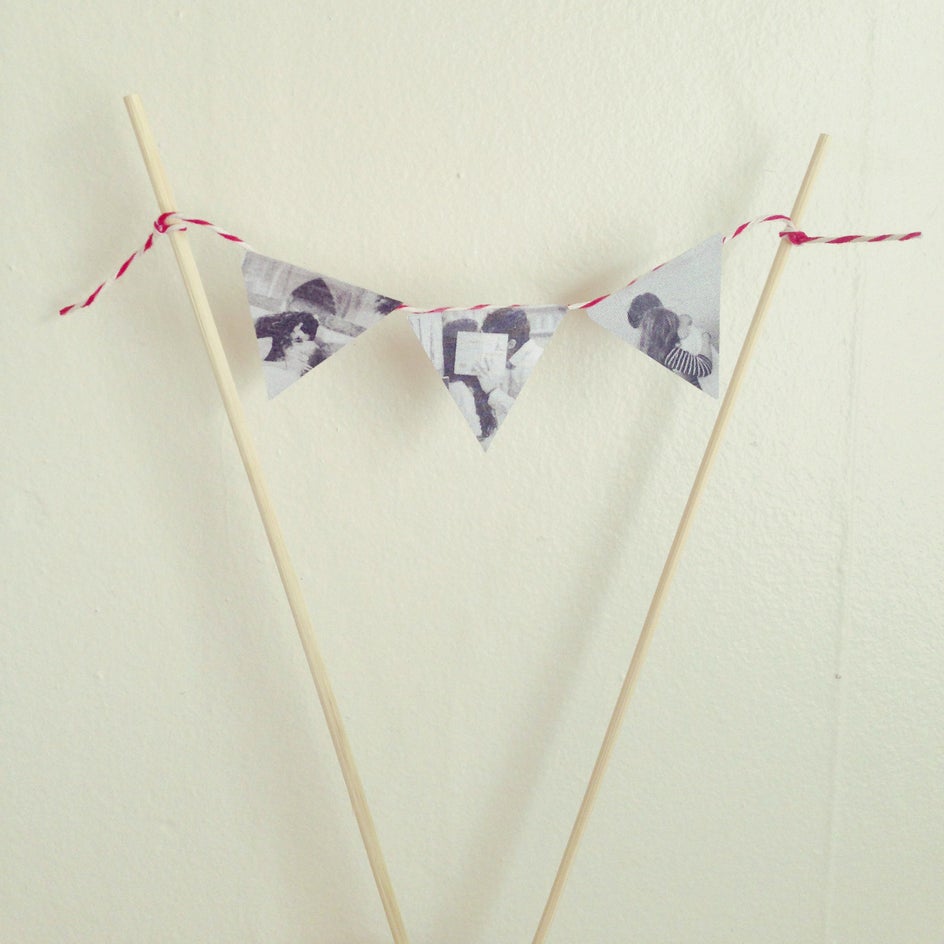
Customized Mini Bunting Banner (For the dessert!)
Who doesn’t love a miniature bunting banner? It’s literally the cutest! This custom-made dessert topper will be uniquely yours.
What you’ll need:
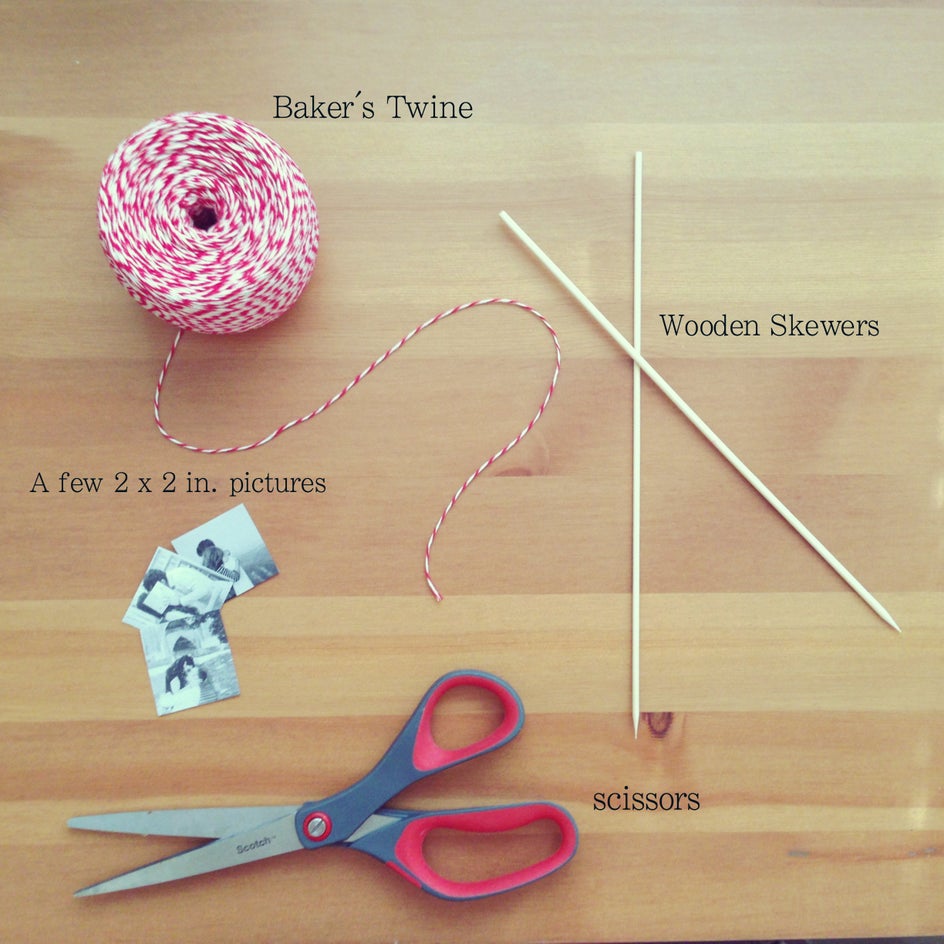
Step 1: Cut the mini pictures into triangles using a custom template. I cut a simple triangle out of cardstock, laid it on top of the pictures, and cut around it.
Step 2: Attach the baker’s twine to the wooden skewers by tying knots around the flat ends of the skewers (the pointed ends will be going into the cake). The knots themselves will hold, but you might want to put a drop of hot glue on the knots just for added security.
Step 3: Attach the pictures to the twine using your chosen method. For paper pictures, use clear tape, for glossy pictures use hot glue.
Step 4: Stick the pointy ends of the skewers into the cake (or your dessert of choice).
Window Frame Photo Display

Old window panes can be used for all sorts of things - turn them into chalkboards to display quotes and signs, hang them up as a backdrop, turn them into table tops, or use them as a display for some of your favorite photos of you and your bae.
To repurpose an old window as a photo display, you need only a few things (in addition to the window itself, which you can find at antique stores, rebuilding centers, or even garage sales):

Step 1: Hammer the nails into the sides of the window pane (be careful not to shatter the glass!).
Step 2: Wrap the twine around the nails and across the window pane in a zig zag. Make sure the first and last wrap are secured with knots.
Step 3: Attach photos to the twine with clothes-pins.
Photo Guest Book
Gone are the days of traditional guests books where your guests simply sign their name. Here to stay is the photo guest book, and the Instax camera is the perfect way to document all the fun as it happens.
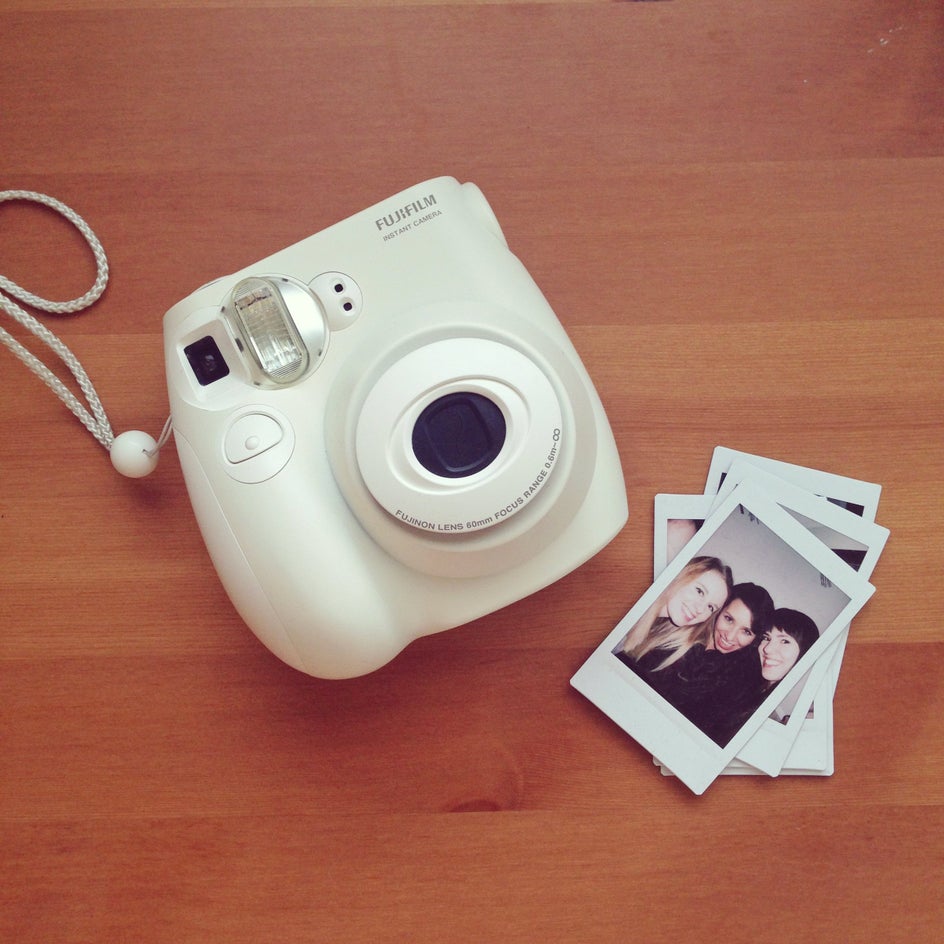
A camera like this will instantly print out mini Polaroids that will need only a few minutes to develop. It’s a touch of vintage without being too clunky.
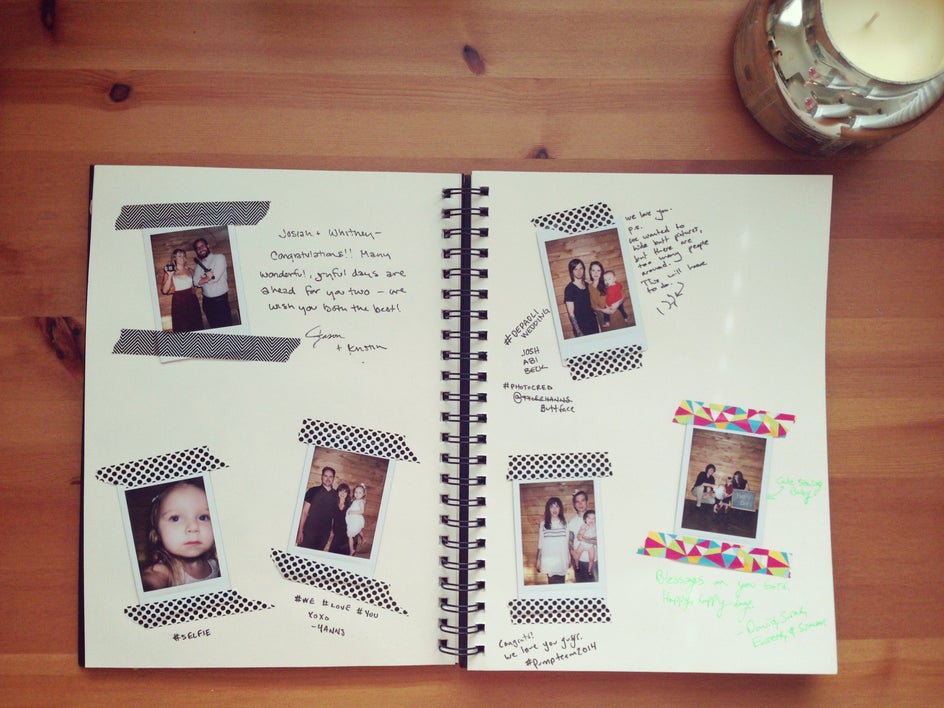
What you need: craft tape, an art book, Sharpies (for guests to write messages around their pictures), an Instax camera, and a neat background for guests to take photos.
Instructions: Once your guests take a photo, they can tape it into the book, write a message, and pass the camera on. Easy as that.
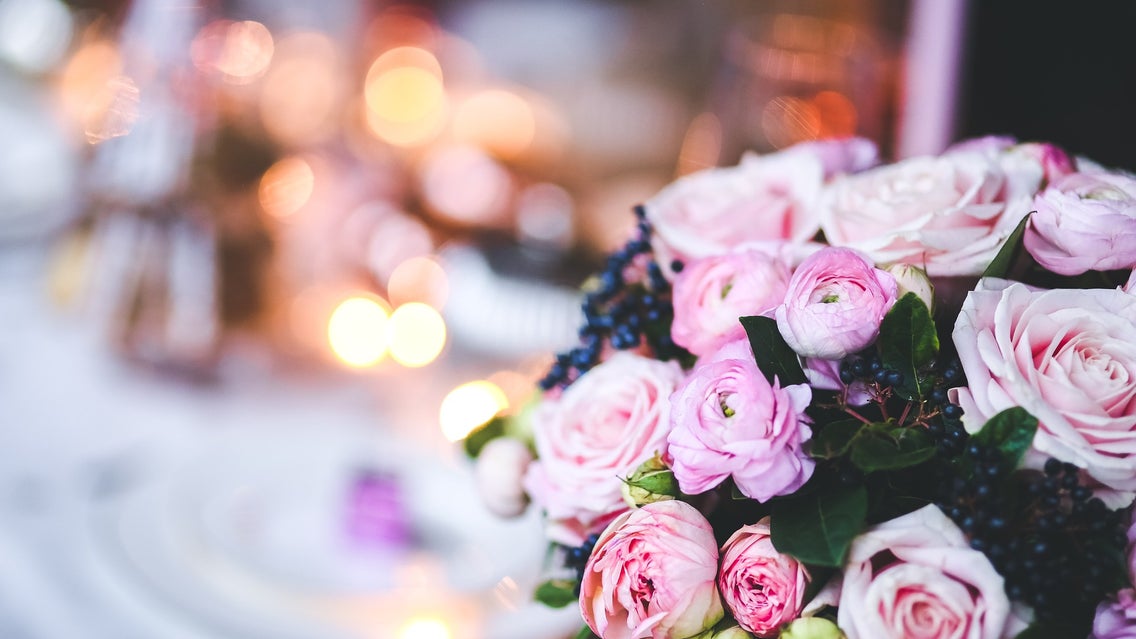
Centerpieces with Photo Accents
An easy way to incorporate photos into your reception is to make centerpieces with them. Even putting a framed photo on the table adds a little personality and invites your guests to engage with your love story. An alternative to this is to accent the centerpieces with mini photos.
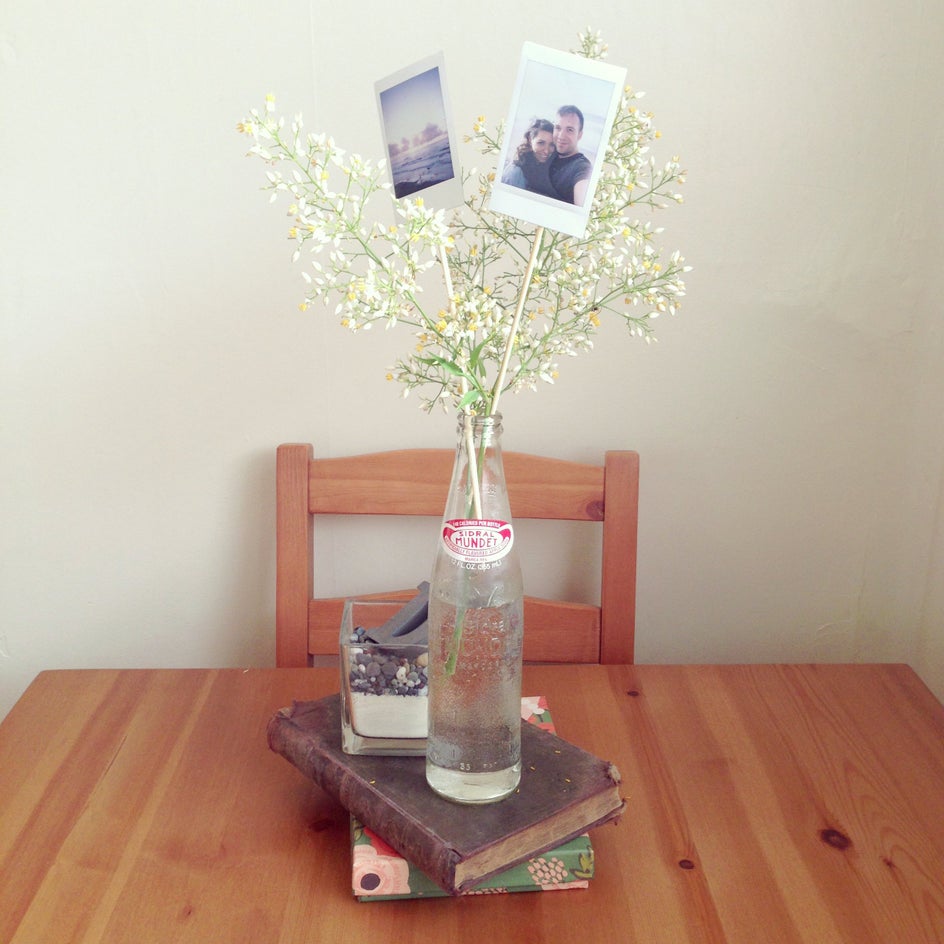
What you need: Your favorite photos of you and your beau (Instax size works great for this), wooden skewers, and hot glue.
Instructions: Put a drop of glue on the back of your photo and secure it to the wooden skewer. Place the skewers into flower vases to accent the flowers.
Happy crafting!
Want to document your whimsical wedding journey?