How to DIY Your Wedding Invites
Regardless of whether or not you’re sending out a Save the Date, one thing’s for sure when you’re planning a wedding: you’re going to need wedding invitations to send to your guest list. Your invitations are one of the very first impressions your guests will have of your wedding, which makes them the perfect opportunity to show a sneak peek of the event vibes. Will you have a specific color palette you’re working with? Is the wedding going to be more formal, heavily themed, or super casual? These are just some of the questions you’ll want to ask yourself before you start imagining your invite.
If you have a solid idea of what you want your invitations to look like or you’re in need of creative inspiration, BeFunky’s Wedding Invitation Maker has the perfect collection of ready-to-use wedding invitation templates that you can customize in just a few clicks! Match them to your wedding color scheme, try out some different themes (we’ll give you inspo below), add photos to make them more personal – you’ll find all the tools you need to make your wedding invites your own and save big on your budget while you’re at it. And the best part is, these templates are so simple to work with that anyone can use them. We’ll show you how!
How to Create Wedding Invites With BeFunky’s Design Templates
Once you have all the details for your wedding invites, head to the Wedding Invitation Maker and follow the steps below:
Step 1: Choose a Wedding Invitation Template
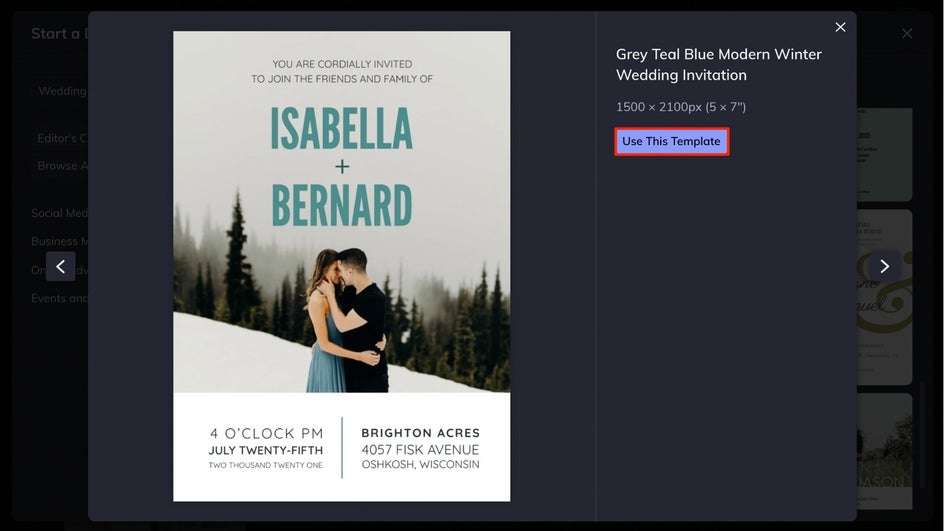
Now that you’re in the Wedding Invitation template library, choose your favorite to use as a starting point.

Click on the different options to see an up-close view and click the Use This Template button to load it onto the canvas.
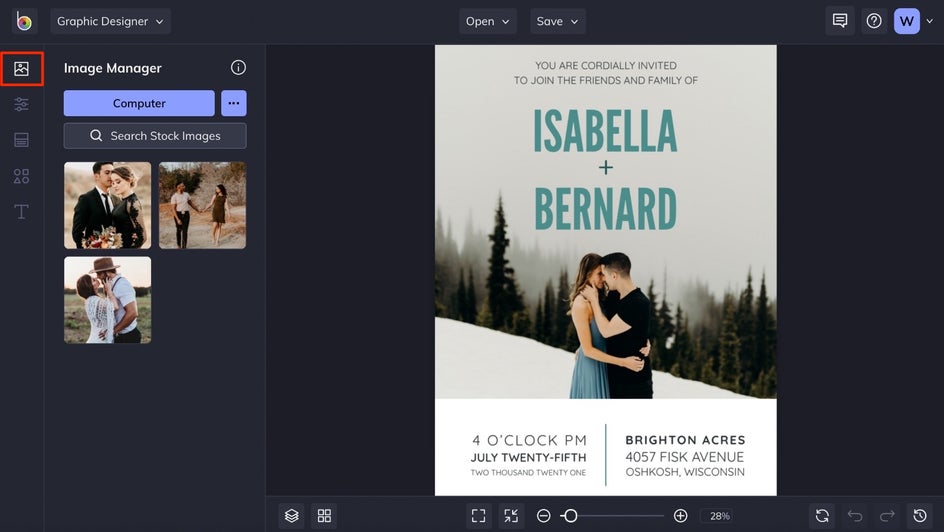
Step 2: Add a Photo
If you want to add a photo to your invitation or swap the existing photo on the template, click on the Image Manager tab in the left-hand menu. The, click the Computer button to upload your favorite images.
Once you’ve uploaded your images, they’ll appear as thumbnails in the Image Manager. Click and drag any image thumbnail over an existing template photo to place it.
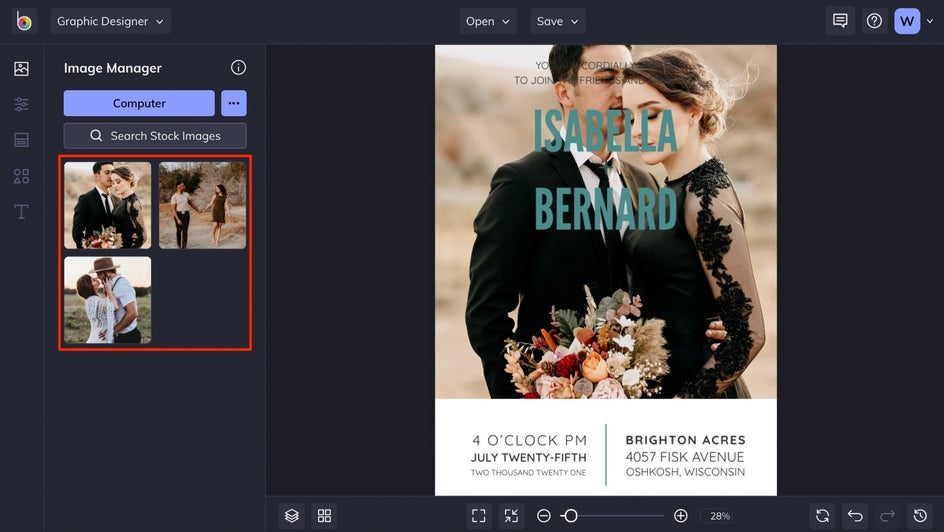
If your template doesn’t have a photo but you want to add one, simply drag-and-drop it onto the template and use the blue circles around it to resize and rotate it to your liking.
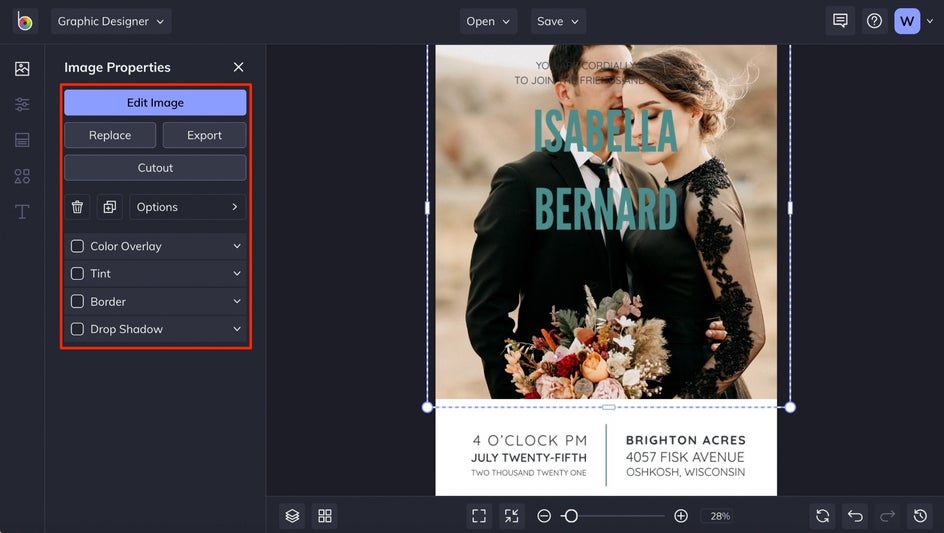
Notice that any time you have an image on your template selected, an Image Properties menu appears on the left. You can use this menu to edit your image, add a tint, color overlay, and more.
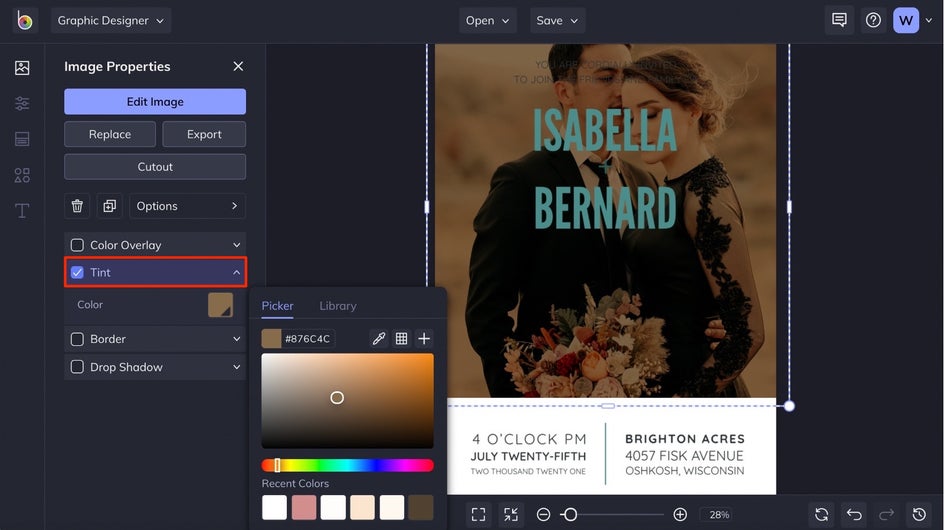
To make the image on our template more of a background accent, we added a Tint by selecting its checkbox and choosing a color.
Step 3: Change the Background Color
To replace your template’s background color to reflect your wedding theme or color scheme, click on the Customize tab in the left-hand menu. Then, click on the first color tile in the Background Color section and choose a new color.
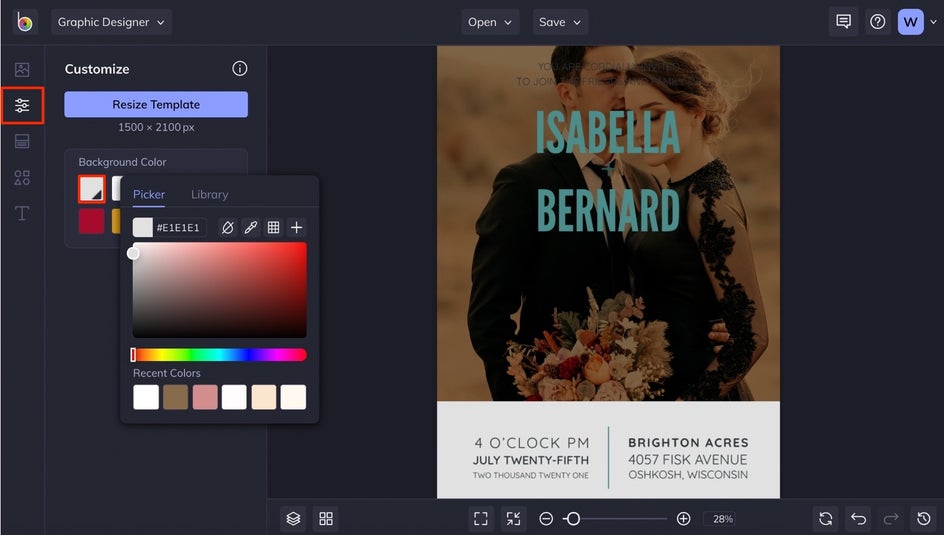
If you need a specific color, enter a HEX color code to get things exact.
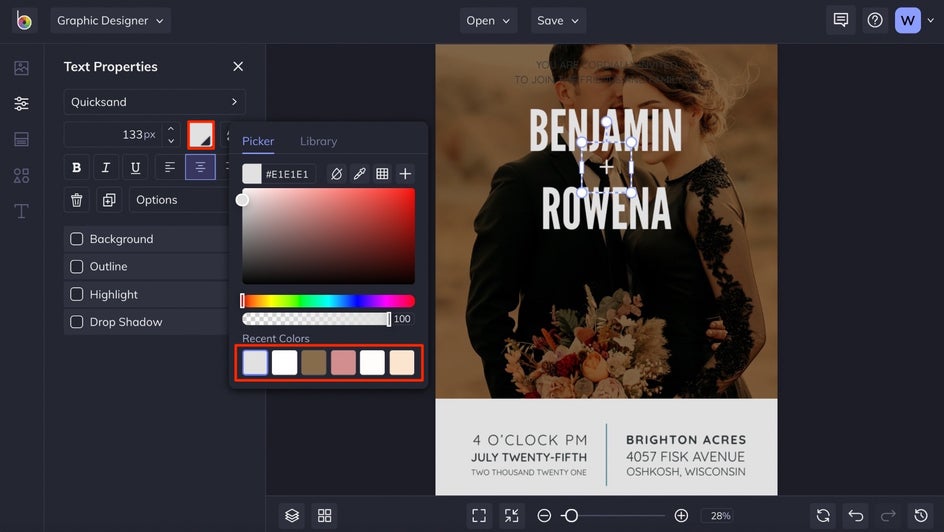
Step 4: Edit the Text
Once your background is looking fabulous, you’ll want to edit the pre-existing text to reflect your own wedding’s aesthetic and details. Double-click any textbox to type something new.

You’ll notice that when you have a textbox selected, a Text Properties toolbar appears where you can change elements such as fonts, letter spacing, colors, paragraph orientation, and more. To change the color of the text, click on the color tile in the Text Properties menu and choose a new hue. Note that BeFunky keeps track of your Recent Colors, so it was really easy to match this text with the background color chosen in Step 3.
To change the font, click on the font name in the Text Properties menu.
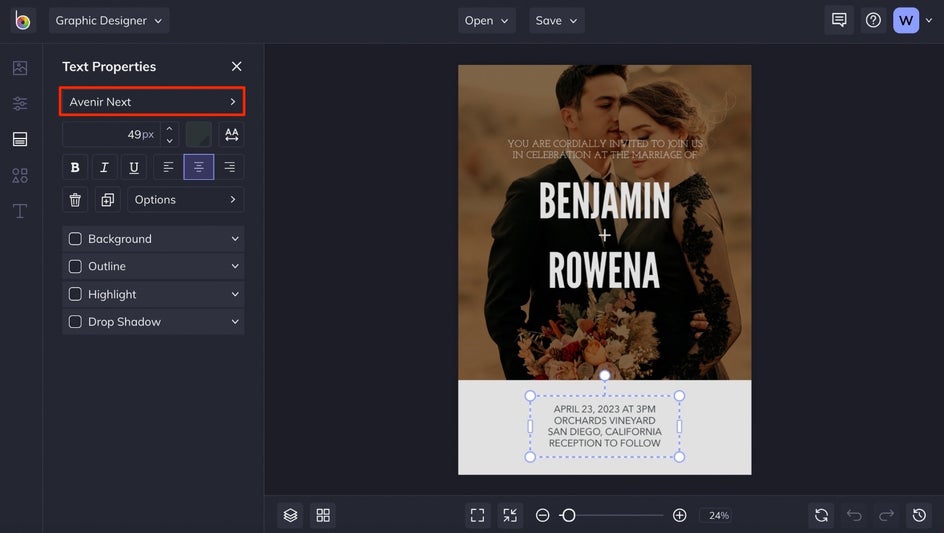
Then, try out different fonts by clicking on them in the list until you find one you love.
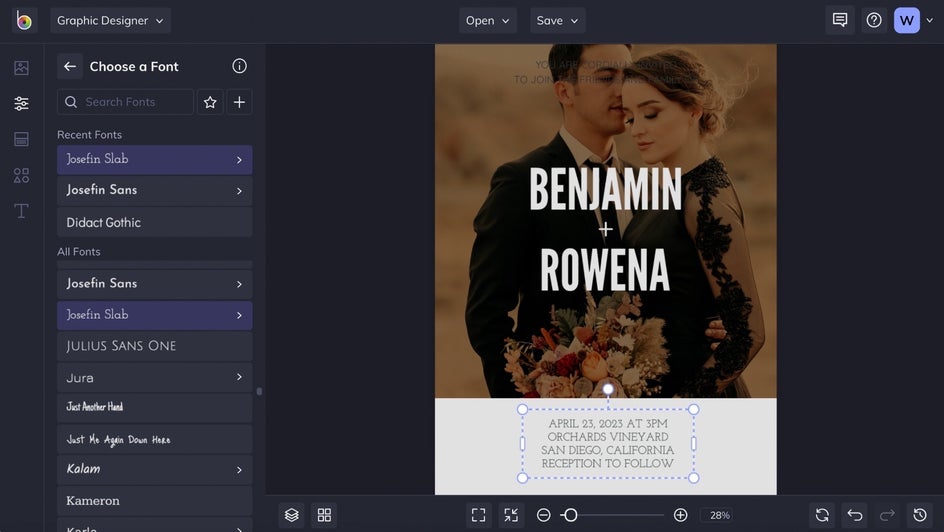
When choosing your fonts, you’ll want to make sure that you stick to a maximum of two that pair well together. This is going to give a professional, polished look. BeFunky has hundreds of free, hand-picked fonts you can use in your wedding invitation design, but if you need even more custom options you can drag-and-drop your own to the library.
Step 5: Add Graphics
If you’re looking to add some graphic elements to finish off your wedding invitation design, click on the Graphics tab in the left-hand menu.

There, you can add any customizable Basic Shapes to your invite or search BeFunky’s library by clicking the Search Graphics button.

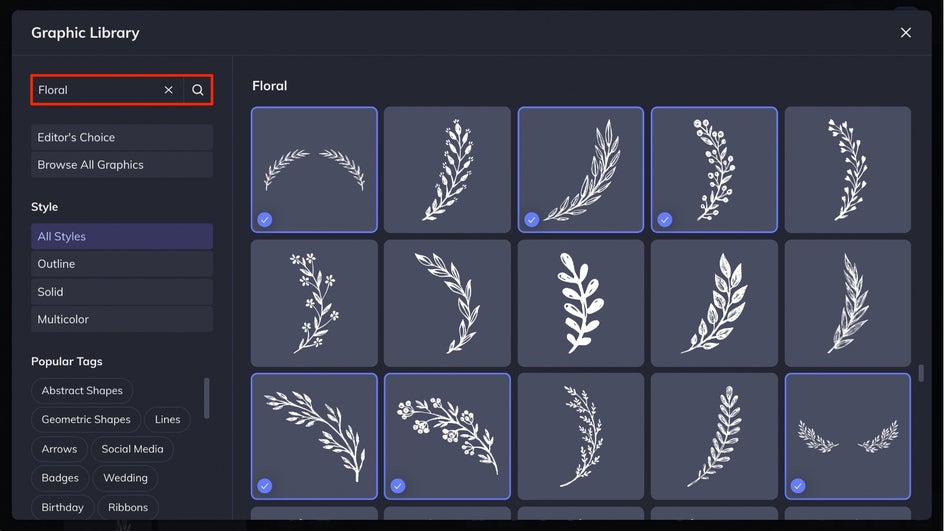
Once you’re in the Graphic Library, type in a search term and click on all the options you love. When you’re finished selecting graphics, click the X in the upper right corner to close out of the library.
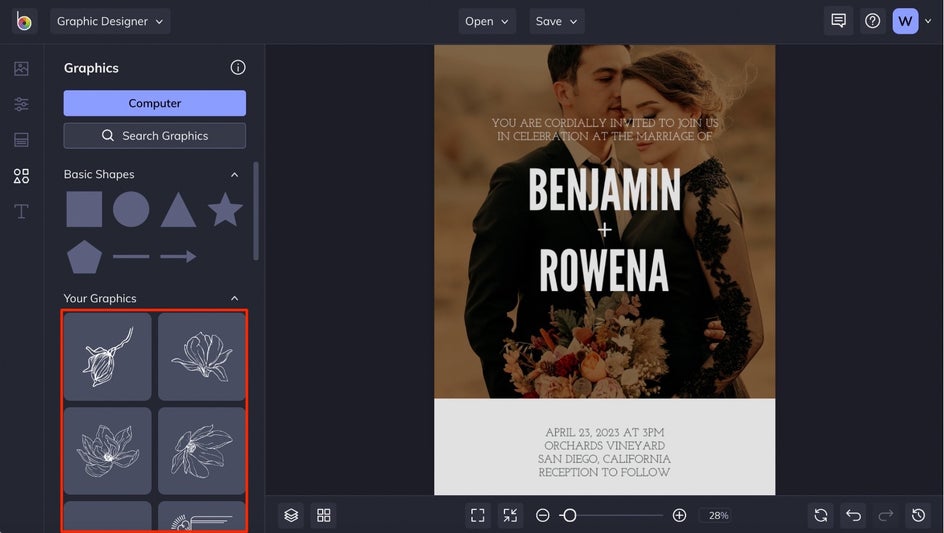
You’ll find all the graphics you selected in the Your Graphics section of the Graphics tab. Simply drag-and-drop any graphics you chose onto your wedding invite and start rearranging and customizing them.
Use the Graphic Properties menu that appears whenever the graphic is selected to change the Color Overlay, Opacity, Blend Mode, and more.

Step 6: Save Your Wedding Invitation Design
Once your wedding invite is looking perfect, click the Save button at the top of the screen. You’ll be presented with several options to save your design.
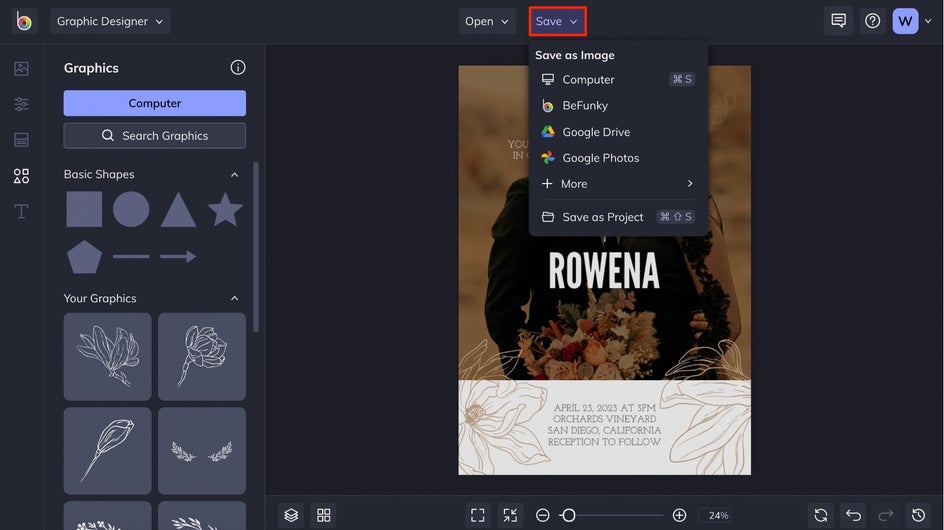
If you plan on printing your wedding invitations, we recommend saving them in PDF file format. This will ensure the highest resolution for printing. We also recommend re-saving the file as a project to keep a copy in editable format.
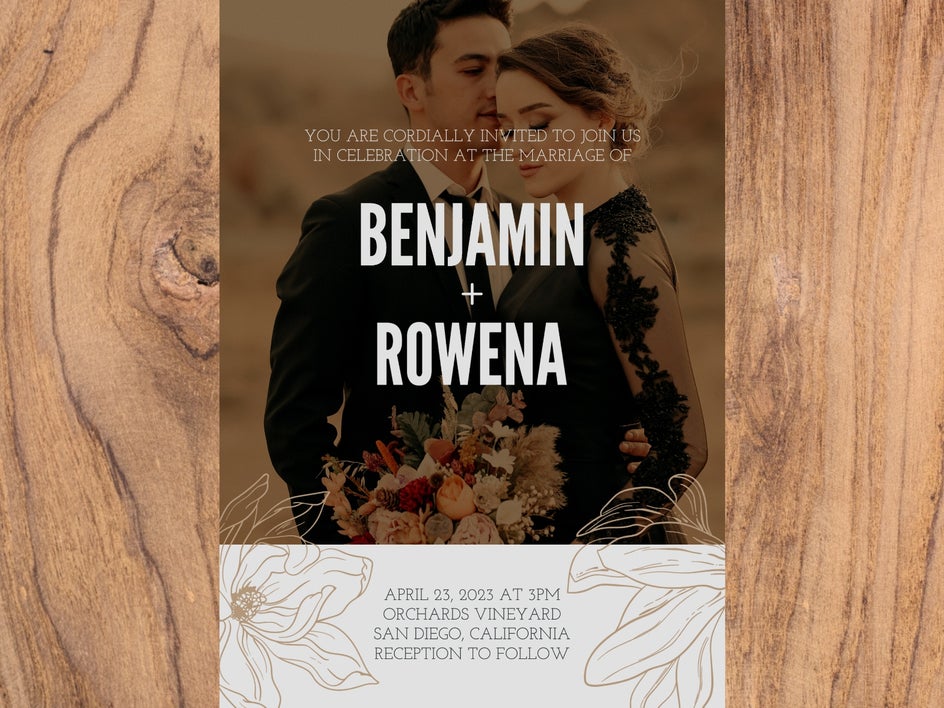
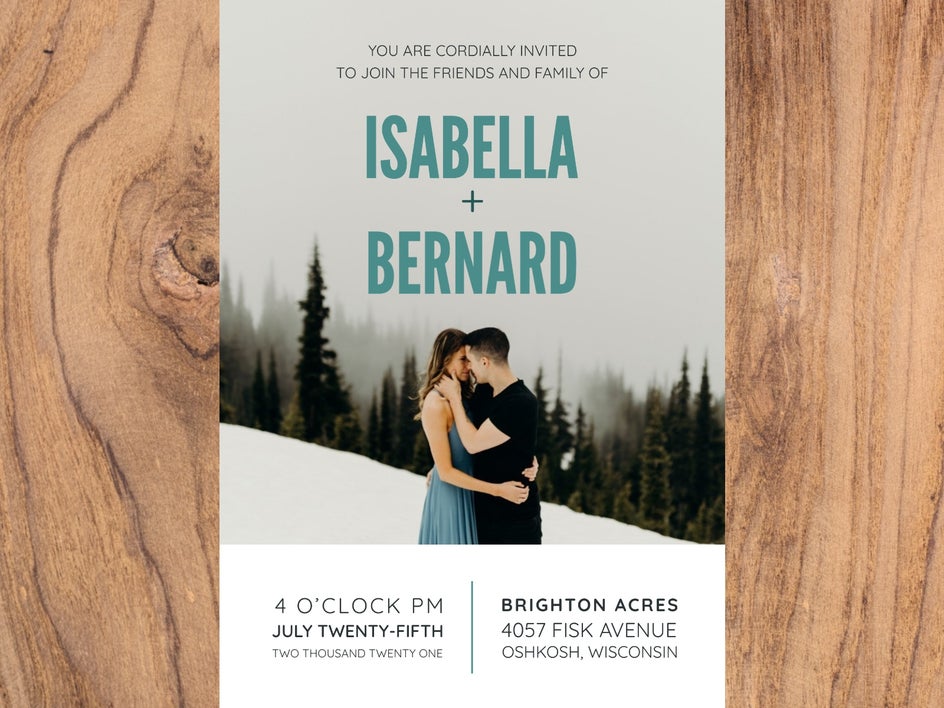
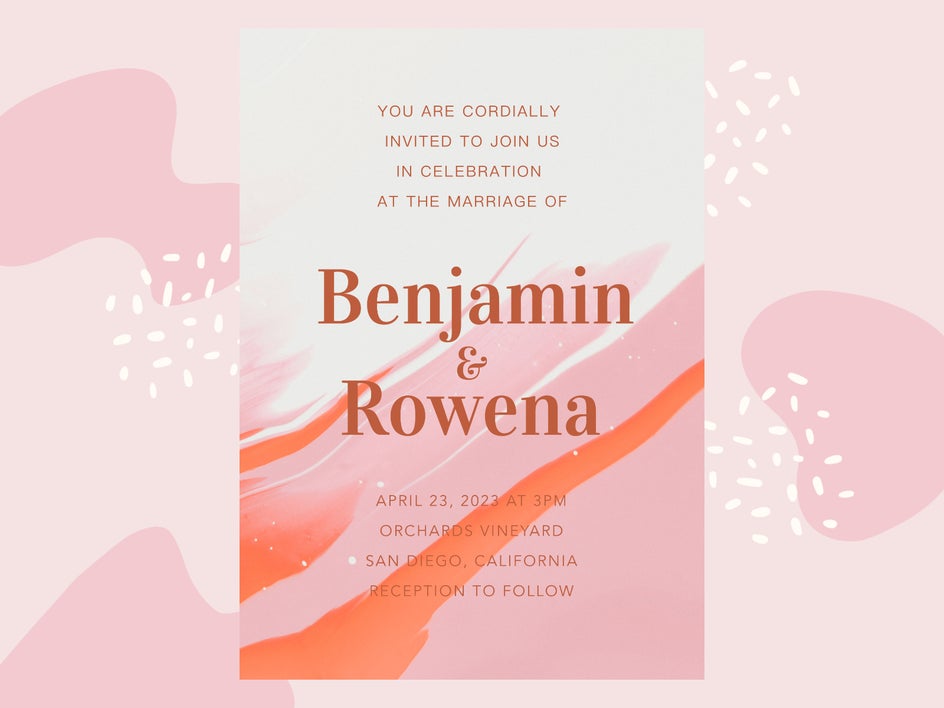
Wedding Invitation Final Results
And just like that, you’ve got the wedding invitation you’ve been dreaming of – all without having to hire a graphic designer! This way, you can put that extra money towards your ideal honeymoon.
On-Trend Wedding Invitation Themes
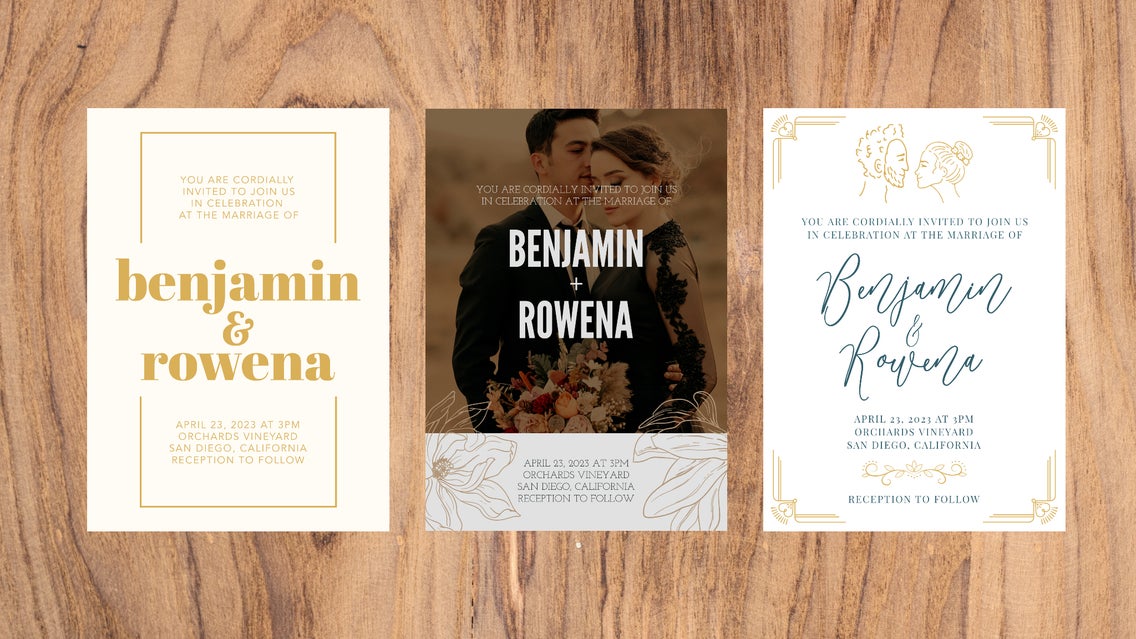
Now that you know how easy it is to create custom wedding invitations with BeFunky’s Wedding Invitation Templates, here are a few different wedding invitation themes you can create. Each of these themes uses the same wedding invitation template as the tutorial starting point, but you can use any template to start your project:
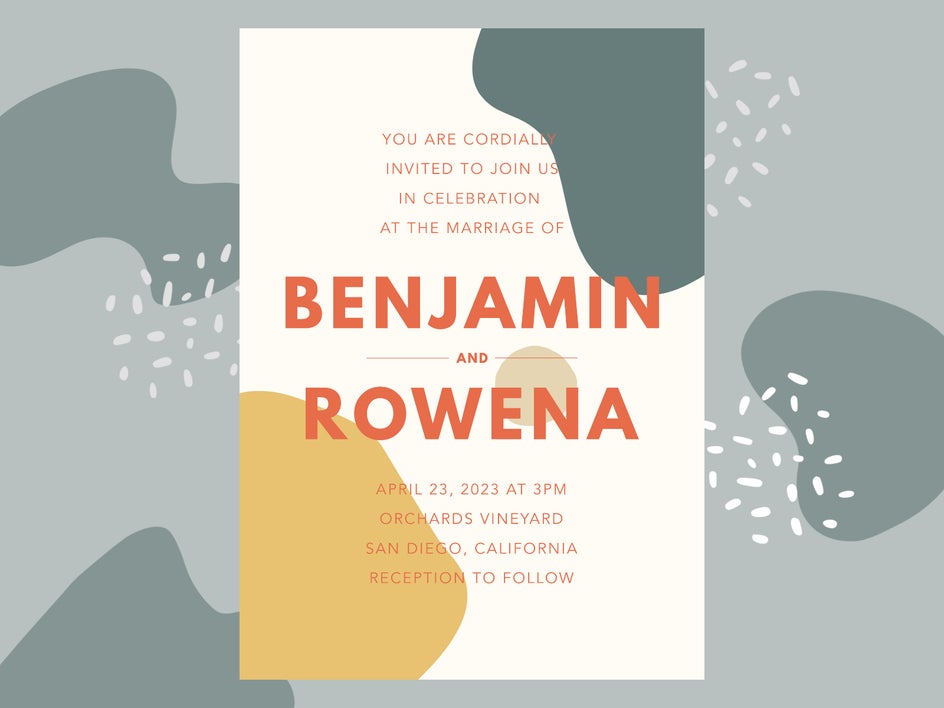
Vintage Palette
Everything old is "in," including retro color palettes. To get the look, go for warm yet muted reds, yellows, greens, and oranges. In other words, the best of the '70s. Choose bold, abstract shapes to really nail the aesthetic.
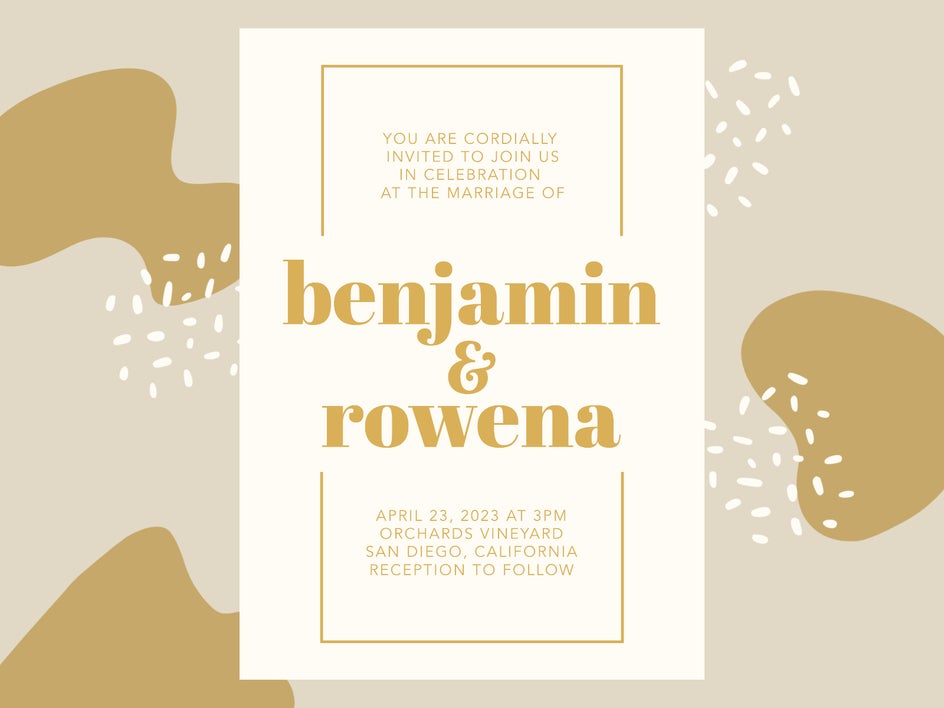
Minimalist
Sometimes, minimalism is the best route. Your guests get all the info they need in a clean, refreshing design. To get the look, keep the text blocks to a minimum and stick to clear and simple fonts with lots of whitespace.
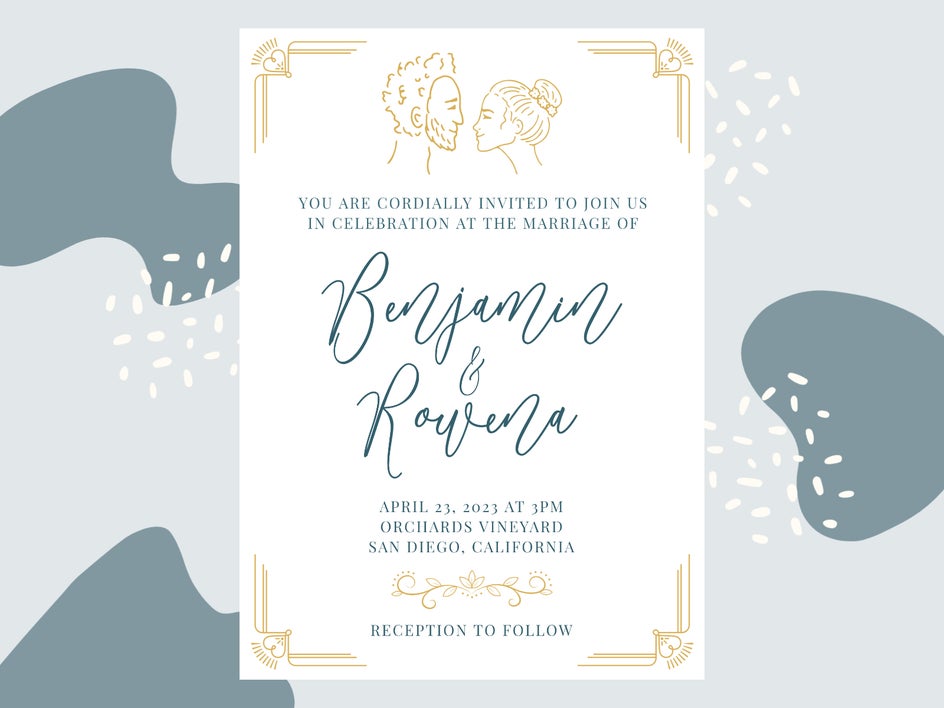
Illustrated Portraits
Add some personality and creativity to your invitation with illustrated portraits. You’ll find tons of these in BeFunky’s Graphic Library, but you can also draw one yourself (or have a friend draw one) to better represent you and your partner.
Painterly Backdrops
Brushstrokes, watercolor effects, abstract art – it all makes for a beautiful backdrop to a wedding invitation. Unless you want to paint your own background, try searching for painterly backgrounds in BeFunky’s Stock Image Library, then simply add any image you want as the background for your wedding invitation masterpiece.
Design Your Own Wedding Invitations in Minutes
Ready to start designing your perfect wedding invitation? Thanks to the BeFunky’s Wedding Invitation Maker you can save big time on your big day AND create a wedding invite with your own personal touch!