Create a Duotone Photo With the Tint Tool

When you’ve been editing photos for a while, your processes and procedures can become so routine that you get caught up applying the same adjustments over and over without venturing into other tools and techniques. Sure, having a cohesive look throughout your photography and social media feeds is important, but if you want to add a special effect to your photos or you are simply needing a colorful effect for a poster or graphic, creating a duotone image is the quickest way to transform an image into one that is colorful and eye-catching.
Let’s get into what a duotone effect is and then we will show you how you can create a duotone image below in BeFunky’s Photo Editor.
What Is a Duotone Effect?
If you break down the word, duotone simply means two tones. The duotone effect applies two tones to an image, assigning one to the highlights and one to the shadows. This is what happens with a black-and-white image, but instead of black-and-white, duotone images apply contrasting colors to get a colorful effect.

You’ve probably seen the duotone trend while you were scrolling on social in recent years. Big brands like Spotify have used duotone images for their brand photos and have widely made this effect the trend that it is today.
Gradient Maps
Typically, to apply a duotone effect to an image in a photo editing program like Photoshop, you would use a gradient map. This tool uses a gradient editor to apply a single color to the whites of your image and another to the blacks. The tones in between are also assigned one of these two colors in a gradient or gradual fashion.
The cool thing about BeFunky is that we have the tools you need to apply these same kinds of effects that you could only do with an expensive program. To achieve a duotone effect in BeFunky, all you need is the Tint tool.
How to Use the Tint Photo Editor to Create a Duotone Effect
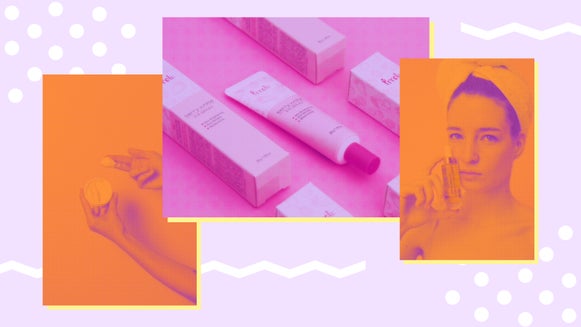
If you want to apply a duotone effect, the Tint tool is the way to go. BeFunky’s Photo Editor can apply this colorful effect to your image in no time and is the quickest way to create a duotone image. We are going to create a cool duotone effect so we can use the image for promotional material.
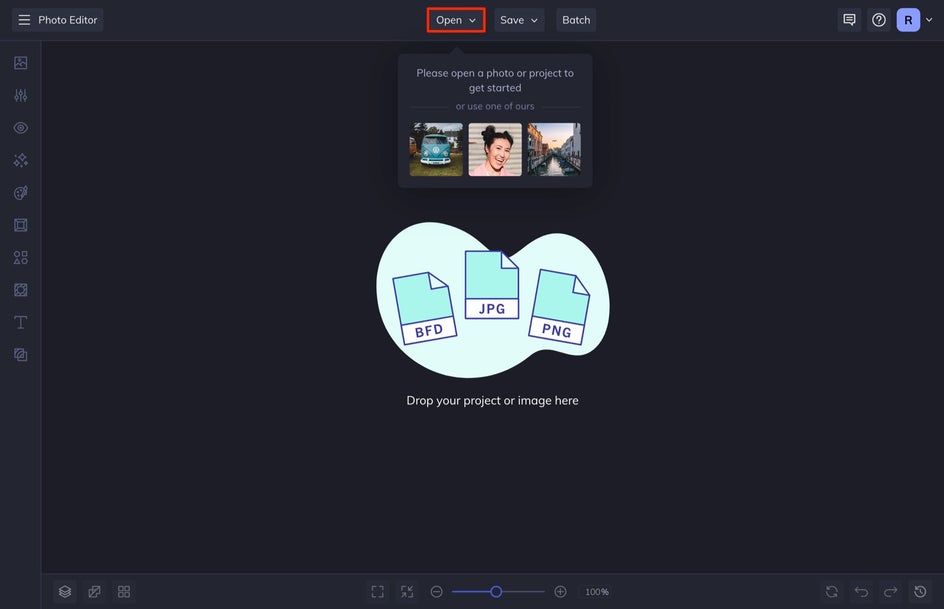
Step 1: Open a Photo
Click here to get started and then select Open at the top of your screen and then Computer to upload a photo. You can also drag and drop a photo directly into the interface.
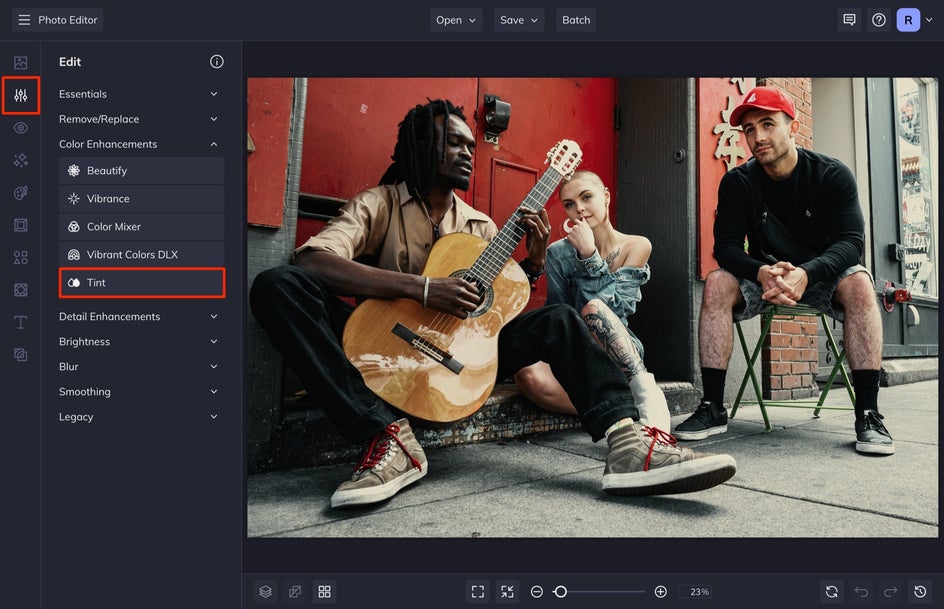
Step 2: Select and Apply the Tint Tool
Next, select Tint from the Edit tab on the left.
When you do this, you’ll notice that your photo immediately turns black and white. To create a duotone, we will need to assign one color to Color Value 1 (highlights) and another to Color Value 2 (shadows). Unless you want your image to appear like a negative, you want to assign a lighter color to Color Value 1 and a darker color to Color Value 2.
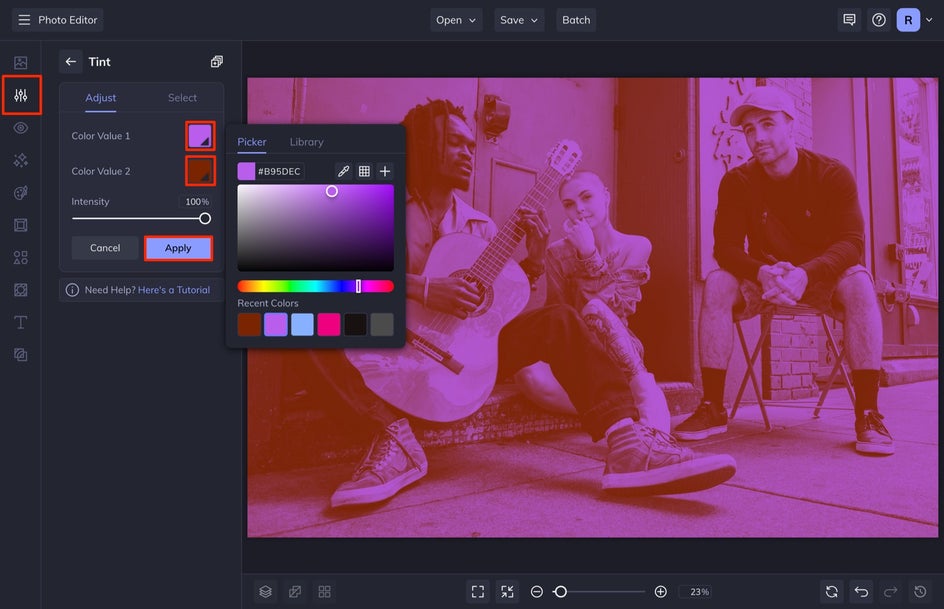
When you like the colors you’ve selected and are finished applying the duotone effect, click Apply.
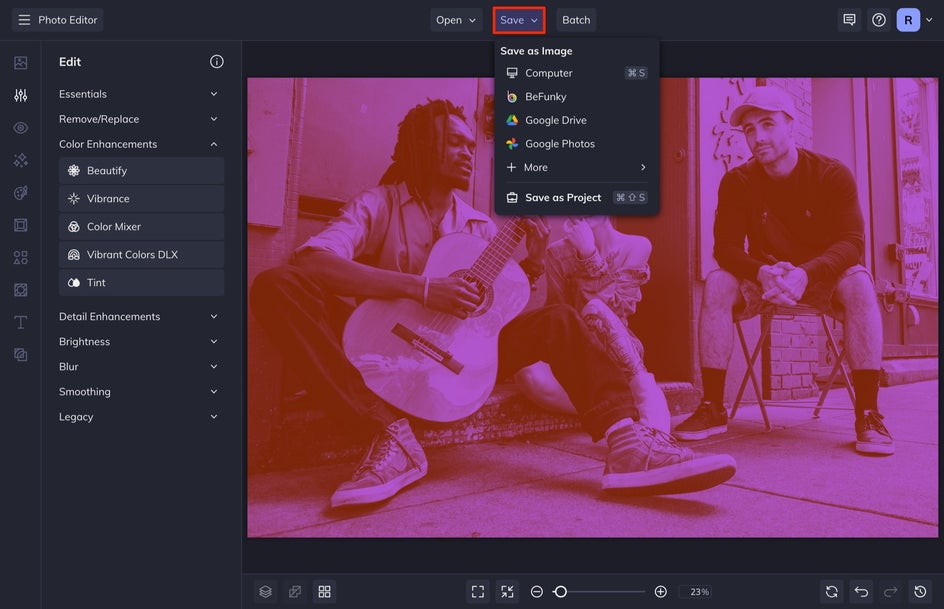
Step 3: Save Your Duotone Image
When you are ready, select Save at the top of your screen and save your image to your Computer or other designated place.
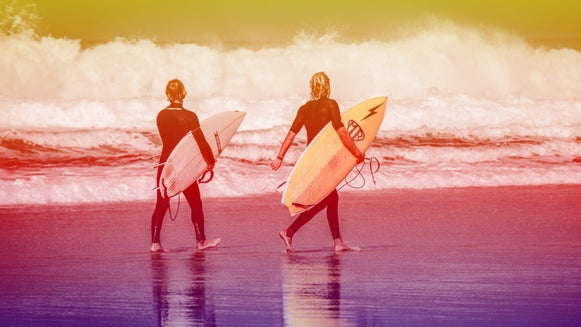
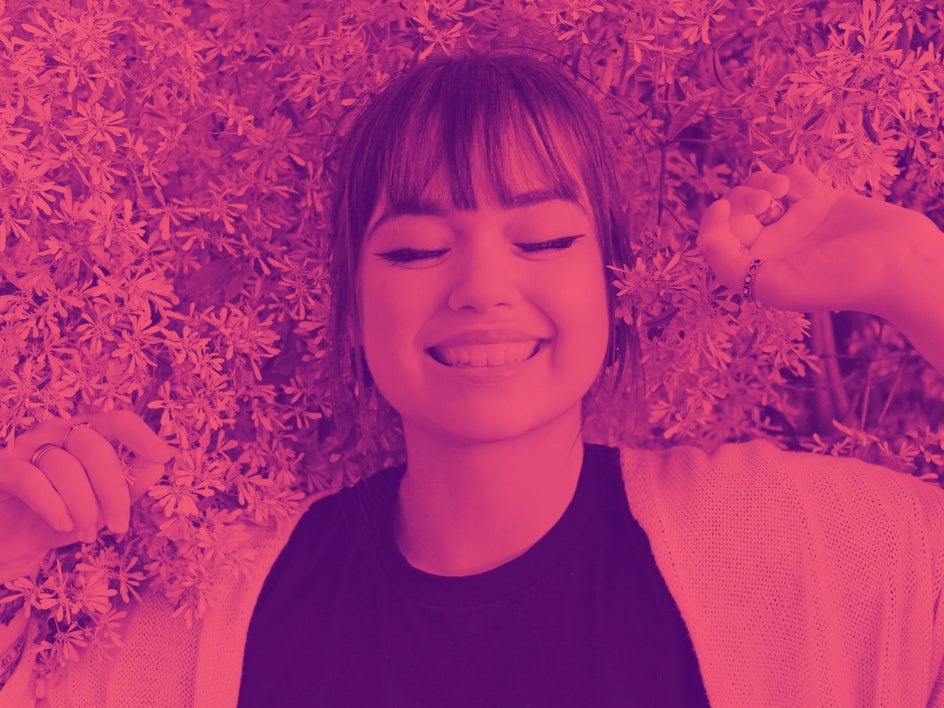
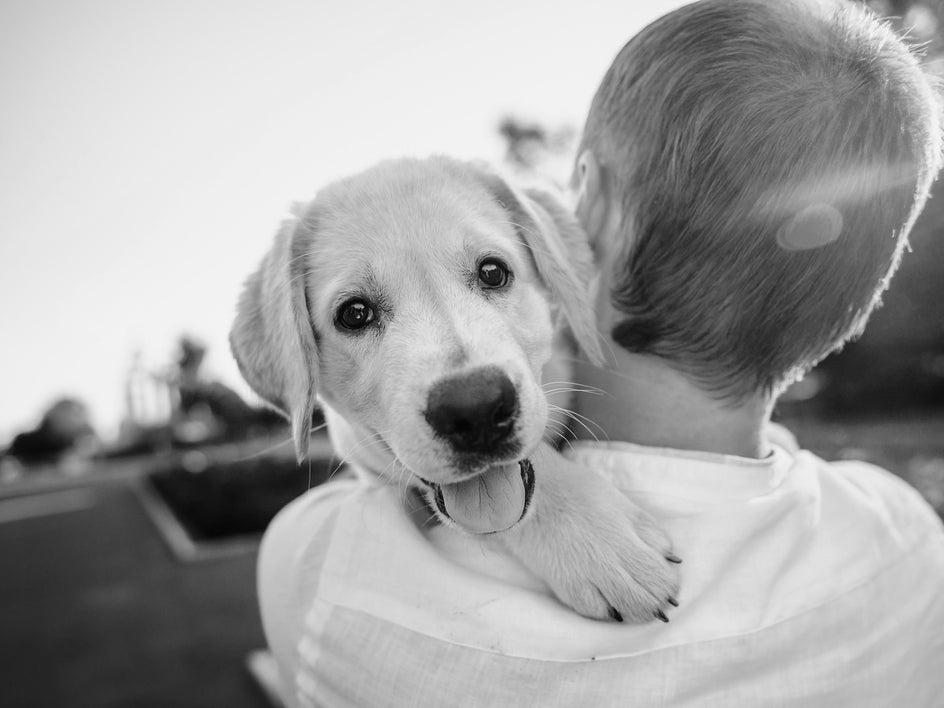
Take a look at our before and after. This duotone effect adds a striking pop of color and completely changes the aesthetic of the image:


Create a Duotone With the Tint Tool
It’s easy to create a duotone with BeFunky’s Photo Editor. This is a fun technique to do when you want to add some contrasting colors or a cool colorful effect to your images. If you want to take it a step further and add some texture, try adding a halftone to your duotone photo.