5 Tips for Taking Better eBay Photos

There are thousands of websites and apps where you can resell your used goods, but none are quite as established or ubiquitous as eBay. Part of why eBay is still thriving three decades later is because it has strict guidelines for what images you can post. This weeds out scammers and unprofessional sellers. If you want your listing to be successful, you’ll follow these guidelines to a tee.
But some of these rules are difficult for the average person to follow: White backgrounds? High resolution? Perfect lighting? If you’re taking a photo for eBay on your phone, it’s impossible to achieve these with your camera app alone. Luckily, the BeFunky Photo Editor is here to help. With comprehensive editing features available on both desktop and mobile, you can create better eBay listings from anywhere, with any camera.
Read on to learn how to best follow eBay’s photo guidelines so that your listing is as successful as possible!
1. Follow the Size Requirements
The minimum size photo you can use on eBay is 500 x 500px, but when it comes to showing off your products, bigger is better. Luckily, even your phone will probably take photos that are at least 3024 x 4032 px. The maximum size is a whopping 9000 x 9000 px, so no need to worry if your image is too big unless you’re using a particularly high-resolution camera.
When it comes to dimensions, you can use landscape, portrait, or square, but your listing will seem more professional if all your photos are the same size and orientation. Try the Batch Image Resizer to resize all your images at once. Double-check to make sure you’re not cropping out anything important!
If your images don’t meet the minimum size requirement, the first thing you should consider is retaking the photos. However, if that’s not possible, there are a few workarounds.

You can resize the image to be bigger and then use the Sharpen tool to make it look higher quality. Or, remove the background of your photo, then upload it to a larger canvas in the Graphic Designer. The item itself will remain the same size, but eBay will now let you upload the image. (Don’t use this trick if you can’t remove the background. It will create a border around your image, which eBay doesn’t allow.)
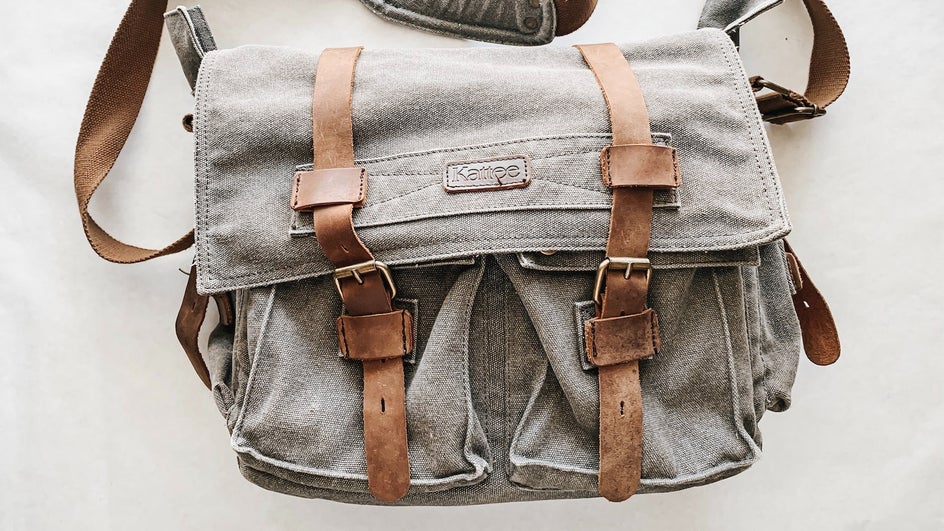
2. Fill the Frame
Because eBay is all about the product, not branding or styling, the item you’re selling should fill as much of the frame as possible. To properly set up your eBay photo, keep your camera close when you’re shooting. Make sure you still capture the entire item! Afterward, you can use the Crop tool to cut out any unnecessary background.
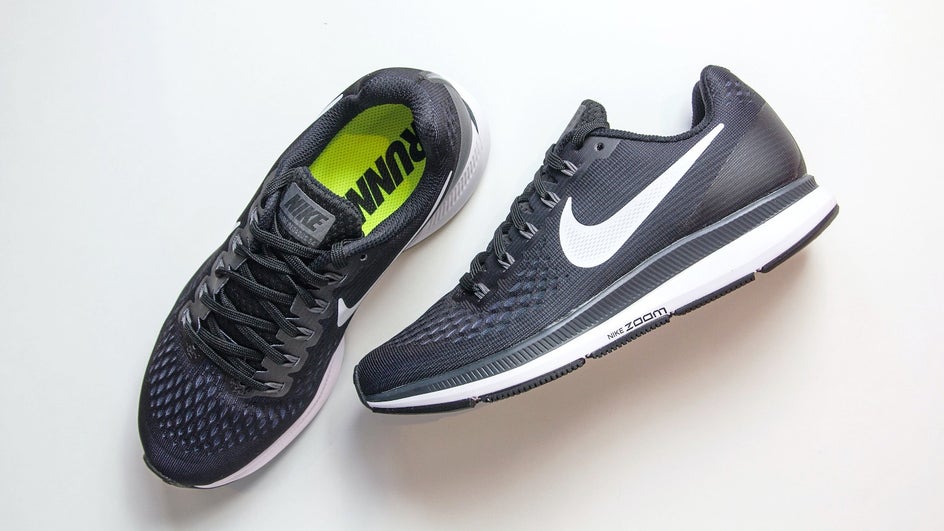
3. Capture Multiple Angles
eBay recommends using as many photos as possible to capture every angle of your product. When listing a used item, you should also take photos that focus on any noticeable scratches, dings, and marks. eBay allows you to upload up to 12 photos. Use that space to your advantage! The more photos you upload, the more trustworthy you seem as a seller.
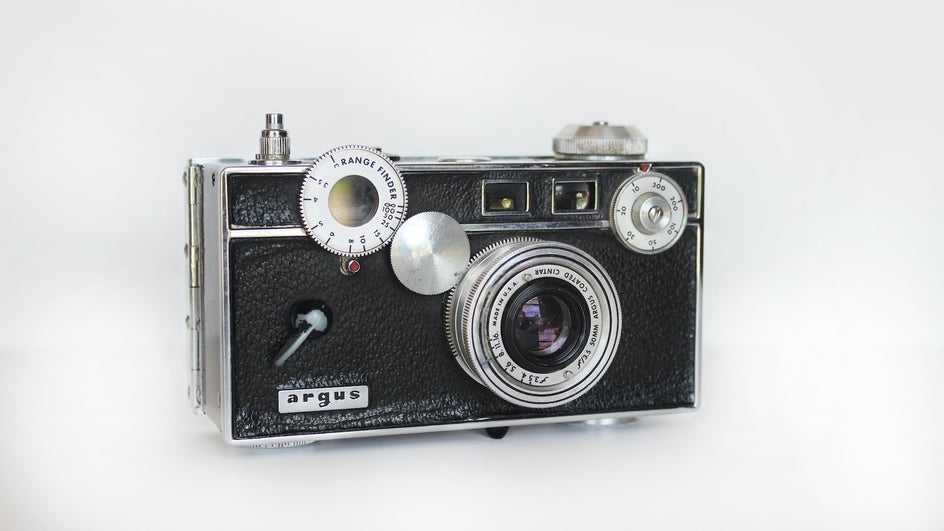
4. Get the Right Lighting
Lighting is one of the most important parts of any eBay listing photo. You don’t want any harsh shadows or bright glares to obscure parts of your item. Dim or uneven lighting results in a lower-quality image that will look muddy on the screen. Meanwhile, a well-lit photo makes you seem more professional and looks more attractive to a browsing customer.
You don’t need fancy studio lights to achieve this. First, just make sure you take your photo in a bright area, like near a window or in a room with plenty of overhead lights. Don’t use flash, as this can increase the contrast of your photo too much. Once you’re done, you can edit the brightness, contrast, warmth, and more to make sure your photos are both accurate and appealing.
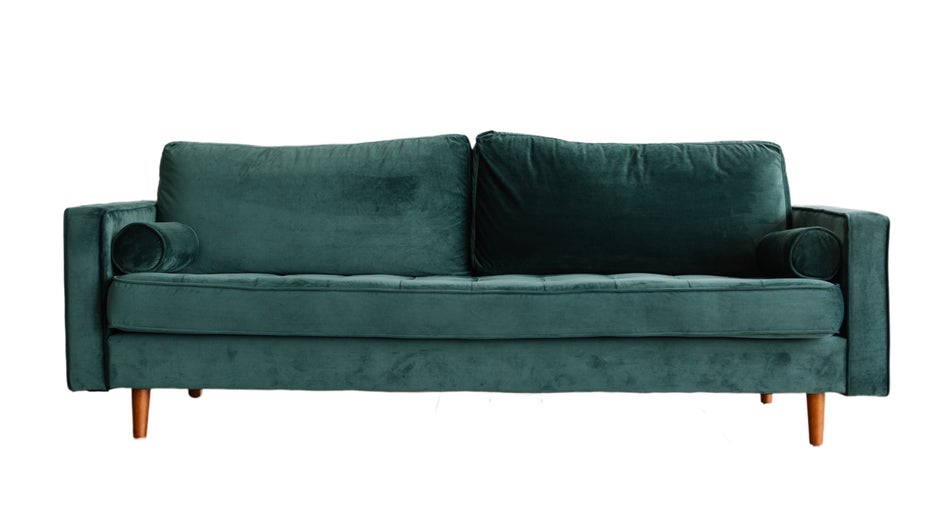
5. Remove Backgrounds
As we mentioned before, eBay is a place to sell items, not brands or aesthetics. This means that eBay experienced eBay buyers, sellers, and administrators have a strong preference for images with a plain white background. These are the items that stand out more and are more likely to sell. Plus, they look much more professional compared to photos where your kitchen countertop is visible!
You can use the Background Remover tool to instantly remove the background of your photos and replace it with a clean white backdrop. The Brush and Eraser tools make it easy to refine the edges of your image.

Increase Your eBay Sales With BeFunky
Setting up and editing great photos for eBay doesn’t have to be hard. With the quality of today’s smartphone cameras, you can even do everything right on mobile. All you need is a little knowledge of the rules and some handy photo editing tools, and your images can look just as good as those of experienced sellers. Check out the Photo Editor to start creating better eBay listings today!