Updating Your Etsy Shop Product Photography Is the Single Best Thing You Can Do for Sales
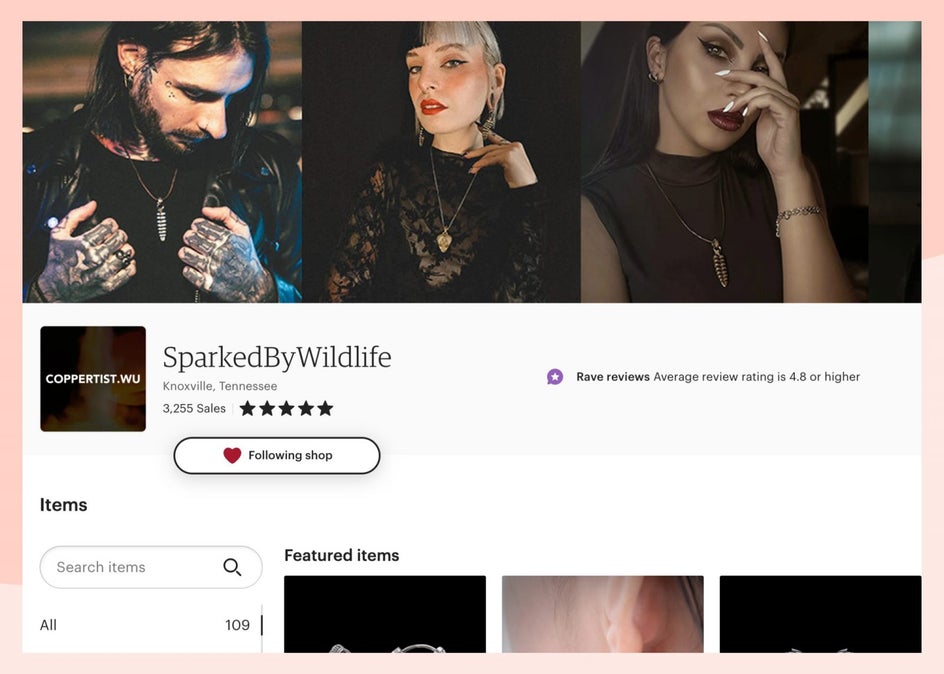
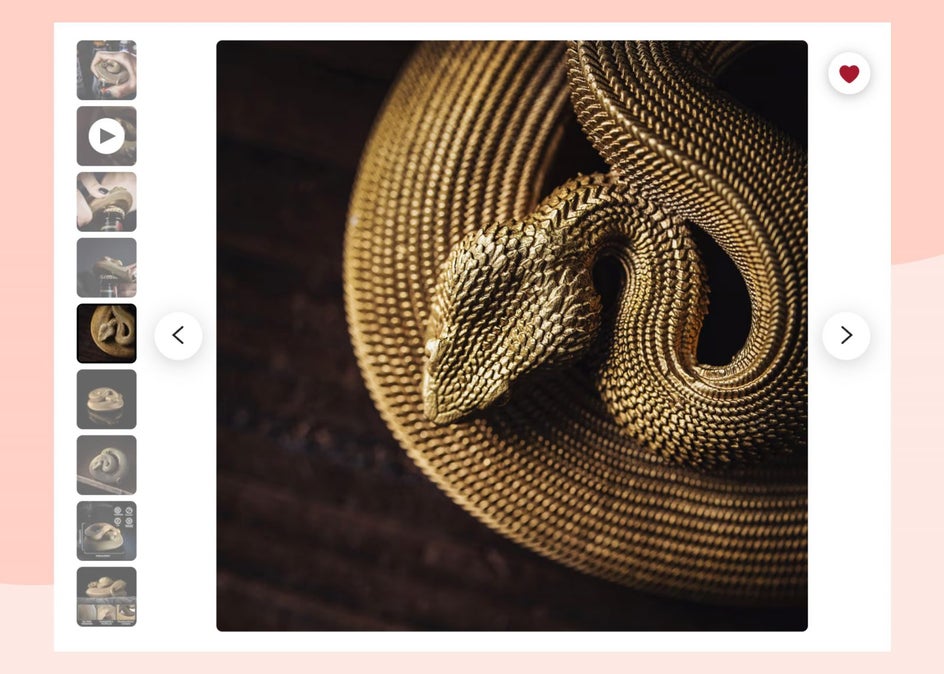
One of the secrets to success on Etsy is treating your homepage like a storefront and establishing a cohesive design and aesthetic for your shop icon, banner, cover photo, and profile photo – this is expert Etsy branding. Once you have these pieces complete, your branding can continue into your photography shop items, how you style them, and how you edit them. Take a look at this exceptionally branded shop SparkedByWildlife.
When consumers shop online, a photo is the only tangible representation of a product they have – it’s the closest thing to actually picking it up and inspecting it. According to Etsy’s customer research poll, 90% of shoppers stated that having high-quality images was the most important factor when buying products. That makes imagery more important than shipping costs, reviews, and even the cost of the item itself.
Whether you’re a seasoned Etsy seller or just starting out, we’ll show you how to take amazing photos of your products, edit them to perfection with BeFunky’s Photo Editor, and even create transparent backgrounds for a seamless, professional look. Let’s get started!
3 Tips for Photographing Etsy Products that Sell
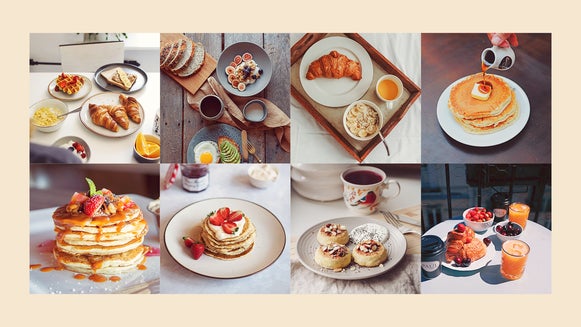
Just like how branding should be consistent, your product photography should have a cohesive style and flow of photos. A dedicated photography style will look more professional and will save you time in your photoshoot and editing workflow. Here are our best tips for approaching your photoshoots with consistency:
1. Plan the Photo Lineup
First and foremost, you gotta plan out the photo lineup of your items. I would make this consistent across the board and decide if you are going to showcase anywhere between 3-8 product photos per product. Etsy allows you to upload up to 10 images per listing, so take advantage of the opportunity to showcase your item and make a list of all the shots and angles you want to capture. Decide if you are going to have them all against a white or colored background, what angles you want to shoot, and if you are going to include any lifestyle photos of the object being used. SparkedByWildlife does a great job showcasing each of their products.
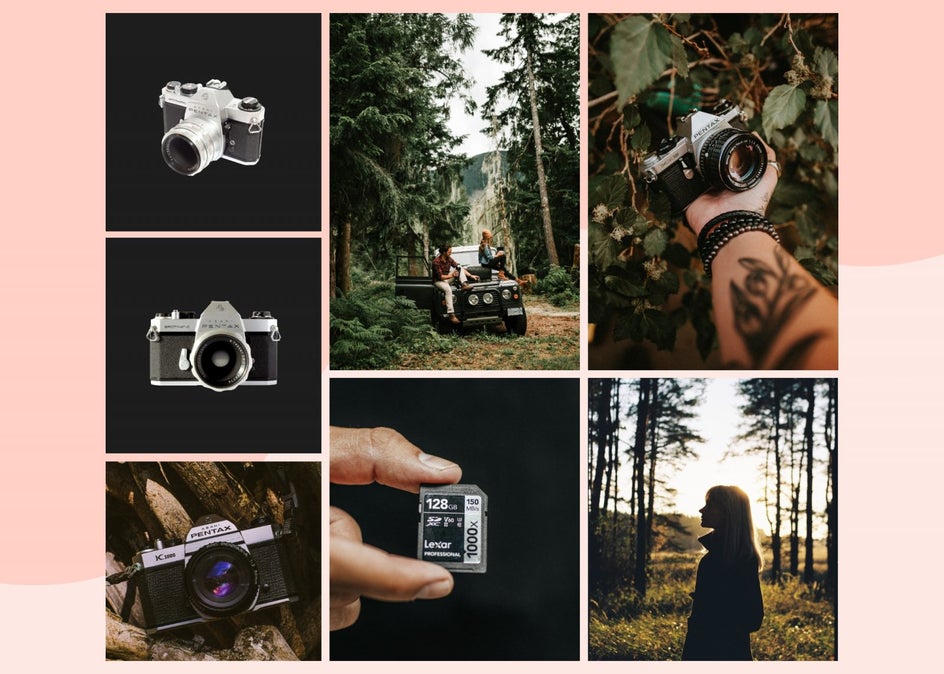
If you want help with this, check out 5 Effective Types of Product Photography in this article. These five options include the studio shot, the lifestyle shot, the packaging shot, the scale shot, and the descriptive shot. I would include all five of these, and then add in three dedicated images of your product from multiple angles. Once you decide this, replicate it for each product listing. This helps establish consistent expectations for your customers.
2. Establish a Product Photo Aesthetic
Think about the brand you’ve established for your Etsy shop. Is it colorful, minimalistic, retro, or bohemian? Whatever style you’re going for with your brand, it’s key to carry it over into your product lineup.
If it’s colorful and poppy, think about photographing your items with different colored backgrounds or using colorful props on a white background – the goal is to showcase the product in a way that the product speaks for itself. Remember, this is the only means you have to communicate to your customer what the product is like.
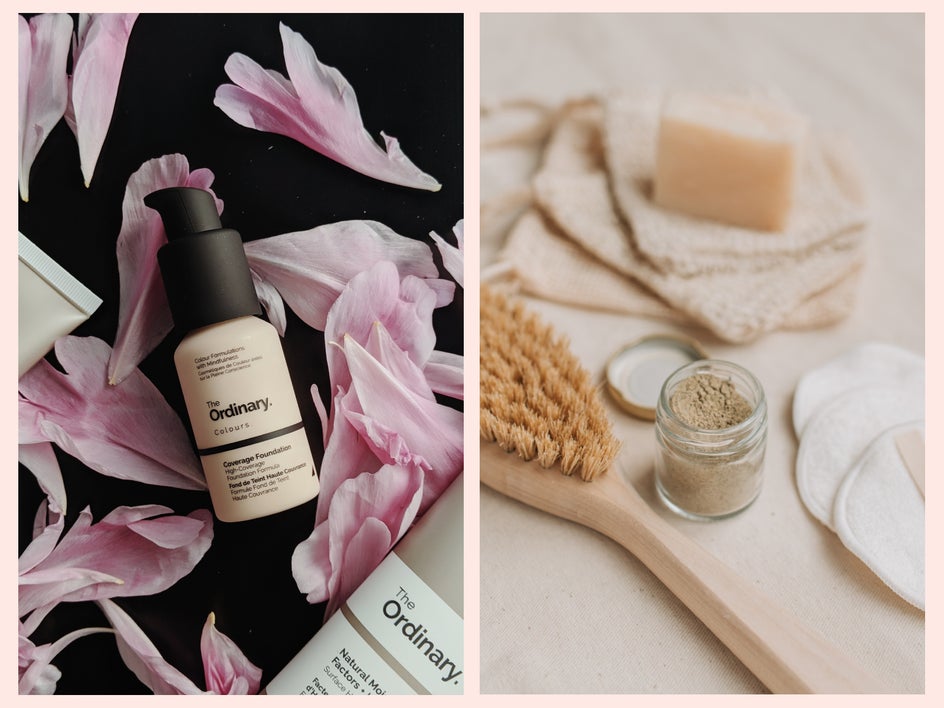
If you are a skincare brand, think about swiping the product on your skin so they can see the texture of the product. If you are an outdoor brand and specialize in waterproof products, show your product in water or being splashed with water. The images should personify the product and make it come to life.
3. Use Props to Highlight the Product
When using props, make sure that they highlight your product. They should be positioned in such a way that the product is the key element of your image. Props can really help to enhance your product photography and make it come to life. For example, if you are selling skincare, think about highlighting the ingredients in the product by including them in the photo.
You can easily find props for product photography on Amazon for cheap. You can leave these the color they come in, apply spray paint, or even change the color during the editing process.
Best Backgrounds for Etsy Photos
Props also include backgrounds. I was able to make pretty cheap backgrounds using colored contact paper and foam boards. There are so many DIY product photography backdrop options on Pinterest. You can make your own or order them from professional backdrop shops.

If you are looking for more product photography tips, you can find some in The Top 5 Tips for Making Your Depop Product Shots Look Professional. These include shooting on consistent backdrops or using the Cutout tool, shooting different angles and placements, shooting in a well-lit area or editing your exposure, adjusting the colors for accuracy, and more.
How to Edit Product Photography for Etsy
Once you have your product photos shot and uploaded, it’s time to edit them. Thankfully, BeFunky’s Photo Editor offers a huge library of free tools to help your products look their best.
I like to edit my photos with BeFunky’s Batch Editor to get them all consistent and then I go in to retouch specific photos individually. With the Batch Editor, you can adjust Exposure, Crop, and Size all at once. This makes your product photography workflow go way faster.
Step 1: Add Your Photos to Batch Processing
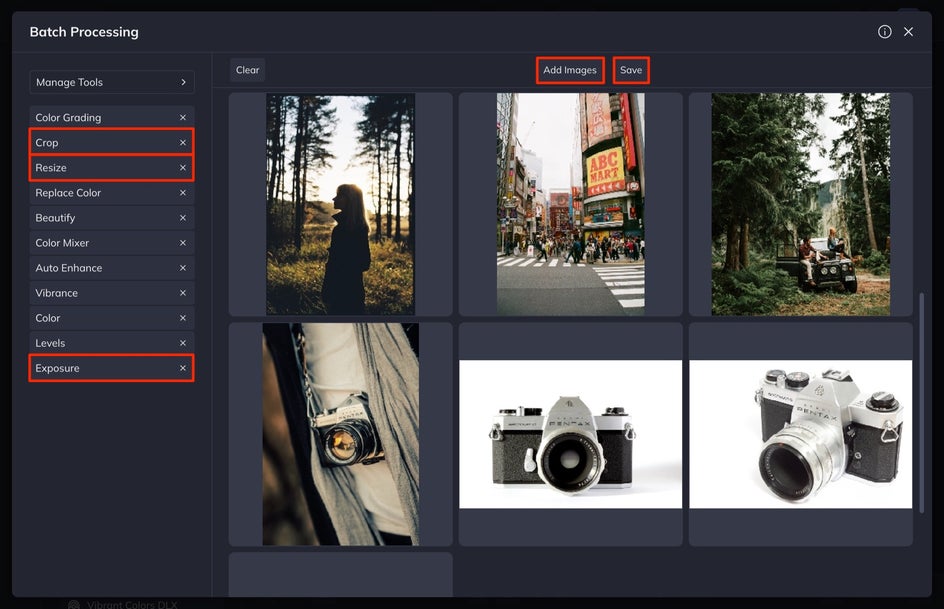
Open the Photo Editor and select Batch at the top of the screen. Select Add Images or drag and drop your selection of images directly into the Batch Editor.
Step 2: Crop, Adjust Exposure, Resize, and More
From here, edit the Exposure, Crop, and Size of your images. This is the quickest way to edit your photos at once and helps you to get them consistent. Simply click on the tool that you’d like to edit with, make your adjustments, and then select Apply.
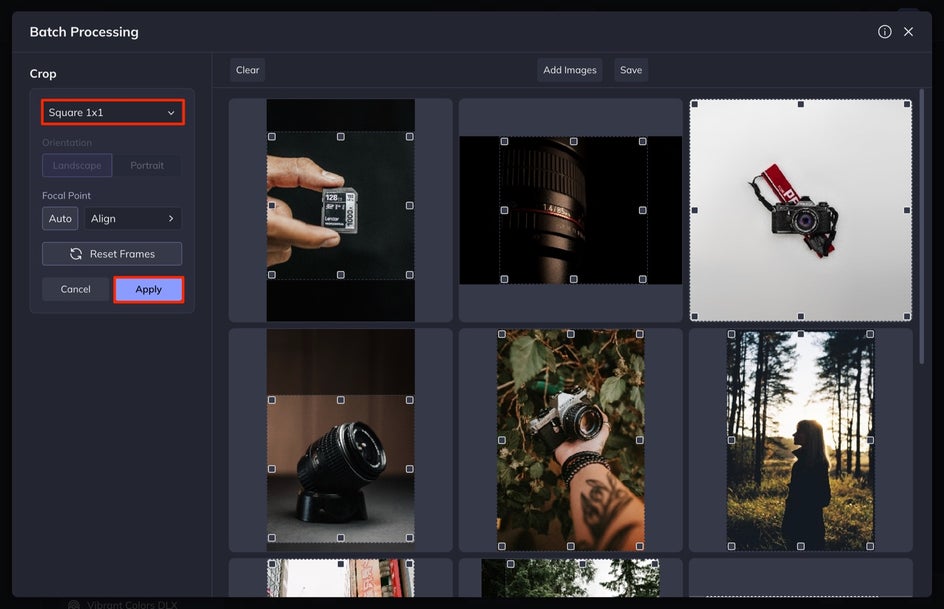
Editing the Exposure will help to balance the brightness, contrast, shadows, highlights, and fill light in each image. Using the Crop tool will allow you to select the size or ratio in the drop-down menu and then allow you to individually adjust the crop of each photo by pulling the black squares outward or inward.
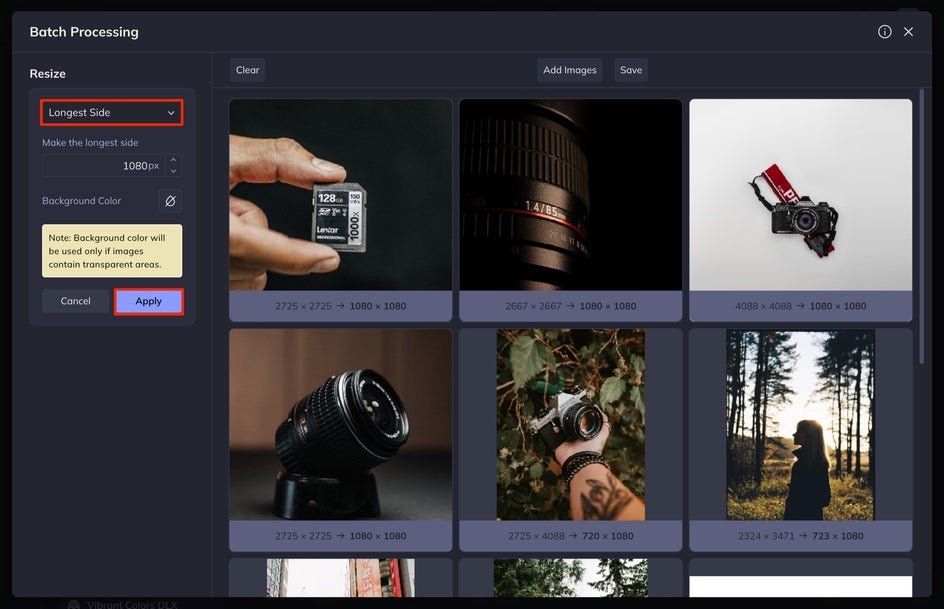
Using the Resize tool with the Batch editor is my favorite. Etsy listing photos should be at least 1000px wide. I set the long edge to a specific size, usually 1080px, since this is the best for screens. This allows all of my photos to be the same size on their long edge.
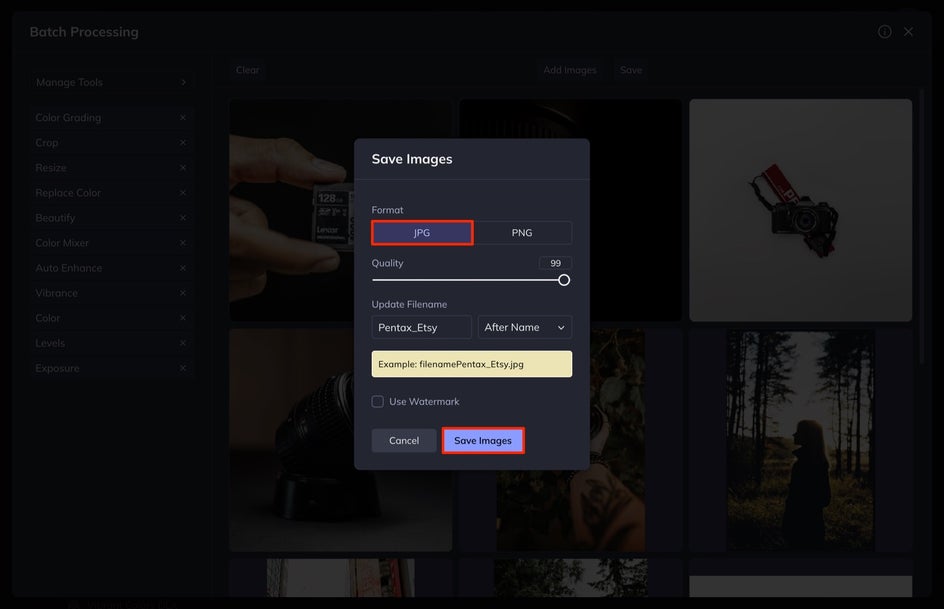
When you are finished, select Save in the Batch Editor. Save the images as a JPEG. I set my Quality to 99, which helps with file size. After this, select Save Images. Your selection of images will be grouped into a file. Select Download Images to download the file.
Step 3: Retouch Individual Images
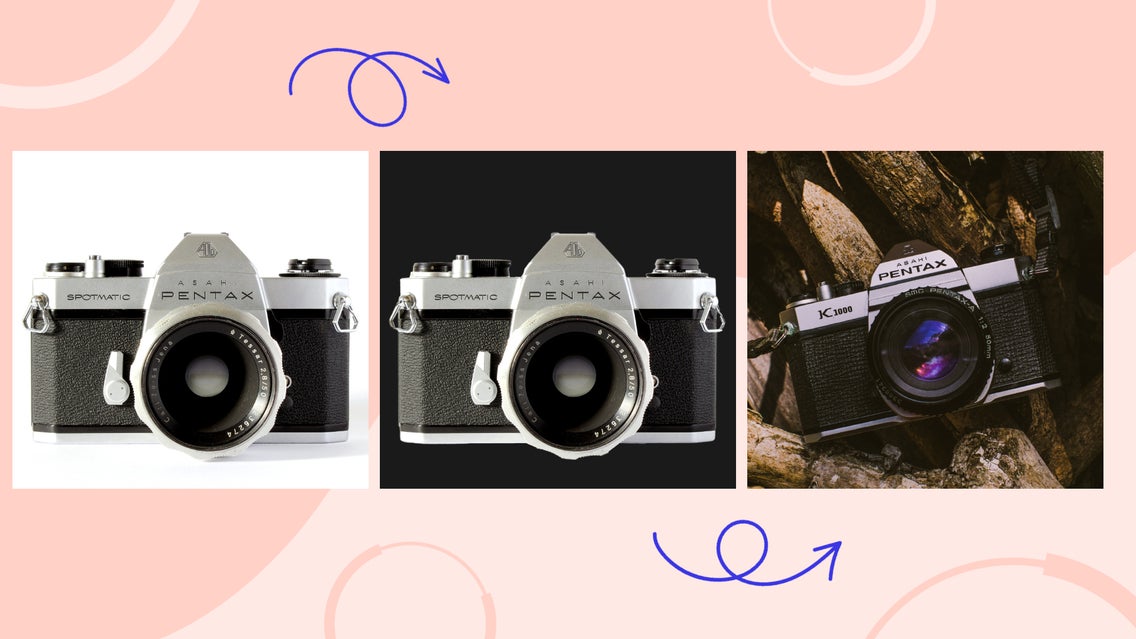
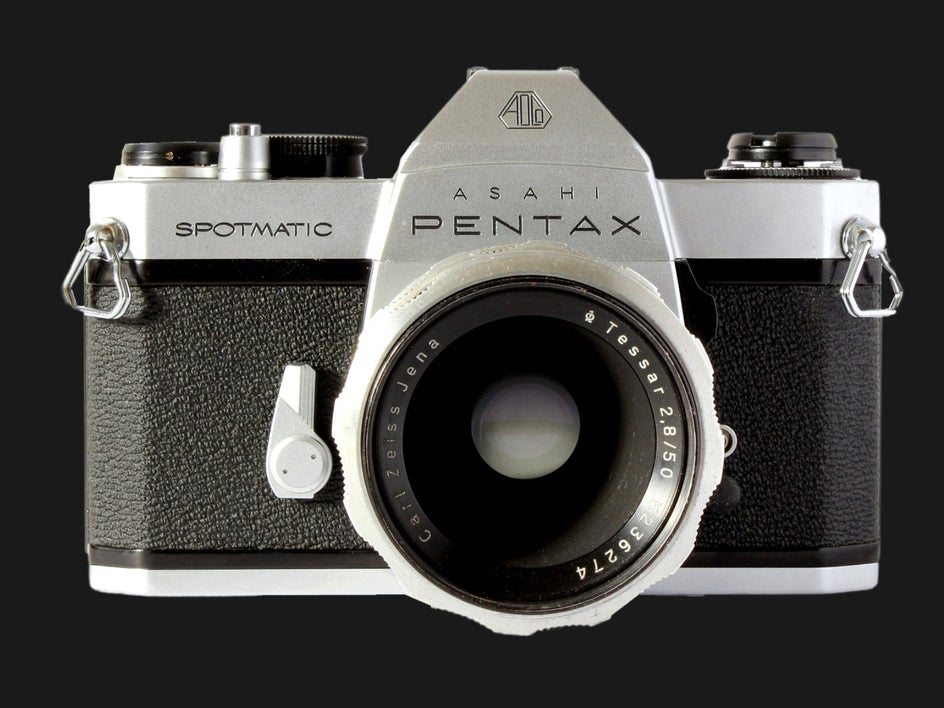
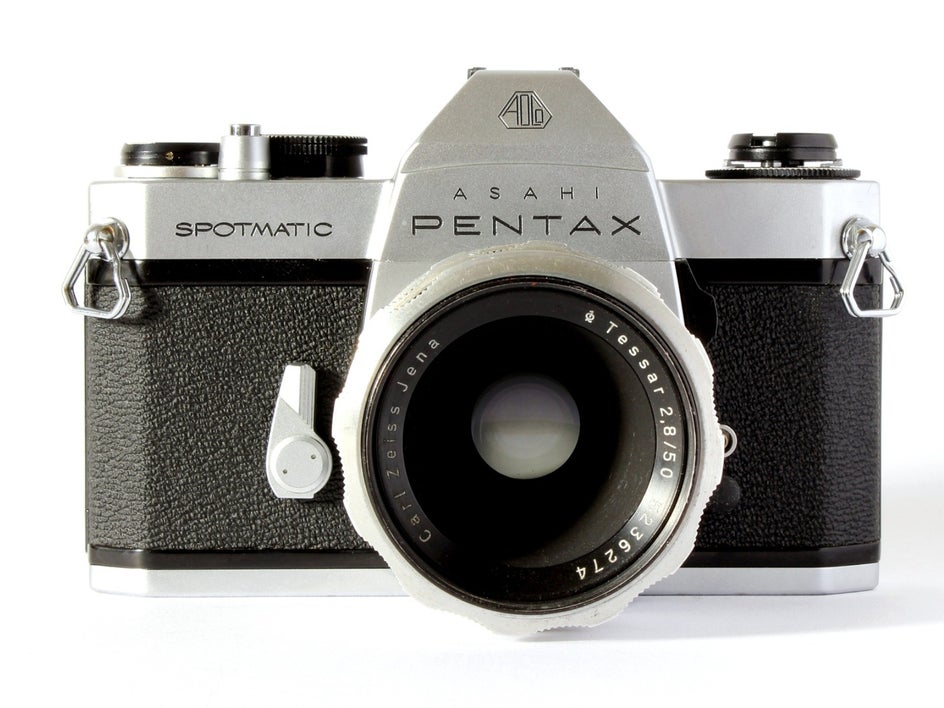
First, we are going to edit the background of our product photography from white to black, since our other photos fit that aesthetic best. Even when you photograph your products on a white or black background, there are inconsistencies in the natural lighting. If this is your issue, you can use the Cutout tool to select the background and actually adjust it to the same color you shot in (or a different color, if you want to change things up). This will help to smooth everything out and eliminate any unwanted shadows or inconsistencies.
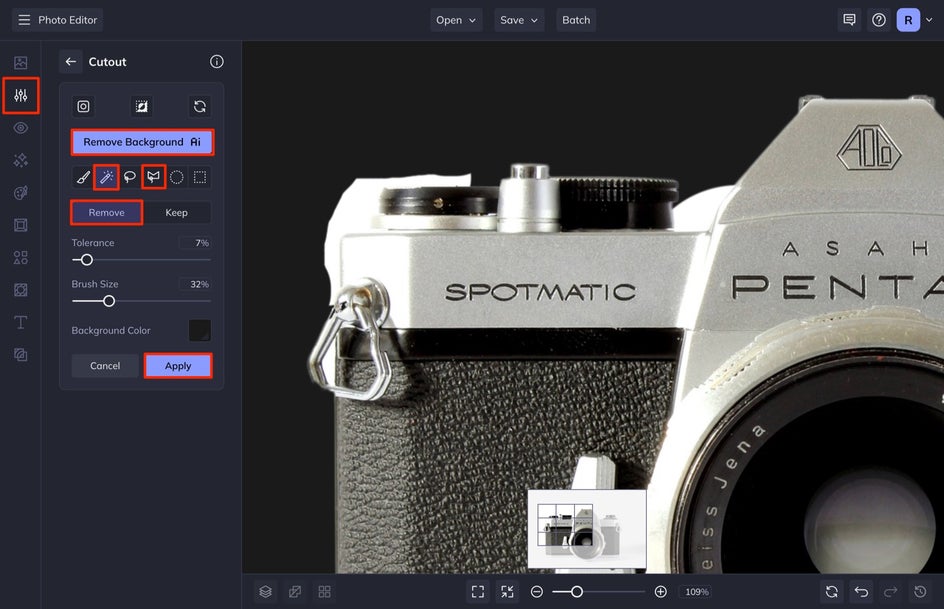
To use this tool, select Cutout from the Edit menu. Select Remove Background to allow our powerful A.I. tool to remove your background. You can then select the color you want to set as the background by selecting the color swatch in Background Color. You may have to make some adjustments. It is best to do this by zooming into your product photo and selecting any of the touchup tools. My favorites are the Magic Brush and the Polygon.
After I revamp the background, I look for any particles or hairs that have crept their way into my photo. Sometimes you will need to remove a crumb, leaf, or stray hair. For those moments, I use the Clone tool. The Clone tool can help you easily edit out unwanted objects from your photos in just a few clicks. You’ll find the Clone tool in the Touch Up tab in the main menu on the left.
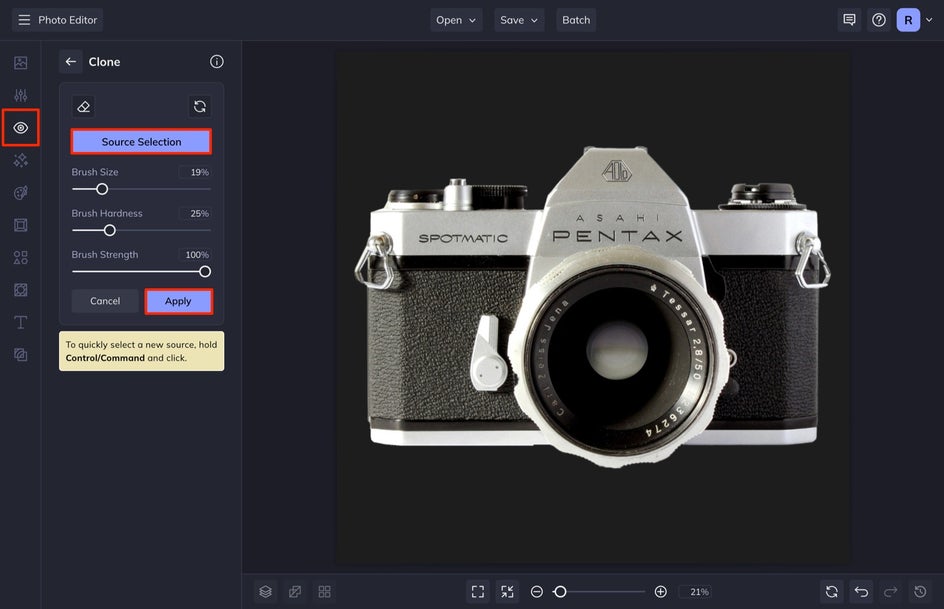
To get started, adjust the Brush Size so that your target is slightly smaller than the size you want to cover up. Click Source Selection to select an area of your image that you want to copy. This will be the part of your image that you clone over the blemished area. A second brush will appear. From here, click on the unwanted object or particle and drag your brush until the object is removed.
As a note, if you are selling a used product, don’t edit out product blemishes. I would highlight these in your photos so that the customer has full transparency of the condition of your product. When you are finished, select Apply.
Step 4: Save Your Product Photos
When you are finished adjusting your background and retouching any unwanted part of your photo, it is time to save your image! Select Save at the top of your screen and then select Computer. Save the image as a high quality JPEG. I usually set my Quality between 95-99%. Select Save.
Update Your Etsy Product Photos for More Sales!
Now that your photos are Etsy-ready after using the Photo Editor, all that’s left to do is list them. When titling your Etsy listings, be aware that the first five words are the most important, as these will be the keywords most searched. Also, make good use of the description section. Instead of a one-liner, describe your product in detail and be sure to include every selling point.