Customize Colors With BeFunky’s Artsy Effects
If you’ve ever used the Artsy effects within BeFunky’s Photo Editor, you’ll know just how effective they are at transforming your photo into art with a click. What you might not be aware of, however, is just how many options you have to customize the colors within these effects to take them to new heights.
Color plays a vital role in how your image is perceived, including the messages or themes it conveys. We’ve even written a whole guide on color theory to explore this fascinating subject. Using our color customizer options within the Artsy effects allows you to tweak your image to the exact aesthetic you had in mind without being restricted to a limited color palette.
Want to see how our color customization works? Keep reading – we’ll show you how!
How to Add an Artsy Effect to Your Image
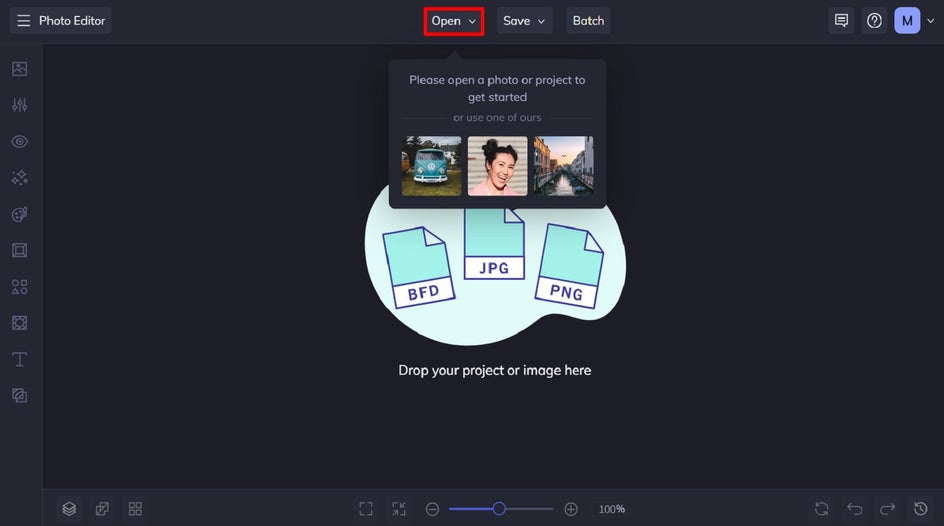
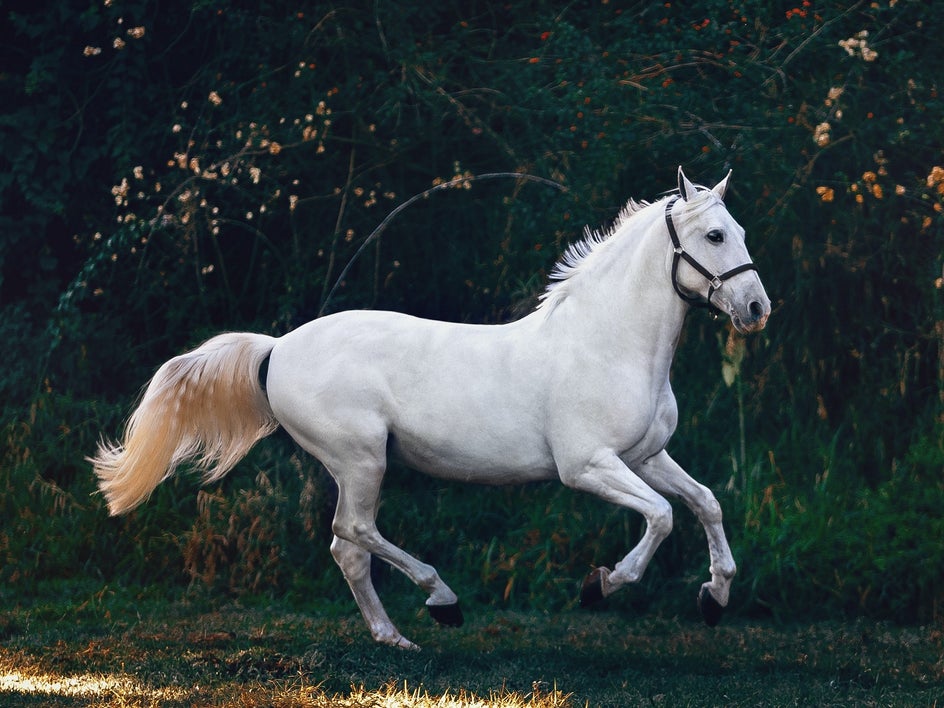
Before you delve into our color customization tools, you’ll first need to apply an Artsy effect to a photo. Open the photo you wish to edit within our Photo Editor, then follow the steps below to get started.
Step 1: Locate the Artsy Effects
You’ll find these by navigating to Artsy in the main menu on the left. Within the Artsy menu, you’ll find a wide range of effects to choose from. Click on any category to sample its various effects on your image.
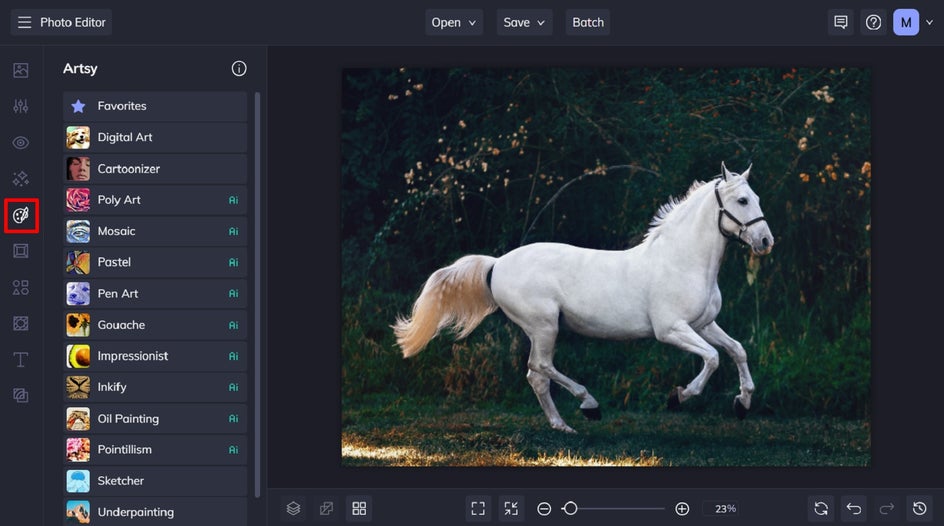
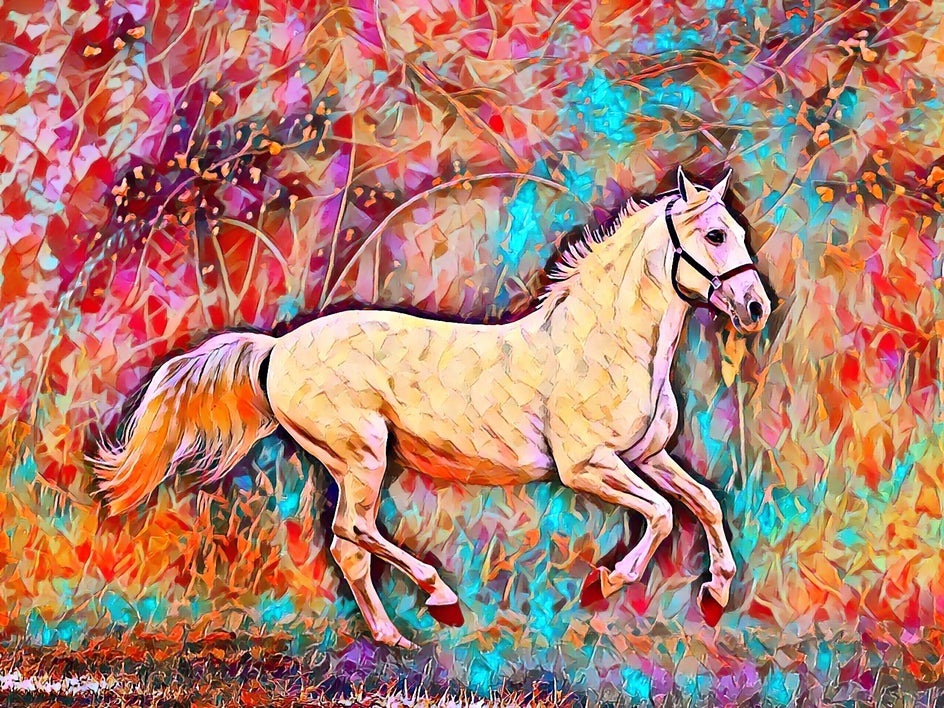
For this example, we’re using Oil Painting 1.
Step 2: Choose an Artsy Effect
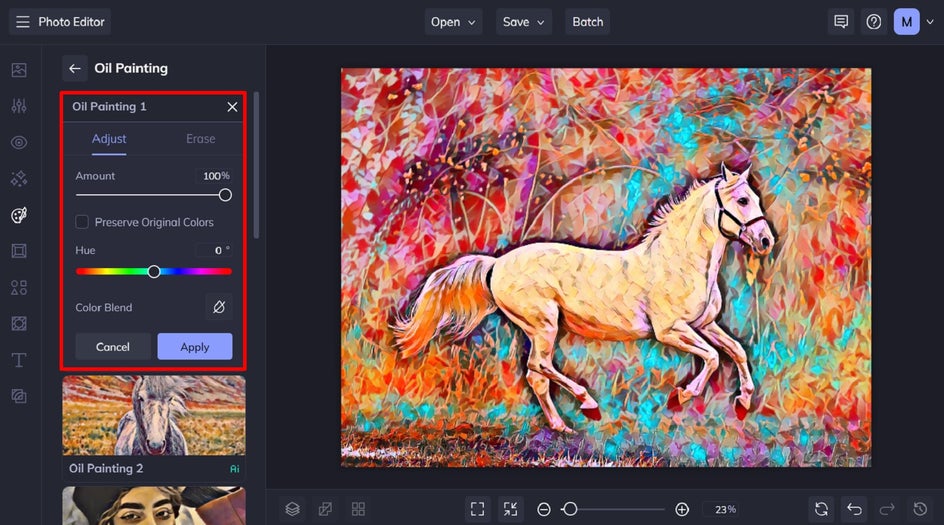
Once you’ve decided which Artsy effect you want to use on your photo, click the Settings button. It’s located above the slider to the left.
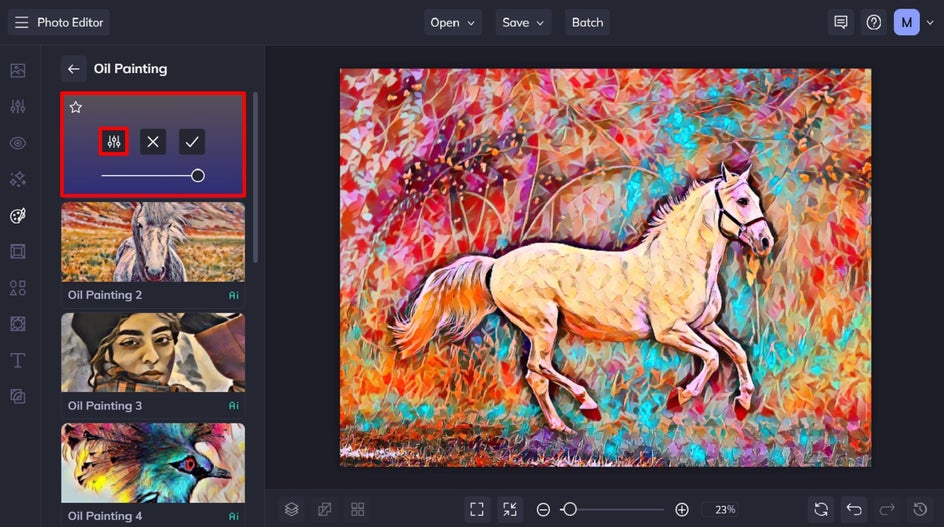
Here, you’ll find the color customizer options, including the Hue slider, Color Blend, and the option to Preserve Original Colors.
How to Customize the Colors of An Artsy Effect
Now that you know how to apply an Artsy effect to your photo, we’re going to show you just how easy it is to experiment with the three in-effect color tools: hue slider, color blend, and preserve original colors.
Hue Slider
The hue is what we commonly refer to as the "type" of color, such as red, green, blue, etc. When you adjust the hue of an image during editing, you are essentially altering the colors in the image by shifting their positions on the color wheel.
Therefore, the Hue slider targets all the colors in your image and adjusts them based on the overall color profile.
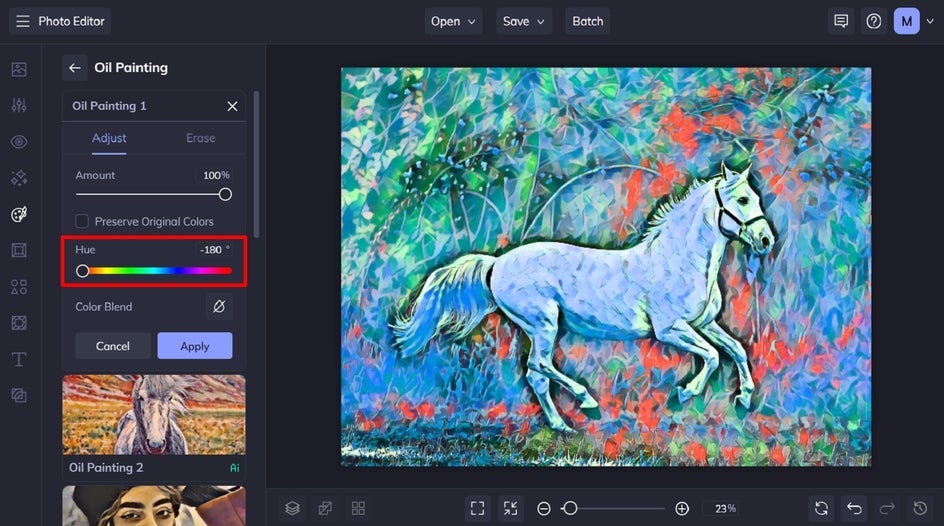
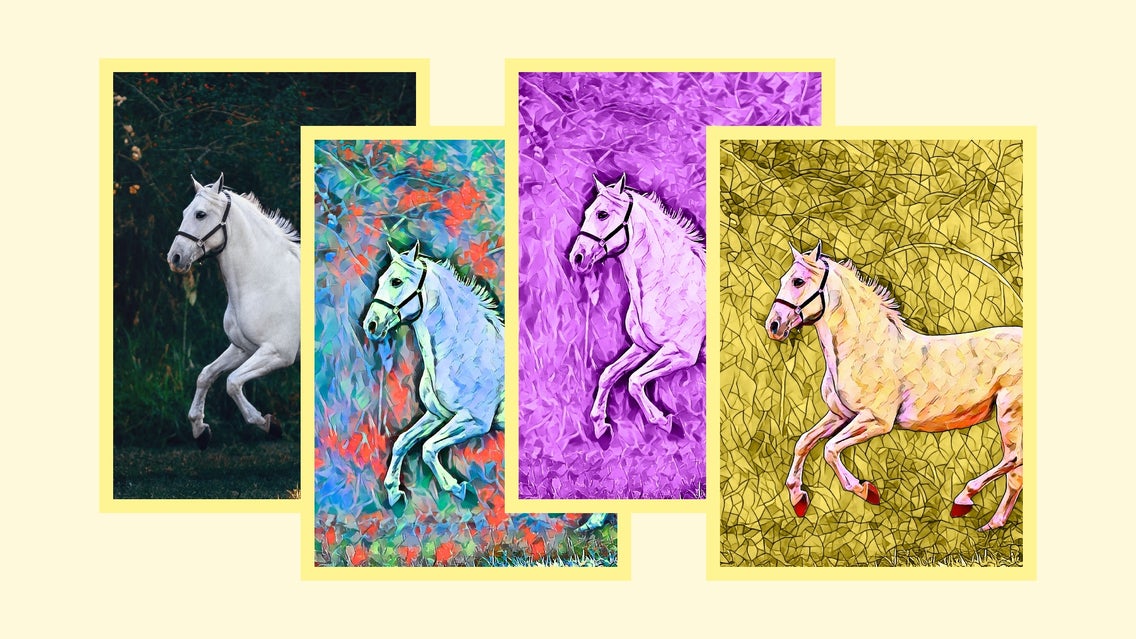
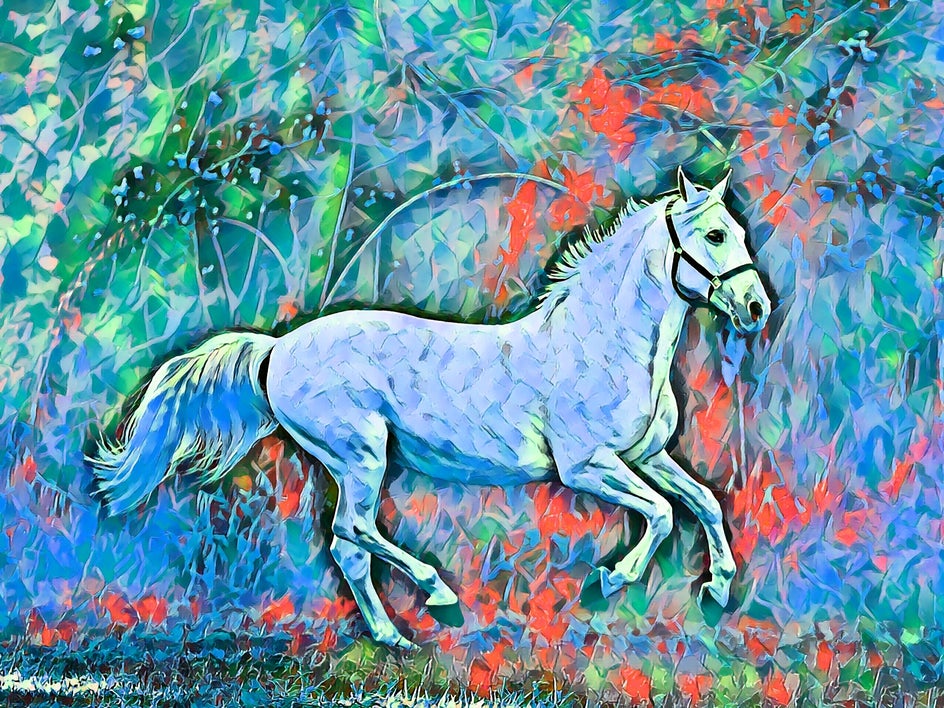
In this image, we adjusted the Hue slider to red, which completely changed the color palette of this effect. Reds turned blue, pinks turned green, and blues turned red – all while maintaining the same oil painting effect. The result is another creative rendition of the same image, this time which is dominated by a cooler color scheme.
Color Blend
Adding a color blend is a uniform change that works well on images that have high contrast. Keep in mind, however, that without this contrast, the Color Blend option may blend all of your image’s colors together.
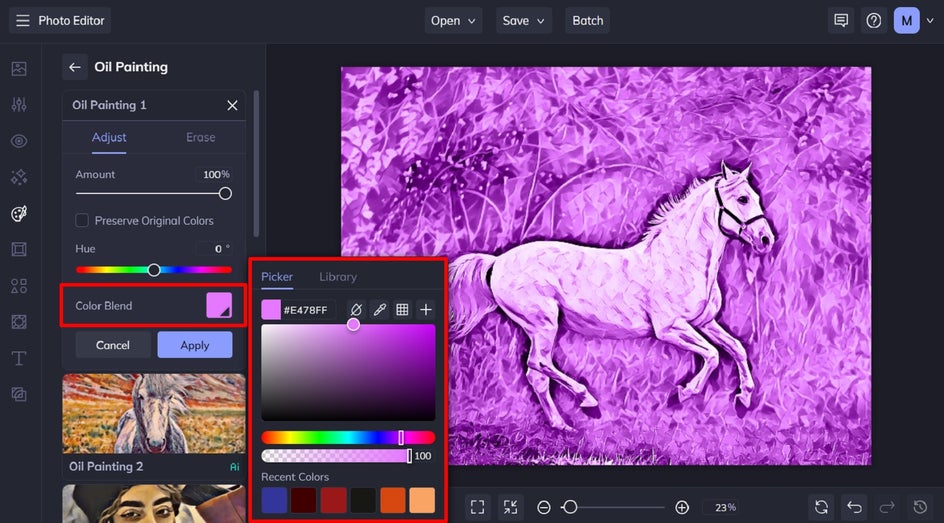
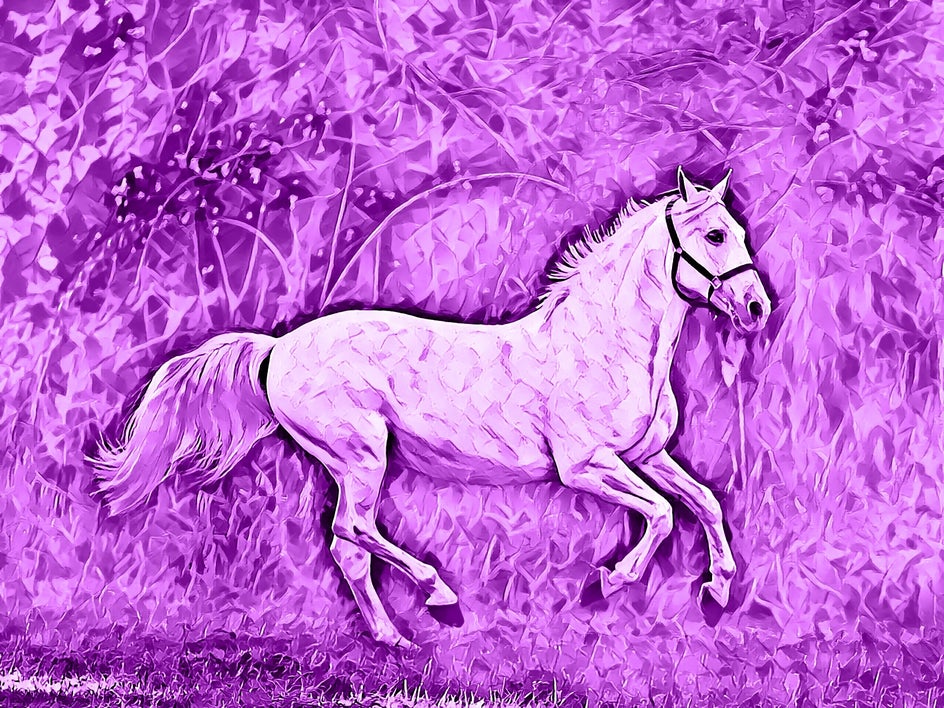
In this image, we added a purple color blend. The result is an oil painting image now dominated by this shade, rather than containing multiple different colors, as it did originally. Therefore, the Color Blend tool is great for tweaking an Artsy effect so it suits a particular color, especially for your branding needs.
Preserve Original Colors
If you like how the colors look in your image prior to applying your Artsy effect, then you can keep them by checking Preserve Original Colors. In some cases, this can help to maintain the realism of your image.
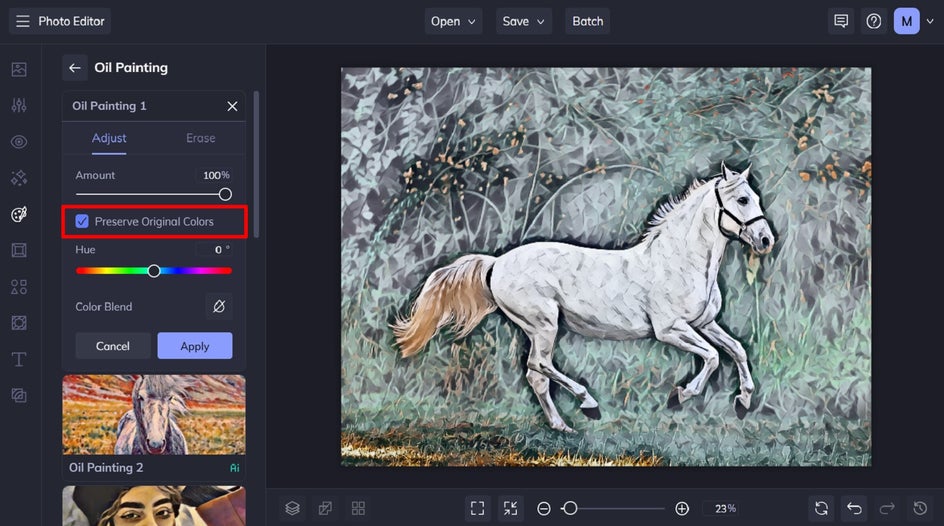
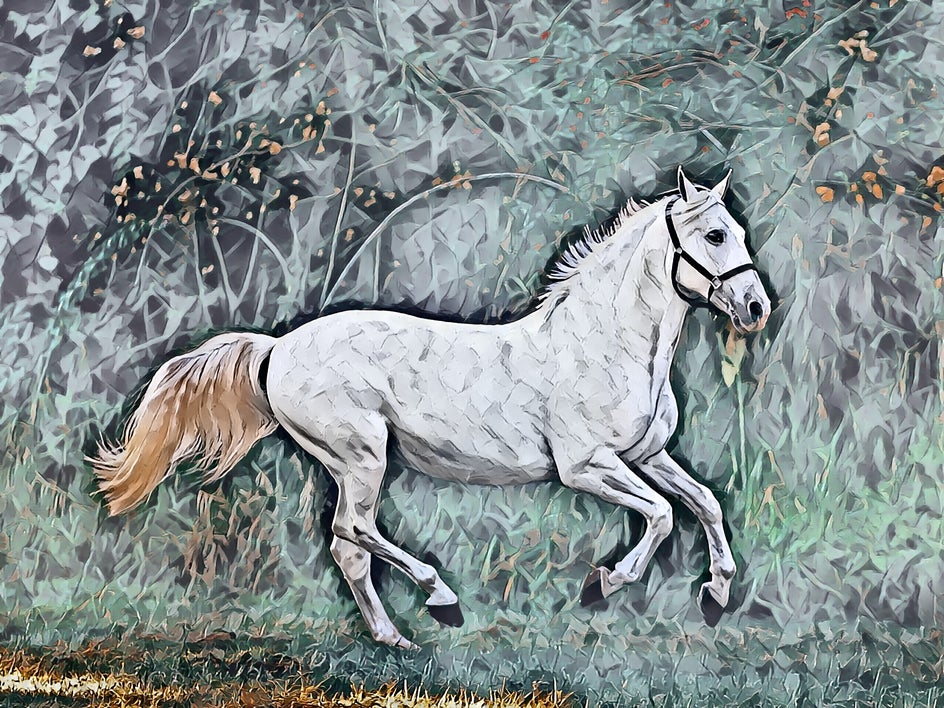
In this example, doing so allowed us to add a more subtle oil painting aesthetic, without the brighter color scheme. As a result, our image now looks like a more traditional, antique oil painting from centuries gone by.
More Advanced Color Customization Options
If you feel like taking this color customization to even greater heights, you can! Using the Isolate Subject tool allows you to separate your image’s subject from its background (and vice-versa), so you can get super creative with your Artsy effects. Here are two of our favorite ways to use this feature in combination with the Artsy effects’ color customizer.
Only Apply an Artsy Effect to the Subject
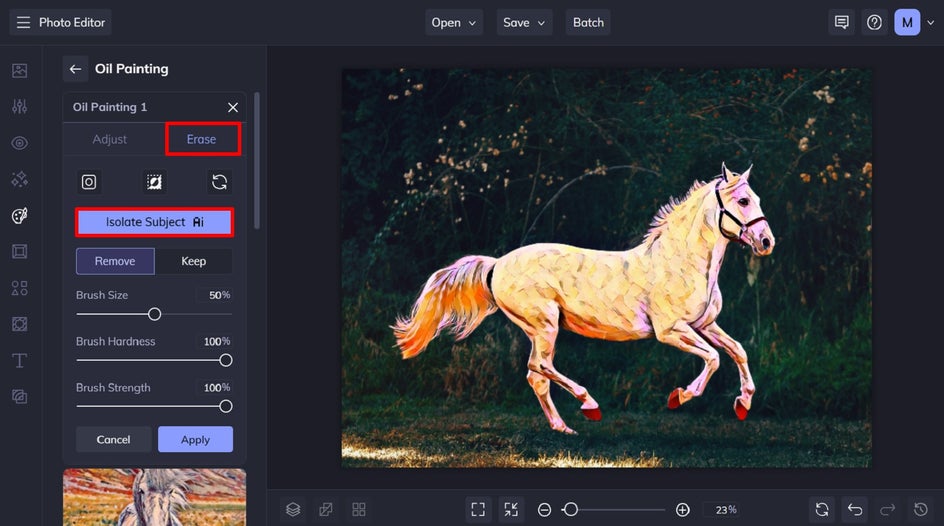
To only apply your selected Artsy effect to your photo’s subject, click on the Erase tab within the Settings of your effect. Then, click the Isolate Subject button. Using powerful A.I., your subject will instantly be transformed into a work of art.
Want to keep your subject realistic and apply the Artsy effect to just your background instead? Just click the Invert Selection button located above the Isolate Subject button.
Then, to customize your effect’s colors, just click on the Adjust tab and make your desired changes.
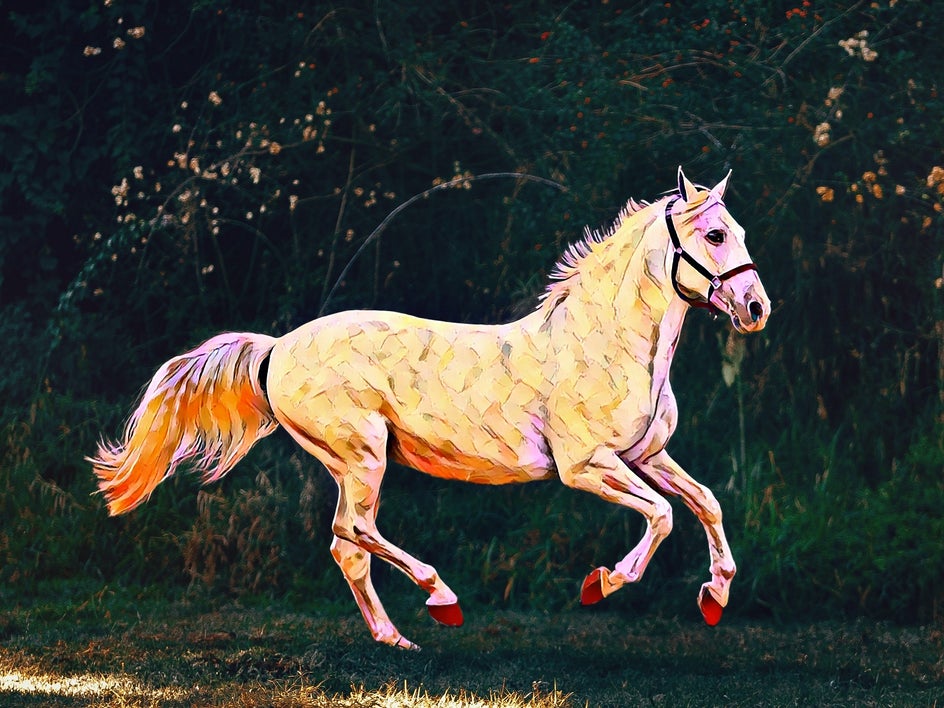
In this example, we tweaked the Hue slider to make our subject appear more yellow.
Apply Different Artsy Effects to the Subject and Background
Once you’ve applied an Artsy effect to your subject, navigate back to the Artsy menu and choose a different effect for the background of your image. Click on the Isolate Subject button with the Settings menu again. However, this time, click on the Invert Selection button to apply the effect to just your background.
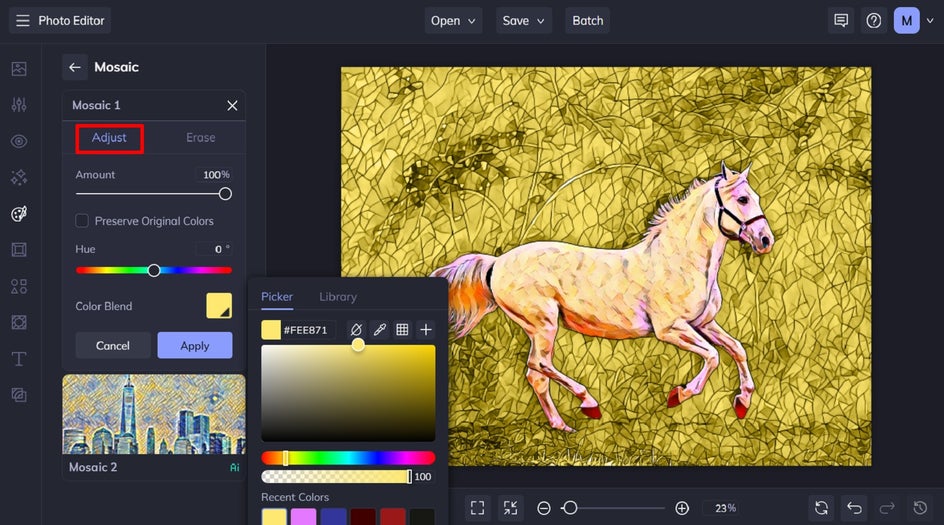
The Isolate Subject button also allows you to add two different Artsy effects to your image: one for your subject and one for your background. This helps you to create a single image featuring two different art mediums.
Then, just navigate back to the color customization options available within the Adjust tab.
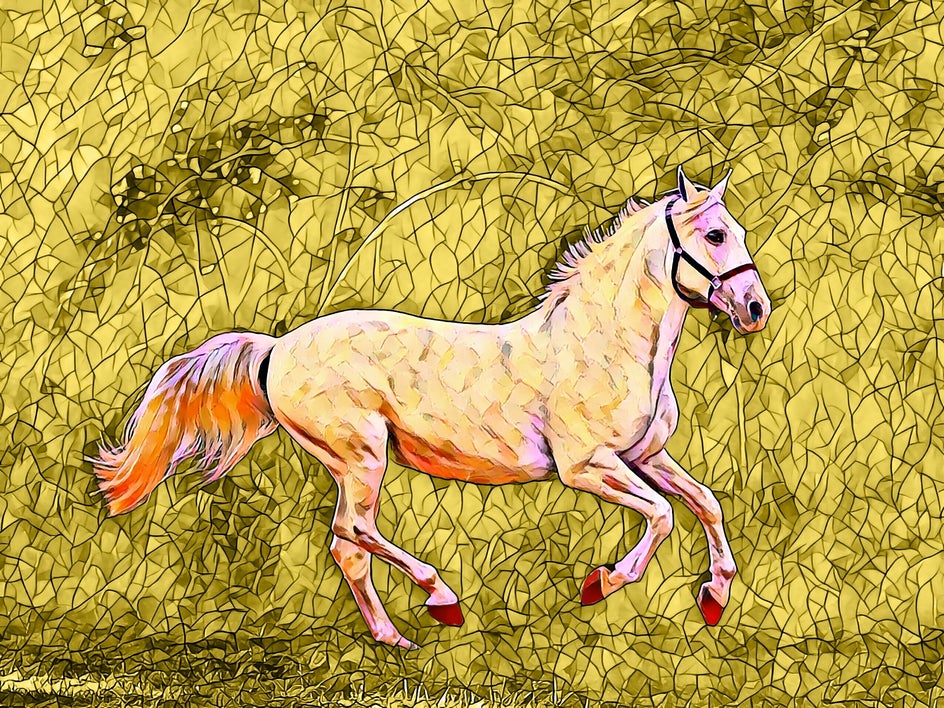
In this example, we added the Mosaic 1 effect to our image’s background, then added a yellow color blend to really make our subject pop.
Customize Artsy Effect Colors Like Never Before
BeFunky’s Artsy effects turn your photos into art with the click of a button. If you’ve ever wanted to have more control over the colors within your new works of art, however, then you can – all thanks to the color customization options available within selected effects!
What colorful masterpieces will you create? Head to the Photo Editor to see for yourself.