Perspective Composition For Amateur Photographers
Perspective Composition is a fun, yet complex style of photography that involves composing a photo in a way that utilizes optical illusions to make an object seem larger, smaller, closer or farther than it actually is. Today, I’m going to give you a little background on this unique style of photography, and then I’ll show you how to use BeFunky Photo Editor to make your perspective photography stand out from the crowd.
Background:
Perspective composition, also known as Forced Perspective, has been used on all types of mediums. Specifically it is popular with architecture, filmmaking and photography.
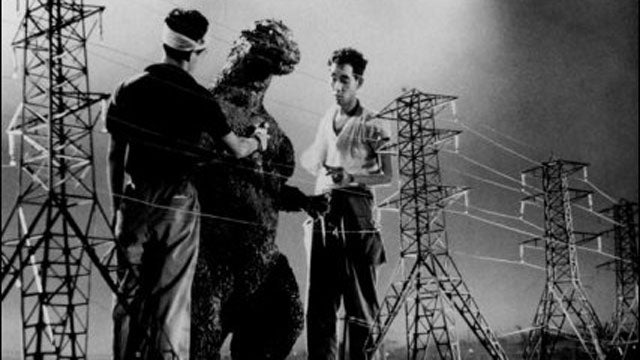
In photography, this composition style is used to create fun and artistic shots that force viewers to see something that isn’t actually there, creating a surreal, dreamy atmosphere. It’s used in similar ways in filmmaking and has been used in many famous films, such as Citizen Cane, early Godzilla films, Harry Potter and many more.
Trying It Out:
As an amateur photographer, I am always looking for ways to make my photography stand out and be unique. Because I mostly take photos for fun, I like to try out different styles to test my boundaries and skills. So, I decided to try out perspective composition, and it turned out to be a lot tougher than I was expecting. This style is all about finesse, and once I hit my groove, everything, happily fell into place.
My first idea was the "head squish":
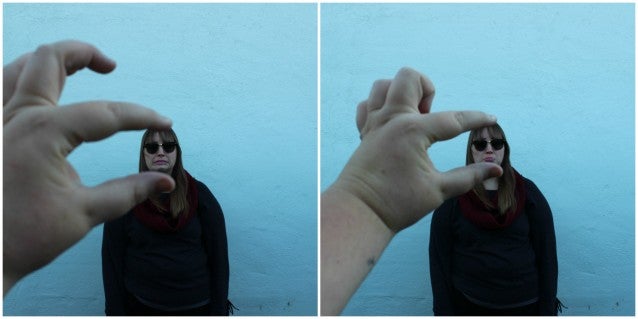
For this one, I had my friend, Morgan, take the photos and “squish” my head. Then, I took the photos to BeFunky and used the Collage Maker to put them together.
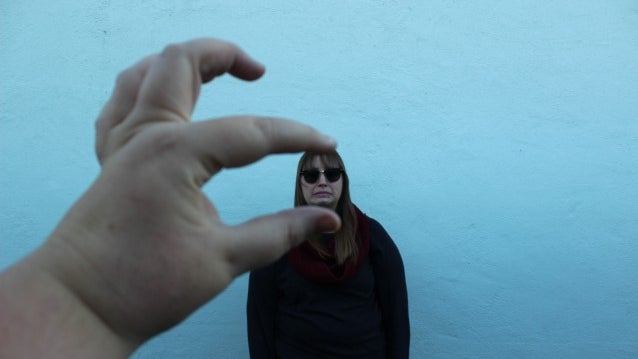
My next idea was the “Big Foot” perspective:
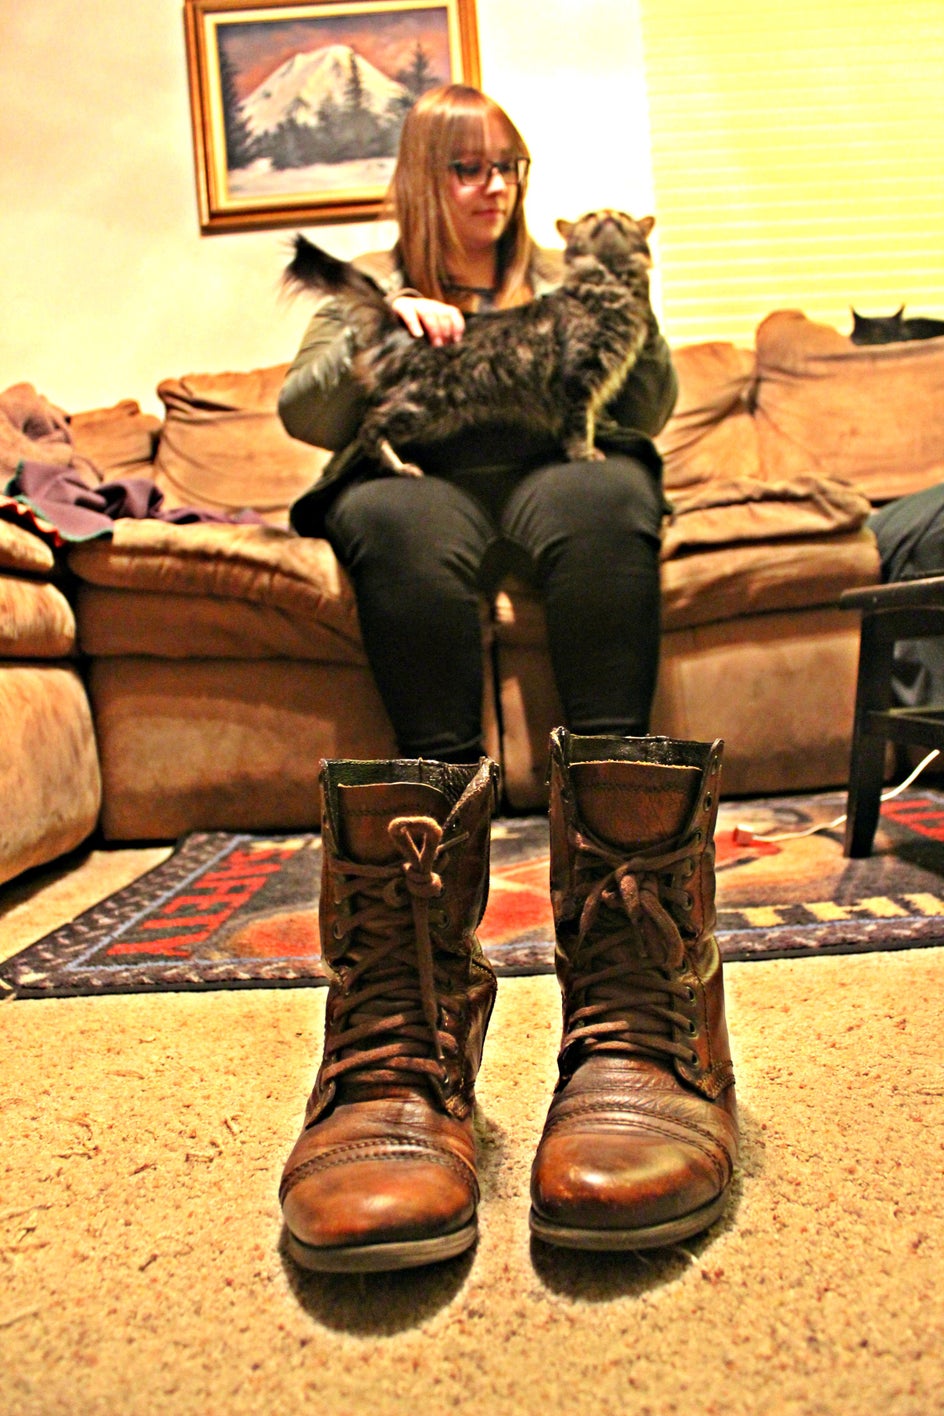
With this shot, I had my friend sit several feet in front of me, as I sat on the couch. Then, she positioned my boots about two feet in front of my feet and about a foot away from the lens of the camera. I then edited the photo using Beautify and added Fill Light to make the colors more vibrant, and to help spotlight the “size” of my feet.
For my next shot, I had my mind set on making it look like I was holding a person, but I couldn’t find a second model during my first day of shooting. BUT! I happen to work with some of the coolest people around, and I happened to bring my camera to work one day...so I coerced two of my adorable coworkers into making the shot happen.
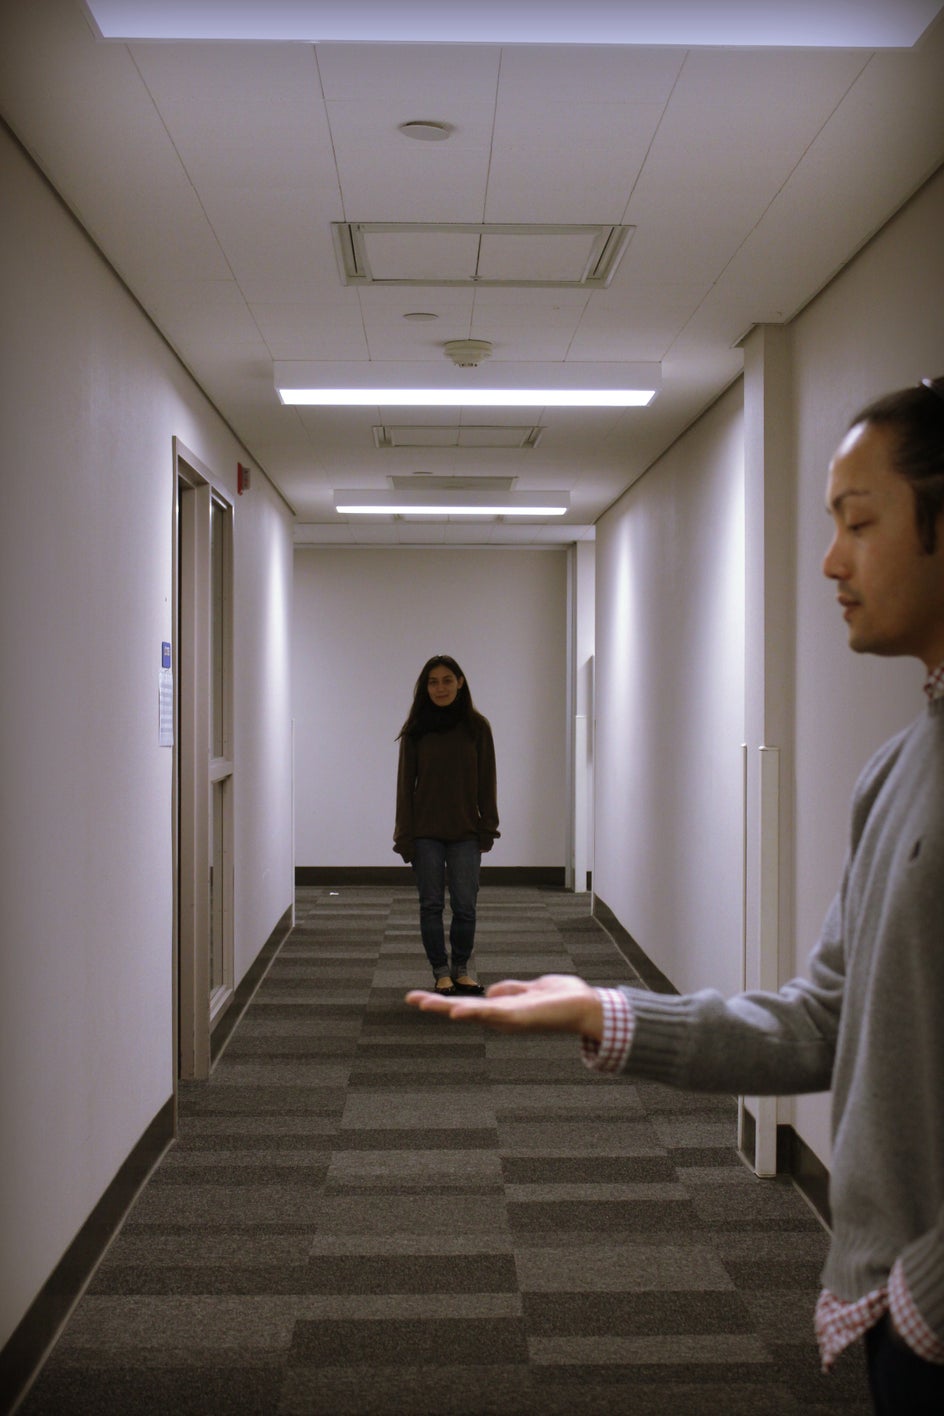
The adorable person being “held” is my coworker Juliana, and the adorable person holding her is my coworker G. I had G stand about two feet away from me and Juliana stand halfway down the hallway in our building and then positioned G’s hand to give the illusion that he was holding Juliana. I wanted to keep the colors in the photo mostly muted, so I added a bit of vignette and the Cross Process 2 filter from the Photo Editor.
Finally, the next shots I aimed to achieve are what I like to call “shadow monster” shots. To setup these shots I found a bare wall in my living room, put on a head lamp and coaxed my cat onto the back of the couch.
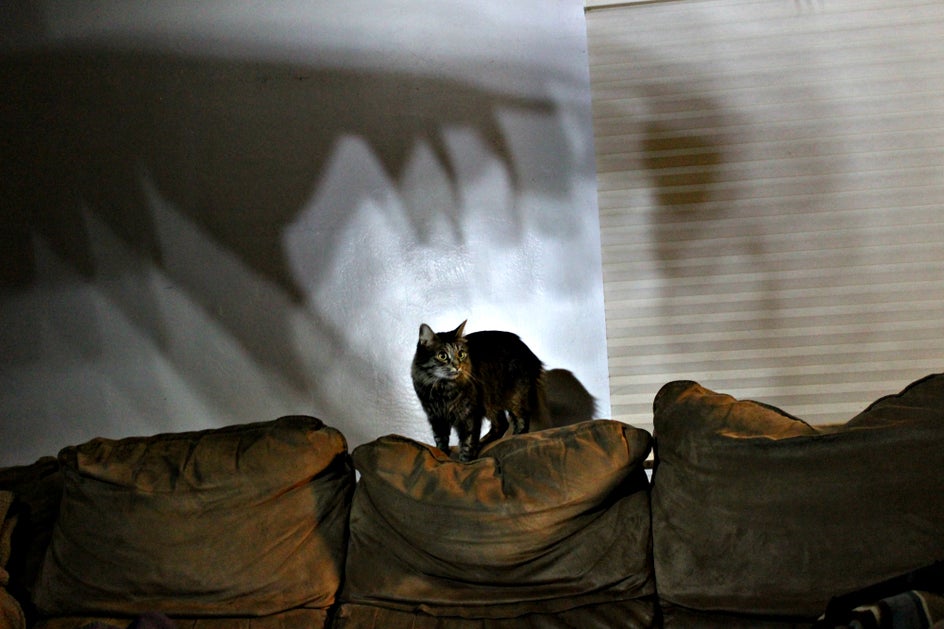
For this edit, I adjusted the contrast to 25% to make the shadows stand out.
I also wanted to do a semi-dramatic sequence with these, so I bribed my sister’s dog, Rio, to model for me. I then took my sequence to the Collage Maker to make them look like a film strip:

I amped up the drama of the pictures by upping the shadows for that extra "spooky" effect. The horror!
Time to get out and experiment with perspective! What epic shots will you capture today?