Achieve Perfect Balance With the Exposure Tool
The foundation of great photography is taking a photo with perfect exposure. One of the first things aspiring photographers learn is how to target the three main technical aspects of their camera. Put them together, and you’ll learn what’s called the “exposure triangle." Aperture, shutter speed, and ISO are the three settings you’ll need to know when setting the exposure triangle in-camera.


What Is the Exposure Triangle?
Here is a brief outline of the three settings you'll need to know about to achieve proper exposure manually. Thankfully, if a photo still doesn't come out just how you like, BeFunky has the tools to help you adjust the exposure in seconds.
Shutter Speed
This is the amount of time that light is allowed to hit the sensor, measured in fractions of seconds. Shutter speed is often the most direct way of changing exposure and may be done on the fly, depending on how your lighting situation changes.
Aperture
The aperture of an image is set in the lens. It’s the physical size of the circular hole that lets in light. Aperture is defined by “f-stops," where a higher number (like f/16) is letting in less light and a lower f-stop number (like f/4) is letting in more light.
ISO
The ISO scale is referring to the sensitivity to light on your camera’s sensor. A higher ISO is often used in lower light situations because the sensor is making up for a lack of light. A lower ISO should be used in very bright lighting (like outside) because the sensor has to gather more light to create an exposure.
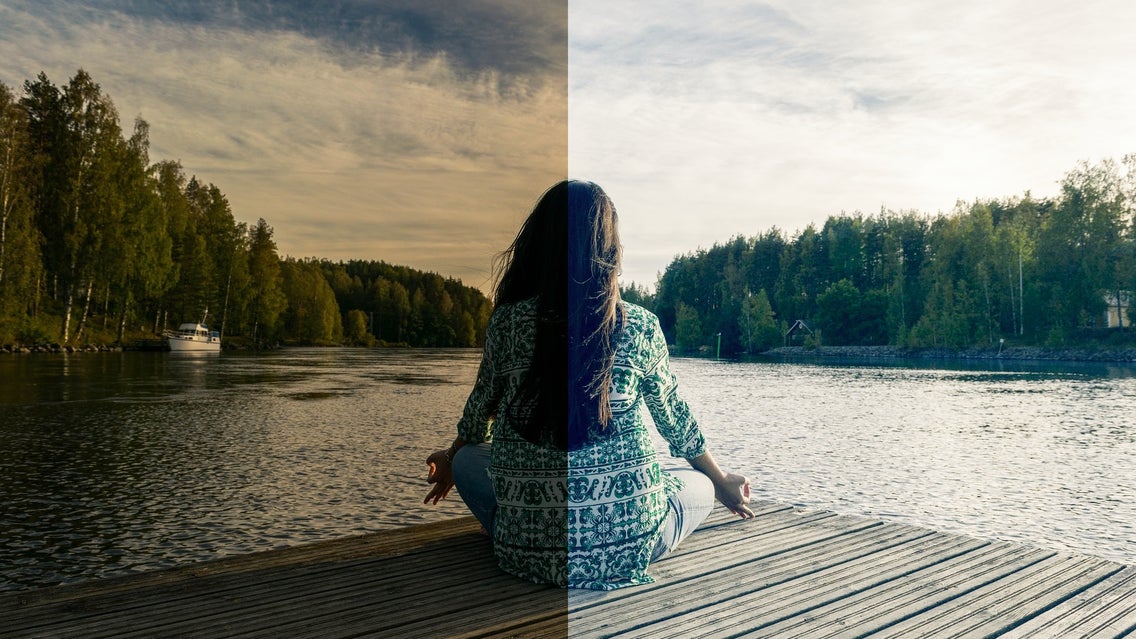
While any photographer would love to make a perfect exposure with every shot, the truth is even the most experienced photographers can get it wrong sometimes. With the reliance on auto-exposures or pre-set exposure types, the editing process can help make up for over or underexposed images to find the perfect balance. Luckily, BeFunky’s exposure tool is a quick and easy way to correct any lighting discrepancies your images may have.
How to Achieve Effortless Exposure
To learn how to achieve perfect balance with the Exposure tool, follow along with this tutorial to see it in action!
Step 1: Open Your Image in the Photo Editor
To get started, head over to the BeFunky Photo Editor. You’ll be prompted to upload a new image or select one. Use the Open menu to choose where you want to import your file from.
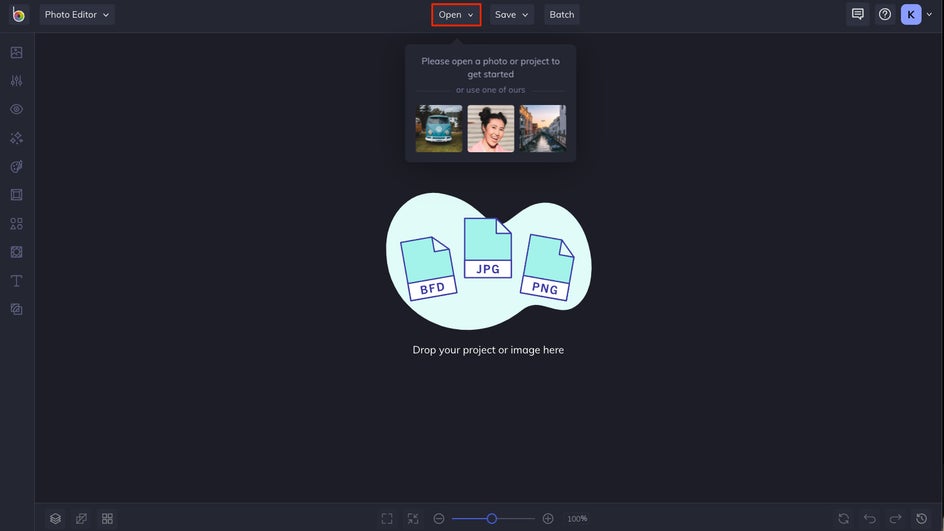
Alternatively, drag and drop it directly onto the canvas to see it populate into the editor.
Step 2: Choose Exposure From the Edit Menu
On the left-hand menu, click on the Edit tab. Here you’ll see all of BeFunky’s classic editing tools. Choose Exposure to see the different options related to exposure, contrast, and lighting.
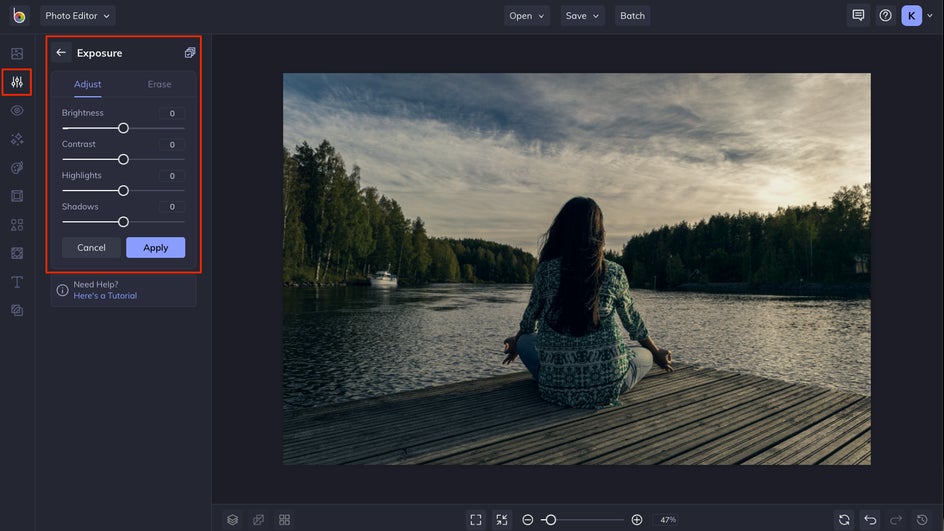
Step 3: Adjust the Brightness and Contrast
You just began, and you’re already almost done! For the next step, adjust Brightness and Contrast.
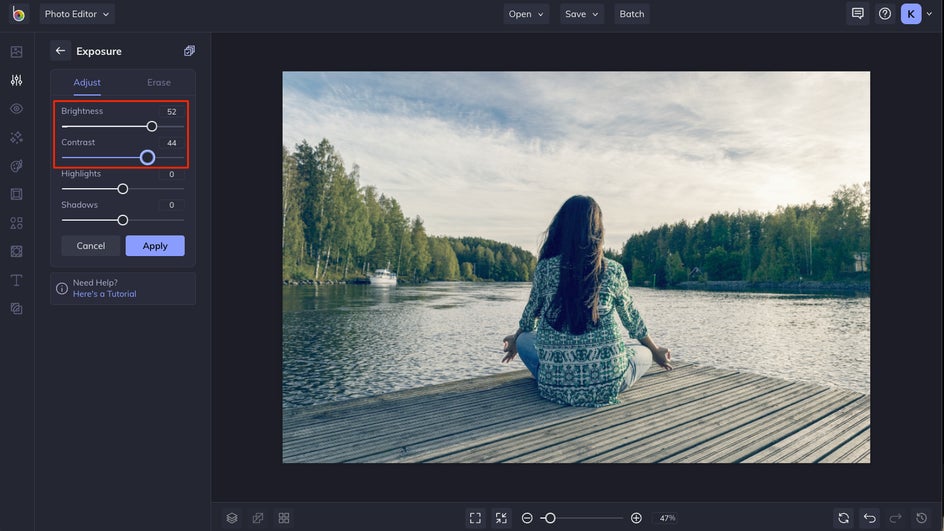
If your image is slightly over/underexposed, adjusting with the Brightness tab can give it a quick boost in either direction by lightening or darkening the in-camera exposure settings. The Contrast slider will heighten lights and darks in relation to each other.
Step 3: Adjust the Shadows and Highlights
These two sliders help by targeting areas of the photo that are brightest and darkest. If you move the sliders to the left, you’ll see the shadows getting brighter, or highlights getting darker and more defined.

If you move them to the right, your brights will get brighter and darks will get darker. This can be very helpful for images that might have been under or overexposed, as it will only affect the parts of the areas that are particularly dark or blown out.
Keep playing with these four sliders until you get the results you’re looking for, then click Apply to add them to your image!
Step 4 (Optional): Use Erase Mode to Apply the Effect in Certain Areas
In the Erase tab of the Exposure tool, you’ll be taken to a new menu with a variety of options. This function allows you to only apply an exposure effect on certain parts of an image. If you want to spot fix problem areas of an otherwise good image, this is the place to do it.

Choose if you want to Remove or Keep parts of the effect by switching between the two tabs. You’ll also see the Isolate Subject option here, which uses AI to isolate the subject of an image and apply/remove an effect from only that area.
When you’re happy with the results, you can save your work or keep exploring the other editing options available.
Perfect Lighting. Every Time.
Part of being a modern photographer is knowing when one of your photos needs some help! Post-processing is more important than ever when wanting to showcase your work, and understanding the three settings of exposure and how to adjust them is one of the basics of the editing process.
Whether you’re making a quick brightness adjustment or correcting an overexposure, BeFunky’s Photo Editor is on your side to help elevate your work with just a few clicks! With these easy-to-use tools, your images can have perfect lighting, every time.