Photo Manipulation: How To Get Amphibious
Do you feel the summer heat following you wherever you go? You try to put on less clothes as possible in order to cool off, but nothing helps. You look at the wildlife surrounding your house and wonder, how do they cope with the heat?
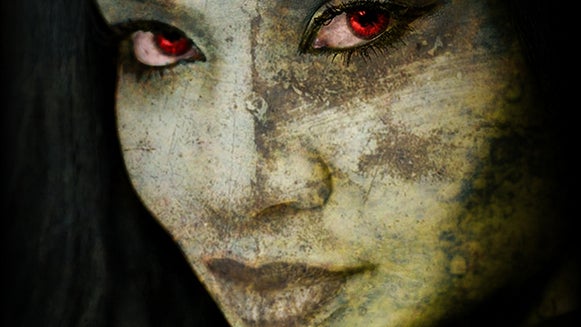
Maybe it’s their unique skin that allows them to endure various temperatures and environments. If you’re envious of the wildlife you see, especially amphibians and want to turn your face selfies or any face photo into something out of National Geographic, then this tutorial is for you. Let’s shed some skin and get amphibious!
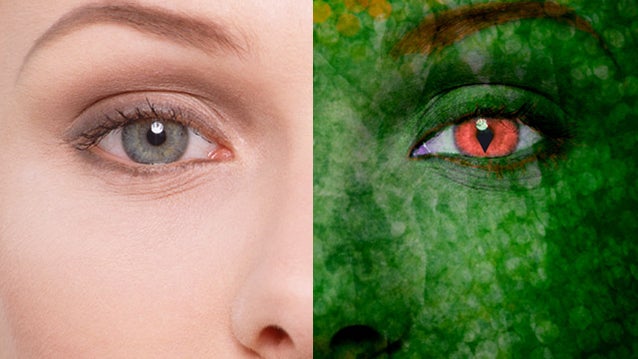
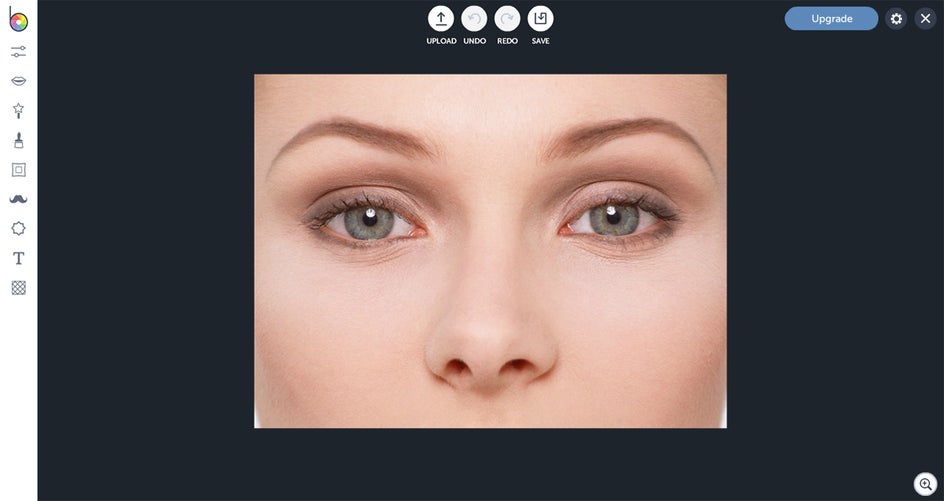
First, you want to select a photo you want to use for this project. You can use a face selfie, a photo that someone has taken of your face, or etc. I love making art out of other people’s photos, so I decided to use a humble stock photo instead.
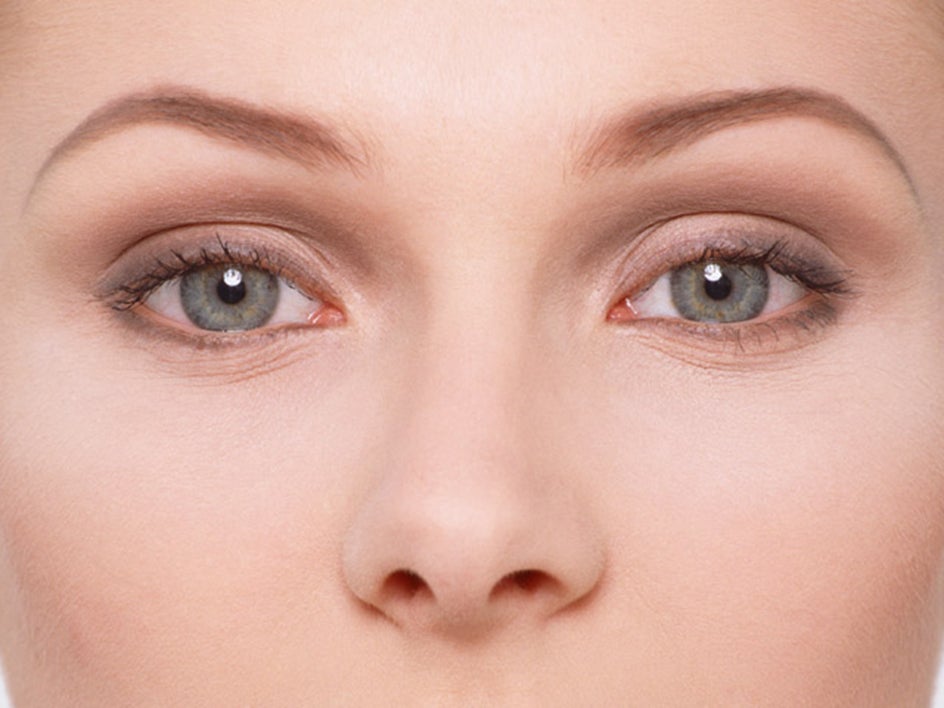
Now you're going to upload the photo into the BeFunky Photo Editor.
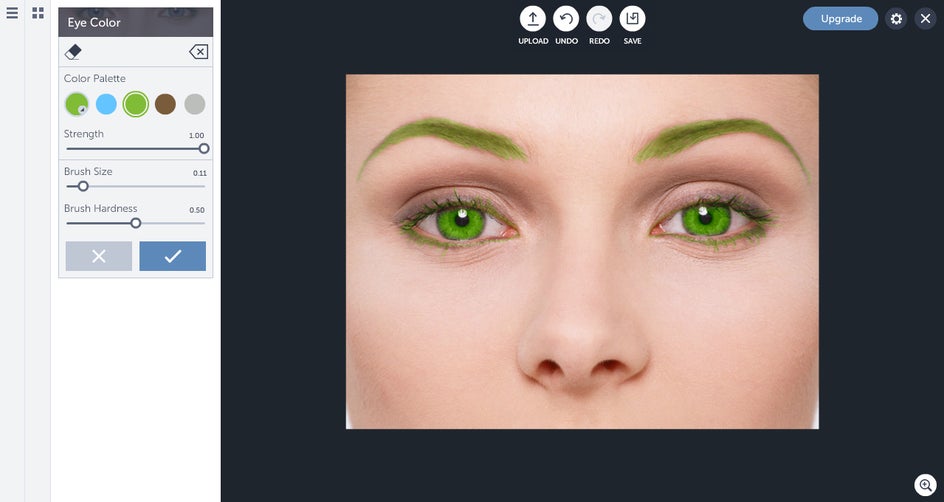
In order to take this photo from zero to National Geographic level, you’re going to start by coloring the eyebrows and eyelashes. I found that the eye color tool in the touch up panel is not only good for coloring eyes, but it’s good for coloring eyebrows and eyelashes too.
Click on the eye color tool and select the green circle in the color palette to start coloring the eyebrows and eyelashes like you’re coloring in a coloring book.

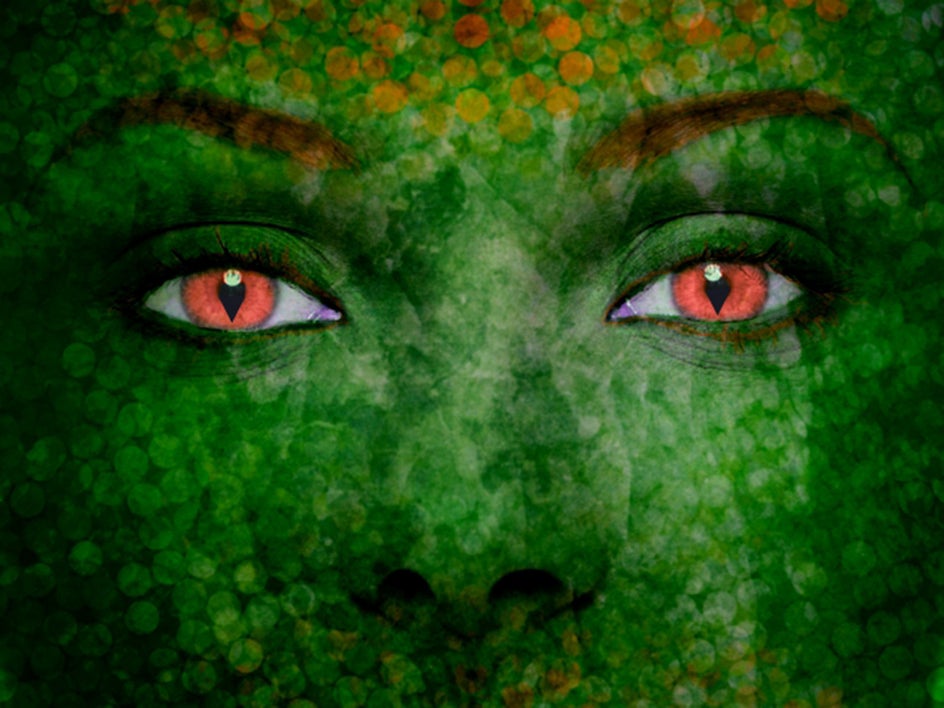
Now you’re going to color the eyes green. Go back to the touch up panel, click on the eye color tool and choose the green circle in the color palette. Now just color inside the iris (it’s okay if you color the pupil too, it doesn’t affect the look of it).
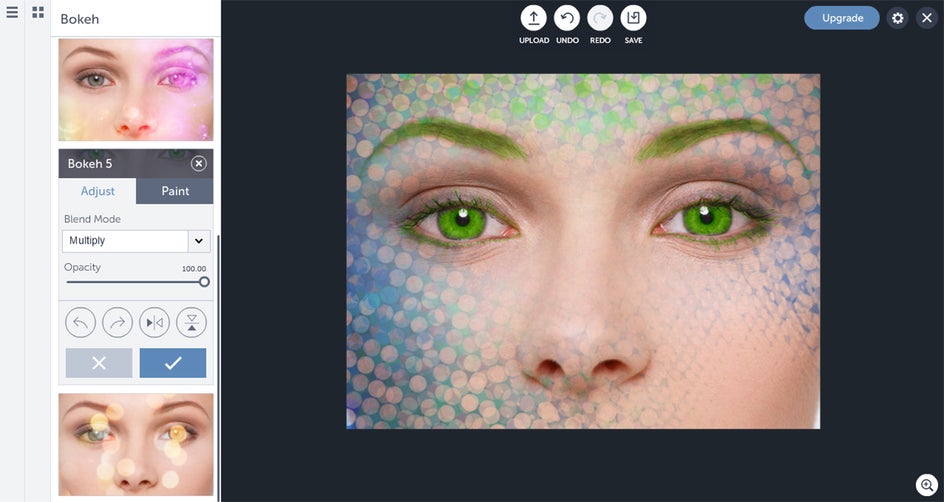
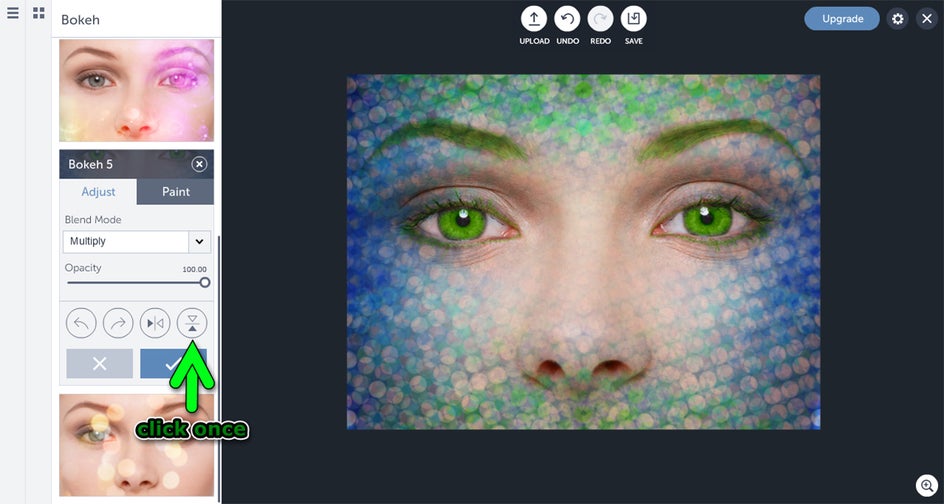
It’s time to get scaly. Go to the textures panel and click on Bokeh and then on Bokeh 5. You'll now see the Bokeh texture on the left and upper half of the face. If you see any of the Bokeh in the eye area, then click on the paint tab and choose whatever brush size you want and erase it.
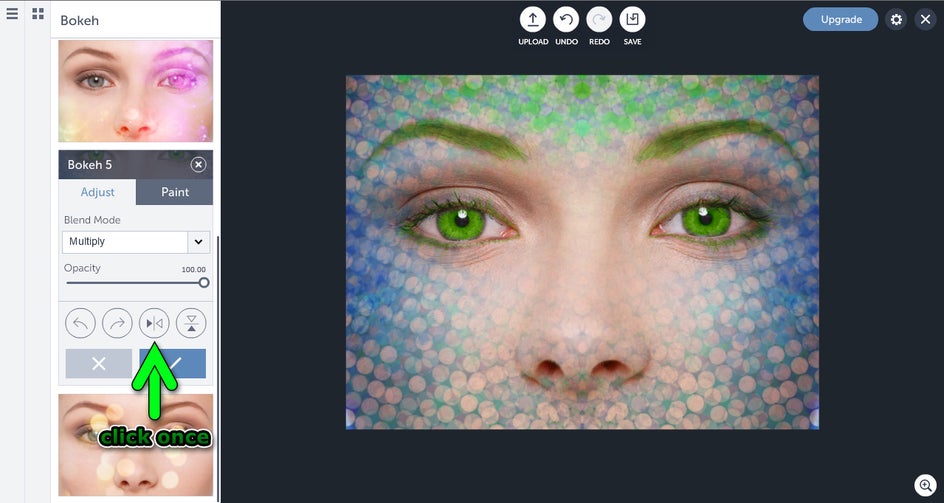
Now you want to add some scales to the clear spots on the face, so you’re going to repeat the same process as above, but you’re going to click once on the flip horizontal button so the bokeh will flip horizontally and fill in the clear spots.
One layer of scales is fine, but they look even more real when you give them a 3D effect, so you’re going to achieve that by adding some more Bokeh to the top and bottom of the photo. Repeat the first Bokeh process above, but click once on the flip vertical button. Now repeat the same process but click the flip vertical button twice so the editor will place the Bokeh on the bottom of the face.
Here’s what your face should look like after the first flip vertical action and after the second flip vertical action:

Now it’s time to add some serious oomph to this photo. Go to the textures panel and click on paper, and then click on paper 7, which is going to look like your usual stained paper over a photo, but when you change the blend mode to subtract and the opacity to 100% that’s when the magic happens:

If you don’t want your eyes to have a blue tint to them, then feel free to erase all the blue in the eyes.

The eyes in the photo still look a little human to me, so you’re going to change the pupils in the eyes to more animal-like pupils. Go to the graphics panel, click on geometry and then select the triangle. You can then use the colorpicker over the left eye to capture the color of the pupil.
The color you've chosen will now show up in the color picker box and on the triangle. You can use the settings I use for the graphics properties box and blend mode below or you can use your own.
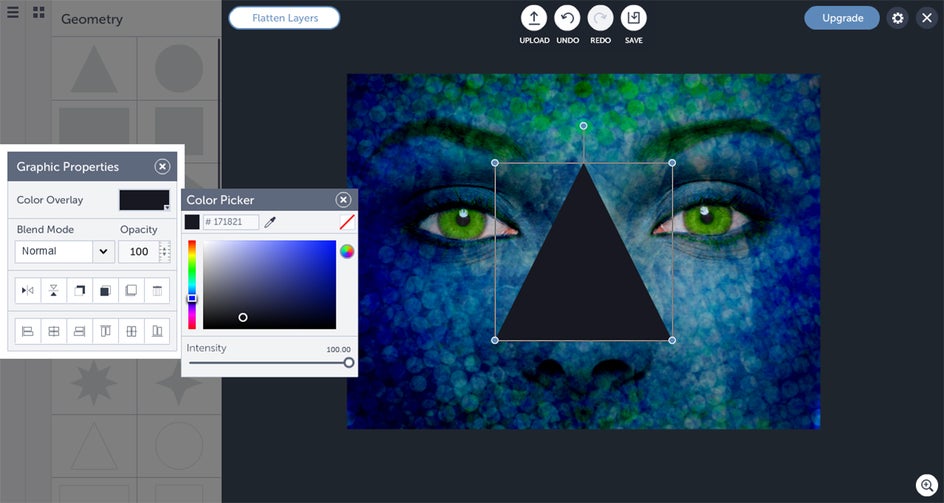
Now you’re going to want to rotate the triangle so you can add it to the left pupil. Hover the mouse over the circle at the top of the triangle until it turns into an arched arrow, then click and turn the triangle until it's upside down and lined up with the screen. You'll see that it’s lined up with the screen when you see a horizontal line on the left and right side of the triangle.
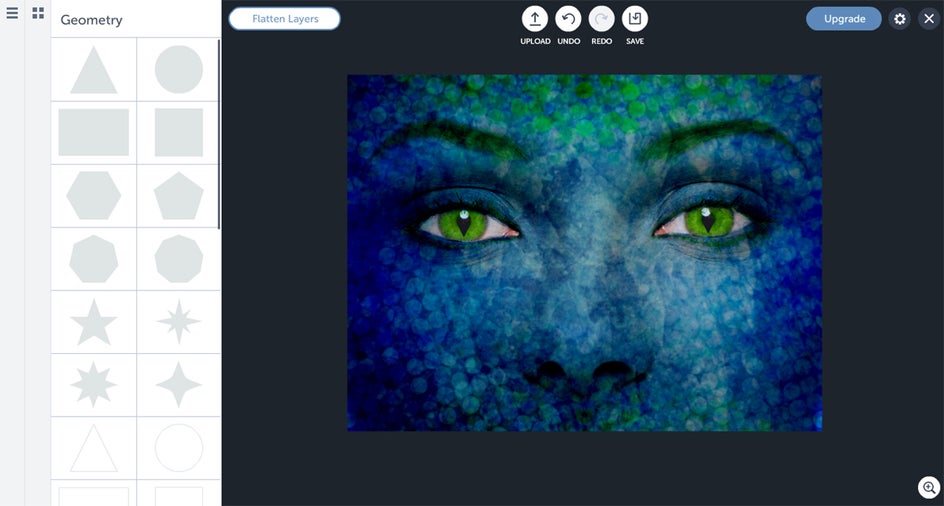
Next, you’re going to make the triangle smaller so you can attach it to the left pupil. Once you have the triangle just the right size, you’re going to drag the top of the triangle to the middle of the pupil so it blends in. The pupil and the triangle should now resemble an animal’s pupil.

To keep from having to repeat the whole process for the right pupil, click on the triangle in the left pupil and a box should pop up with a list of options on it. Click duplicate. You should now see a second triangle, and you’re going to do the same thing you did with the left one, but for the right pupil. Your human eyes should look like a great set of animal eyes now.
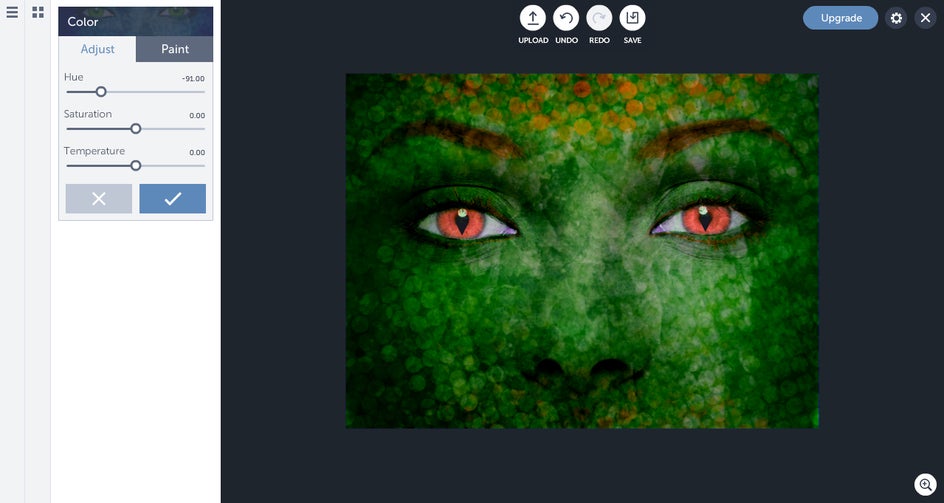
If you want to give your amphibious creature more of a color boost, click on the edit panel and then click on the color section. All I did in this section was move the hue slider. You can play around with the slider until you see the face in the photo change to a color you like.
I wanted my amphibious creature to be a vibrant green like a gecko or one of those classic frogs, so I slid the slider to -91.00 and there it is: I now have the vibrant green amphibious creature I wanted with piercing yellow eyes as a bonus.
You should now have an amazing amphibious creature to show off on your social media pages or elsewhere.
Thank you for reading my tutorial, I can't wait to see or hear how your amphibious creations turn out! If you're unsure of where to go to get started on your amphibious journey, click the button below to start creating! :)