Design Your Own Facebook Cover Photo
With over 2.89 billion monthly active users, Facebook is the biggest social network worldwide. Therefore, it comes as no surprise that many of us have had a presence on the site for several years now and continue to use the platform on a daily basis.
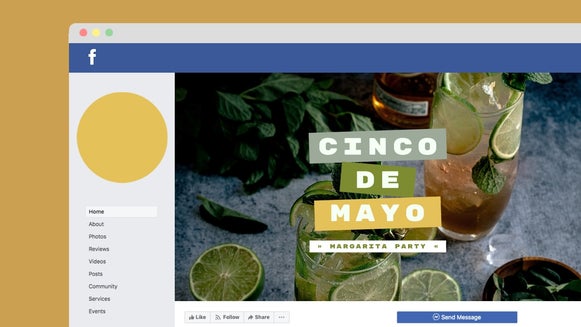
If your profile is looking a little outdated or simply needs a fun refresh, however, your Facebook cover photo is the primary image you should switch. After all, your cover photo is the first thing a visitor sees when they visit your page, as it takes up prime real estate at the top of your profile.
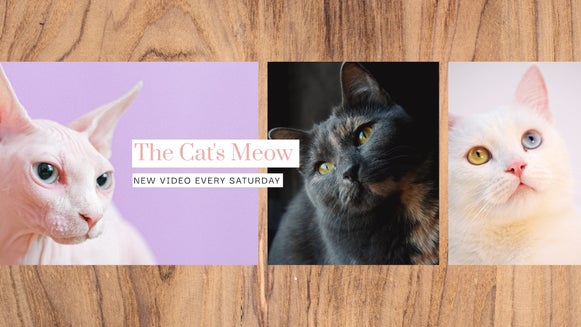
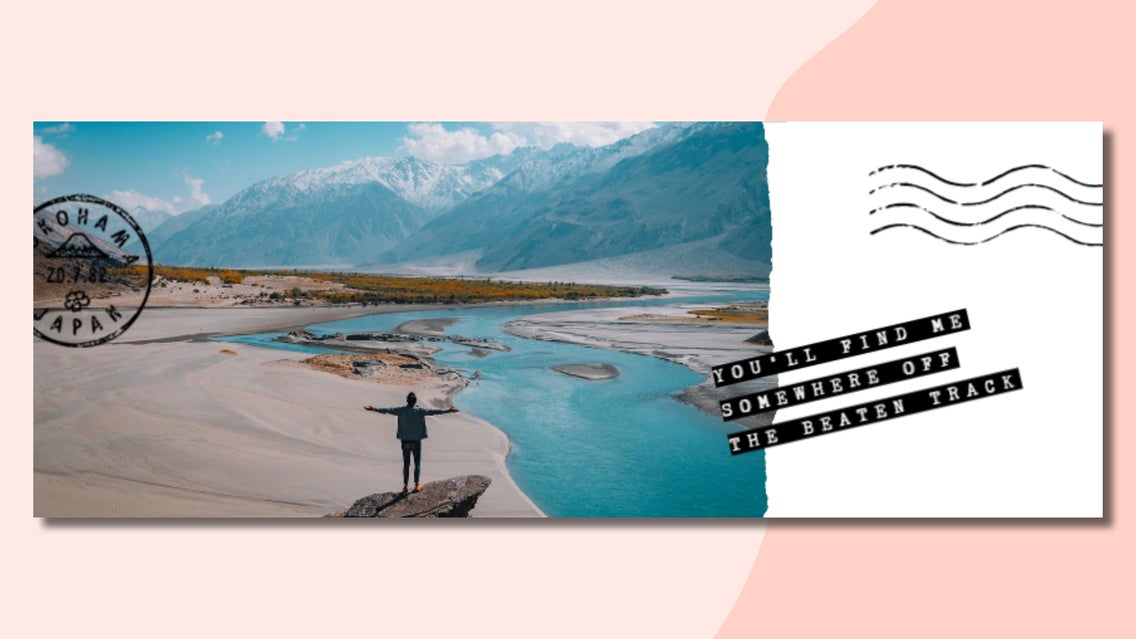
Creating a new custom cover photo can be time-consuming though, especially if you make one from scratch. Thankfully, BeFunky’s Facebook Cover Photo Maker has a library full of pre-made cover photos. They’re perfect for jazzing up your Facebook profile and letting your personality shine through!
What’s the Correct Facebook Cover Size?
According to Facebook, your cover photo loads fastest as an sRGB JPG file that measures 851 pixels wide by 315 pixels tall and is less than 100 kilobytes.
It will then be displayed at 820 pixels wide by 312 pixels tall when your profile is viewed on computers and 640 pixels wide by 360 pixels tall when viewed on smartphones.
When uploading a Facebook cover photo, you’ll need to ensure your image’s dimensions are in accordance with Facebook’s desired size. In the past, this was a tedious task, but those days are over. You see, our cover photo templates are perfectly sized to meet Facebook regulations, so you can say goodbye to stretched or distorted imagery.
How to Create a Facebook Cover Photo With BeFunky
Ready to create your own custom Facebook cover photo? To get started, head to BeFunky’s Facebook Cover Photo Maker.
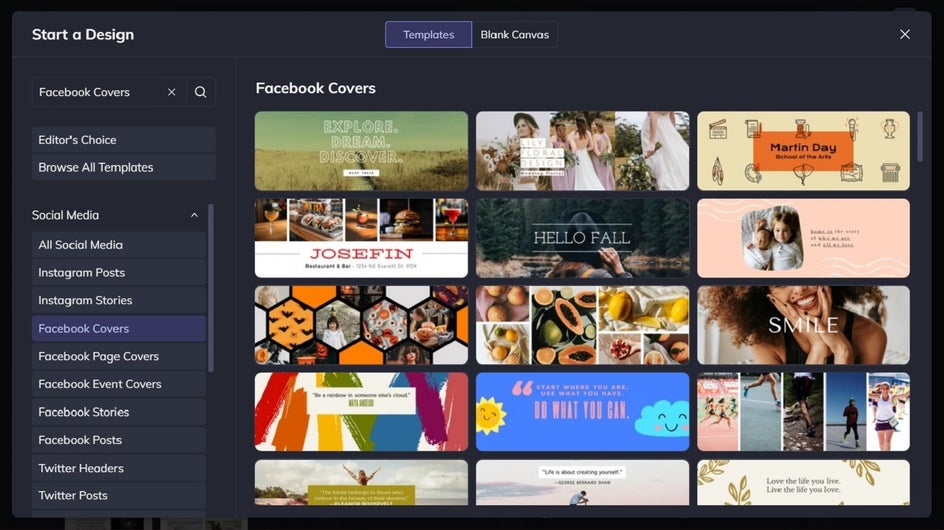
Step 1: Choose a Pre-Made Template
Clicking this link will direct you to our wide range of cover photo templates to choose from. Simply click on the Facebook cover photo design you like the most. Then, click Use This Template to begin editing it.
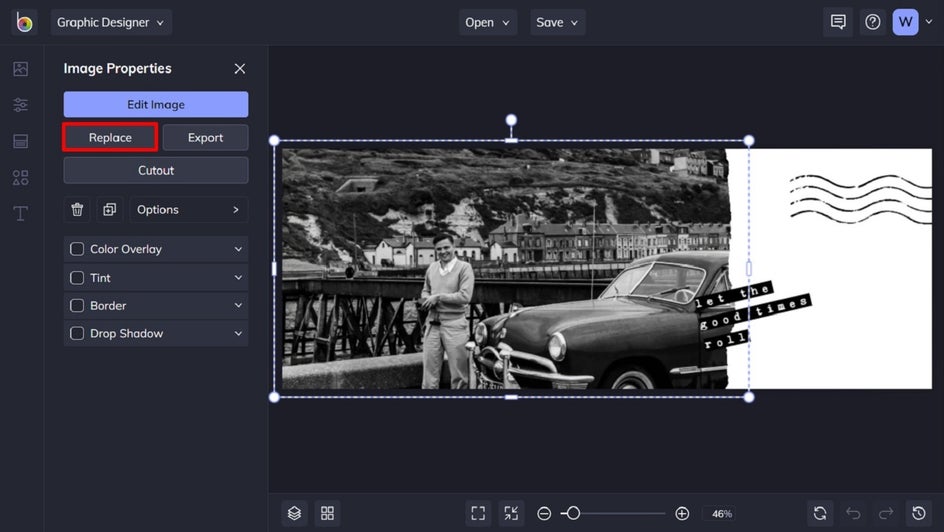
Step 2: Replace the Existing Images
You’ll first want to swap out the template’s existing photo(s) for your own imagery. To do this, you can click on an image in your template and select the Replace button from the Image Properties menu that appears. This will allow you to replace the existing image with one from your computer.
Alternatively, you can click on the Image Manager tab (the top icon) in the menu on the left and upload all the photos you'll be using in your design. Once uploaded, the images will appear as thumbnails that you can drag and drop over the existing images in the template to replace them.
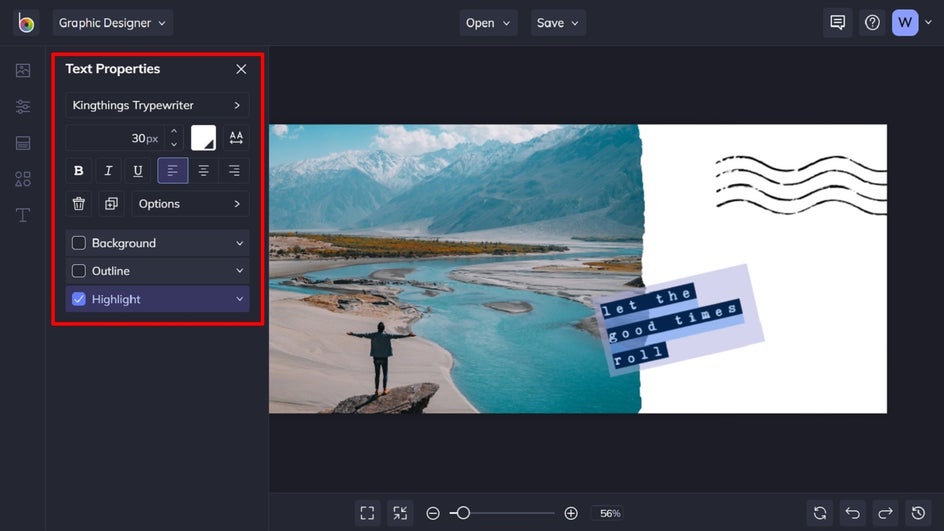
Step 3: Edit the Existing Text
To edit the template’s existing text to reflect your own details, simply double-click on a text box and begin typing whatever you want it to say. When you click on a text box, a Text Properties menu appears. You can use it to easily adjust elements such as the font, size, text color, spacing, and more. You can also add layer effects to your text, such as a drop shadow or outline, to really make it pop.
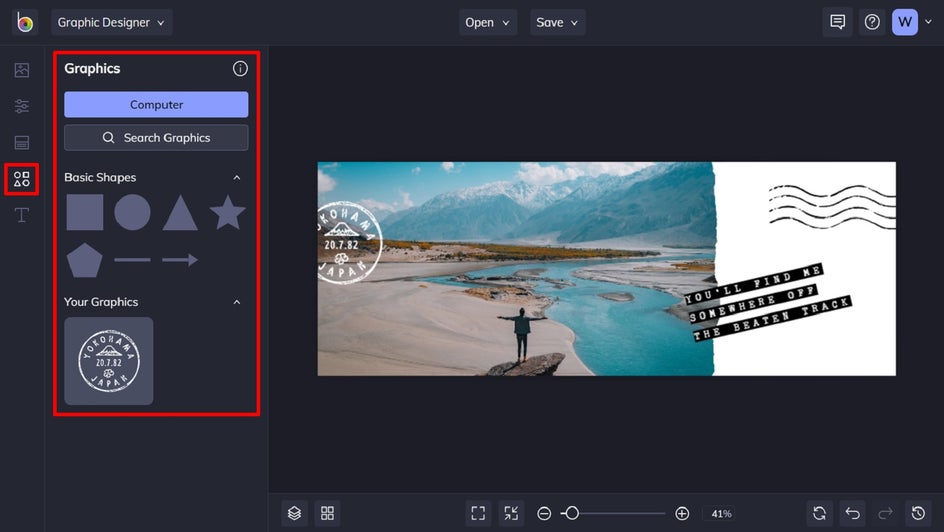
Step 4: Add Graphics, If Necessary
If you'd like to add any additional vector graphics, open the Graphics tab in the left-hand menu and click the Search Graphics button or choose one of our customizable basic shapes. The Search Graphics button will open our Graphic Library, where you can search hundreds of vector graphics to add to your post. Click on any that you'd like to use, then close the menu to see the selected graphics loaded into the Your Graphics section ready for you to add to your design. From here, you can drag and drop the graphics onto your post.
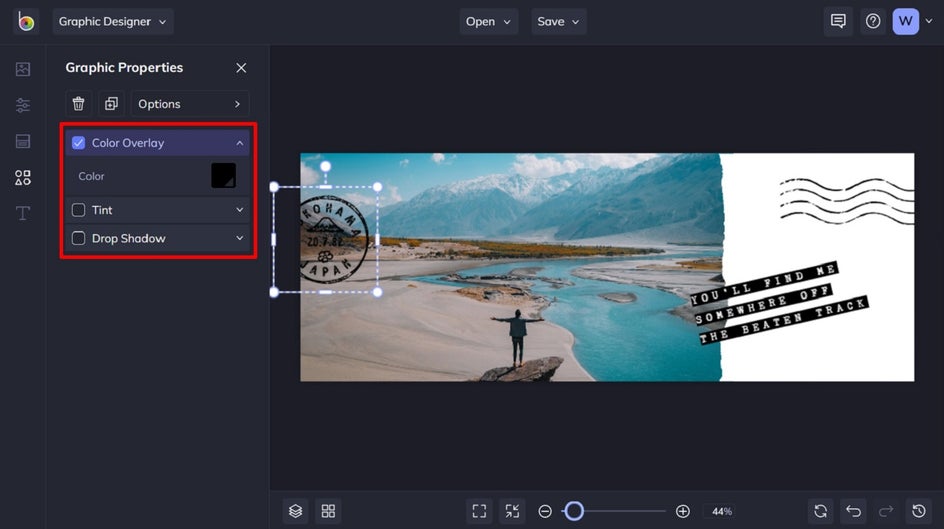
Step 5: Customize Your Graphics
If you added graphics to your cover photo template, then you can also customize these so they’re more cohesive with your own branding. To do this, simply click on the graphic and a Graphic Properties menu appears. From here, you can add a color overlay, tint, or drop shadow.
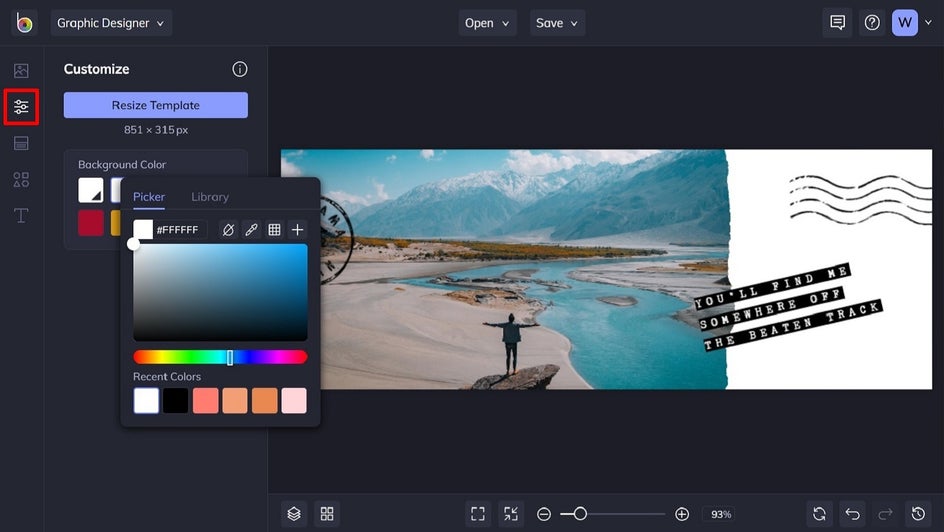
Step 6: Change the Template’s Background Color
Want a background that suits your own color scheme better? To change the template’s existing background color, navigate to Customize in the menu on the left. From here, you can select one of the featured color swatches or click on the first swatch to open the Color Picker, from which you can select a new color, type in a HEX code, or use the Eye Dropper Tool to choose a color already present in your design.
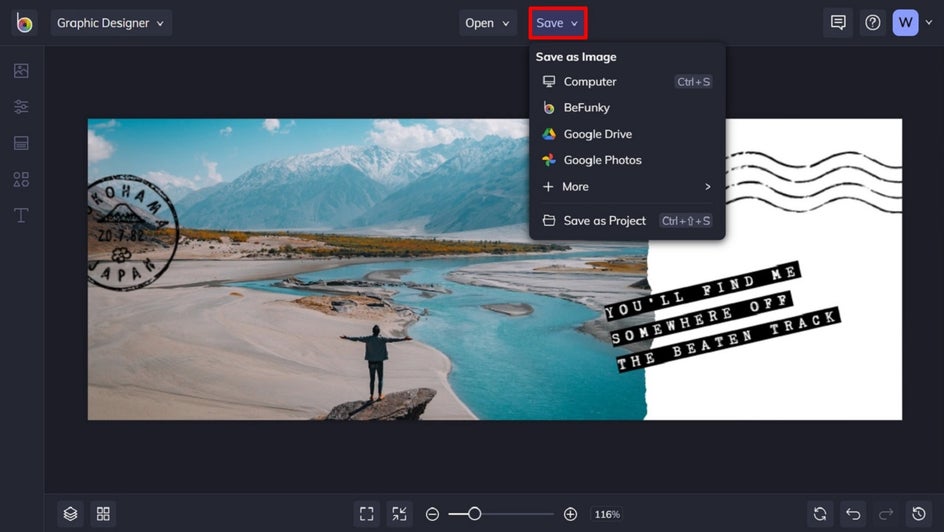
Step 7: Save Your Custom Facebook Cover Photo
Once you’re finished with your Facebook cover photo design, click the Save button at the top of the page and choose your destination. You can also save your cover photo directly to your Facebook account. Simply navigate to Save > More > Facebook to do this.
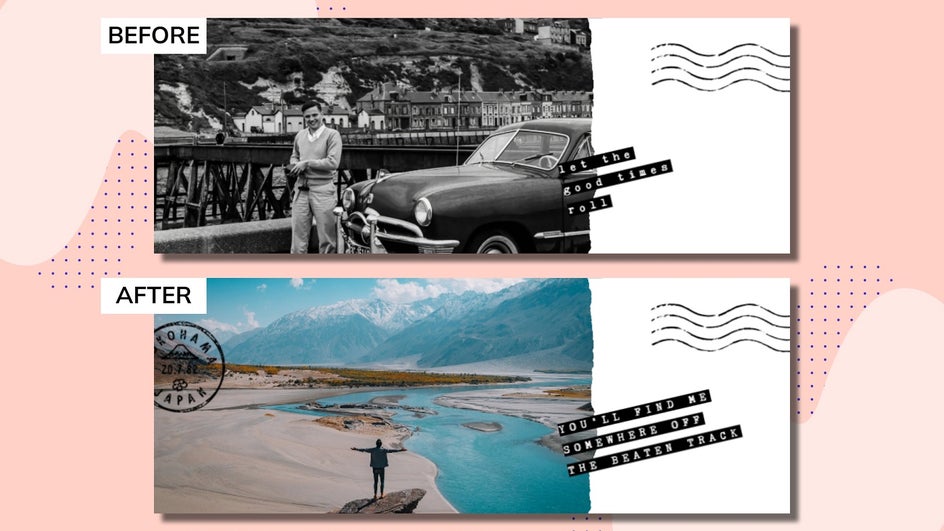
Before and After
Wasn’t that easy? With just a few simple tweaks, you can instantly transform one of our cover photo templates into your own fun and personalized design!
Put Your Best Cover Photo Forward
Don’t let your Facebook profile look like everyone else’s. Using one of our eye-catching and pre-made templates, you can instantly create a custom cover photo that puts your personality on display. All it takes is a few minutes of your time. Go on, give our Facebook Cover Photo templates a try!