Replicate Fill Light in Photos – No Expensive Lighting Equipment Required!

Photography requires light. Without it, there would be no way to capture a photo. In nature photography, only one light source is typically used: the sun. The trouble with having a single light source, especially during mid-day, is that it can create a scene with very harsh lighting. In order to expose the highlights properly while taking the photo, you need to turn the exposure down on your camera, but the trade-off is that your shadows become very dark. Detail can get lost if your highlights are too bright and if your shadows are too dark.


To fix this imbalance while taking a photo, you need to compensate with multiple light sources. Photographers will often bring multiple flashes with them on set or use light-balancing props like a diffuser or a bounce. A bounce allows you to “bounce” light onto an area of the frame or subject that may be too dark in the photo. Bouncing light to these areas helps to illuminate the shadows so that the subject is more balanced. The same goes for a diffuser, but these focus on diffusing harsh highlights.
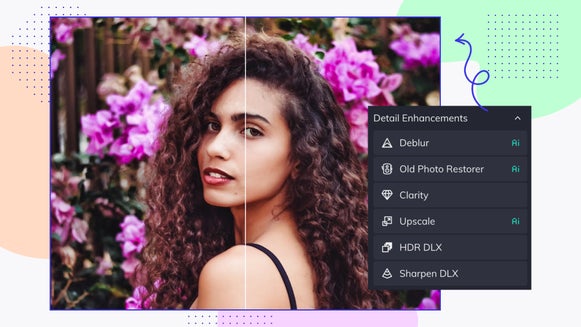
So what do you do if you do not have a prop to bounce or diffuse light and you’ve already finished your photoshoot? BeFunky’s Fill Light tool in the Photo Editor can easily bring details out of the shadows of your image and make the light in your photo more balanced. It’ll mimic the quality of a professional photography setup, giving your photo that secondary light source it needs, all in the photo editing process!
What Is Fill Light? What Can It Do for Your Photography?
In photography terms, a fill light is a secondary light source, used opposite of the main, or key, light. Shining a light on the opposite side of your subject, where the key light creates shadows, helps to illuminate the dark shadows and properly balance the overall lighting in your frame.
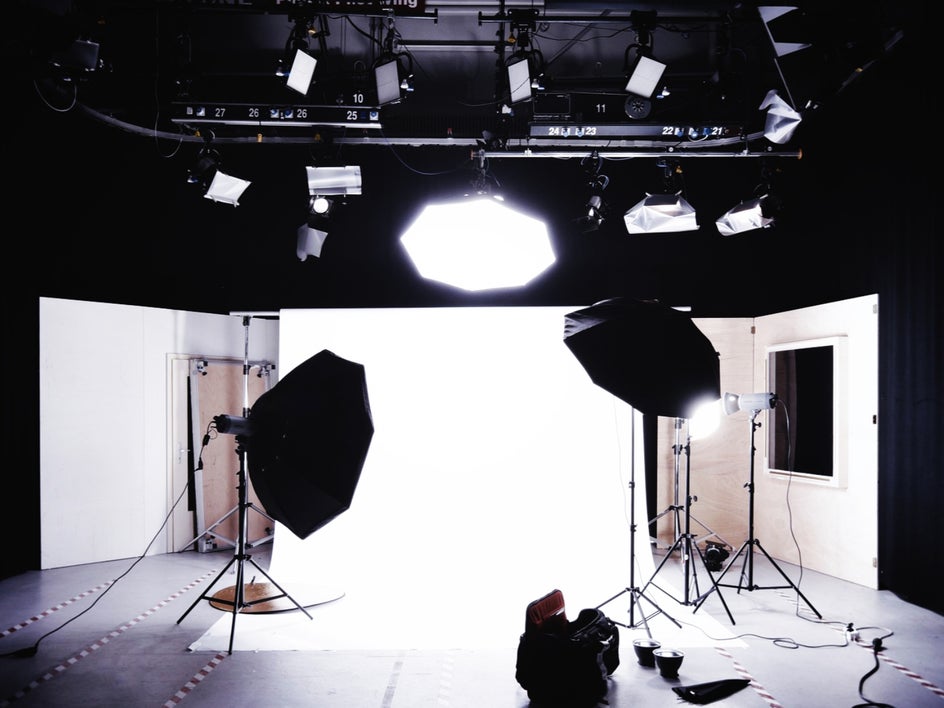
Normally, this is accomplished by lighting your subject with two different lights that you’d set up before your photo shoot, which is what studio photographers do. Most people do not have two lights to use, let alone one professional light source. If you are anything like us, you use the sun, or a fixed light in your house, to accomplish most of your photography. What do you do when you need to expose the shadows more but don’t have an extra light around?

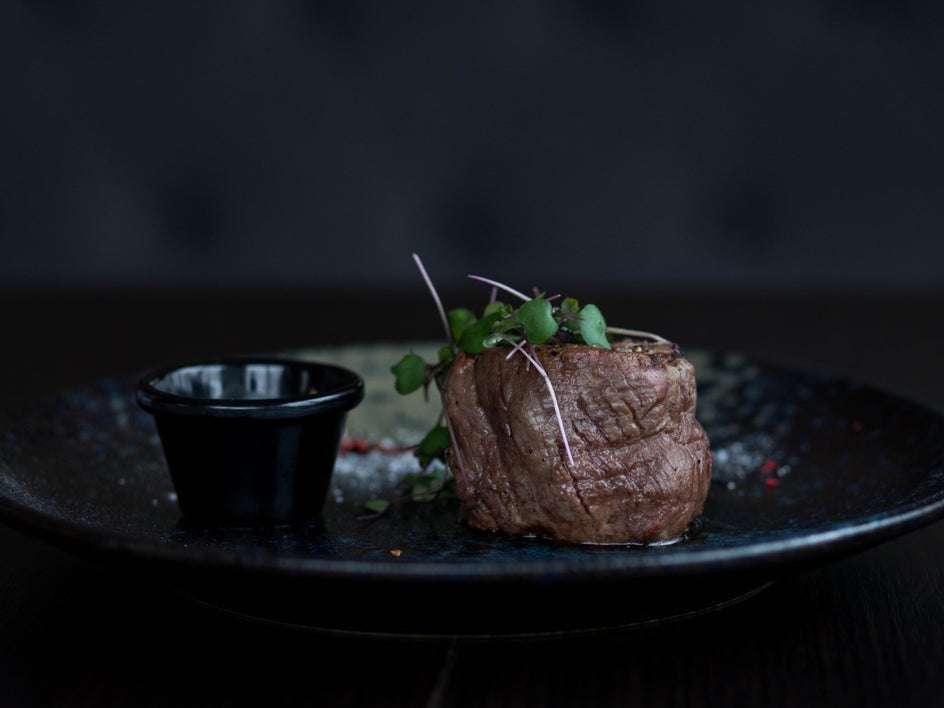
The Fill Light tool can be used during the photo editing process to accomplish this task. This tool will brighten the shadows in your image while bringing down the highlights and keeping the mid-tones where they are. You can use it on any type of photography to create a more balanced image from food photography to landscape photography.


Keep in mind that you do not want your Fill Light to be as bright as your main light source. Fill lights should be a 2:1 or 3:1 ratio, meaning that your fill light should only light the shadows a third of the brightness of your key light. Keep this in mind when editing to get the most natural-looking photo.
How to Use BeFunky’s Fill Light Tool
The cool thing about BeFunky’s Fill Light tool is that it’s incredibly easy to use - you just have to adjust a single slider and BeFunky does all the rest. Find an image where you need to balance the exposure. Upload it into BeFunky’s Photo Editor.
Step 1: Upload a Photo
Choose your file from the Open tab and then select Computer. Select your file. You can also drag and drop your file directly into the Photo Editor’s interface and it’ll upload automatically.
Step 2: Use the Fill Light Tool
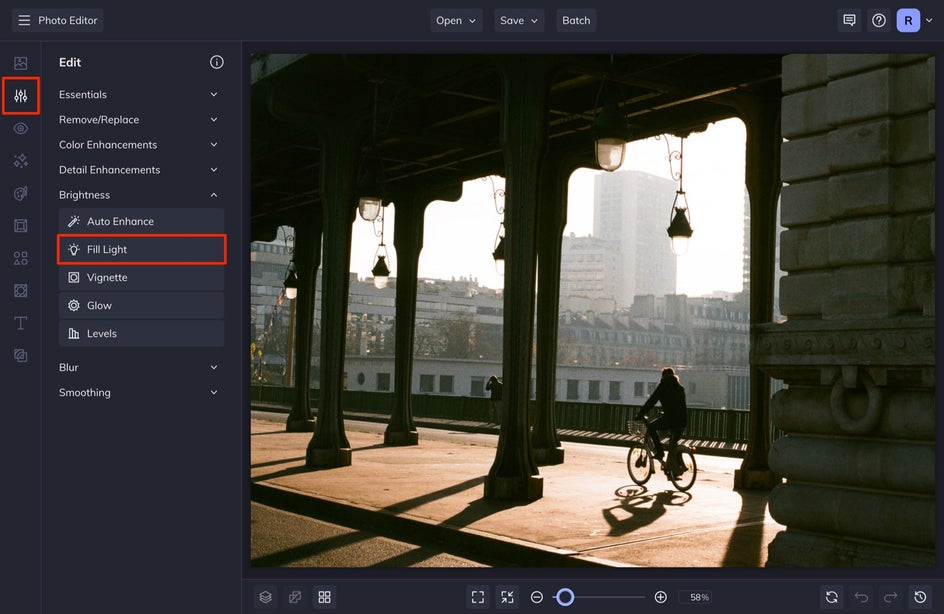
Once your photo has been uploaded, select Edit from the left-hand menu. From here, scroll down to the Brightness section and select the Fill Light tool.
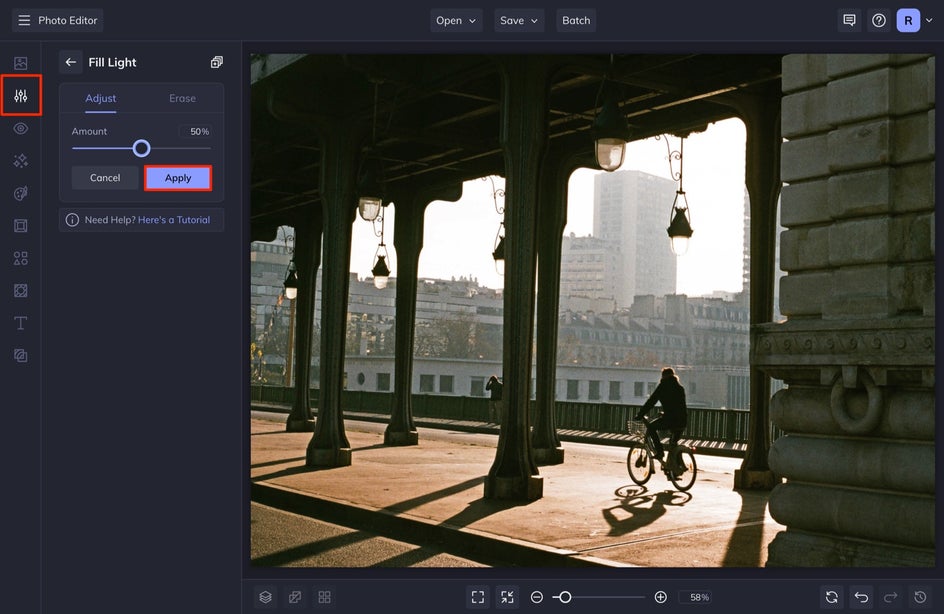
Adjust the amount of fill light by dragging the slider until you’ve got the perfect amount of balance between highlights and shadows. To make micro-adjustments, you can click on the slider and use the arrow keys on your keyboard to adjust the slider to the right or the left.
Step 3: Get Precise With the Brush
If you need to add fill light to specific parts of your photo without affecting the other areas, in the Fill Light tool, select Erase.
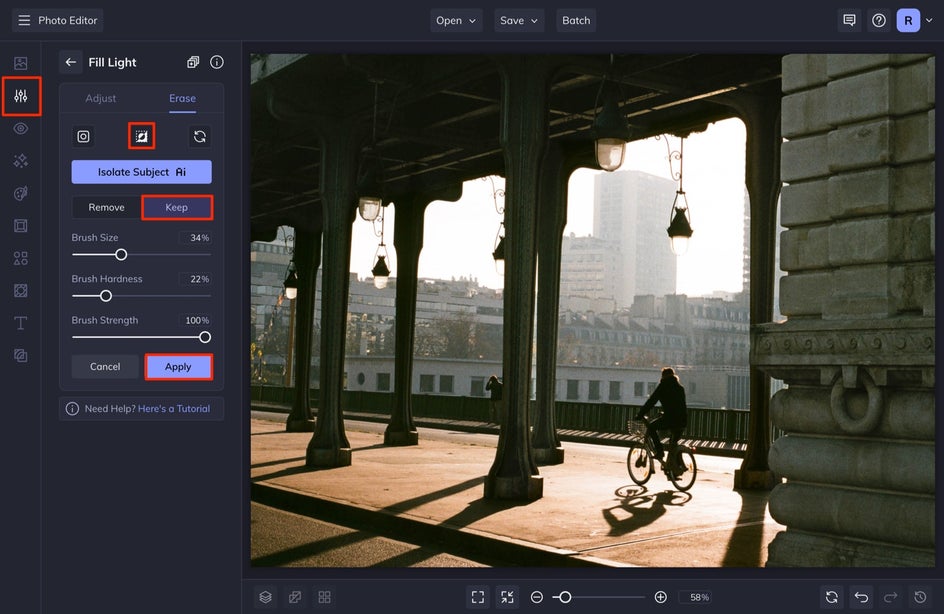
Click the Invert Selection button, and select Keep. Adjust the Brush Size, Brush Hardness, and Brush Strength, and paint the Fill Light where you want it. When you’re done painting, you can click back over to the Adjust tab to increase or decrease the Fill Light amount in those chosen areas.

Using the Fill Light Tool in Erase Mode is a great way to have more control over editing your image.
Some Parting Fill Light Tips
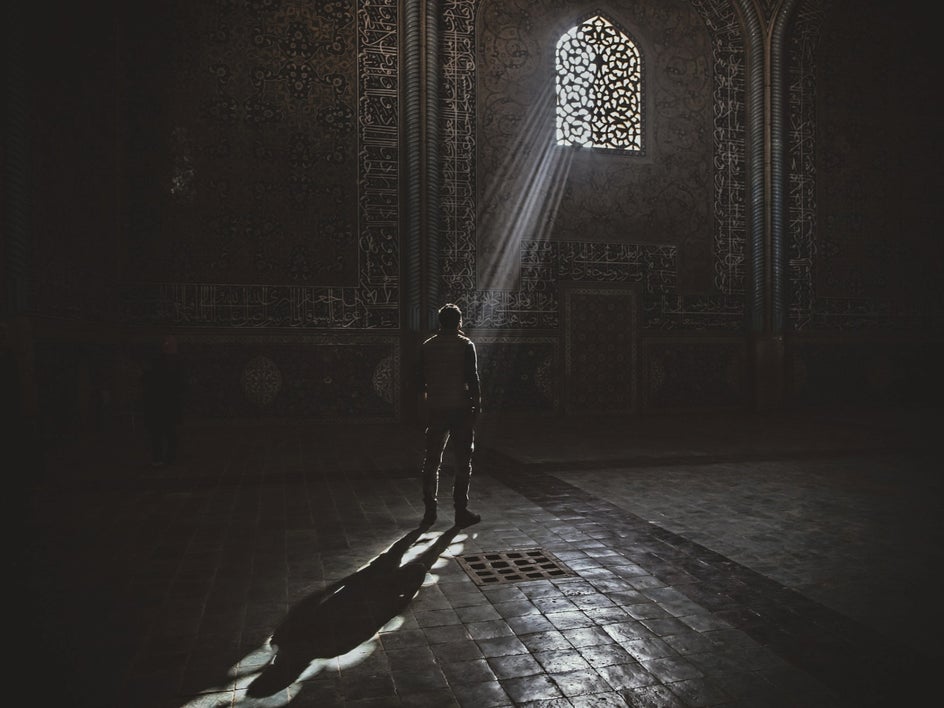
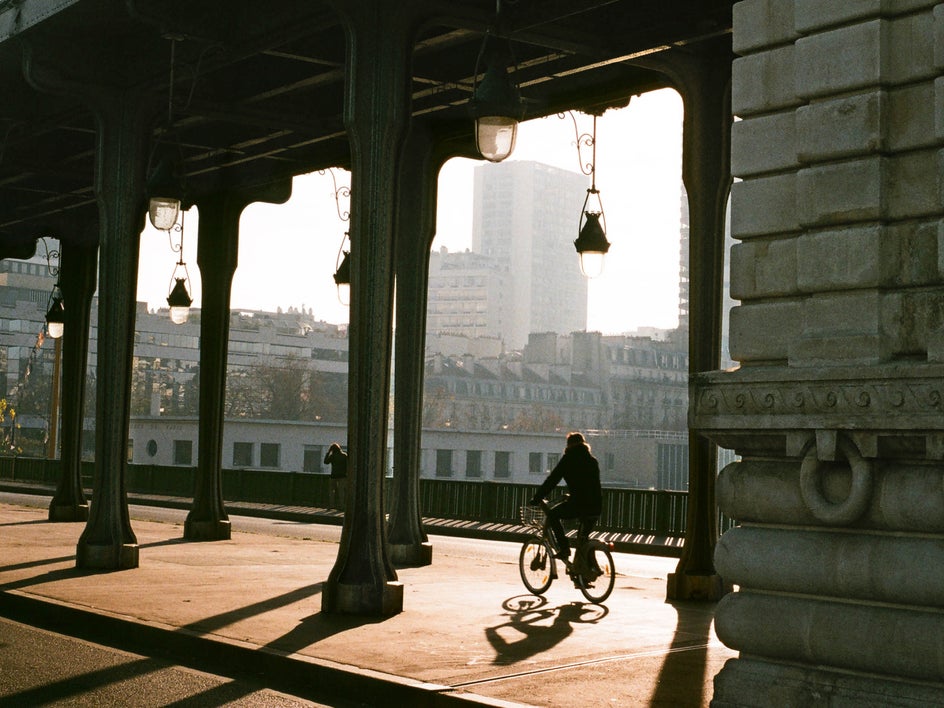
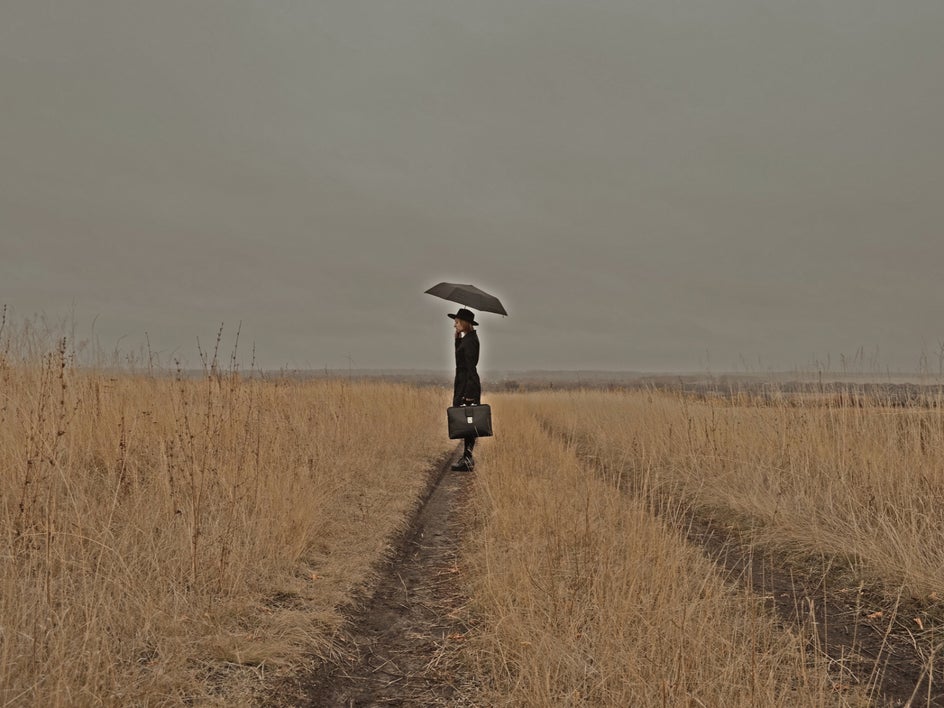
When using the Fill Ligh tool, start with a lower percentage first and increase the fill ever so slightly. You will notice that if you go too high, the photo will start to look a bit cartoonish. I usually don’t go above 50% unless the photo is being shot against a dark background like in this photo. In this photo, the fill light is set to 100%.

Sometimes, if there are too many highlights in the photo, adding too much fill light will make dark subjects against a light background appear to have a ring around them.

Remember that if you want the photo to look natural, the amount of fill light needs to maintain the light ratio described above – the highlights should be two or three times the intensity of the fill light areas.
Don’t Have Good Lighting? Use the Fill Light Tool!
See what a difference the Fill Light tool can create in your images? You can achieve more balanced exposure and create professional-quality photos in a matter of seconds. Knowing how to use BeFunky’s Photo Editor tools will make you look like you've got a professional photography setup, all without having to spend a dime.