Top 5 Effects for Editing Low-Light Photography
Some of the most challenging settings to photograph are those instances where there is low light. No matter how good of quality your original image is, if it was shot in low-light conditions, it's going to need some support after snapping it for the end result to be great.
While some basic editing tools like Exposure and Fill Light offer results that may be helpful in low-light photos, you can step up your nightlife photography by using a selection of these hand-picked BeFunky effects that work great with low-light photos.
Top 5 Effects to Make Your Low-Light Images Shine
These five effects are perfect tools to have in your editing toolbox for when you’re in a pinch for time. The Photo Editor has made it super easy to apply a cool filter that brightens your photo in just a few clicks! Click here to upload your photo and get started finding the best effect for your low-light image.
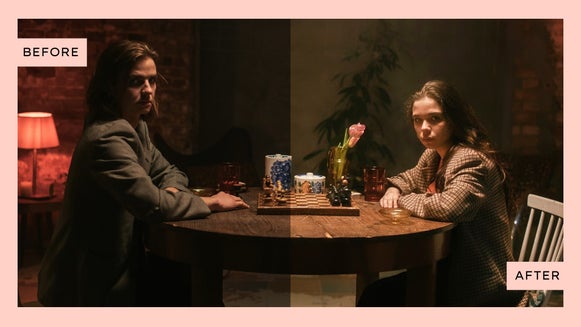
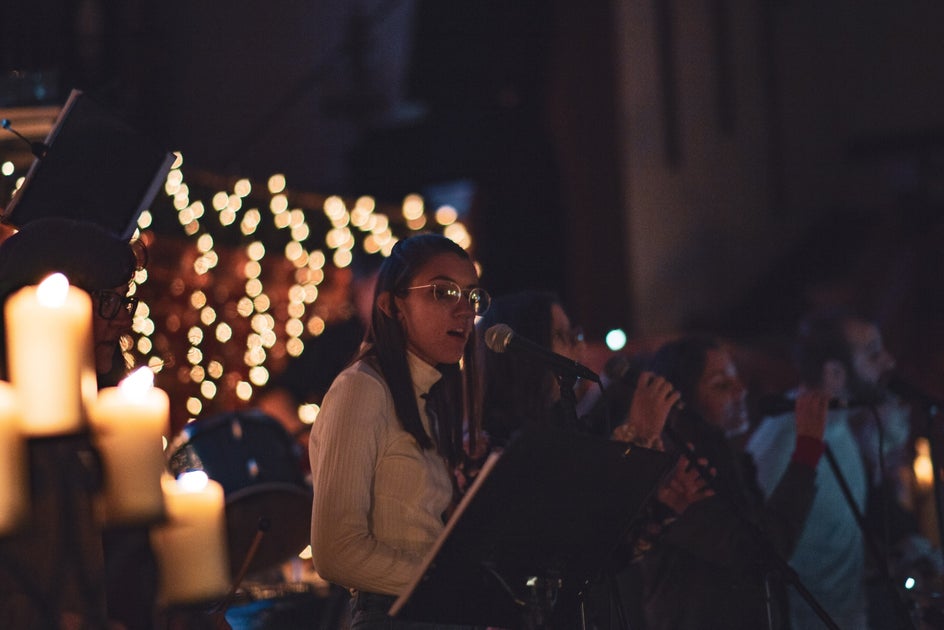
Effect 1: Cinematic Film Grain
This filter is a good one for adding texture to your image while brightening it. The texture makes it look like an old movie and simultaneously lightens your photo. Click on the Settings box on the far left to adjust the settings of the effect, you can increase or decrease the intensity to your preference.

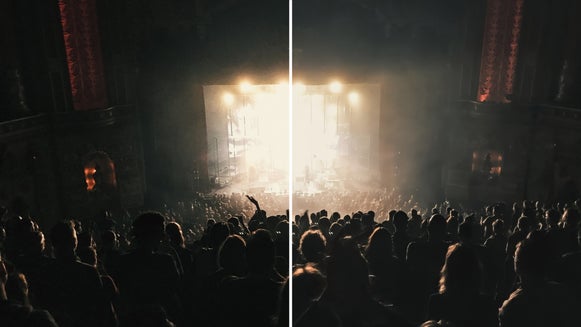
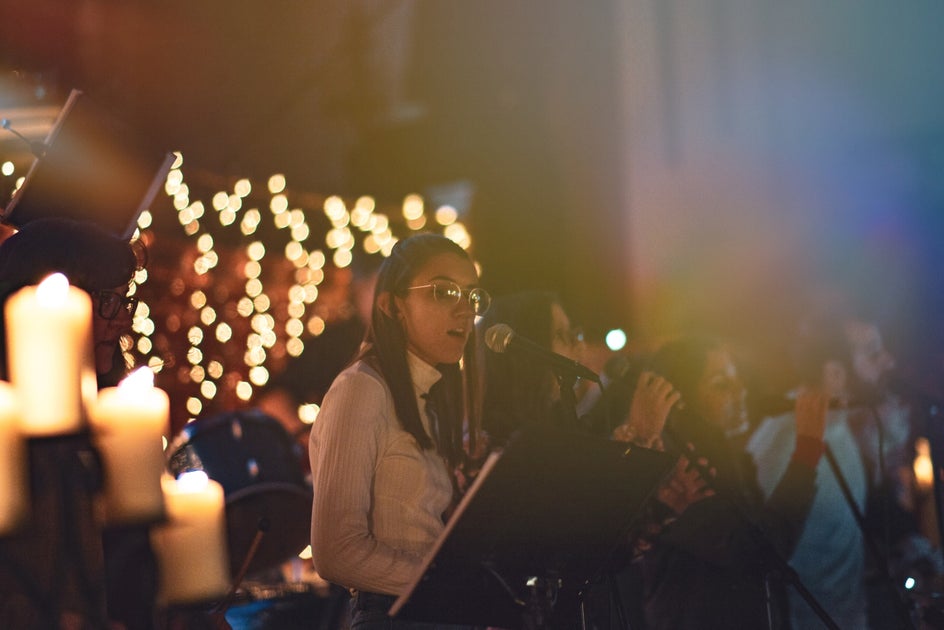
Effect 2: Summer 2
When you have a photo with low light and a lot happening in the background, this is the right filter! Summer 2 lightens up the image while adding a cool light flare that makes it look like you took your photo in the middle of a summer day. You are also able to adjust the settings on this one – increasing the intensity of the highlights is a great way to brighten the image further.
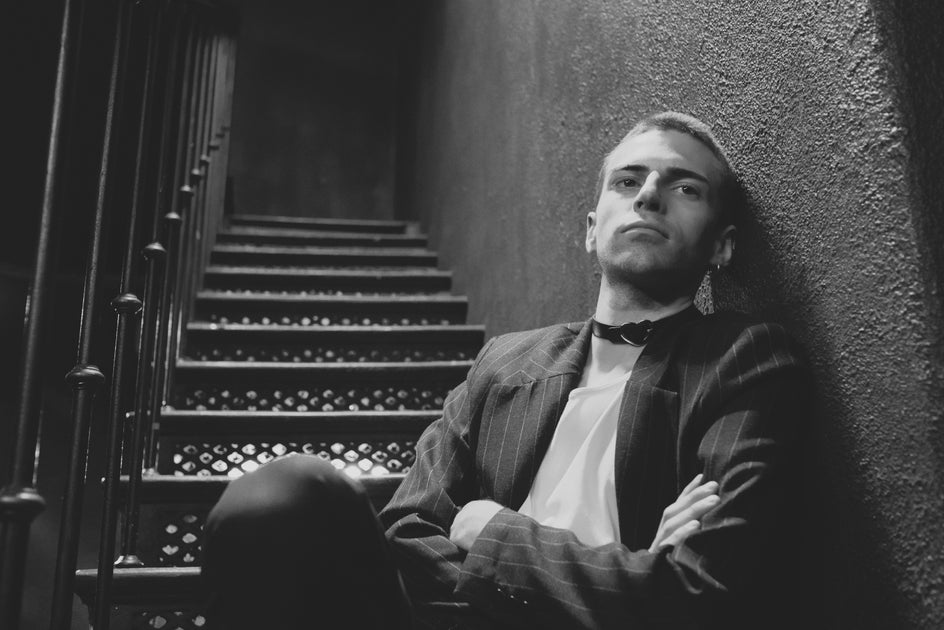
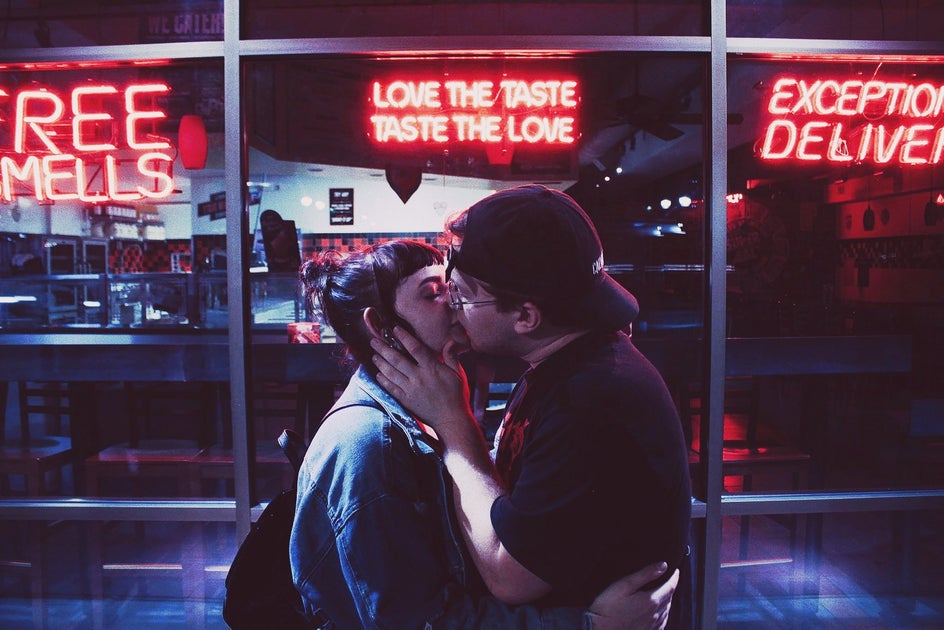
Effect 3: B&W Tones 12
Nightlife photography often has poor or inconsistent lighting due to neon lights and shopfronts. When you snap a great photo but don’t like how the colors turned out, this is the perfect time to use a black and white effect. The B&W Tones effects are great for this because there is a huge selection and they have varying degrees of black and white saturation. B&W Tones 12 lightens photos while layering the contrast of a black and white image. Click through the settings and use the sliders to fit your aesthetic.
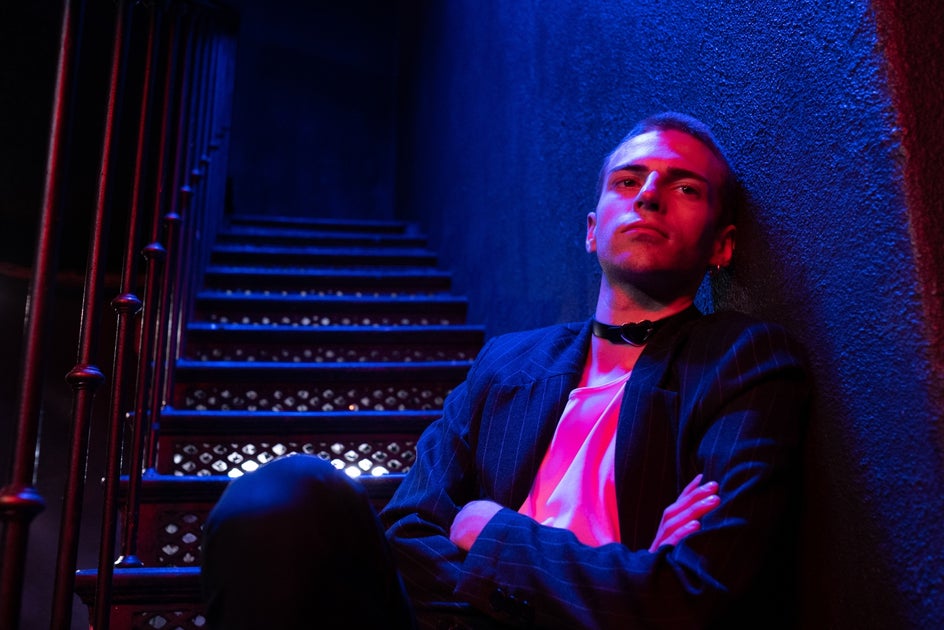
Effect 4: Analog Tones 2
This effect is another good one to use when there is low, inconsistent lighting. It brightens the whole image while adding a texture that feels straight out of the ‘90s. To bump up the brightness, click through to the settings and increase the highlights in the image, this will keep the texture but make it so your subject can stand out a bit more, but be careful about increasing the highlights too much as it can wash out your subject. Play around with the settings to achieve your perfect look.
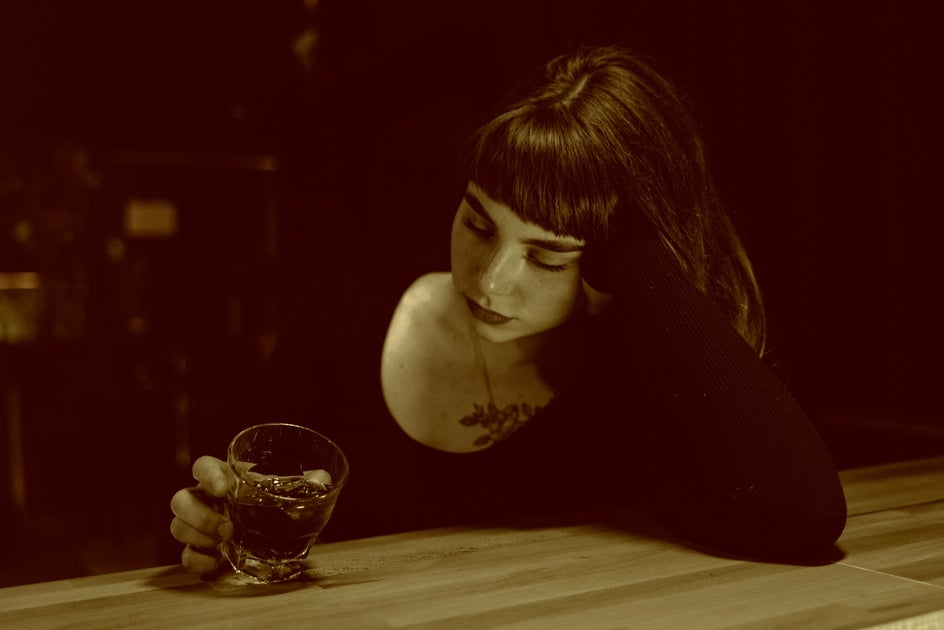
Effect 5: Sepia
Much like the B&W Tones effect, applying a Sepia effect is a great option for a less than desirable color in the original image. Sepia is a softer and dreamier look that has the ability to maintain the depth of the photo while making the image have more uniform light in that iconic reddish-brown tone. Increasing the highlights on this one allows you to create an image that is bright and consistent in color. Simply click through to the settings and increase the highlights to reach your desired result.

Brighten Your Low-Light Photos With BeFunky
With BeFunky’s Photo Effects as your trusty assistant, those dreaded low-light photos can start shining in just a few clicks. Take your images from dark and unable to be seen, to shareable in a few simple steps! Take your shot at it by clicking here.