How to Remove Flash Glare From Portraits
Photography depends on light – without it, there would be no way for a camera to capture how the light hits a subject. Once you start taking photographs, you realize that you can use and manipulate light in different ways to capture different kinds of photography styles.
Most of the time, photographers prefer to shoot during the early or evening hours of the day, or when the day is overcast by clouds. These scenarios will provide the most diffused light for your subjects, which provides a very even lighting situation – no harsh highlights or shadows. This is great for most portraits and most photography in general as it provides the most consistency during shooting.

If you’ve ever tried shooting during mid-day when the sun is high in the sky, you will know how difficult it is to capture people well in these conditions. They are often blown out in certain areas of their face and crushed with shadows in others. This same issue can occur with flash photography. If you don’t have the light just right, whether natural or unnatural, then you may experience flash glares or “hot spots” in your images on people’s faces in their portraits.

Before we talk about how to fix flash glares with BeFunky’s Photo Editor, let’s break down what a flash glare is and how to avoid them in the first place.
What Is Flash Glare?
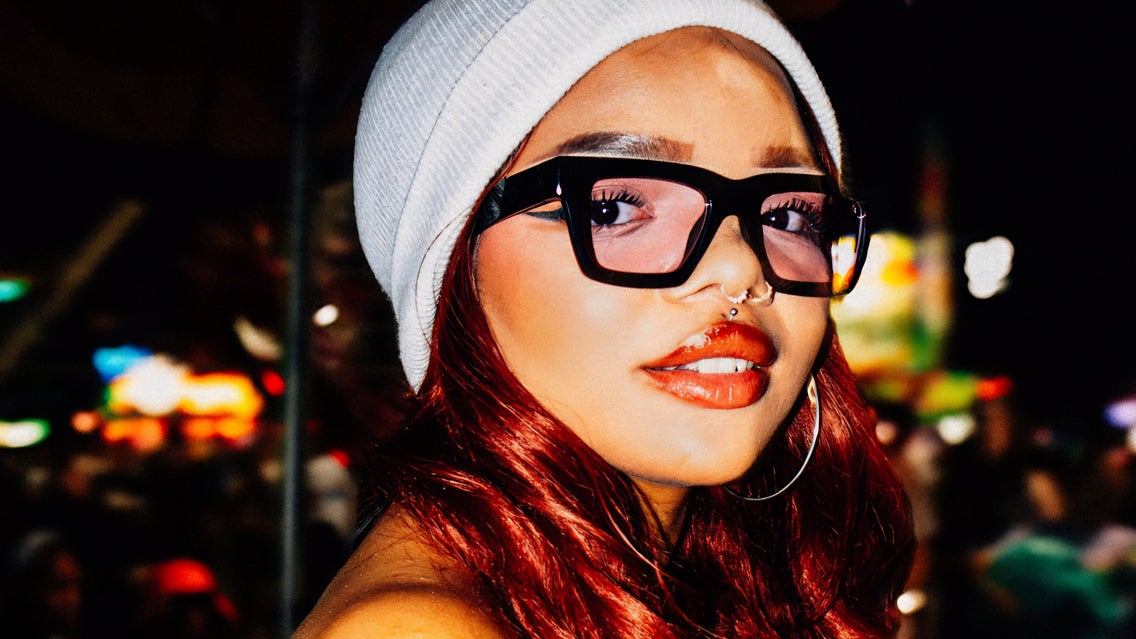
Working with the balance between highlights and shadows is super important when balancing the lighting on a subject. Light gives a subject dimension and this is especially important in portrait photography. Wherever the light hits a subject, it will bring out and highlight those features, much like what a highlight does in makeup artistry. You can utilize light and flash in photography to enhance someone’s features like in this photo below:

Unfortunately, this effect can be distracting and unflattering as well. Since flash glares can be caused by uneven lighting or a flash reflecting off a shiny surface like oily skin, sometimes a flash glare can quickly ruin what would otherwise be a great portrait.
How to Avoid Flash Glare
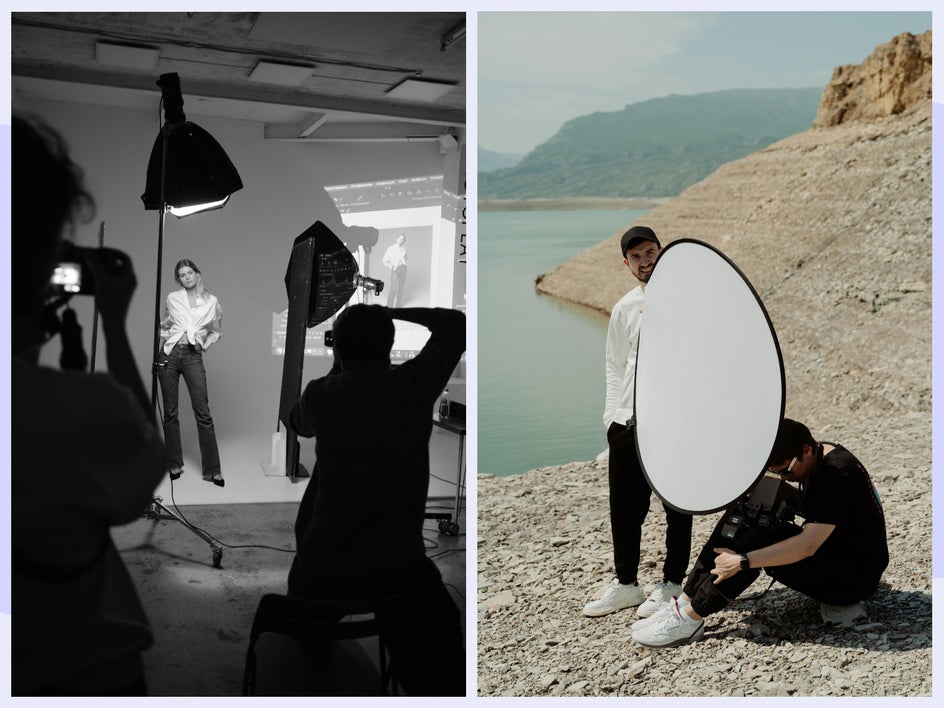
You can avoid flash glare when taking portraits by setting your lighting up properly and also using a diffuser or a bounce in both indoor and outdoor settings. This photography equipment diffuses the light evenly onto a subject so that there are no hot spots. You can also use the clouds to be a natural diffuser for the sun and shoot on an overcast day.
If you don’t have this equipment and have a flash glare you’d like to fix, look no further than BeFunky’s Flashspot tool. The Flashspot tool will apply a uniform color over the flash glare zone to balance out the highlights, removing any hot spots in your portraits.
How to Remove Flash Glare With BeFunky
If you have an image with an unflattering flash glare on a subject’s face, click here to head straight to BeFunky’s Flashspot remover in the Touch Up tools section of the Photo Editor. This tool will easily fix your flash glare so you can recover any hot spots in your image.
Step 1: Find the Flashspot Tool
The Touch Up tab has all sorts of tools to apply digital makeup, diminish blemishes, and more. For our purposes, head to the Skin drop-down, and select the Flashspot tool.
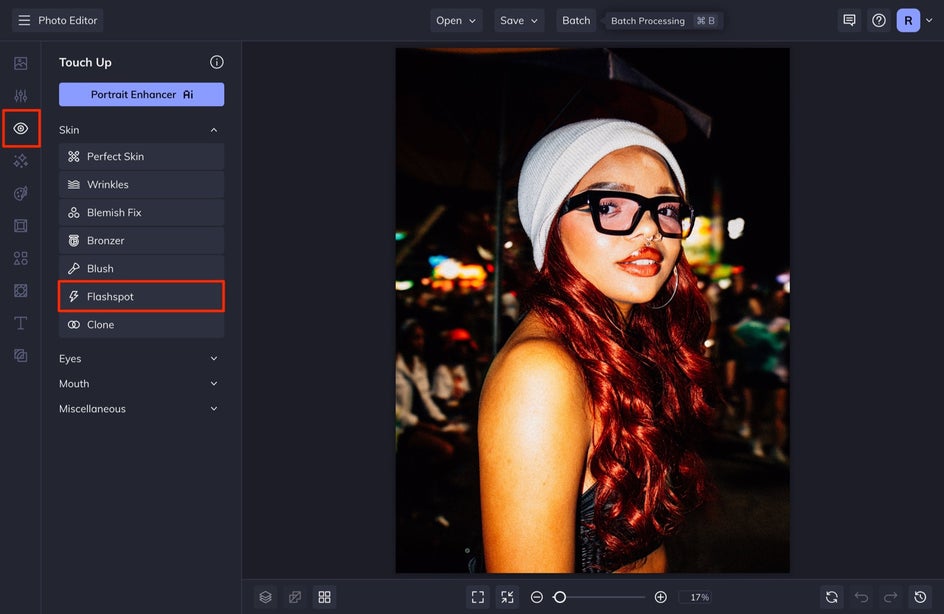
In the Flashspot menu, you can adjust the strength, brush size, and brush hardness of the Flashspot tool.
Step 2: Adjust the Effect
Strength refers to the strength of the tool. If you want a more subtle application, decrease this slider. Brush Size will increase or decrease the size of the brush. Lastly, Brush Hardness refers to the feathering of the edge of your brush. The harder it is, the more crisp the edge of the brush and the softer it is, the more feathered the brush will appear when applied. Simply drag the sliders to the left or right to decrease or increase the options.
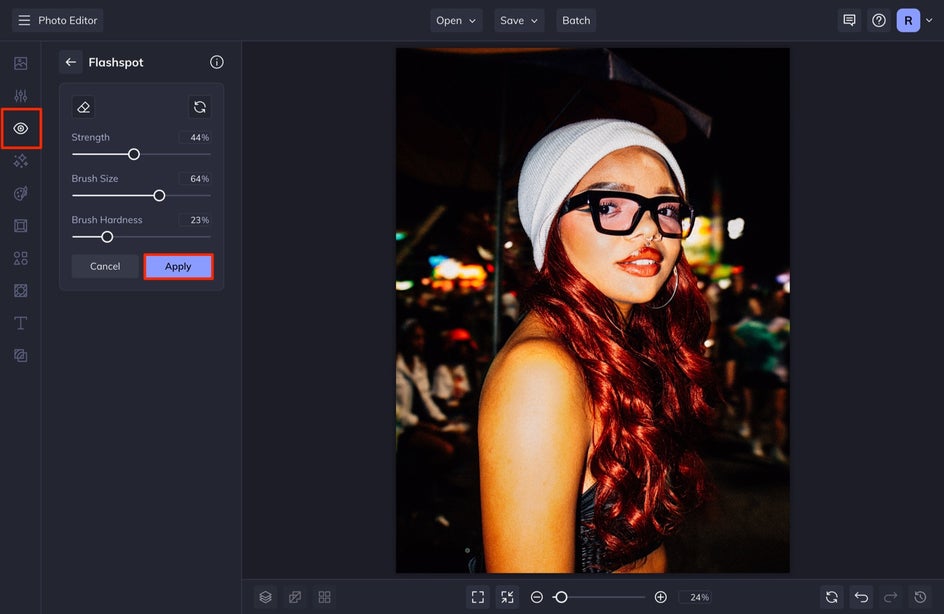
To begin removing the flash glare from your photo, use your mouse and apply the brush over the area. You can increase or decrease the Strength slider after application to achieve more of a matte effect. Once you’re happy with how it looks, click Apply.
If you want to take your portrait a step further, you can apply the Perfect Skin Tool, or take a look at this article that covers a variety of other tools we have in our Photo Editor that will enhance your portrait even more.
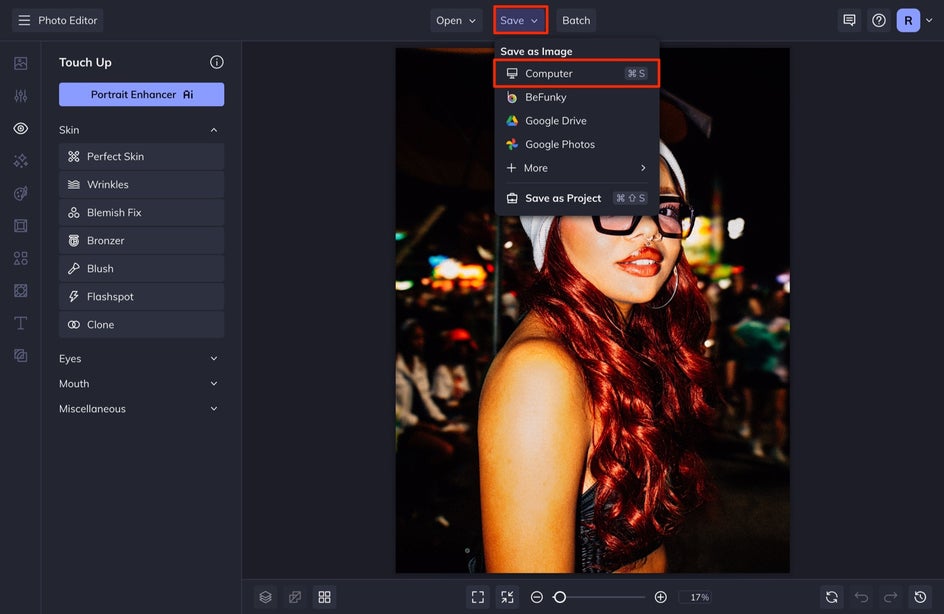
Step 3: Save Your Portrait Image
Now it’s time to save your flawless portrait. Select Save at the top of the screen and then select Computer and JPEG. After this, select Save.
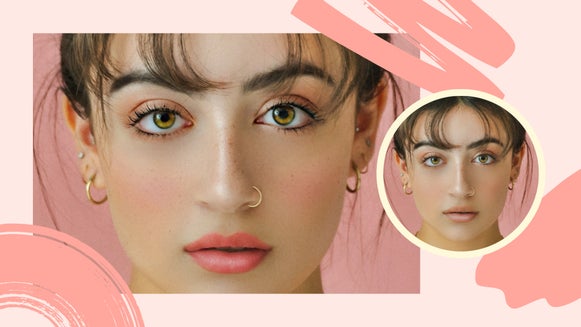
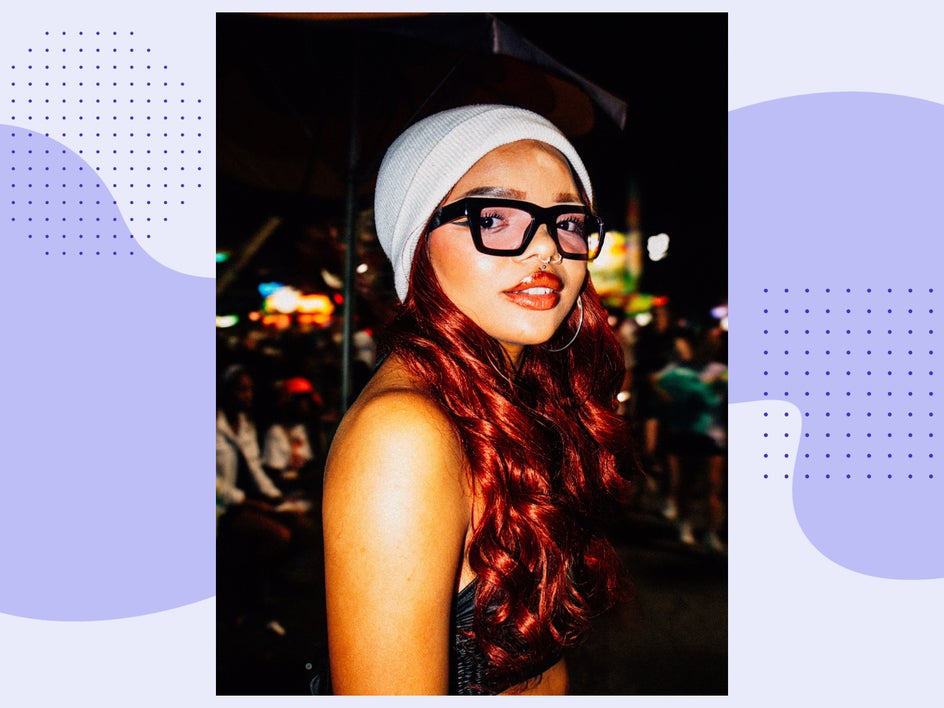
Take a look at how Flashspot transforms the hot spots in this photo without removing the dimension that the light source creates:

Banish Flash Glares From Portraits in Seconds
BeFunky’s Touch Up tools have all of the tools you need to make your portrait photography better than ever. When it comes to the Flashspot tool, the results speak for themselves. Start perfecting your portraits today!