How to Create a Floral Typography Design

Typography has become a bit of a buzzword of late, but did you know that it can involve so much more than just font pairings?
One such trend includes floral typography design, which combines eye-catching lettering with stunning floral designs to create true works of word art. When designed effectively, it should look like the foliage is layered in front of and behind the text, just like in the example below.

It might sound tricky, but we assure you that you don’t need a degree in graphic design to pull off this flower text effect. Instead, BeFunky’s Cutout tool, available in the Photo Editor, can do all of the hard work for you. It lets you isolate elements and add them as layers to other images. Keep reading to find out how!
How to Create Floral Typography With the Cutout Tool
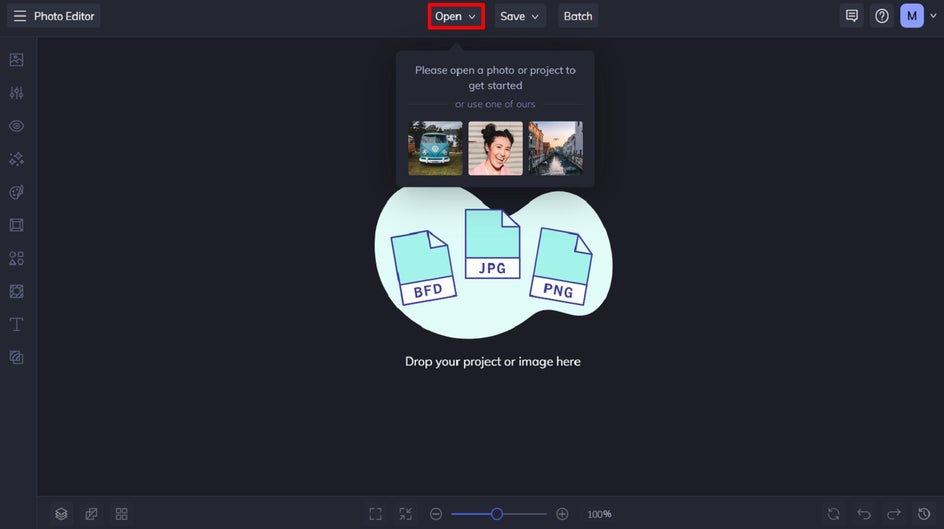
To get started making your own floral typography design, head to BeFunky’s Photo Editor and open a floral image of your choice. This will serve as the backdrop to your typography.
Step 1: Add Your Text
To add text to your design, navigate to the Text tab. Click Add Text to add a new text box or you can select one of the premade text patches featured below. You can then double-click any text box to type in what you want it to say.
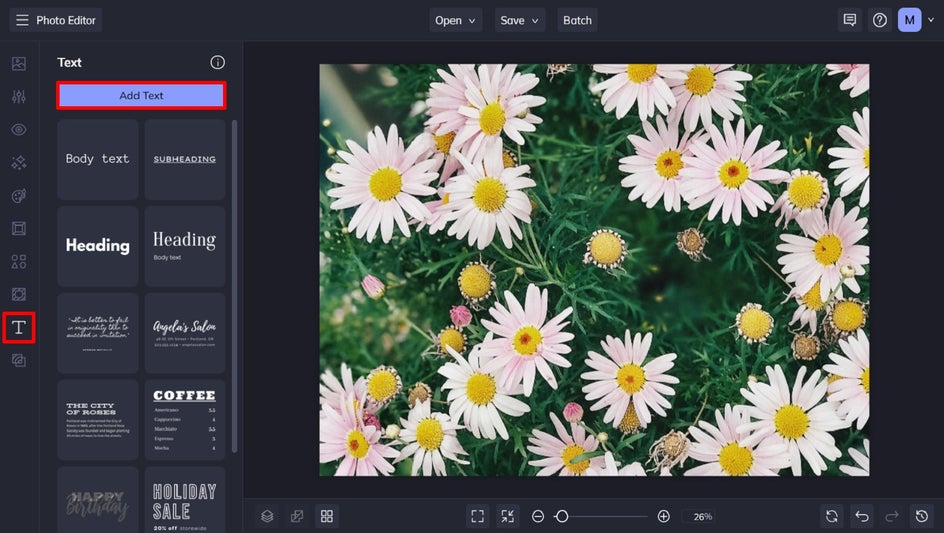
When you click on a text box, you’ll also notice a Text Properties panel, which lets you customize elements such as font, font size, color, background, outline, highlight, and more.
If you’re after that bold floral text effect that many floral typography designs embrace, then we suggest using a chunky Sans Serif font in bold (such as Open Sans or League Spartan Bold). To bulk up your text even more, add an outline in the same color. You can also adjust the width of your outline to make the text appear thicker.
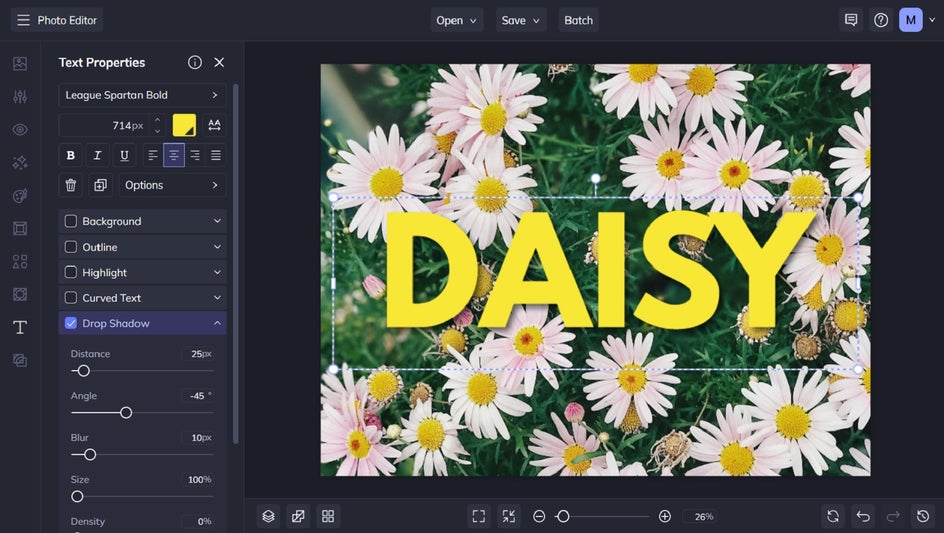
Once your text is arranged into position on your floral image, take note of any flowers, leaves, petals, etc. which can be brought to the foreground to overlap parts of your text.
Step 2: Use the Cutout Tool
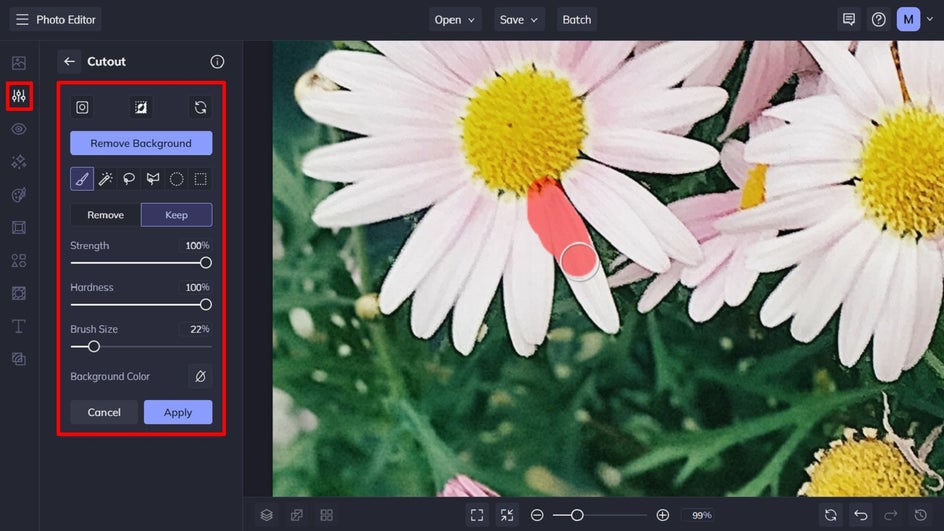
Next, click on Cutout in the Edit tab on the left. You’ll find it in the Essentials section.
As you can see, there are plenty of Cutout options available, including Paint, Magic Brush, Lasso, Polygon, Circle, and Rectangle.
You’ll also notice that your text from the previous step won’t be visible while using the Cutout tool, as it is a layer and not part of your photo (just yet).
To get the shape of our petals just right, we’re using Paint. Click Keep (as opposed to Remove) so you’re duplicating your cutout selection, rather than erasing it from your photo. Then, adjust your Brush Size for the optimal cutout. You can also zoom in on the area you’re cutting out to make it easier.
If you accidentally make a mistake with the Cutout tool, you can easily fix it by using the Undo button, or by selecting Remove and erasing any sections you don’t wish to include in your cutout layer.
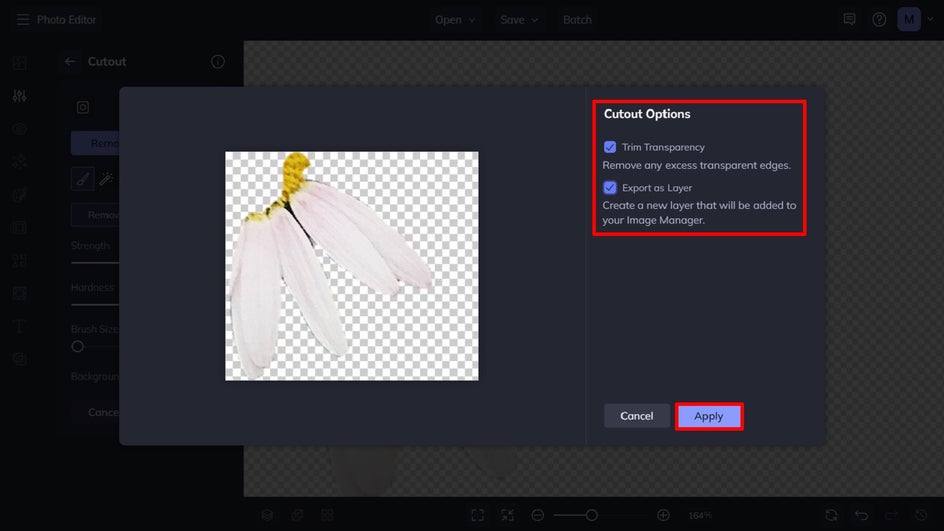
Once you’ve finished tracing around the leaf or petal that will be overlapping your text, click Apply. Then, in the Cutout Options window that appears, be sure to select Trim Transparency and Export as Layer so your cutout selection layers over your text, before clicking Apply once more.
Then, simply repeat this process for as many floral elements as you wish to overlap your text.
Step 3: Flatten the Layers
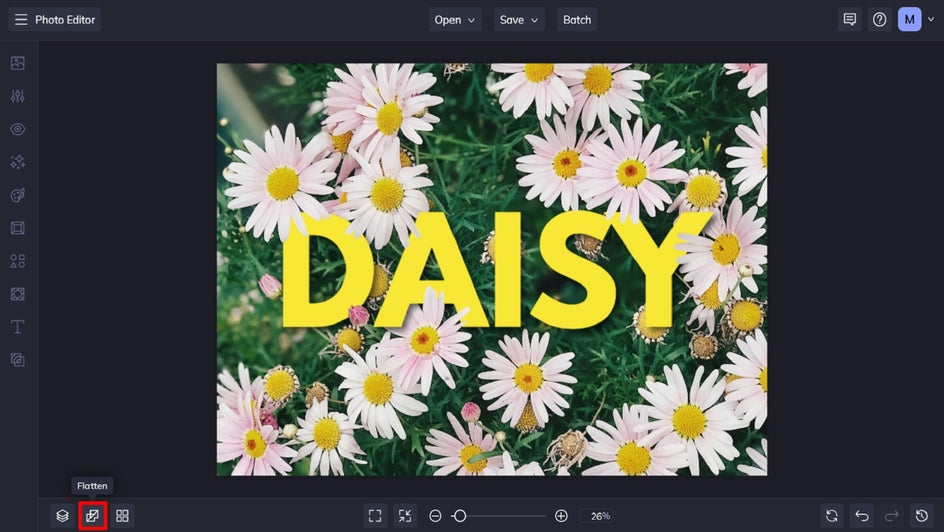
When you’ve got your floral typography art looking perfect, click the Flatten Layers button in the bottom left corner of the canvas to virtually glue all those layers in place.
Step 4: Save Your Floral Typography Design
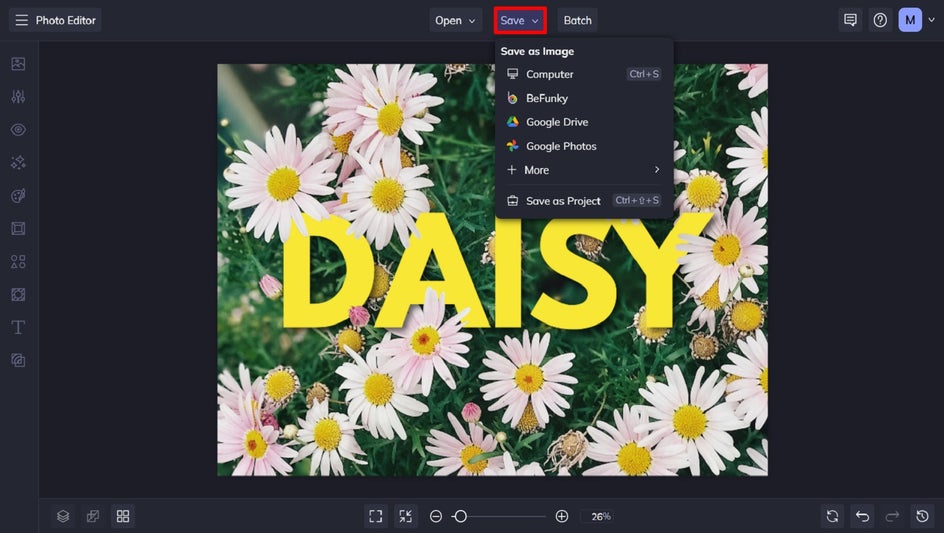
Once you’ve finished editing your floral typography design, click Save at the top of your screen to save your work to your computer, as well as Facebook, Dropbox, and more.
If you want to come back to your project at a later date (i.e., to add some extra effects to it), then we also recommend the Save as Project option, which lets you save it as an editable BeFunky Project file to your BeFunky account or computer.
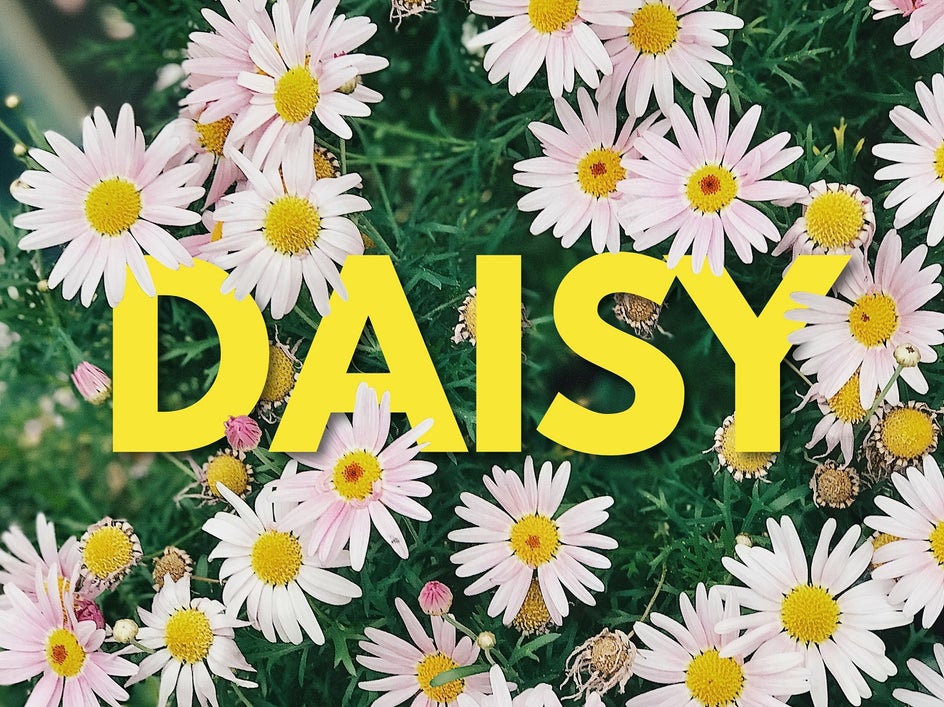
Final Result: Floral Typography
Thanks to BeFunky, you too can create floral typography works of art just like this one. Just think of it as your very own floral typography generator!
Inspiration: Additional Examples of Floral Typography Design
Now that you know how to create the flower text effect featured above, you might be wondering what other designs you can create using this process. To help stir your creativity, we’ve included three more examples below.
Floral Happy Birthday Card
Floral typography can be used to create a truly unique birthday card design that comes from the heart. Use the process above to set your Happy Birthday text among the foliage. You could even add an extra element of personalization by using a photo of your loved one’s favorite flowers. Then, watch the surprise on their face as you tell them you designed this birthday card yourself!

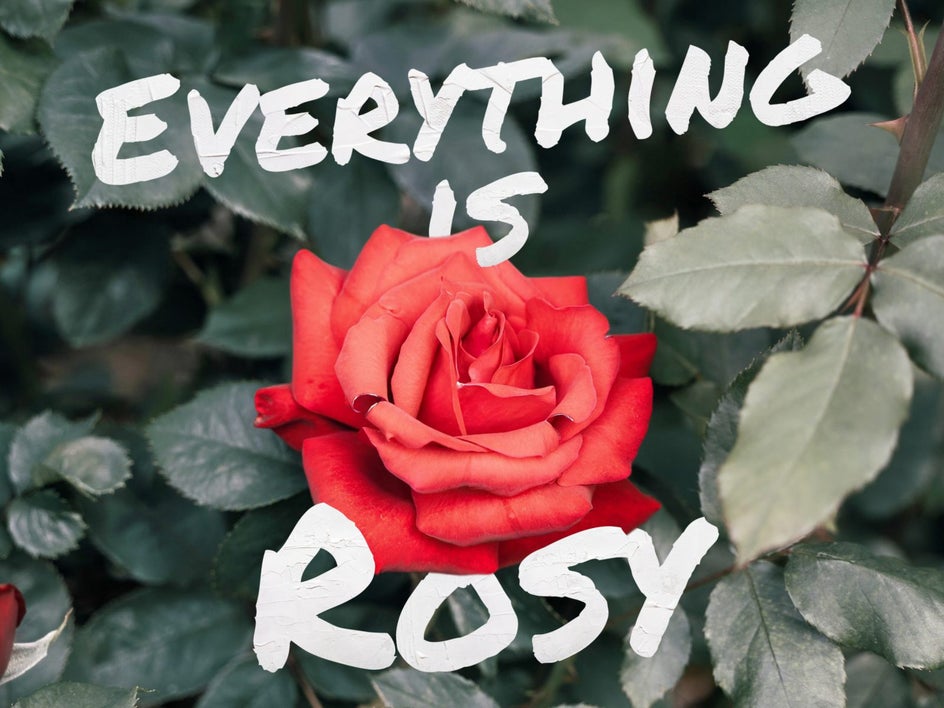
Single Overlapping Flower
If you’d rather focus your floral typography design on a single flower, then you can also do this, just as we have in the example below. By choosing a photo featuring a single flower in its foreground, you can actually use the Background Remover tool to create your floral layer. Then, simply overlay the flower so it’s placed in front of parts of your text.
In this example, we’ve even used the Clipping Mask feature to add a painted texture to our text for an arty look.
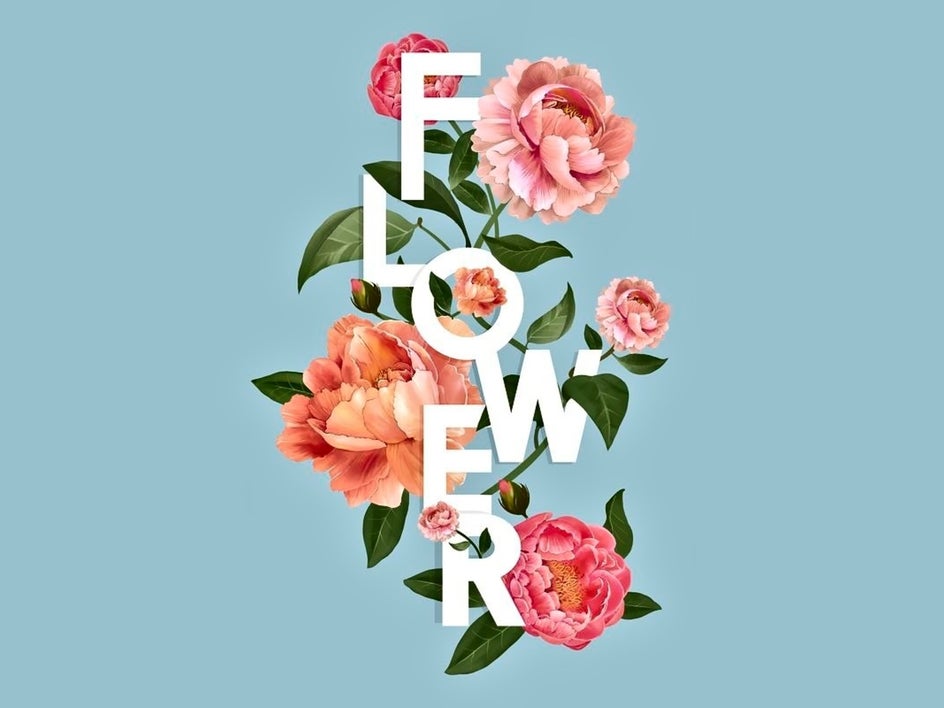
Illustrated Floral Typography Art
You don’t always need a floral photo to create your own typography effect. Floral graphics work just as well and can provide an effective way for you to arrange your text in a more experimental way.
Take this example below, which arranges the letters to spell “flower” in a vertical manner. The letters are also entwined with floral graphics to create an eye-catching and three-dimensional design.
Make Your Own Floral Typography Design
From advertisements to company logos, floral typography is one graphic design trend that’s showing no signs of slowing down. Thanks to BeFunky’s Cutout Tool, however, creating your own floral typography designs is easier than ever! What floral text will you create? Head to the Photo Editor to see just how simple it is!