The Ultimate Flyer Maker for Your Next Event
If you’re planning an event for the near future, there’s no doubt you need an attention-grabbing flyer to advertise all of its important details. After all, social media posts and emails can only go so far; a flyer, however, is just the thing to expand your audience and get some extra feet through the door.
Unless you have experience in graphic design (or a professional designer on-hand), you may be thinking that it’s impossible to create the event flyer of your dreams. Thankfully, this is where BeFunky’s Flyer Maker comes in handy. It’s filled with pre-designed event flyer templates that only need the smallest of tweaks to turn it into your own!
How to Design a Flyer With BeFunky
Ready to create your own stunning event flyer? To get started, head to the Flyer Maker. This will take you directly to our huge library of templates.
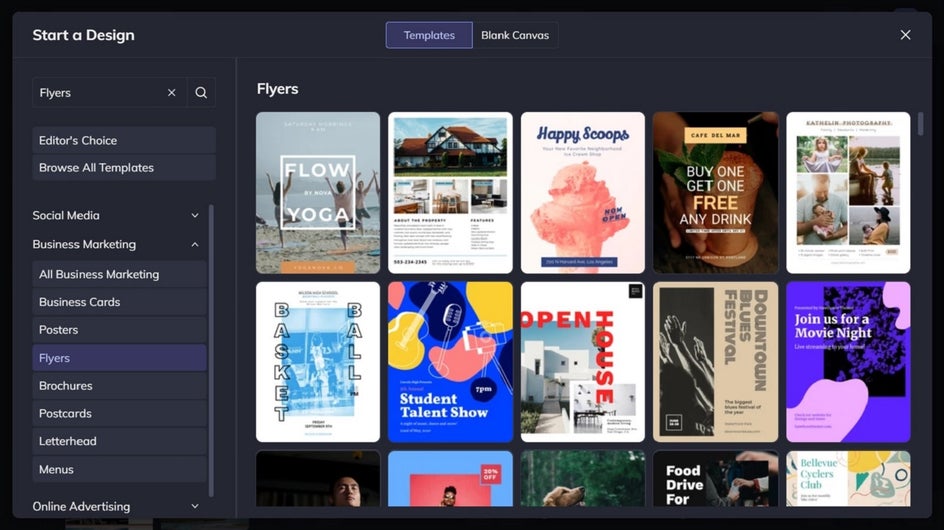
Step 1: Choose an Event Flyer Template
Choose a flyer design that takes your fancy, then just click Use This Template to begin.
Step 2: Replace the Existing Images
You’ll want to swap out the flyer template’s existing images for ones representing the event you wish to market. To do this, click on any existing photo and an Image Properties panel appears. Click Replace, then select your desired photo from your computer. Repeat this process for every photo you wish to swap.

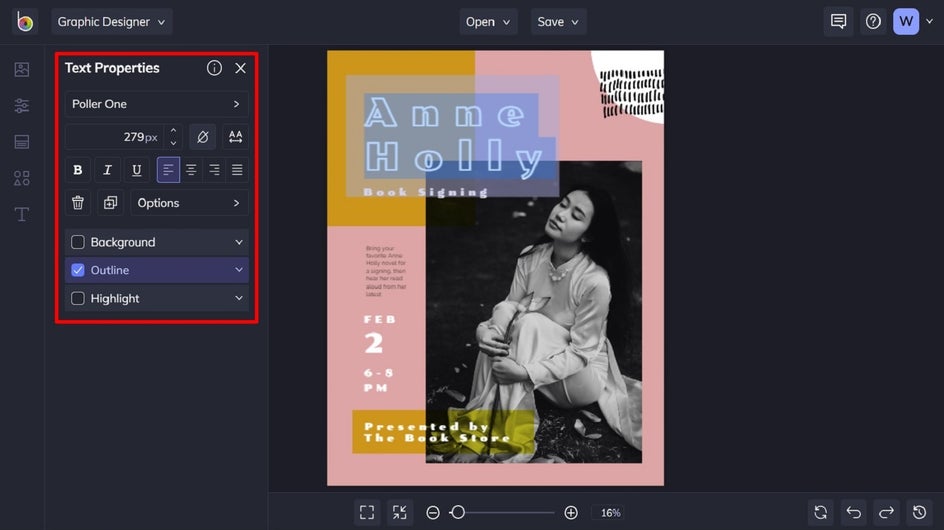
Step 3: Edit the Existing Text
Next, it’s time to edit the existing text on the template to reflect your event’s important details. Simply double-click on a text box and begin typing whatever you want it to say. When you click on a text box, a Text Properties toolbar also appears. From here, you can adjust elements such as the Font, Size, Text Color, Spacing, and more.
Step 4: Add Graphics
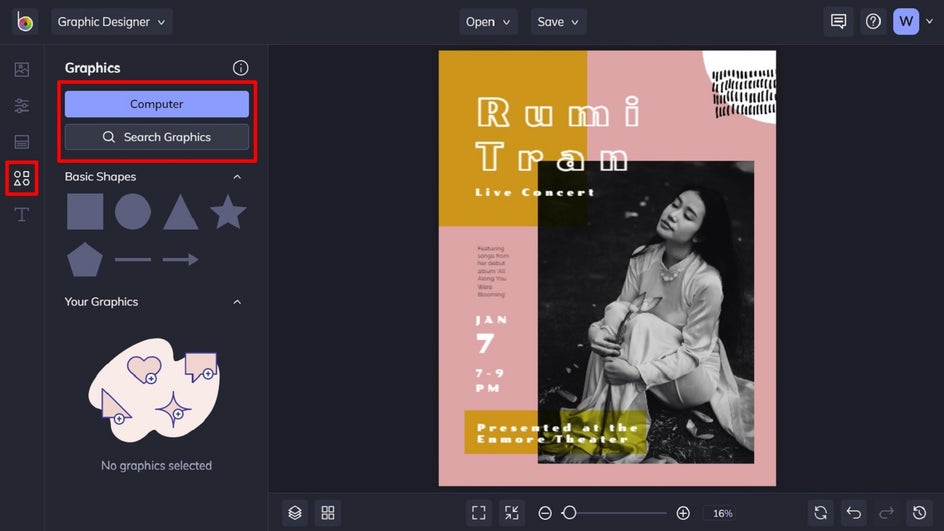
If you wish to add some additional graphics to your template, you can do so by navigating to Graphics in the main menu on the left. Click Computer to upload graphics from your own files, or Search Graphics to access BeFunky’s large library of graphic elements.
Within the library, simply click on the images you wish to use and these will be added to the Your Graphics section.
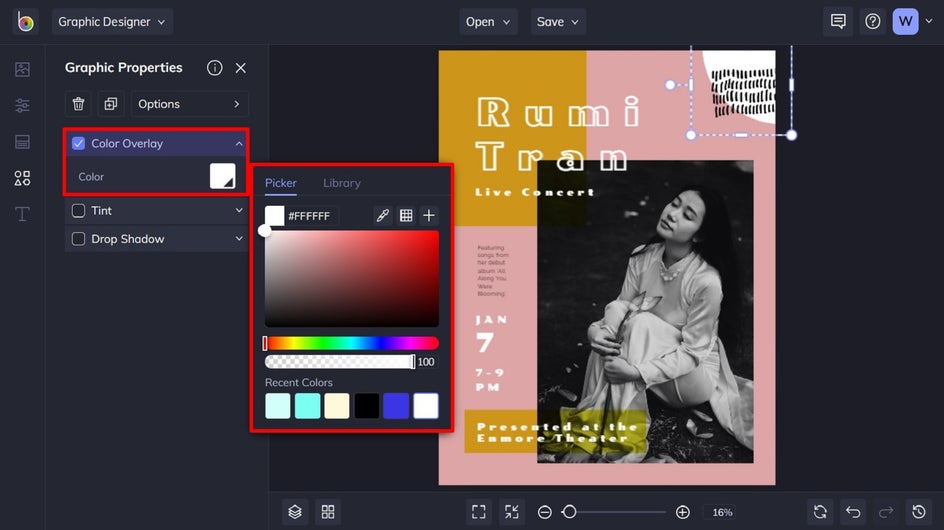
If you want to change the color of a new or existing graphic, this is also easy to do. Click on the graphic you wish to alter, and a Graphic Properties panel appears. Simply click Color Overlay, then click the associated color swatch to open the Color Picker.
Step 5: Change the Template’s Background Color
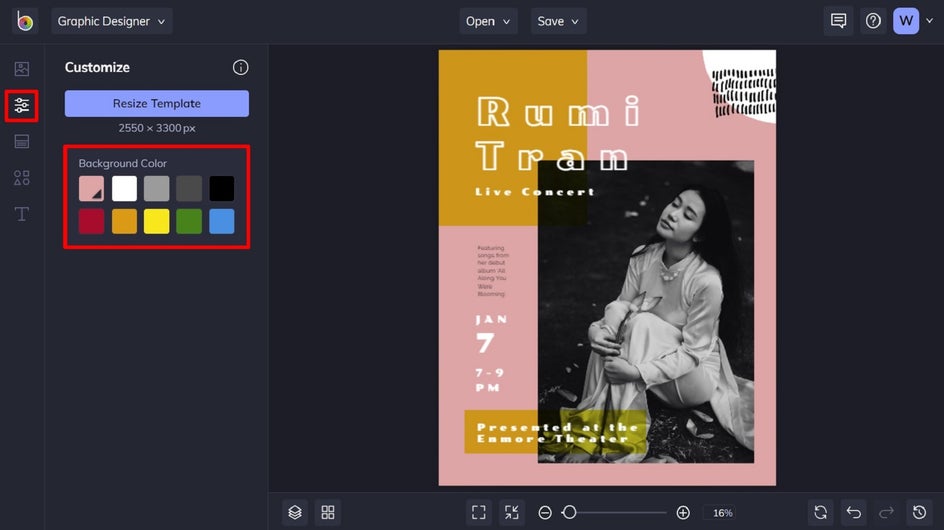
If you want to change the background color of your entire template, navigate to Customize in the main menu on the left and select a color swatch of your choosing. Similarly, you can click on the first color swatch (the one with the dropdown arrow) to open the Color Chart, type in the color’s specific HEX Code, or use the Eye Dropper Tool.
Step 6: Save Your Event Flyer
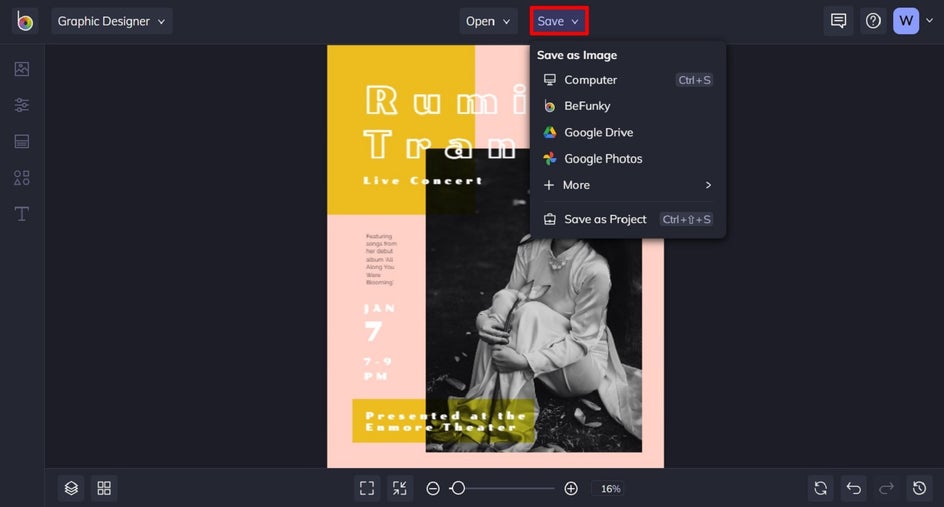
Once you’re happy with your event flyer design, it’s time to save it. Click on Save at the top of the screen, then select your desired save location. We recommend saving your flyer as a PDF file in Print quality so it’s the highest quality possible for printing. Additionally, you should consider the Save as Project feature to save your flyer as an editable file that you can adjust in the future.
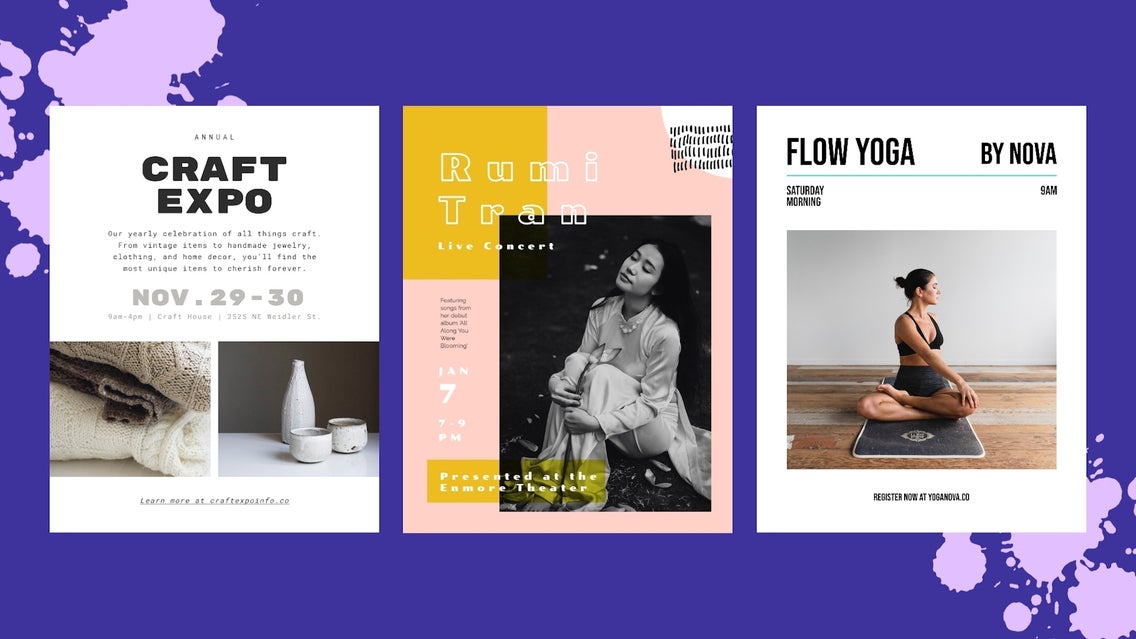
Final Results
The changes might be subtle, but it goes to show how even the smallest of tweaks can produce a professional, custom flyer for your event.

Market Your Event With an Eye-Catching Flyer
Gone are the days of having to hire a professional to design your event flyer. With BeFunky’s easy-to-use Flyer Maker, you can whip up your dream flyer design in just minutes. See our wide range of event flyer templates for yourself!