Our Graphics Library Just Got A Whole Lot Bigger

Here at BeFunky, we recently gave all components of our Creative Platform a huge makeover, introducing exciting and improved features, tools, and tricks to take your projects to a whole new level. While we were rebuilding our Photo Editor, Graphic Designer, and Collage Maker from the ground up, we noticed that our Graphics selection needed a bit of a transformation – and boy, did it get one!
To help give your projects a little something extra, our professional graphic designers got to work creating a massive NEW library of on-trend and exhilarating graphics that you’re sure to love. Now, whatever platform you’re in, we’ve got hundreds of graphics to choose from, customize, and let your creativity soar!
Design Like You’ve Been Dreaming Of
Whether you’re creating a collage, whipping-up your dream design, or editing a photo to perfection, our incredible selection of new and improved graphics serve as the cherry-on-top for your projects. Not only will you find 35+ categories (including everything from Winter and Weddings, to Mother’s Day, Father’s Day, Thanksgiving, Love, Animals, and SO much more), but there’s also a wide selection of design elements such as Badges, Arrows, Lines, Speech Bubbles, Stickers, and Emoticons (to name just a few) for incorporating into your designs.

That means if you’re a blogger or a brand looking to design your very own unique logo or watermark for your images, these design elements are exactly what you need to do just that. Simply combine your favorite Shapes, Lines, Badges, or more with text to get your desired look. Additionally, if you’re designing a powerful infographic to go hand-in-hand with your content, then BeFunky’s Graphic Library has just what you need to get your point across graphically (along with some fantastic Infographics templates in the Designer to help you get started).

Our graphics can also be used to emphasize certain elements of your design (for example, when arranged around a heading or image), plus they’re perfect for when you just want to have a little fun with your photo editing, like placing Accessories such as sunglasses, hats, emoticons, symbols, or speech bubbles on photos of you and your friends. Trust us, there’s something for everyone here!
How To Add And Customize A Graphic
Rather than only telling you just how easy and fun it is to use our extensive library of graphics, we thought we’d show you too! To add and customize a graphic in your own design project, simply follow the steps below:
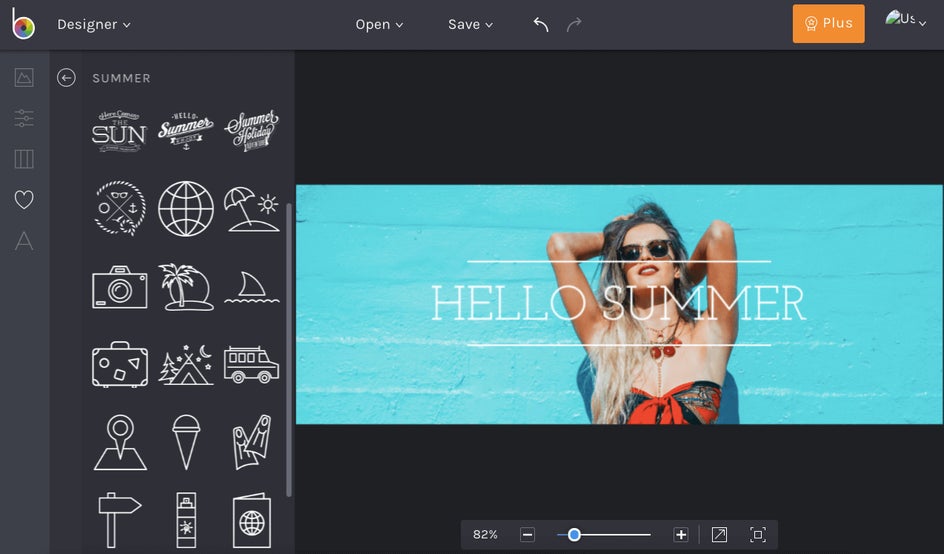
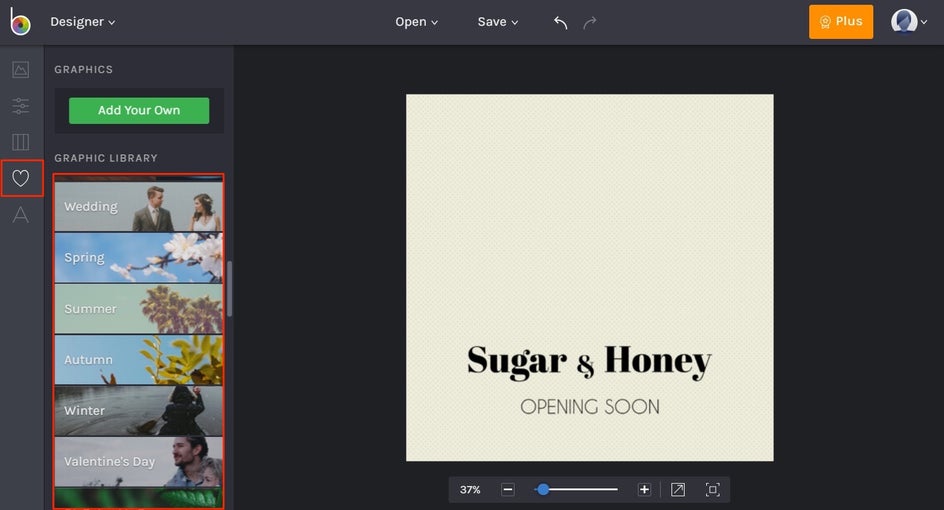
Step 1: Choose A Graphic To Add
Whether you’re in BeFunky’s Photo Editor, Collage Maker, or Designer, you can navigate to the Graphics tab to begin looking through all that’s on offer.
Once a graphic takes your fancy, simply click on it to add it into your project, ready to tweak until your heart’s content.
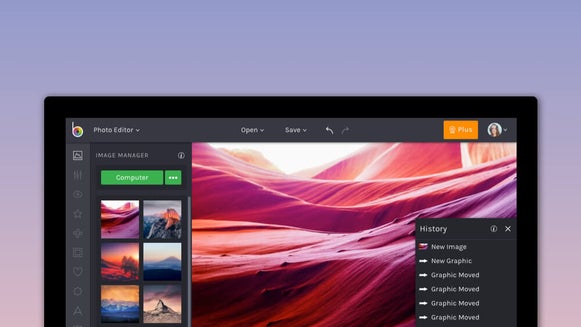
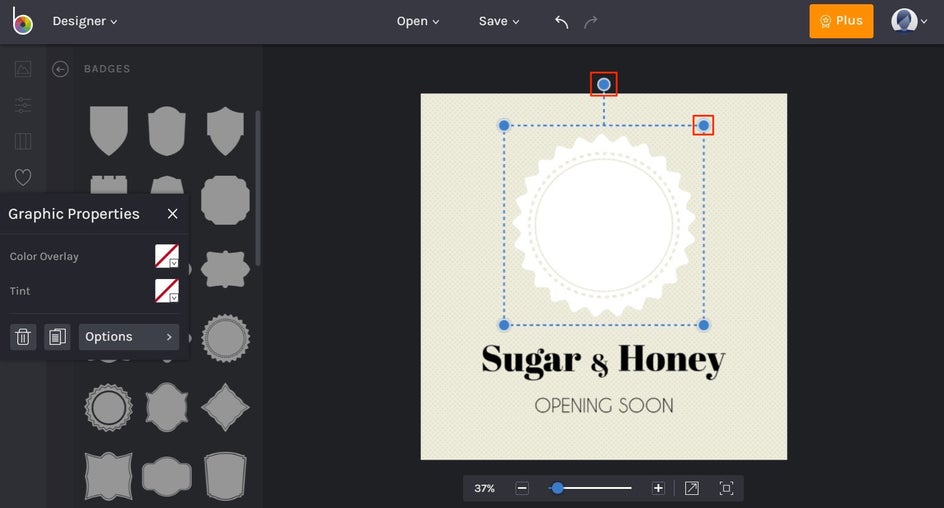
Step 2: Reposition And Resize
Once your chosen graphic has been inserted into your project, you’ll probably want to reposition or resize it to make it just-right. To reposition, simply use your mouse to drag the graphic into its desired place. To resize the graphic, you can click on it once before using the blue circles in the corners to drag inwards or outwards. These motions make it smaller or larger. See the separate blue circle in the top center of your graphic? Clicking and dragging on this circle will allow you to rotate the graphic in a clockwise or anti-clockwise motion.
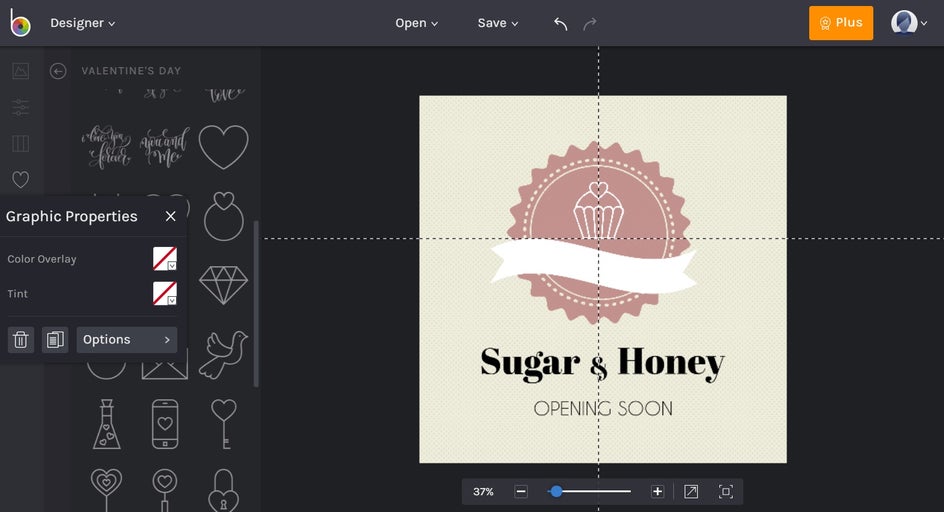
Step 3: Change The Color
Whenever you add or select graphics, a Graphic Properties toolbar will also appear, which lets you adjust certain elements including Color Overlay and Tint. The Color Overlay allows you to choose the main color of your graphic, while the Tint option lets you alter the tint of this color, making it darker, lighter, or mixed with another shade. In both of these options, you’ll notice that a Color Picker menu appears.
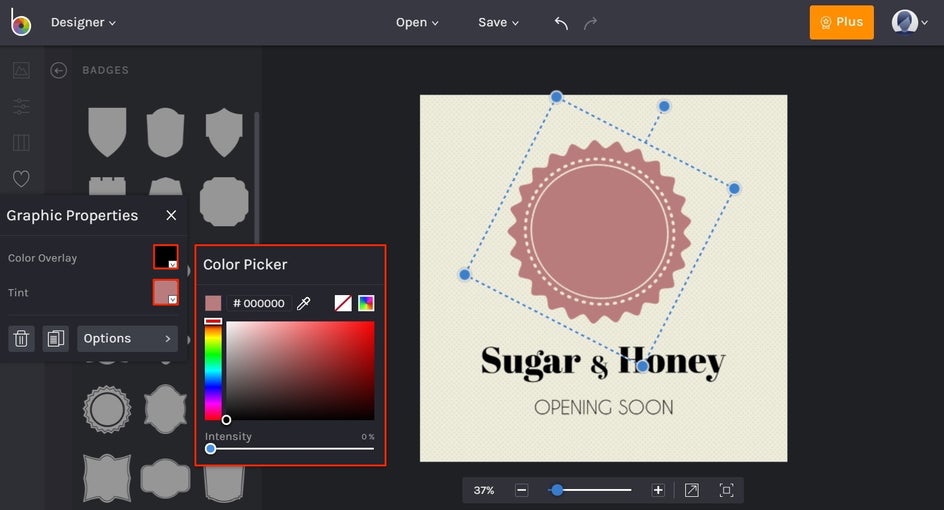
From here, you can either select your desired hue on the color picker square or use the Eye Dropper Tool to select a certain color already in your project. Additionally, if you have a very specific color in mind, you can just type its Color Hex Code into the box next to the Eye Dropper Tool to reproduce it. Too easy!
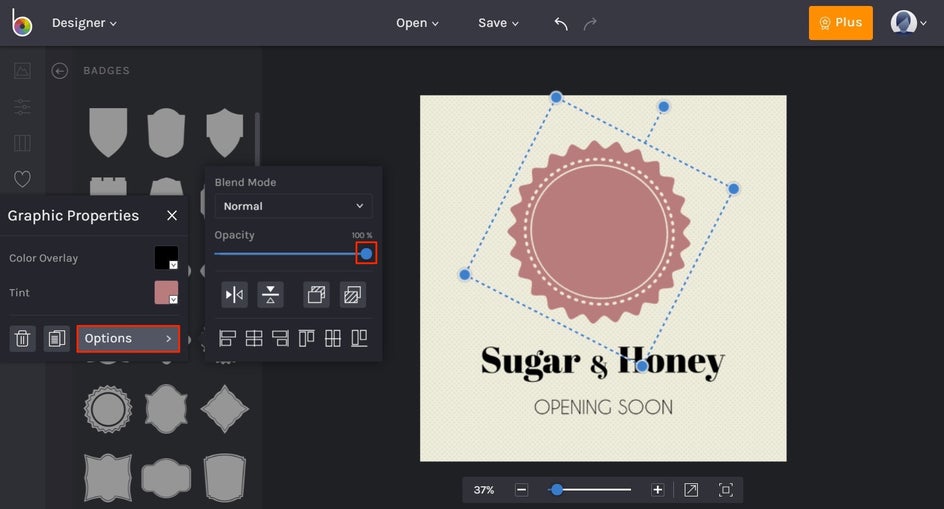
Step 4: Adjust The Opacity
In some cases, you may even want to make your graphic fade into the background more, or simply take on a less opaque appearance. You can easily adjust this by navigating to Options in the Graphic Properties toolbar, where you will see a slider to adjust the Opacity.
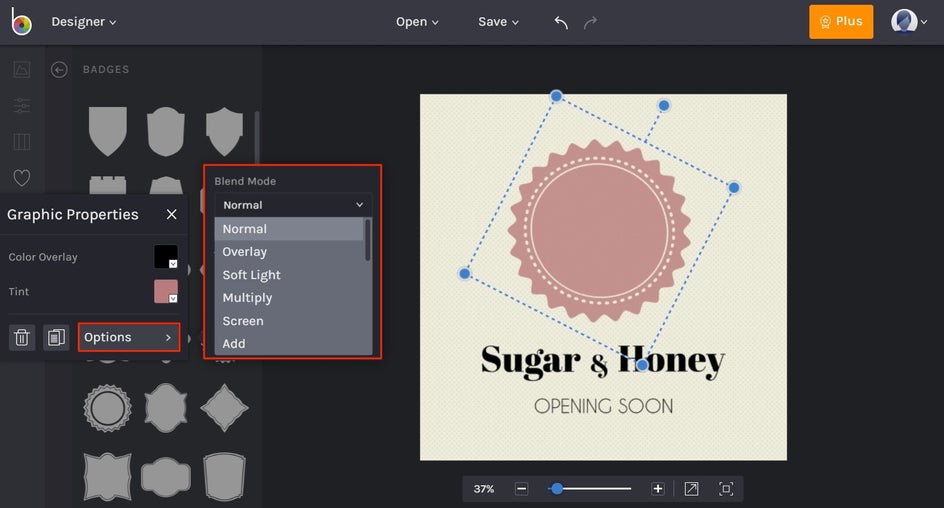
Step 5: Select a Blend Mode
Whether you want to multiply, lighten, color burn, or give it that hard light effect (among many, many others), these Blend Modes are all available at the click of your mouse. Why not experiment with each option to see which looks best for your project? You’ll find Blend Mode in the Options section of the Graphic Properties toolbar, just above Opacity.
Step 6: Repeat The Process To Add More Graphics
The best thing about these graphics is that you can use multiple design elements to create the look you're going for. Whether you're creating an infographic, a brand logo, watermarking photos, or creating a wedding invitation, you've got everything type of graphic you could dream of!
There are so many ways you can get creative with graphics in BeFunky and trust us, this is just the tip of the iceberg when it comes to customizing your designs! Our all-in-one creative platforms are your one-stop shop for whatever project you had in mind.