Halloween Photo Editing – Create Frightening Ghost Photos
There’s no doubt that October is the spookiest time of the year, with Halloween encouraging everyone to get their fright on. But if the same old costumes, candy corn, and scary movies have got you in a spin, fear not. We’ve got a ghostly photo editing idea that’s sure to take your Halloween to even greater heights!
If you’ve ever wondered how to make someone look like a ghost in a photo, you’re in luck. We’ll show you how to create ghost photos online using BeFunky!
How to Edit a Ghost Into Your Picture
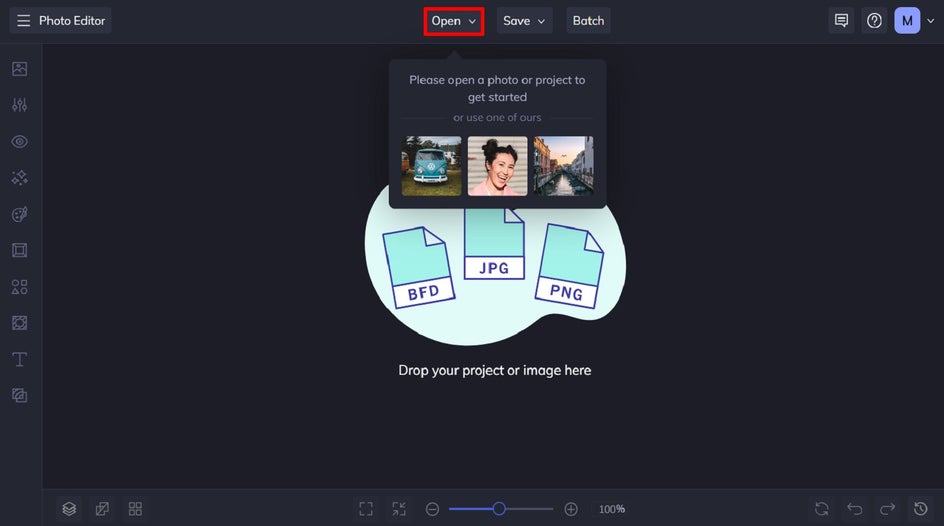
Ready to add a ghost to a photo online? To get started, head to BeFunky’s Photo Editor. Then, open the photo you wish to add your ghost effect to.
Step 1: Upload Your Ghost Subject
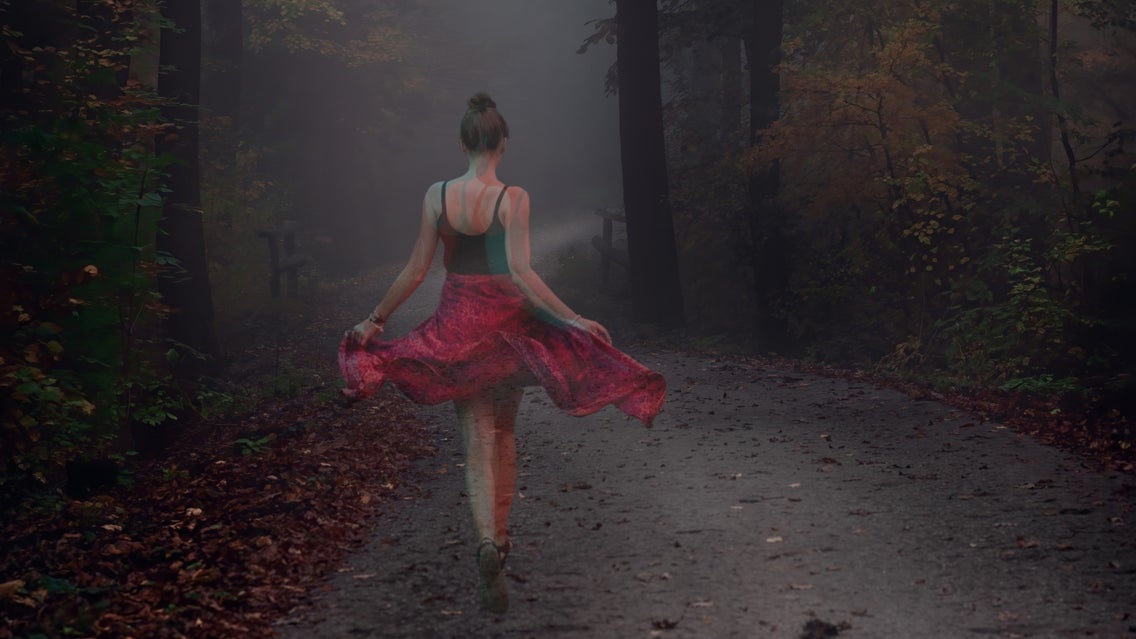
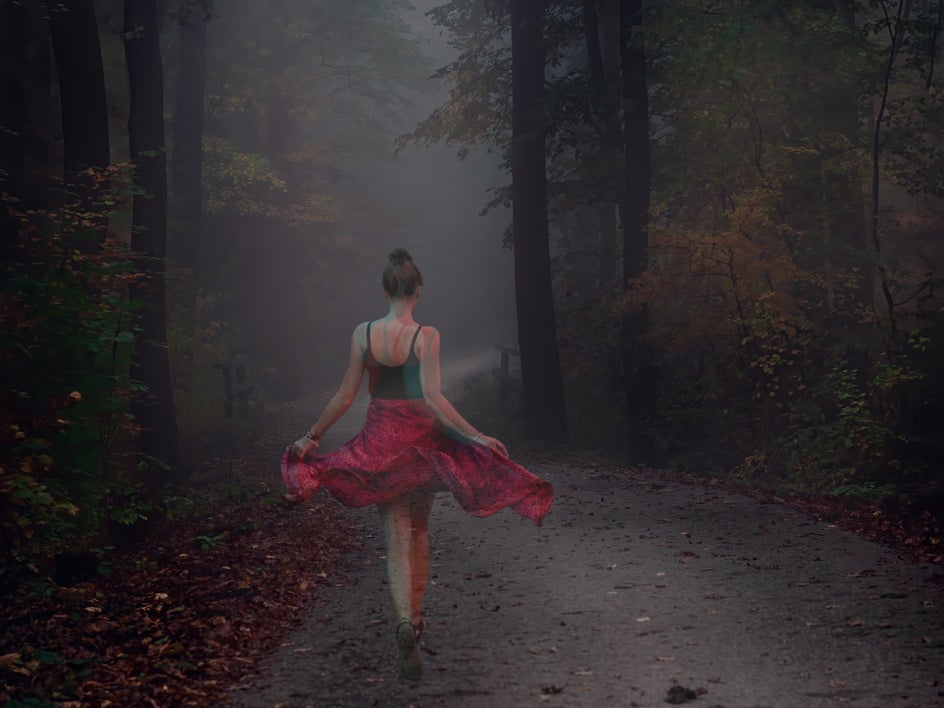
You’ll now need to add the image featuring the subject you wish to turn into a ghost. In this example, we’re using a photo featuring a woman twirling.
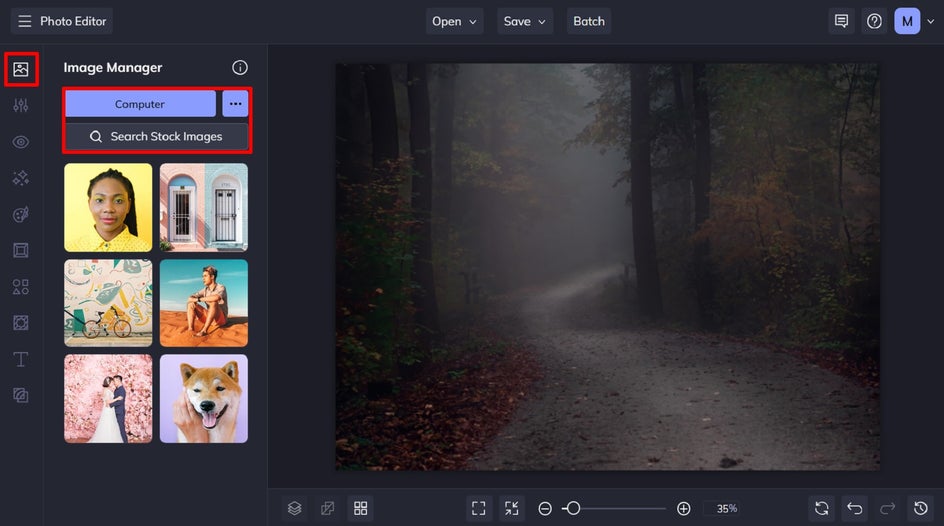
To do this, navigate to the Image Manager in the main menu on the left. Then, click Computer to upload your PNG image file from your files, or select the button featuring the three dots (“…”) to upload your image from another source, like your BeFunky account, Google Photos, or Google Drive.
Want to use a stock photo instead? Click Search Stock Images to access BeFunky’s huge library of free stock imagery.
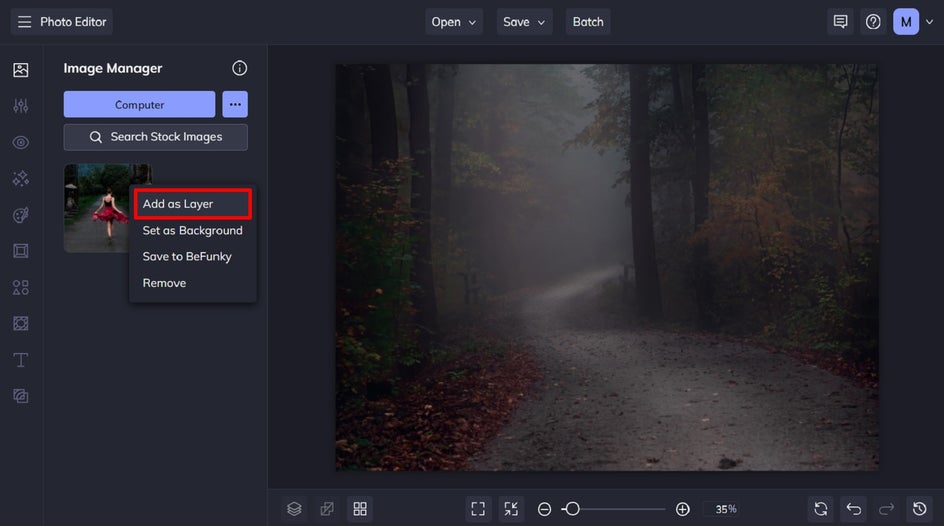
Once uploaded to your Image Manager, click and drag your photo onto your original image, or right-click it and select Add as Layer.
Step 2: Use the Cutout Tool
Next, select this image with your cursor to access the Image Properties panel.
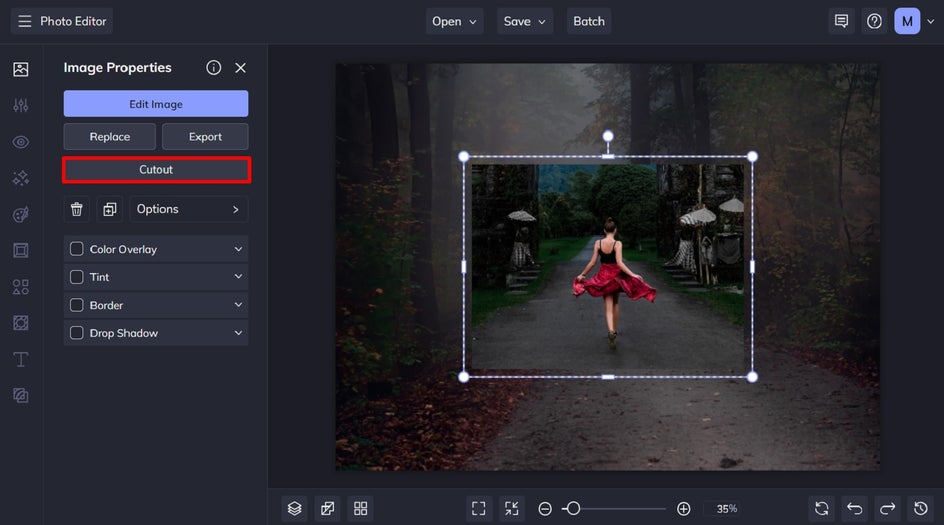
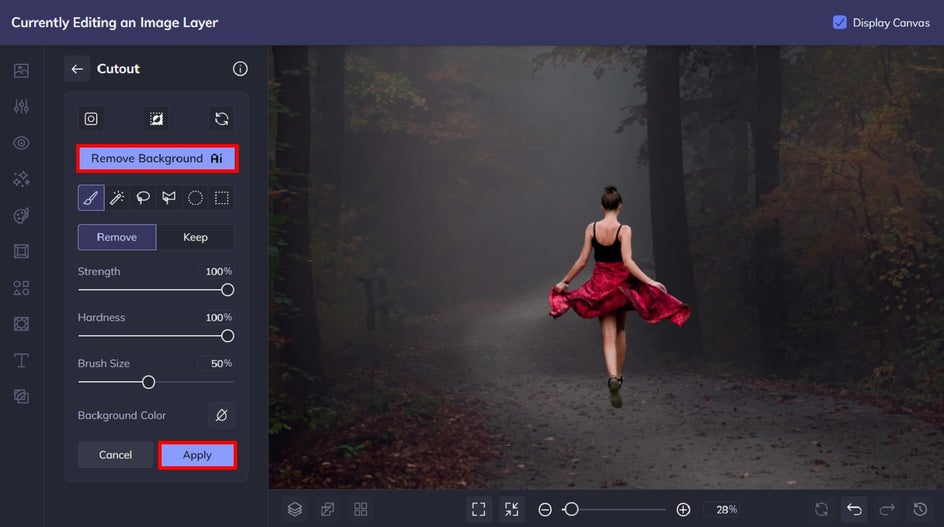
Click Cutout, followed by Remove Background. This powerful A.I. tool will remove the background surrounding your photo’s subject within a click. Then, just click Apply.
When you click Apply, a Cutout Options window will appear. This gives you the option to trim the transparency of your new image and/or export it as a layer. Select any relevant checkboxes, then click Apply to finalize your changes.

Step 3: Increase Your Image’s Opacity
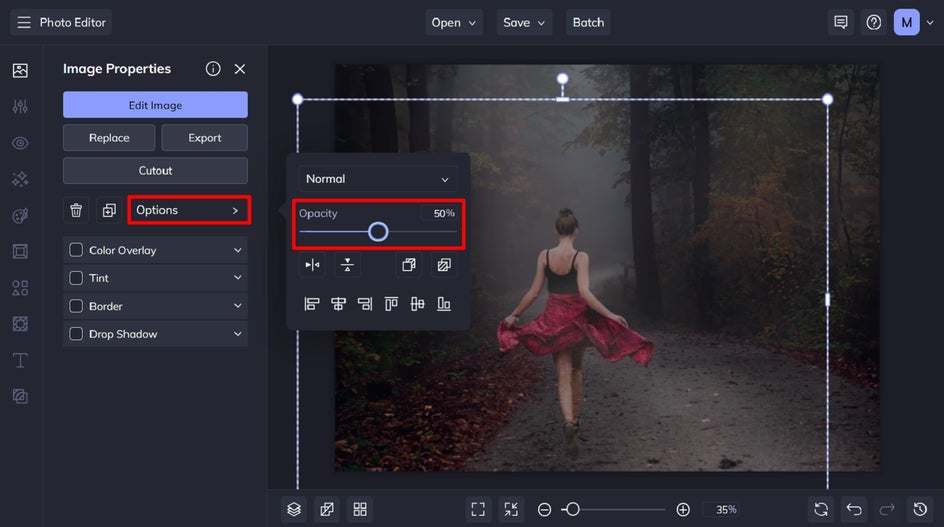
Here comes the part where you get to make someone look like a ghost! From the Image Properties panel, you also have the ability to make your subject opaque (a.k.a see-through!). To do this, click Options, then adjust the slider underneath Opacity to give your image a ghostly translucent look.
Step 4: Add a Ghost Photo Effect (Optional)
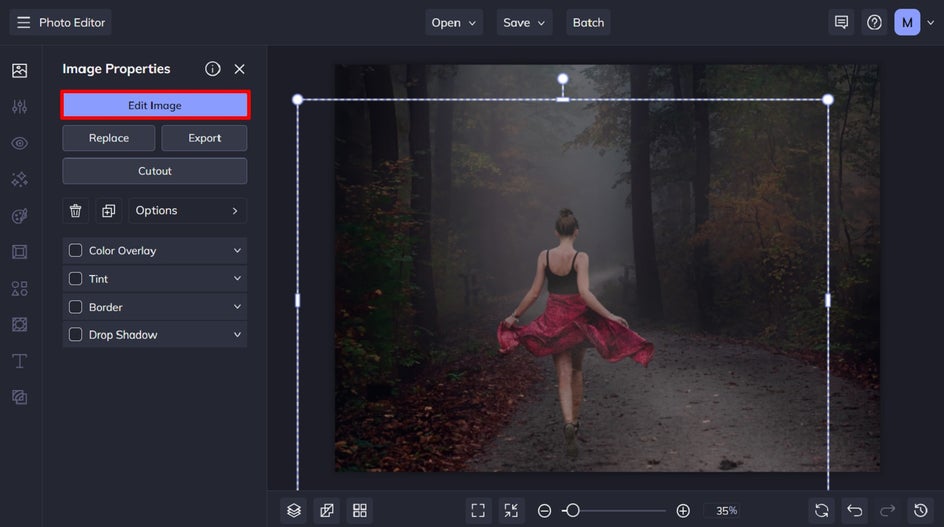
Want to add an additional ghostly effect to your image? From the Image Properties panel, click Edit Image. This will allow you to edit your image layer, as opposed to editing the first photo that you originally opened in the Photo Editor.
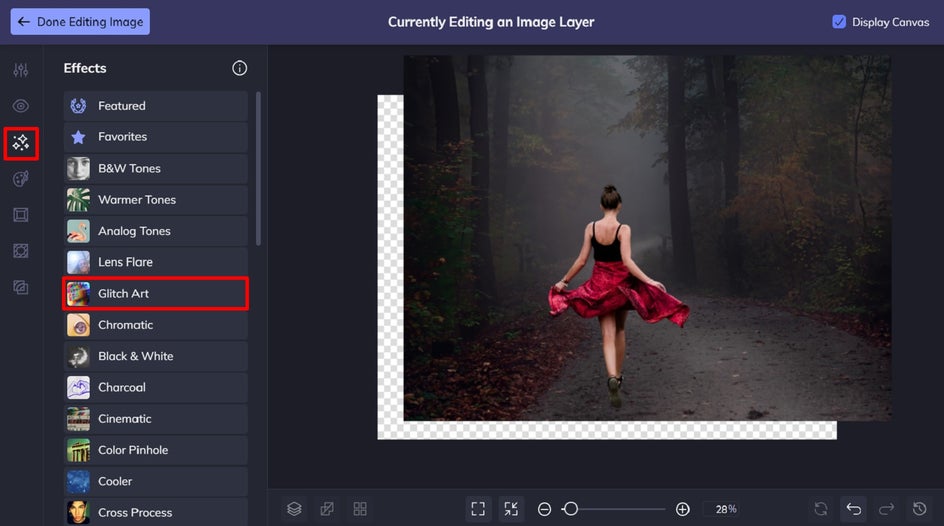
We're now going to head to Effects from the main menu on the left and select Glitch Art.
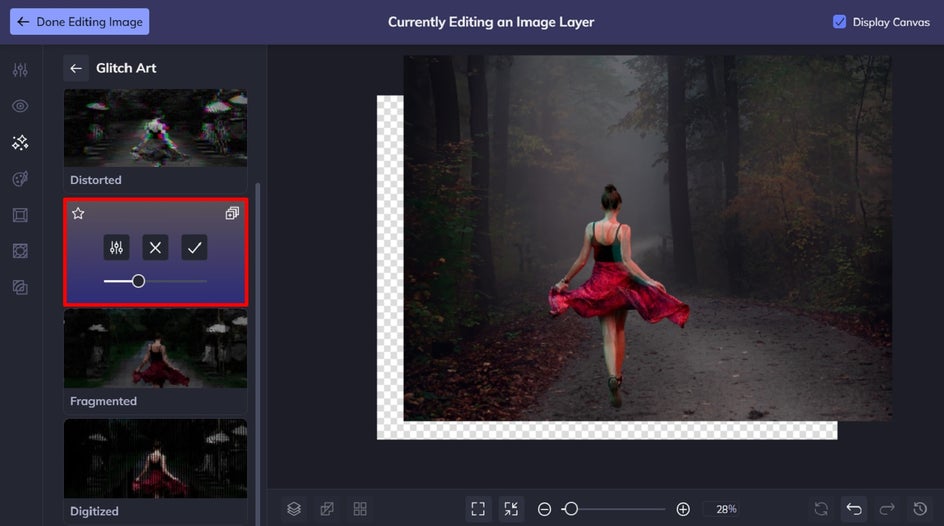
We find Segmented particularly effective when you want to give your ghost effect photos an even spookier vibe. You can use the slider to adjust the effect’s strength, or clicking on the Settings button gives you even more customization options. Then, just click the checkmark button to apply your changes.
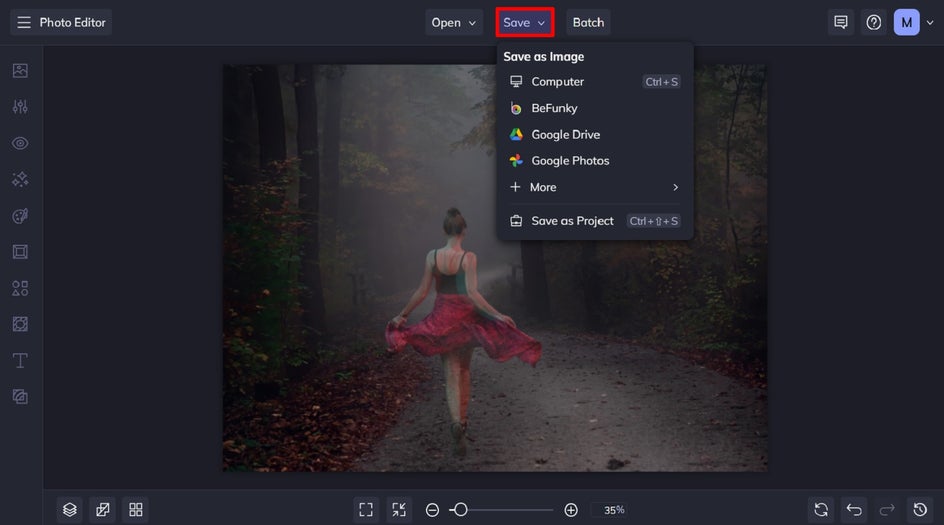
Step 5: Save Your Ghost Image
Finally, all that’s left to do is to save your new ghostly image. Click Save at the top of the screen, then choose your save location.
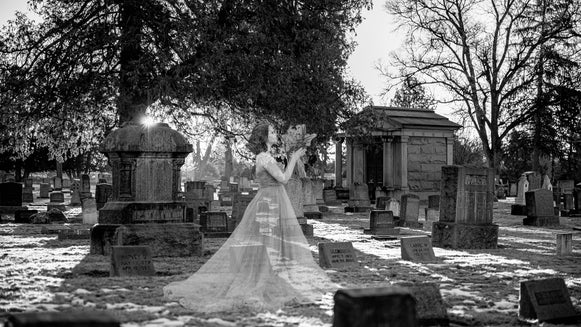
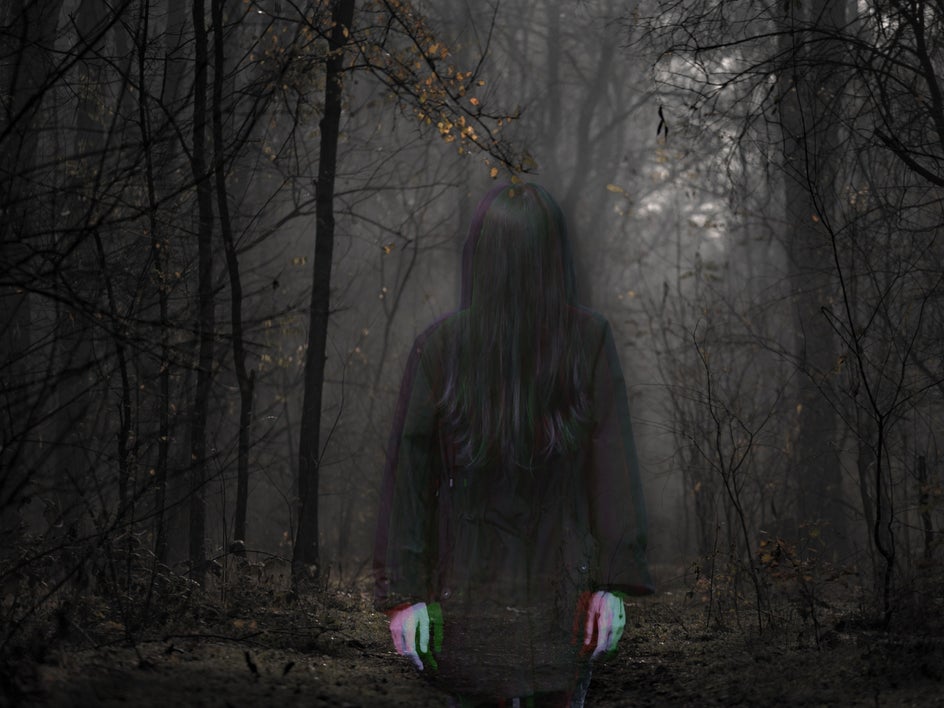
Final Results: A Haunting Ghost Photo in Seconds
All it took was 5 simple steps to turn this misty scene into one featuring a ghost. As you can see, the Photo Editor is the best app to make a ghost image!
Other Spooktacular Ghost Photo Effects
Now that you know how to easily edit a ghost into your picture, you might be looking for fun ideas to inspire your next photo editing project. Below, we’ve rounded up a few of our favorites!
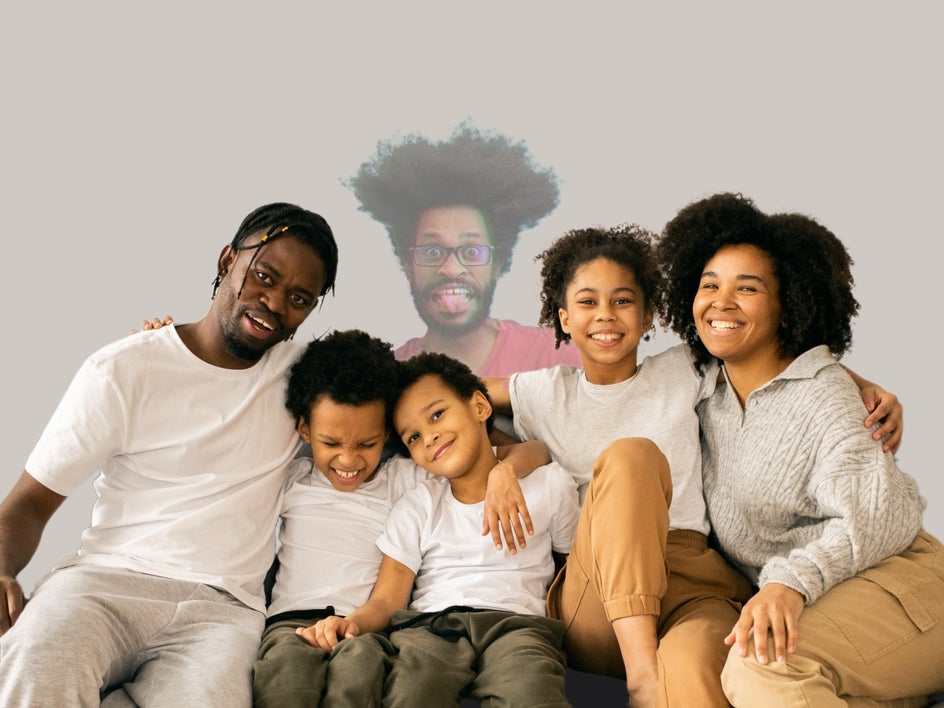
Dark Humor
Want to add a funny twist to a ghost photo? Think about a quirky way that a ghost might appear in an image, whether it’s relaxing poolside with a cocktail in hand, or even crashing a family portrait, as pictured below.
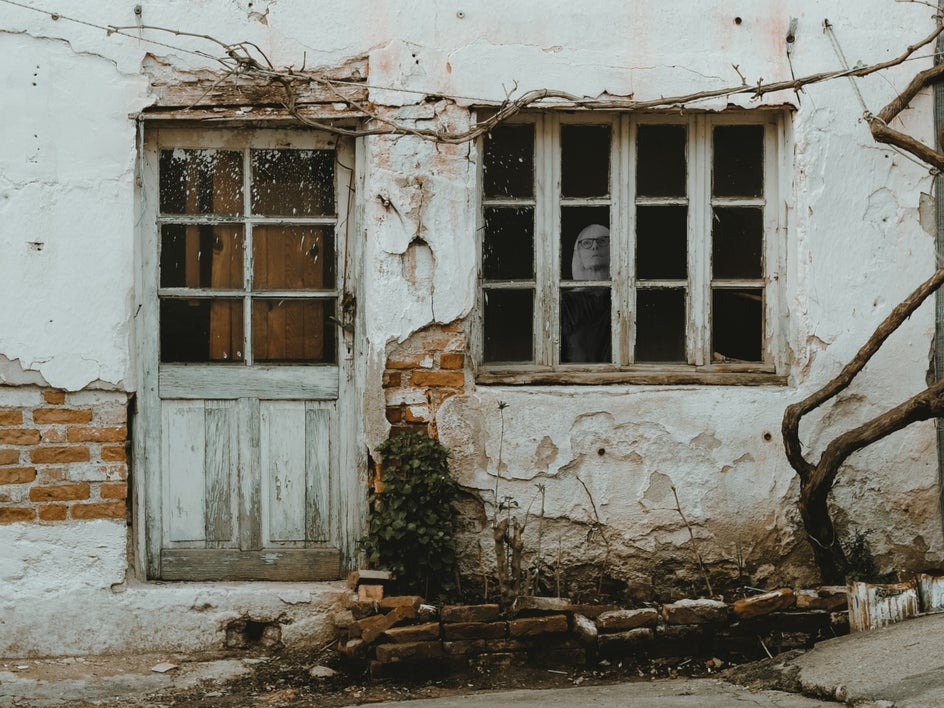
Look Twice to See It
When you edit a ghost into a photo, it doesn’t have to be front and center. Instead, consider subtly placing your ghostly subject somewhere in the background of your image where viewers will need to look twice to notice it. It’s a subtle yet effective way to create an impactful ghost image.
Next-Level Fright
So far, these examples have all been on the “friendly ghost” side. But what if you really want to create a ghost image that gives people a fright? This example uses a spine-tingling subject to really turn up the spook factor, making it perfect for a haunting Halloween party invite or decoration.
Add Ghosts to Your Photos the Easy Way
Thanks to BeFunky’s Photo Editor, creating ghost photos online has never been easier! In just a few simple steps, you too can turn any scene or subject into a ghostly image that’s sure to delight (and fright).
Check out the Photo Editor to create your own ghost photo today!