Our Favorite Halloween Effects and Filters
Halloween is the only time when you can fully immerse yourself in all things creepy and no one will call you out for it. The moodier your decorations, costumes, or personality, the better. Going all out is very much accepted and praised! You can choose to celebrate by dressing up in a crazy costume, throwing a Halloween party, and learning all the moves to “Thriller” – but you can really take it to the next level by getting a little creative with your photos.
If you’re itching to express your Halloween spirit with some frightful photo editing, we’ve got some ideas for you! Whether you use these photos to spook your friends on social media, as decor for your Halloween soirèe, or just for the fun of it, the effects and tools in BeFunky’s Photo Editor will help you create something awesome. Here are our favorite ways to use them for spooktacular results:
How to Create a Ghostly Photo
Want to turn yourself (or a friend) into a ghost for a photo? Head to BeFunky’s Photo Editor and follow the steps below:
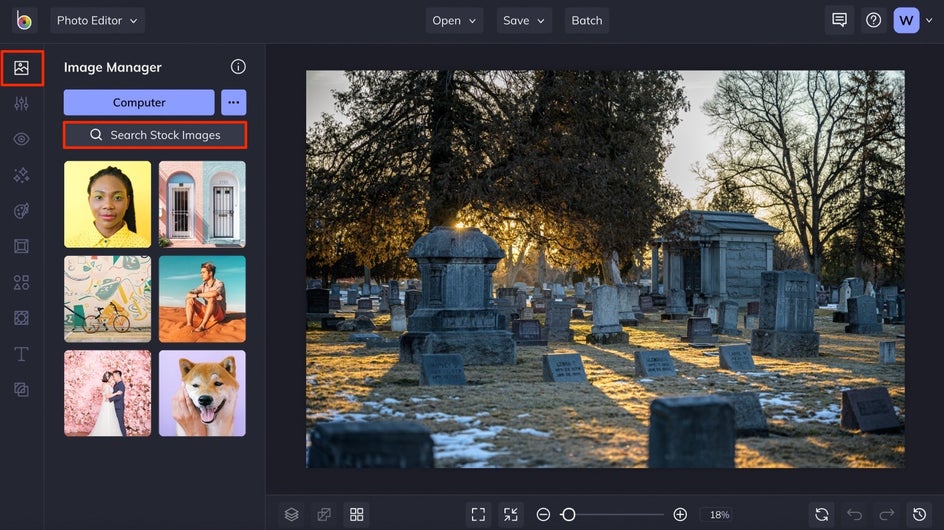
Step 1: Upload a Spooky Background Image
From the Photo Editor, upload a background image of a spooky scene using the Open button at the top of the page, or simply drag and drop an image onto the canvas.
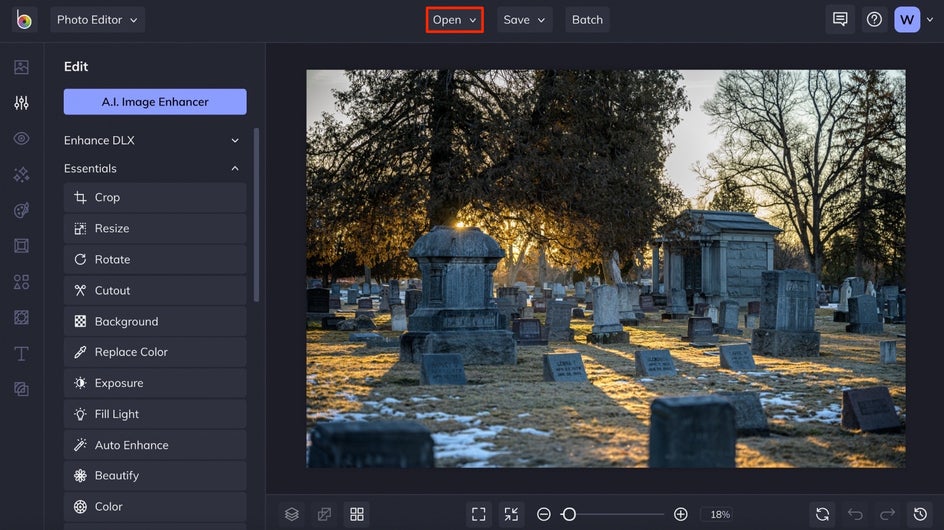
If you don’t have an image like this, open the Image Manager tab in the left side menu and click the Search Stock Images button. This will allow you to search and upload millions of free stock photos to use as a background.
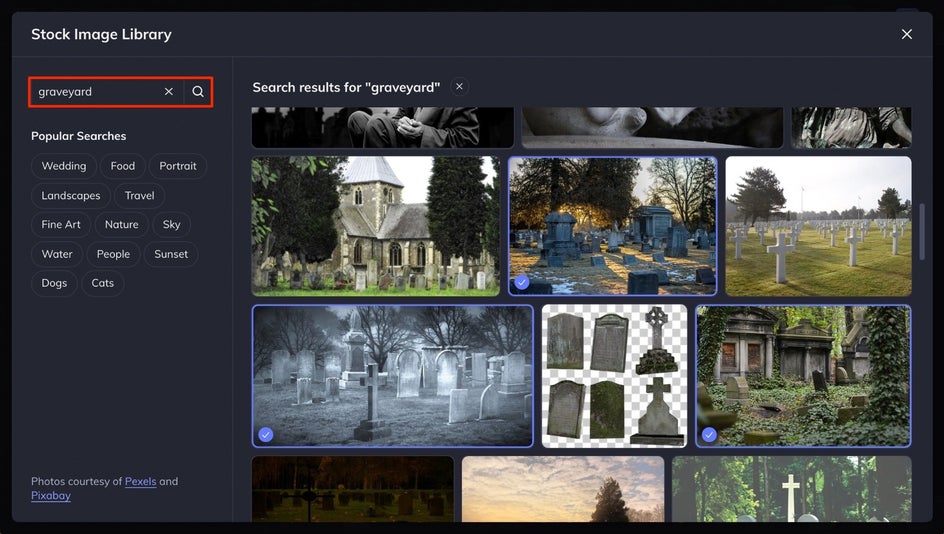
Once you’re in the Stock Image Library, simply type in a search term to find what you’re looking for. Terms such as “graveyard,” “old house,” and “haunted house” are good search terms to try. Click on any images you’d like and click the x in the upper right corner of the Stock Image Library to close it.
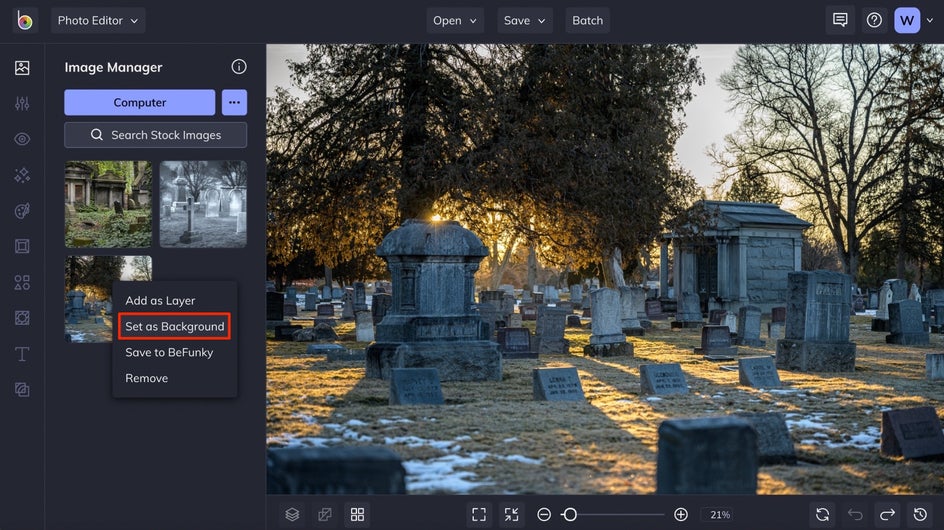
You’ll see all of your selections once you’re back in the Image Manager tab. Click on any image thumbnail and select Set as Background.
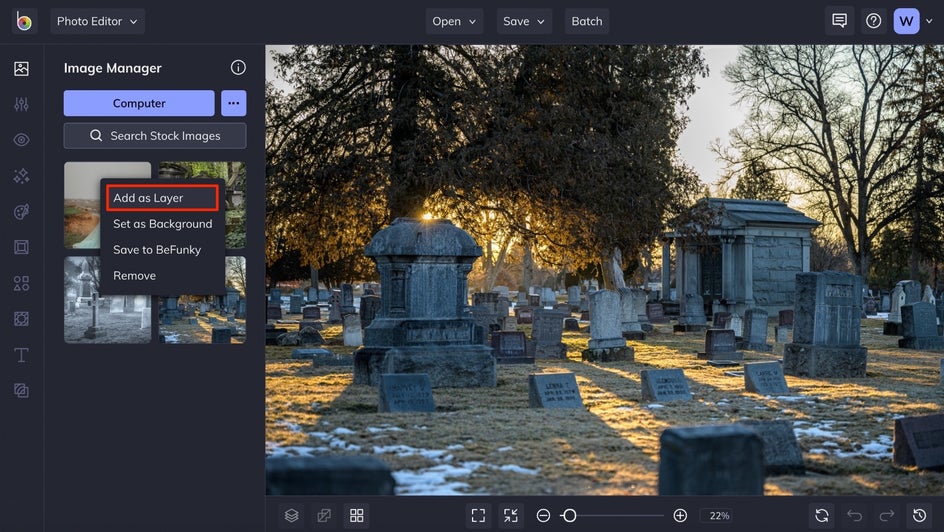
Step 2: Add a Photo as a Layer
Next, upload an image of the person you want to turn into a ghost. You can do this in the Image Manager tab by clicking the Computer button and choosing a file from your computer, or use the Search Stock Images button to find a stock photo that would look perfect. Once your new image is uploaded in the Image Manager, click on its thumbnail and select the Add as Layer option.
Step 3: Use the Cutout Tool
With the image layer selected, select the Cutout button in the Image Properties menu on the left. This will open the Cutout tool.

Select the Remove Background button to automatically remove the background from the photo layer, leaving only the person as the image layer. If you need to, use the Remove and Keep buttons with the brush settings to remove more of the background or add anything back in.
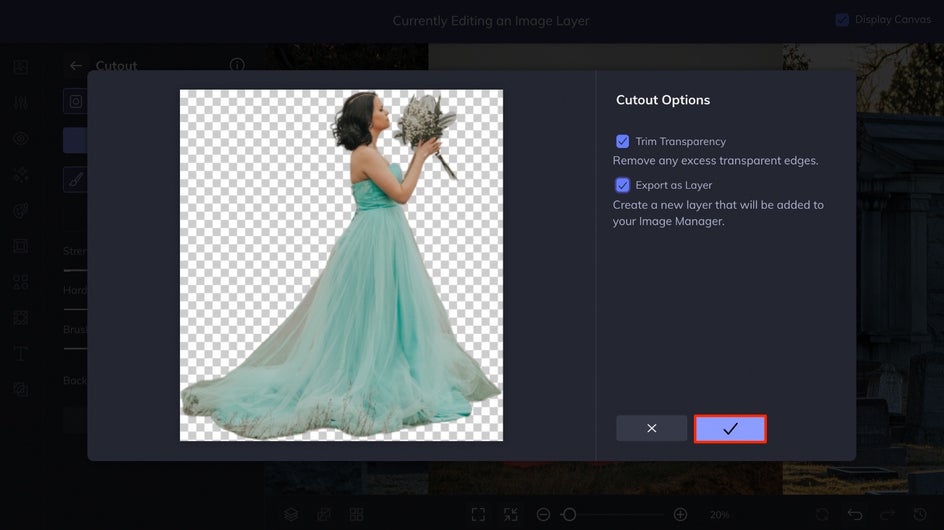
You’ll be presented with the Cutout Options, where you can choose to Trim Transparency and Export as Layer. We recommend checking both of those options before clicking the blue checkmark to apply.
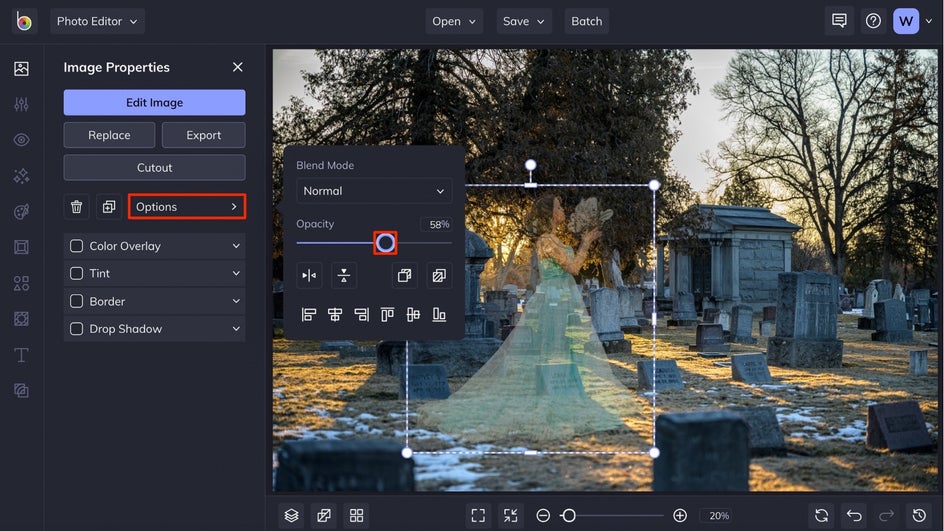
Step 4: Turn Down the Opacity
Now that the background has been removed from the image layer, you can move it around the background photo by clicking and dragging, and you can resize the person by dragging the circles around the image layer.
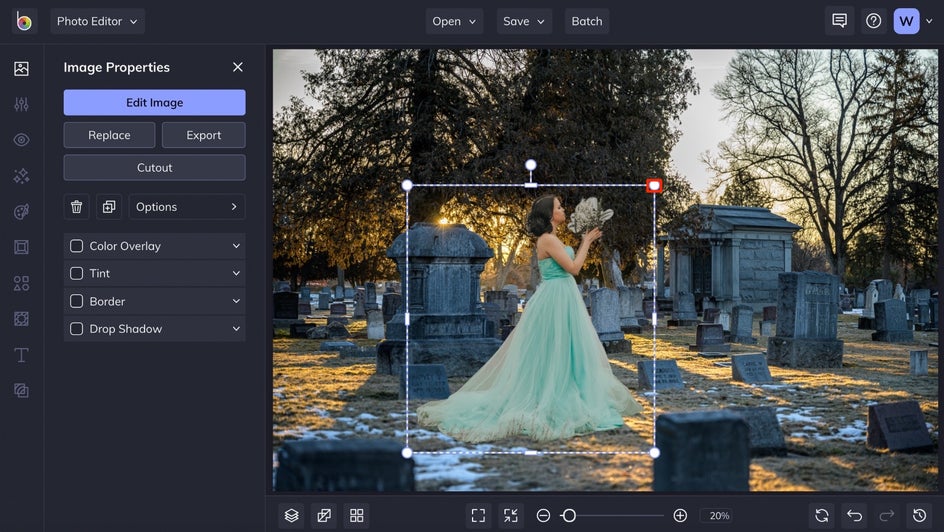
With the image layer selected, use the Image Properties menu that appears on the left to make the person look more transparent. To do this, choose the Options button and adjust the Opacity slider to the left until the transparency looks just right (aka, the person looks like a ghost).
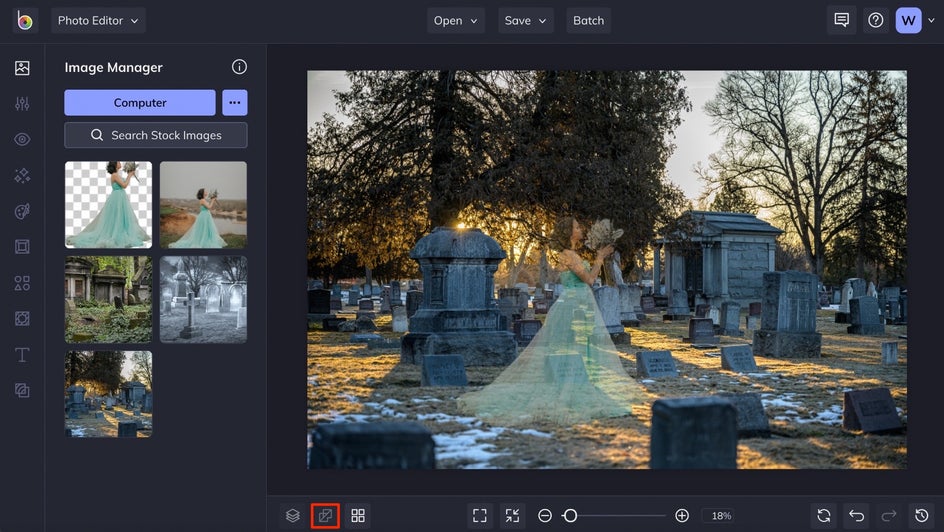
Step 5: Flatten the Photo Layers
Once the opacity is set and the image layer is perfectly placed, click the Flatten Layers icon at the bottom of the screen to glue both photos together as one.
Step 6: Add a Halloween Filter
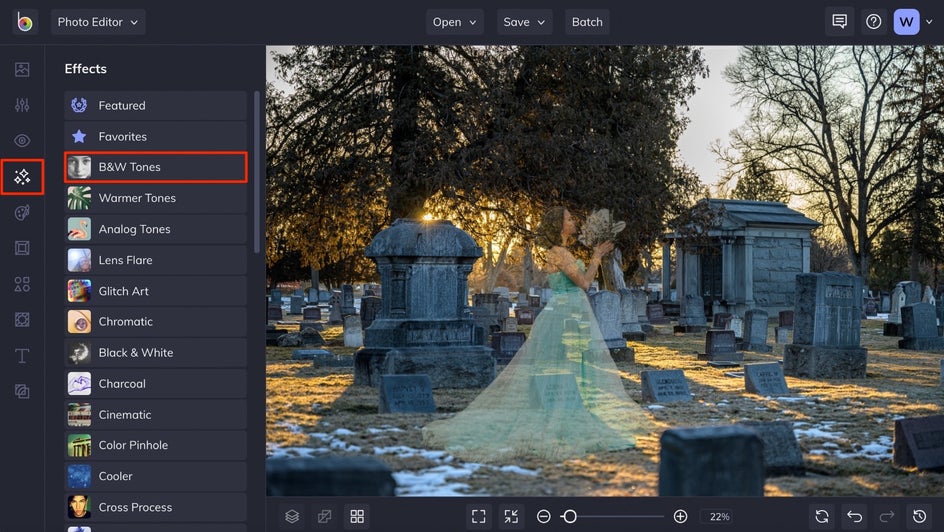
For a finishing touch, it’s always a good idea to use a spooky filter for a photo like this. Open the Effects tab in the menu on the left. You’ll find tons of effects and photo filters here that will make your photo look even more haunting. Browse through the effect categories until you like what you see. For this photo, we chose the B&W Tones category.
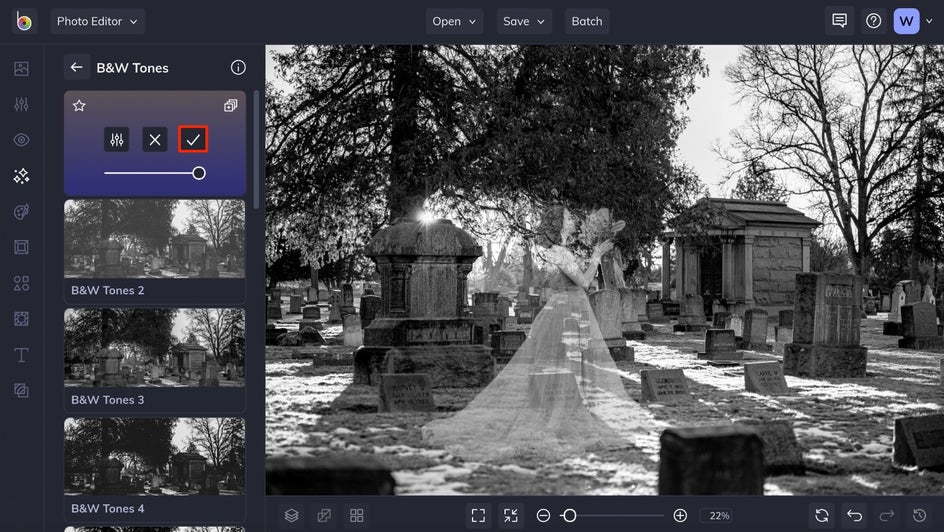
Click on any effect thumbnail to preview it on your image. For this, we went with B&W Tones 1. Notice that you can adjust the amount of the effect using the slider on the thumbnail once selected or make even more changes in the Settings menu. When you love what you see, click the checkmark to apply the spooky Halloween filter.
Step 7: Save Your Photo
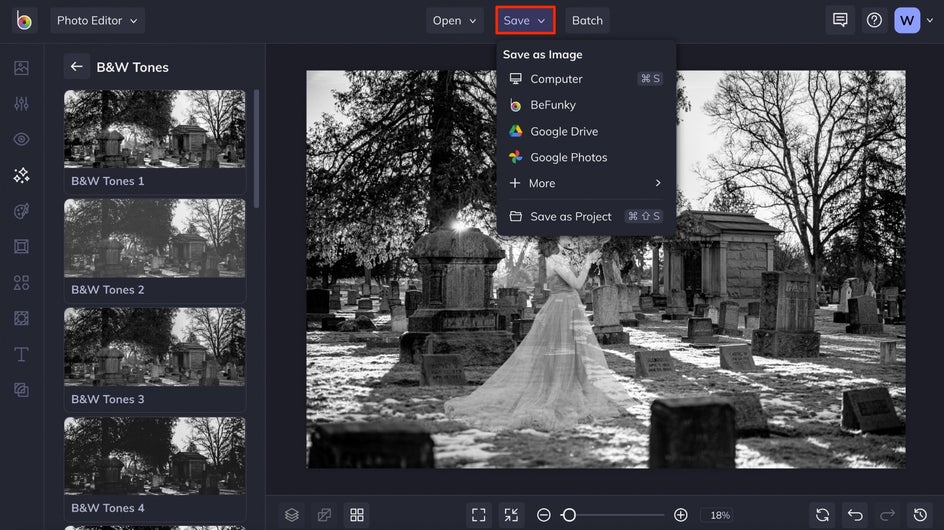
To save your work, click on the Save button at the top of the page. You’ll be presented with several options for saving your image.
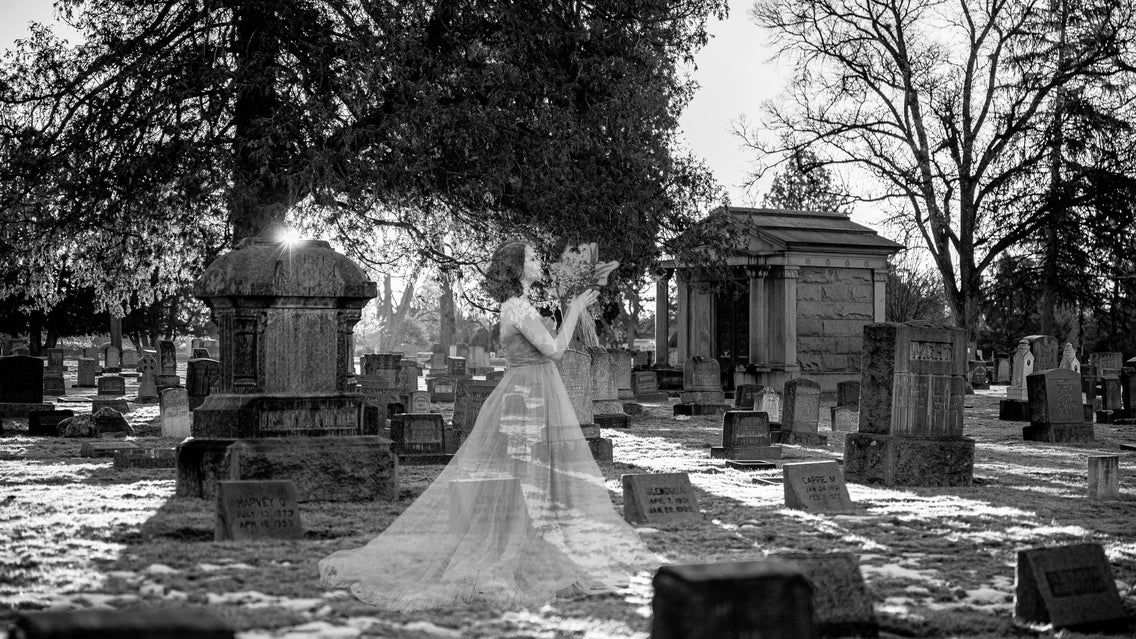
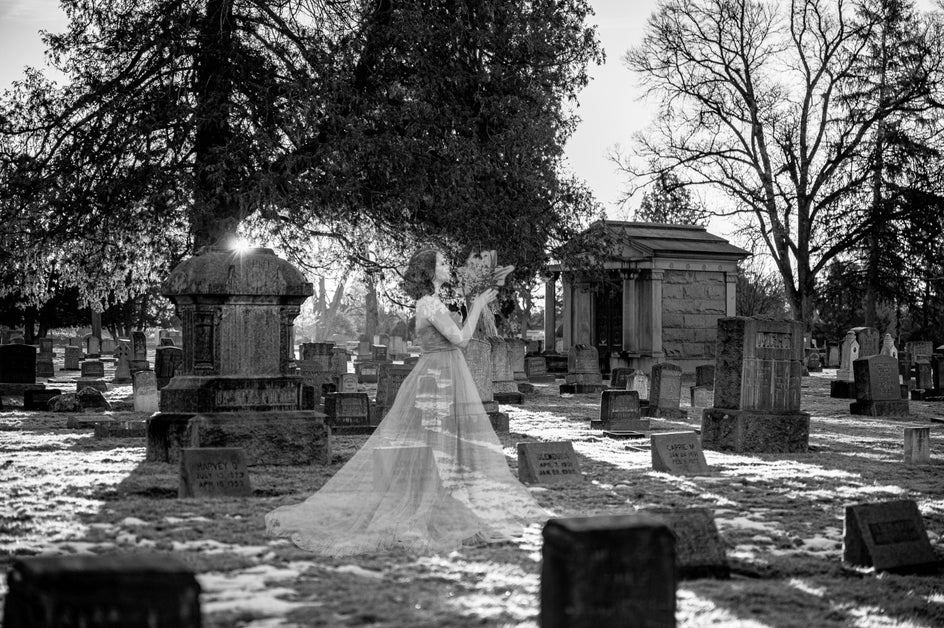
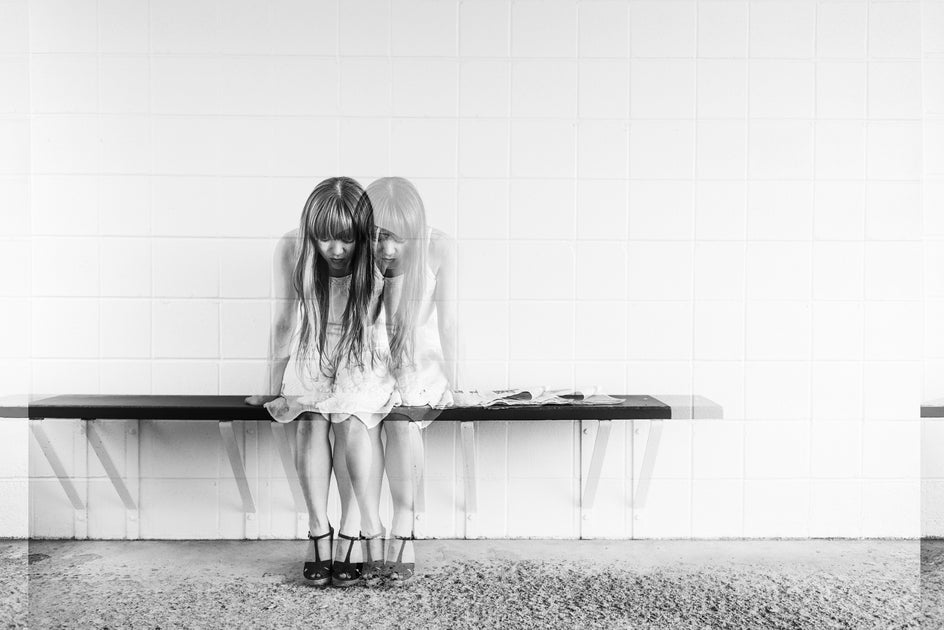
Ghostly Photo Results
See how easy it is to create a ghostly photo with BeFunky? You can use photos like this as decor for your next Halloween party, impress your friends on social media, or simply have a little fun with photo manipulation.
Halloween Photo Editing Inspiration
If you want an even quicker way to transform an everyday image into something spooky, here are some of our favorite ideas in BeFunky’s Photo Editor:
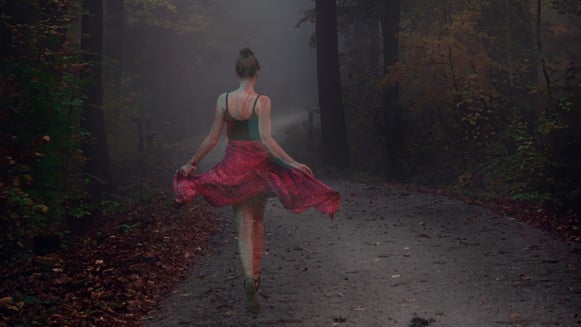
Holga Effects
Want to make your photo look like it’s from the Twilight Zone? Open the Effects tab and click on the Holga Art Category. Add the Holga Art 1 effect to your image and adjust the slider until your photo looks extra creepy.
The Holga Art 1 effect looks really spooky with black and white images, but makes a fun effect for color photos as well.
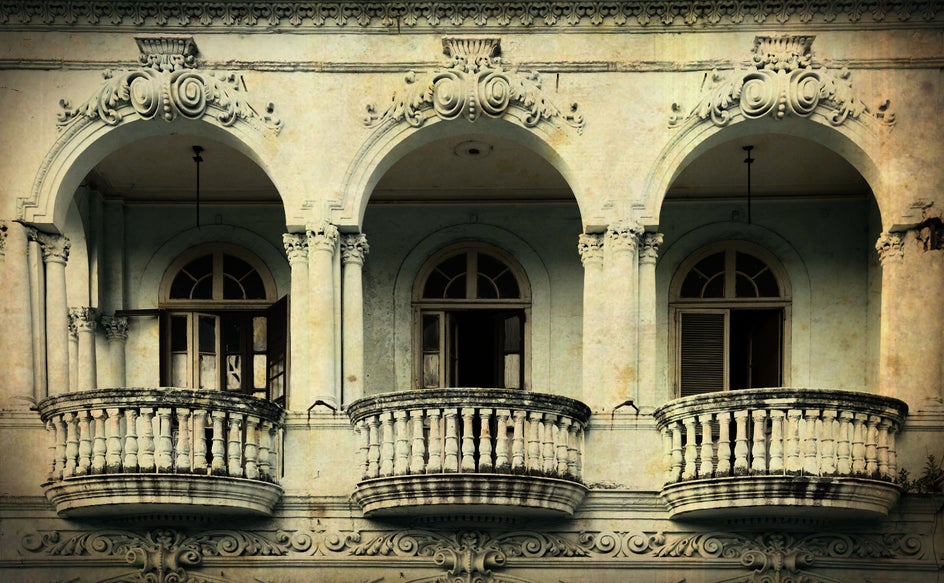
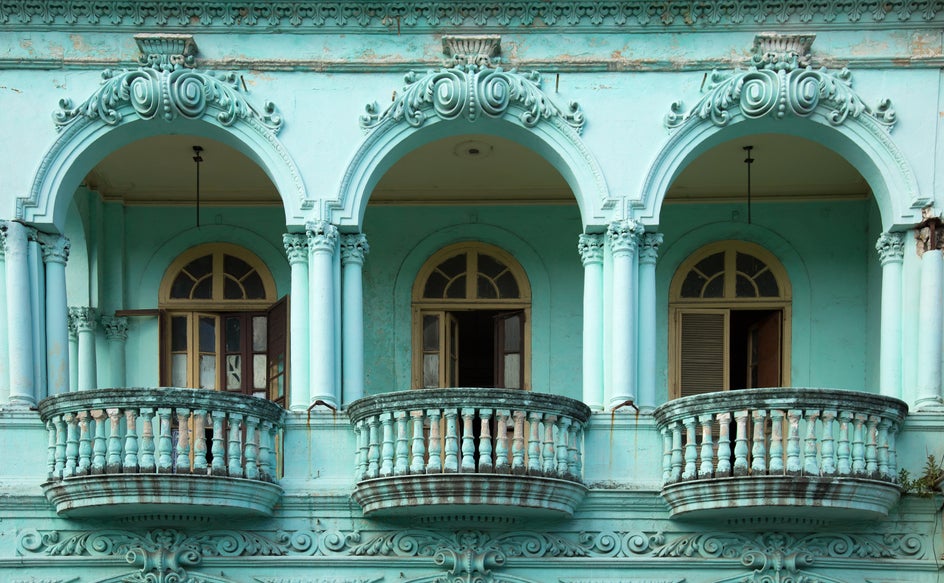
Old Photo Effects
The Old Photo category in the Effects tab is perfect for making your images look, well, old and creepy. Take a look at how the Old Photo 12 effect makes this building look haunted:
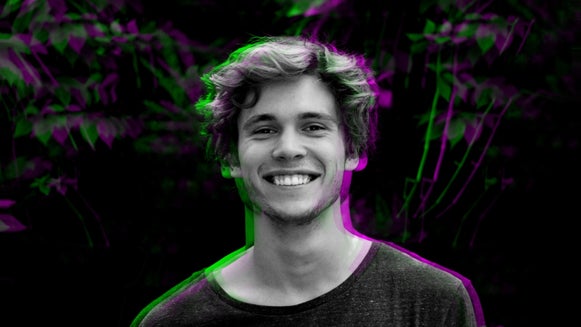
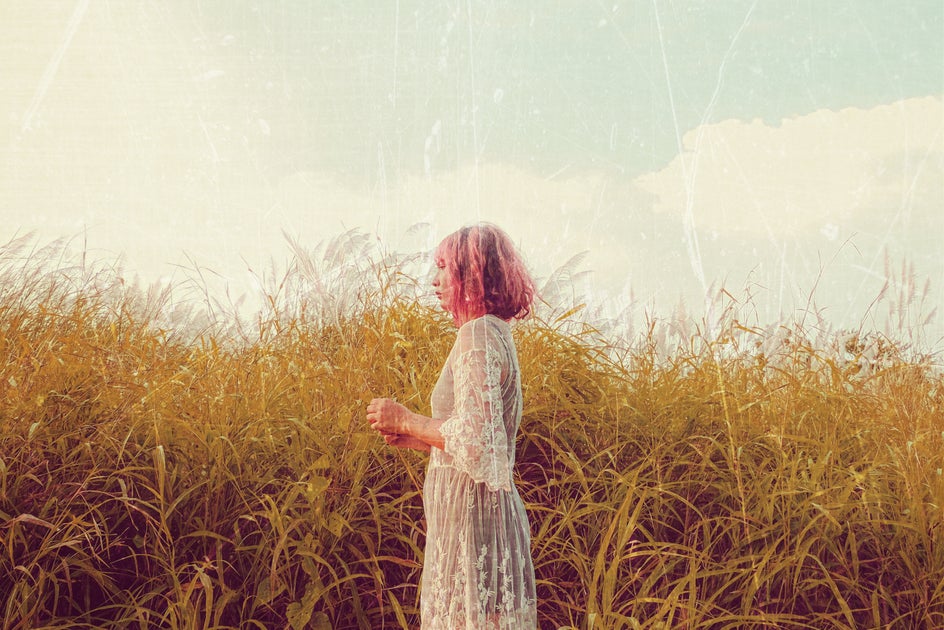
Scratch Textures
BeFunky’s Texture Backgrounds are perfect for distressing your photos, which looks really haunting on the right kind of image (serious portrait photos, old buildings, graveyards, and other Halloween-appropriate shots). To get the look below, we first added the Vintage Colors 3 effect from the Effects tab to mute the color palette of the image, then headed to the Textures tab. After adding the Scratches 2 effect from the Scratches category, this photo has a way scarier vibe.

One of the best things about BeFunky’s Photo Editor is that you can combine several effects in your photo editing session. Layer several spooky filters from the Effects tab, add some textures, and do what you need to do to get that Halloween photo looking just right.
Create a Spooky Photo for Halloween
Whatever spooktacular things you want to create with your photos, you can make it happen in BeFunky – the scarier, the better! Head to the Photo Editor to get started and transform your photos into something perfect for Halloween.