How to Create Holiday Photo Overlays

The Holidays always seem to bring about a sort of creative magic. We find ourselves in the kitchen whipping up sweets, decorating our homes with festive touches, and breaking out the craft supplies for Holiday themed projects. Even so, this time of year tends to be rushed as we scramble to check things off our to-do lists. Luckily, BeFunky has a better way to keep that creativity alive without derailing your tasks: Holiday photo overlays!

BeFunky’s Photo Editor has the perfect collection of Winter Holiday Overlays you can add to photos in a single click. They’re ideal for creating imagery for Christmas cards, festive gift tags, Holiday-themed social media posts, and so much more! Best of all, you don’t have to spend more than a few quick minutes in order to create something wonderful with them.
How to Add Holiday Photo Overlays
Ready to start getting creative with Holiday photo overlays? Head to BeFunky’s Photo Editor and follow the steps below!
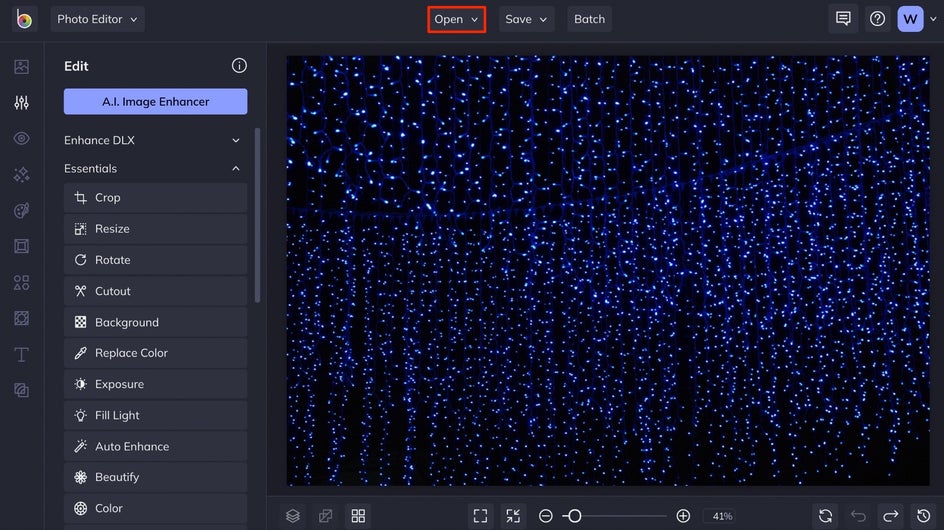
Step 1: Upload a Photo
Once you’ve clicked this link, you’ll be prompted to upload an image in BeFunky’s Photo Editor. Use the Open button at the top of the page to upload a photo from sources like your computer, Google Photos, BeFunky account, and more. You can also drag and drop an image file from your computer right into the interface.
BeFunky also has over a million free stock photos you can pair with Holiday photo overlays!
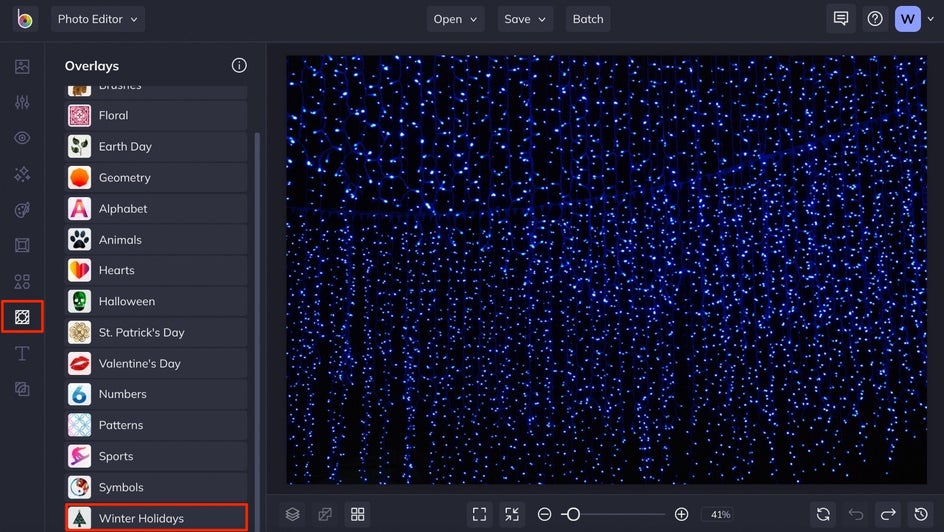
Step 2: Choose a Holiday Photo Overlay
Open the Overlays tab in the left side menu and choose the Winter Holidays category.
Click on each of the overlays to preview them on your image. Use the slider located on each overlay thumbnail to adjust the opacity of the overlay. Click and drag the cutout portion to move it around the image until you love the placement.
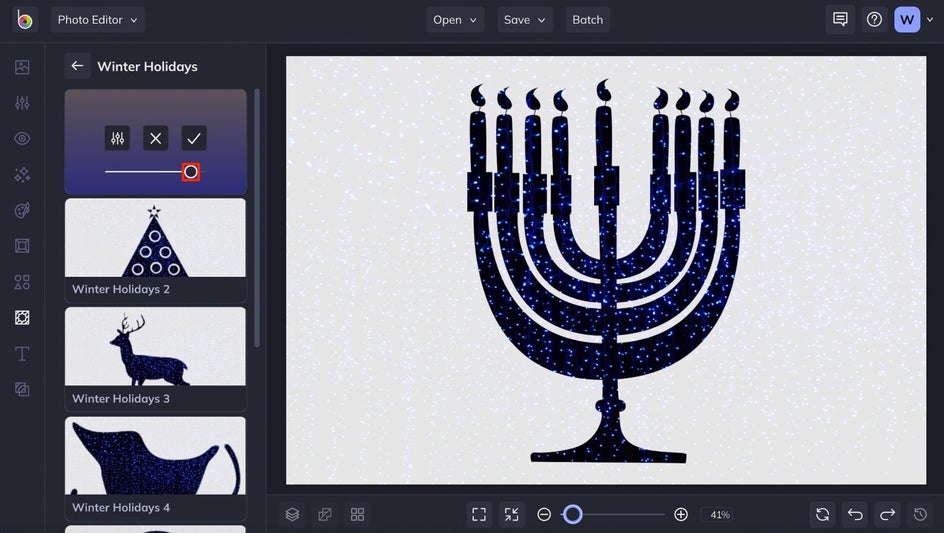
You can choose to apply the overlay from here by clicking the checkmark button on the thumbnail, or move on to Step 3 for more customization options.
Step 3: Customize the Photo Overlay
Each of BeFunky’s Photo Overlays can be customized in a variety of ways. To access your options, click the Settings menu located on the Overlay thumbnail.
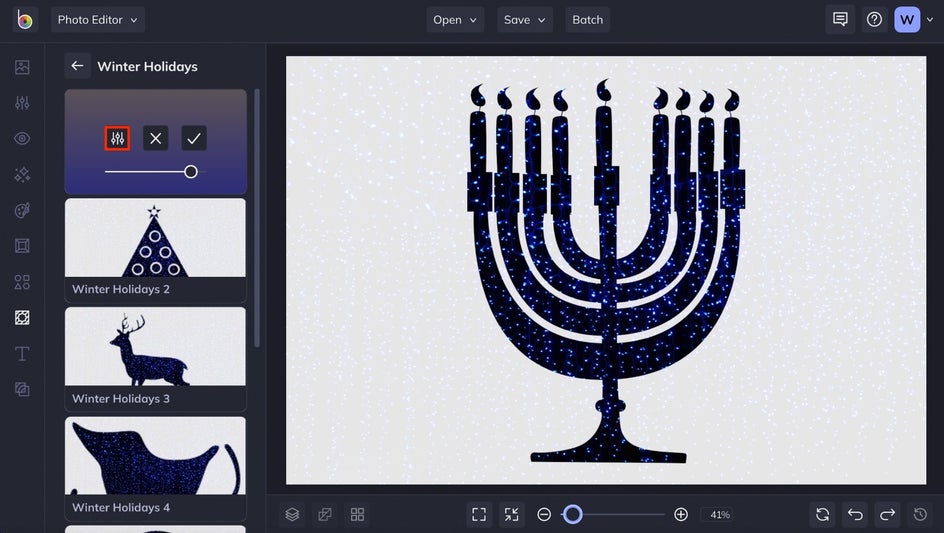
In the Settings menu, you can change the Color of the overlay by selecting the color tile and choosing a new hue.

You can adjust the slider options for Opacity, Size, Rotation, Blur Amount, and Shadow Amount in the Settings menu as well. Size refers to the size of the cutout portion(s), Rotation lets you rotate the cutout, Blur Amount blurs the image in the opaque portions of the overlay, and Shadow Amount adds shadows around the edges of the cutout. Play around with these settings until you love what you see.
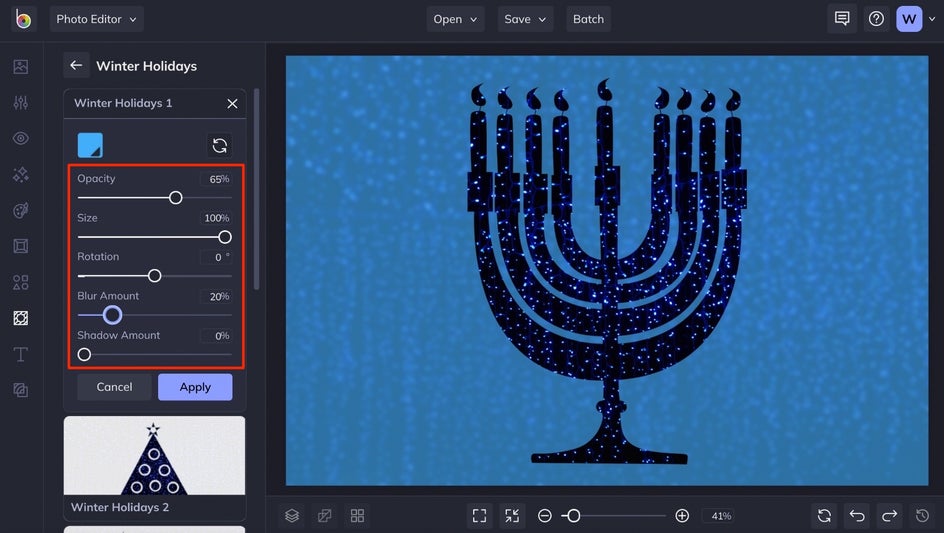
When you’re ready to add the overlay to your image, click Apply.
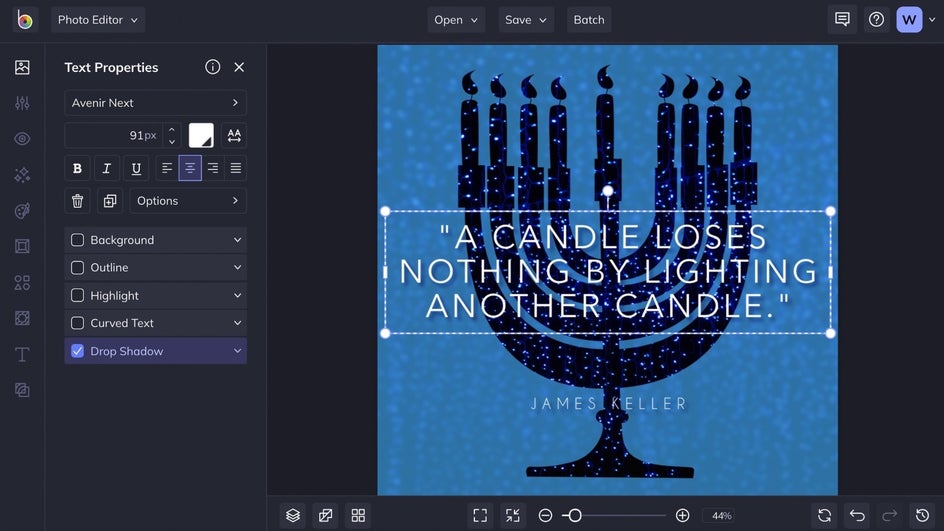
Step 4: Continue Editing (Optional)
You can continue editing your image as much as you’d like after applying a Holiday overlay. We chose to crop the image into a square, then added a quote using BeFunky’s Text tool.
Step 5: Save Your Image
When you’ve finished editing, click the Save button at the top of the page. You’ll be presented with several options for saving your work.
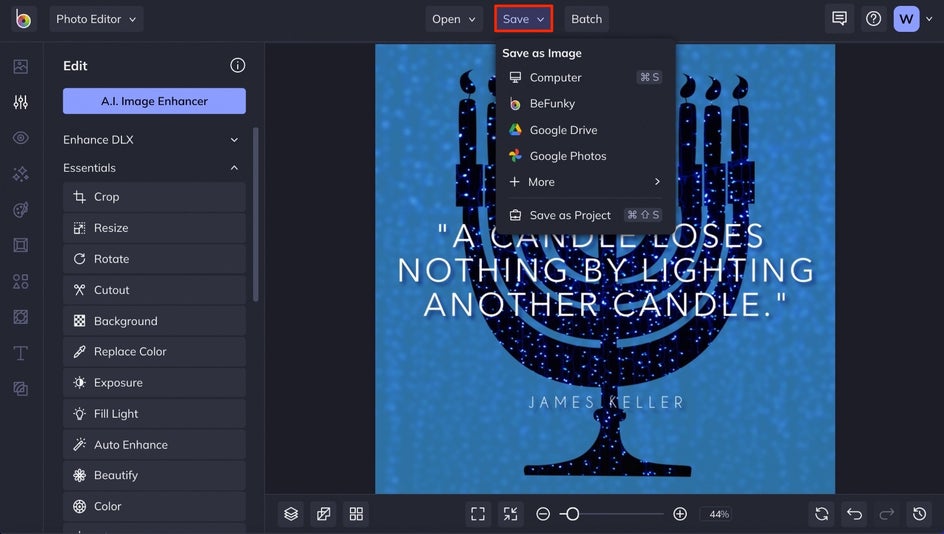
If you’d like to save a copy of your image in editable format, we also recommend choosing the Save as Project option. This will allow you to re-access the project and make changes at a later date.
Holiday Photo Overlay Results
Just look at how this Holiday photo overlay adds depth to this social media quote, all in a few clicks!

Our Favorite Ways to Use Winter Holiday Overlays
Adding an overlay to your photos transforms them into creative designs in just a few clicks. We’ve got an entire tab dedicated to Overlays in our Photo Editor, and you’ll find tons of options for festive overlays in the Winter Holiday category. Here are some of our favorite ways to pair them with your photography:
Festive Social Media Posts
Creating social media posts can be quite daunting when thrown into the Holiday mix! Between your never-ending to-do list and actually enjoying the Holiday season, the last thing you want to do is spend hours whipping up posts. Thankfully, adding a simple overlay (like this gift overlay from the Winter Holiday category) can help you add seasonal flair to any photo:

Holiday Gift Tags
A really easy way to add a personal touch to your gift wrapping or baked goods is by creating DIY gift tags. All it takes is pairing a Winter Holiday overlay with an intriguing background photo, then adding text for the To and From fields. Print them out to use as the perfect custom gift tag for your loved ones!

Christmas Cards
Adding a subtle overlay to photos can add intrigue to your Holiday cards in seconds. This one is from the Geometry category. To transform your Holiday photo overlay into a Holiday card, simply add text to your photos right from the Photo Editor, or save the image to use in our pre-designed Winter Holiday Card templates! Either way, your cards will look pretty enough to display.

Layered Overlays
If you’re loving the overlay look, why stop at one? By layering multiple overlays on top of one another, you can create photo designs that are truly unique! Perfect for social media posts and cover photos, blog imagery, or creating DIY seasonal home decor for the holidays.
To get the look, follow Steps 1-3 from the above tutorial and repeat them for each additional overlay until you love what you see.

The Perfect Holiday Overlays for Your Photos
Now that you know how versatile our Winter Holiday overlays can be, it’s time to get creative! Pour yourself some cocoa, put on some Holiday music, and head to BeFunky’s Photo Editor to get started.