Replace the Sky of Any Photo

Have you ever taken a photo of a beautiful beach scene or landscape, only to realize that everything in the foreground is crisp at the sacrifice of the sky being overexposed? Or perhaps you've felt compelled to swap out a gray day sky for something brighter?
In situations like these, one of the best ways to correct the shot is to replace the sky entirely. Don’t worry, it doesn’t have to be difficult, nor does it require expensive software.
BeFunky’s Photo Editor features the handy Sky Replacer tool, which uses powerful A.I. to replace the sky within any photo – in just a few clicks! Keep reading and we'll show you how.

How to Replace the Sky Using BeFunky’s Sky Replacer
Ready to replace the sky within your photo? Head to the Photo Editor to get started, then open the photo you wish to edit.
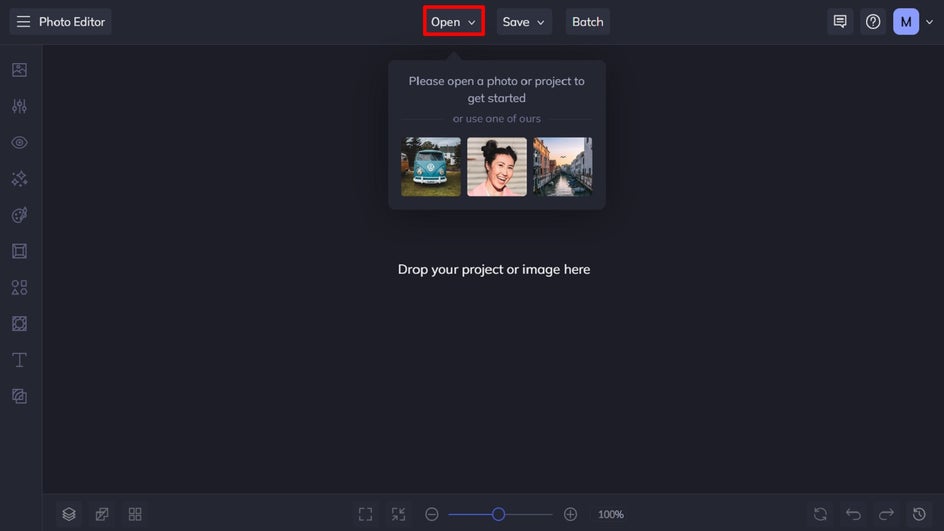
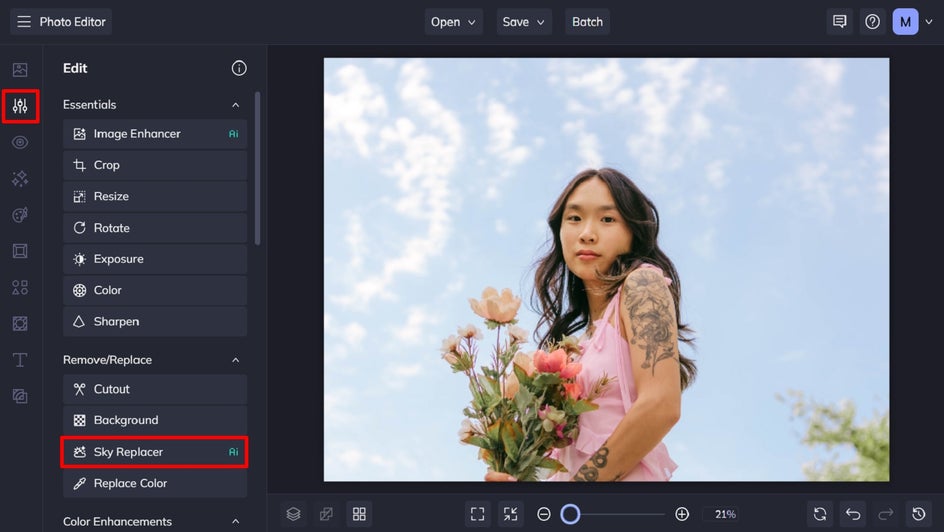
Step 1: Navigate to the Sky Replacer Tool
In the Photo Editor, click on Edit from the main menu on the left. Then, locate Sky Replacer, which you’ll find underneath Remove/Replace.
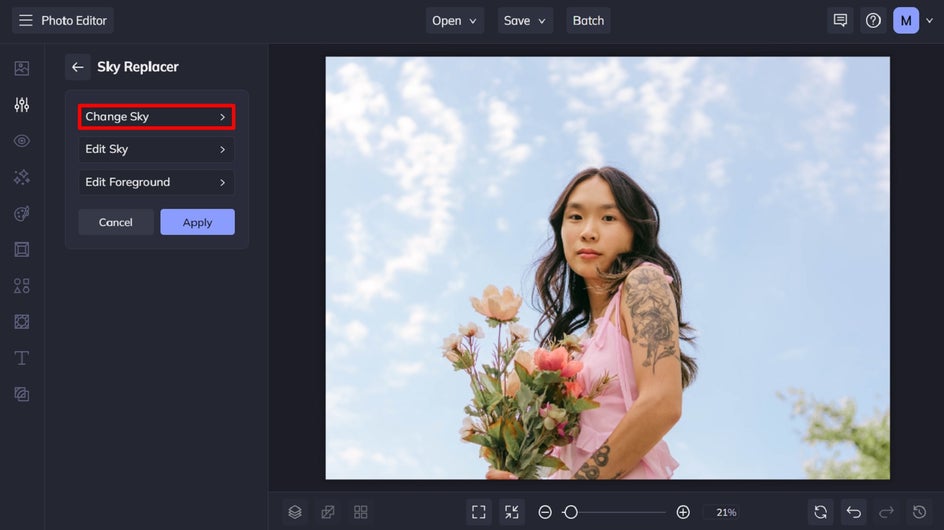
Step 2: Change the Existing Sky
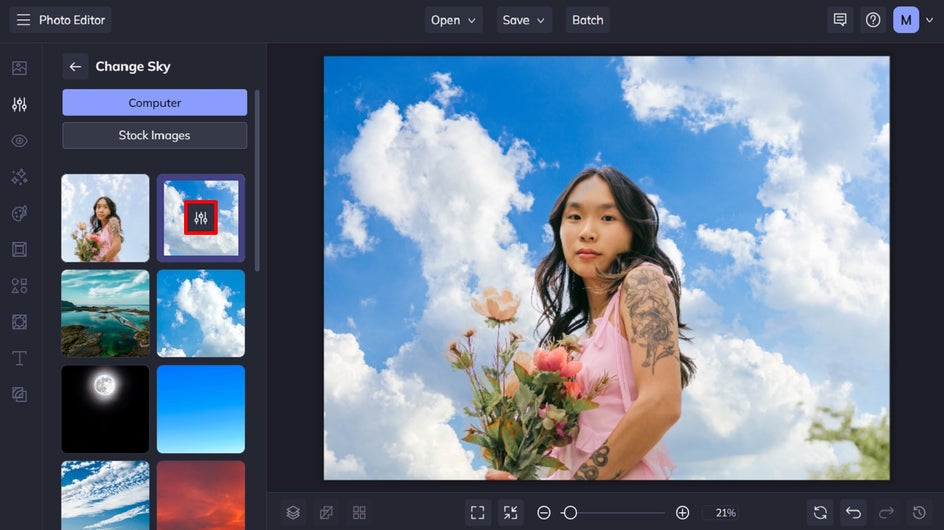
Within the Sky Replacer tool, you’ll find three options: Change Sky, Edit Sky, and Edit Foreground. To replace your photo’s existing sky entirely, click Change Sky.
You can then choose a sky from our curated selection of usable skies, or you can upload a sky image from your own files by clicking Computer.
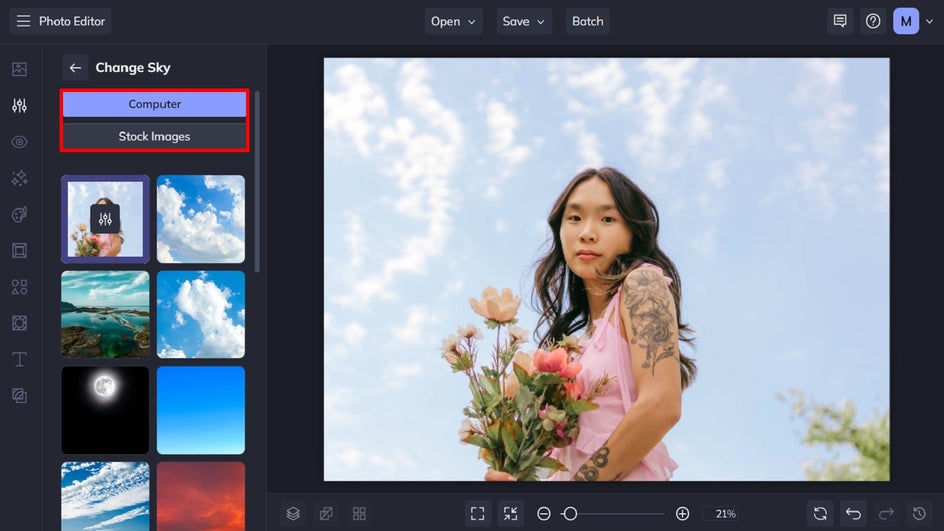
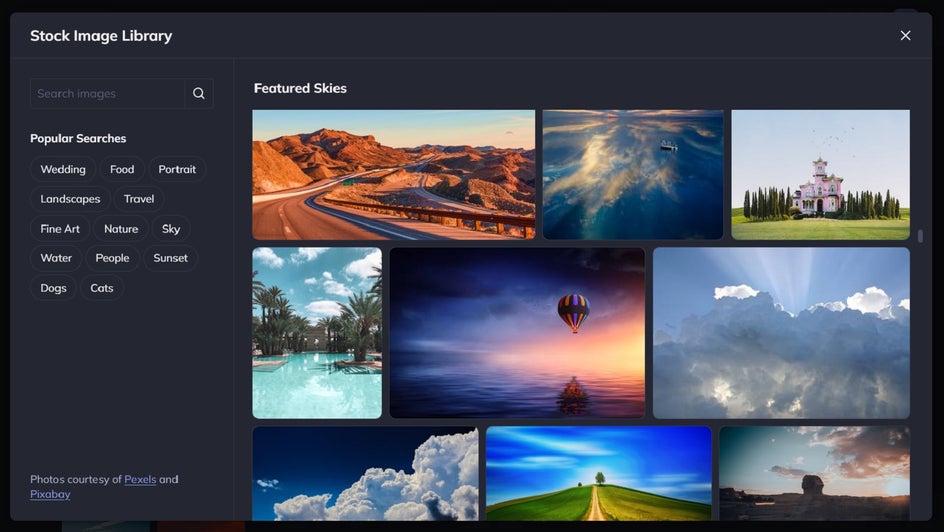
Want to use a different stock photo of a sky instead? Simply click Stock Images to access our huge library of free-to-use imagery.
Once you’ve chosen your new sky, our A.I. will do the rest! Watch as it transforms your photo’s existing sky into an entirely new one, all at the click of a button.
Step 3: Edit Your New Sky
This part is optional, but if you want to make any changes to your new sky, you can. Just click the Settings button which is featured on the thumbnail of your new sky.
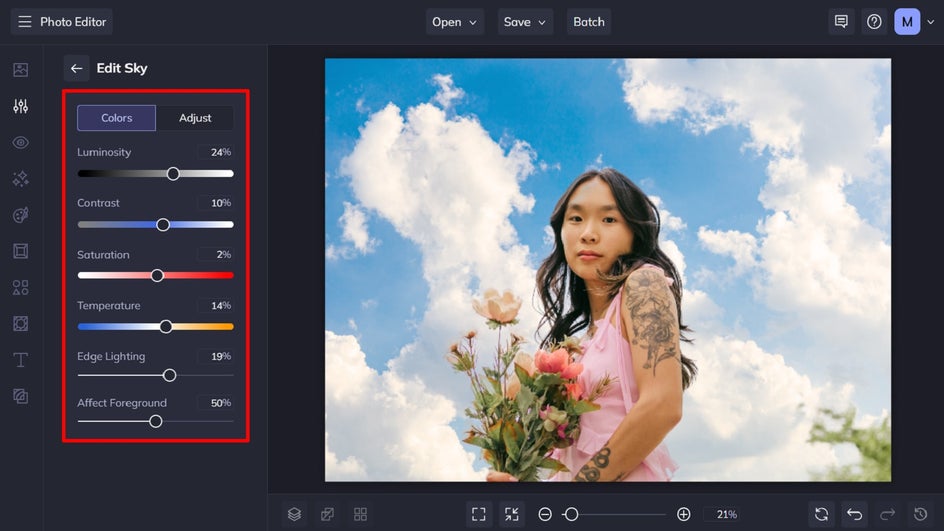
From here, you can change your sky’s luminosity, contrast, saturation, and temperature. You can also change the edge lighting to add further realism. The Affect Foreground slider also lets you adjust how much those changes are applied to the foreground of your photo.
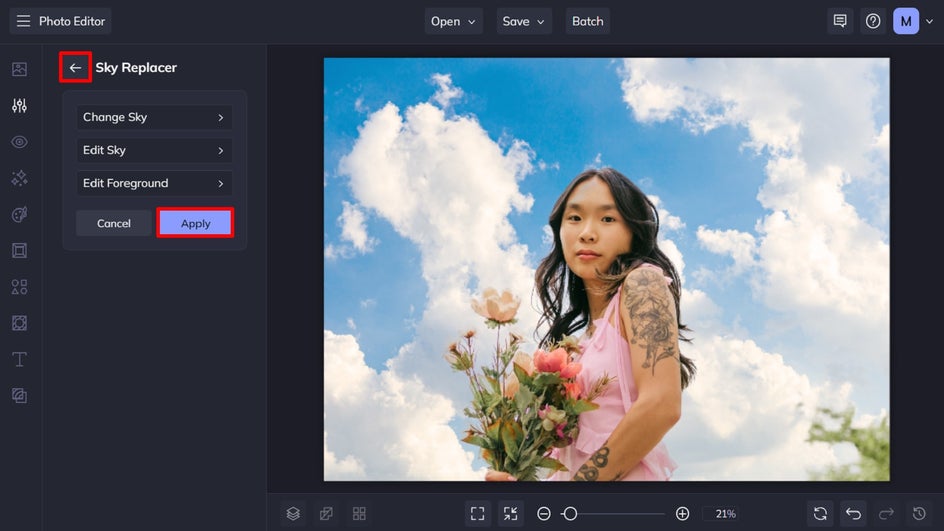
Once you’re happy with your new sky replacement, click the back arrow to go back to the main Sky Replacer menu, then click Apply.
Step 4: Save Your Sky Replacement Photo
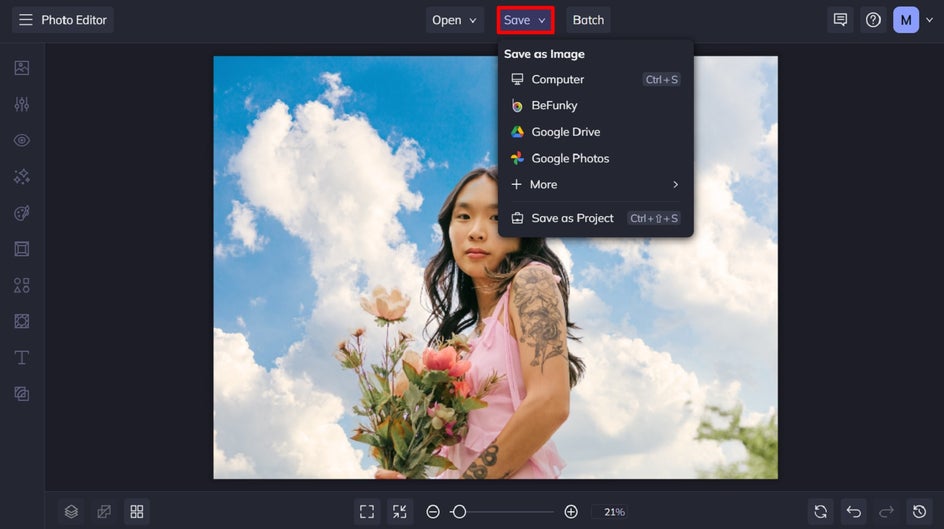
Finally, click Save at the top of the screen and choose your save destination.
Before and After Using the Sky Replacer Tool
A new sky can completely transform your photo from boring to brilliant!


Replace the Sky of Any Photo in Seconds
With our Sky Remover tool, sky replacement has never been so easy! Whether you’re looking to change the sky color or edit a different sky entirely, BeFunky has got you sorted.
Ready to replace the sky in a picture? Check out the Photo Editor today to see just how helpful it is!