How to Reduce Image Noise With the Denoise Tool
Have you ever taken a photo that’s almost perfect – only for you to look at it closer and realize it’s filled with noise and grain? Noise in your photographs could be due to an old camera, low light, long exposure times, high ISO, and more. It can make your photograph look low quality, even if the composition and lighting are perfect! Luckily, BeFunky’s Denoise tool is here to help with your noisy photos – and it’s newly updated for even cleaner denoising results.


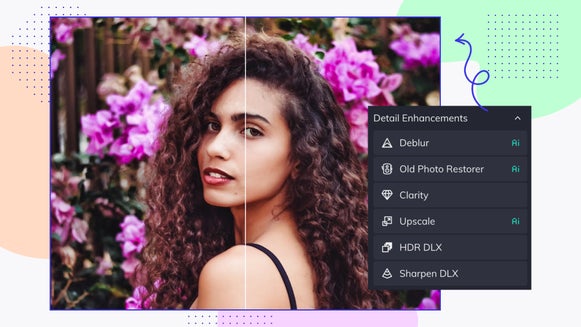
Denoise is a tool available in the Photo Editor that can smooth out those pixels and problem areas without just one click. The updated version uses A.I. to smooth and enhance even the grainiest of photos. The new Face Recovery feature allows you to recover all the lost details in grainy portraits and group photos. Try it out with your grandparents’ old film photos, your low-light pictures, your compressed JPEGs, and any other images you have that might need a clean-up.
What Is Noise in Photography?
Noise is a commonly used term in photography to describe visual distortion. It can appear in your photos as gritty or grainy texture, blotchy colors, speckled pixels of color, and other digital artifacts that weren’t present before you hit the capture button. It happens most commonly in two situations: low light conditions as your camera’s sensor is trying to pick up a wide range of light particles, and when the ISO setting on your camera is too high.
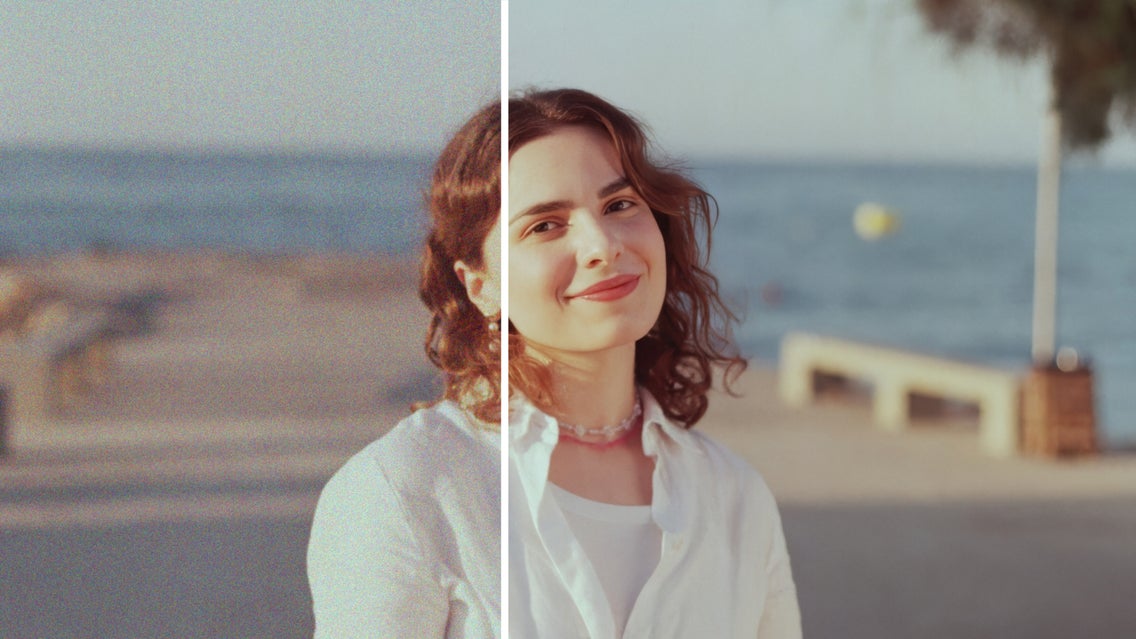
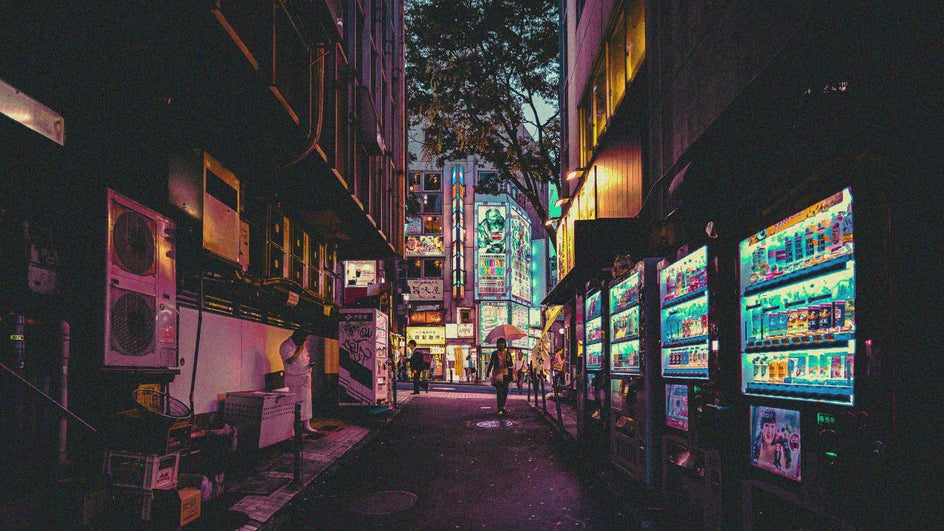
Even if you aren’t familiar with the concept of noise, you’ve probably seen it in photos millions of times. Take the following photo:

This photo is grainy and full of pixel variation, and the noise is especially noticeable when you zoom in. Where there should be smooth gradients, there are obvious layers of color. Slide to the After photo to see how Denoise reduces noise and smooths out rough edges.
Whether you want to clean up some stray pixels that can only be seen once you zoom in, or you’re trying to salvage a grainy photo with obvious noise, our Denoise tool can clear up and brighten any image immediately.
When to Use the Denoise Tool
Since our eyes are able to see a much wider range of light than our cameras, it’s possible for your camera to pick up noise in even the best lighting conditions. You can take advantage of Denoise any time you notice noise in your photos, but here are some instances where it really comes in handy:
Reducing Noise in Low Light Photos
When you’re in a less-than-desirable indoor lighting situation – even if the light is prominent enough for your eyes – the camera will likely make things look pixelated as it’s trying to compensate for the lack of light. Luckily, Denoise has the ability to smooth out those pixels.


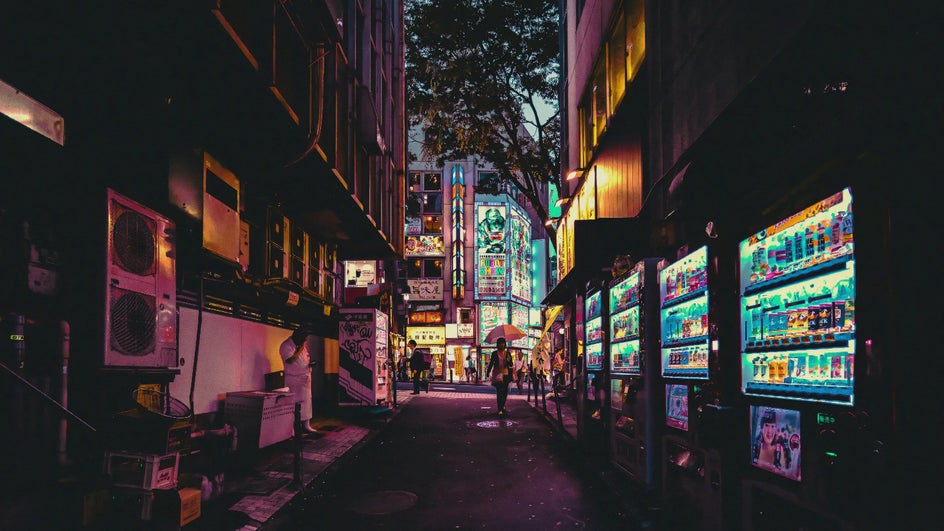
Reducing Noise in Night Photographs
The night is an extremely low light condition for your camera – especially if there are glaring light sources competing with the darkness around it. Night skies tend to get noisy very quickly, but the Denoise tool can make them look realistic again.
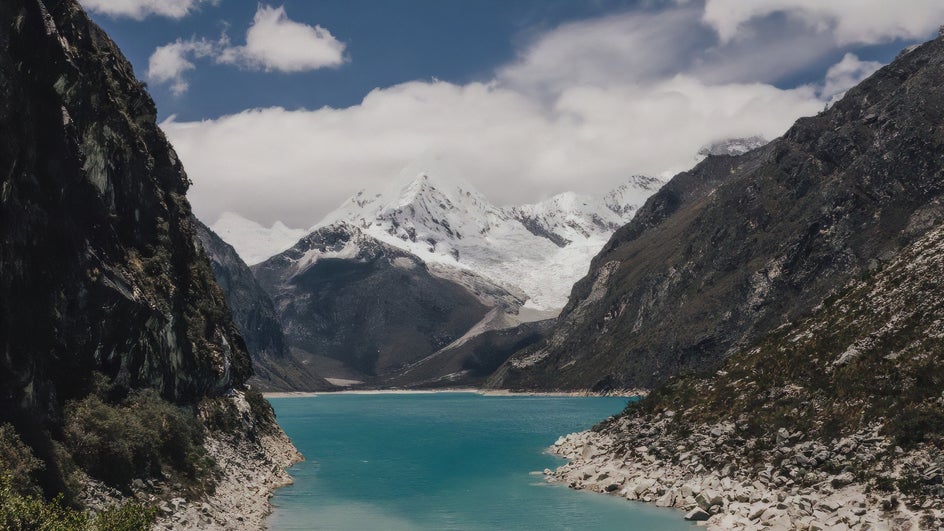
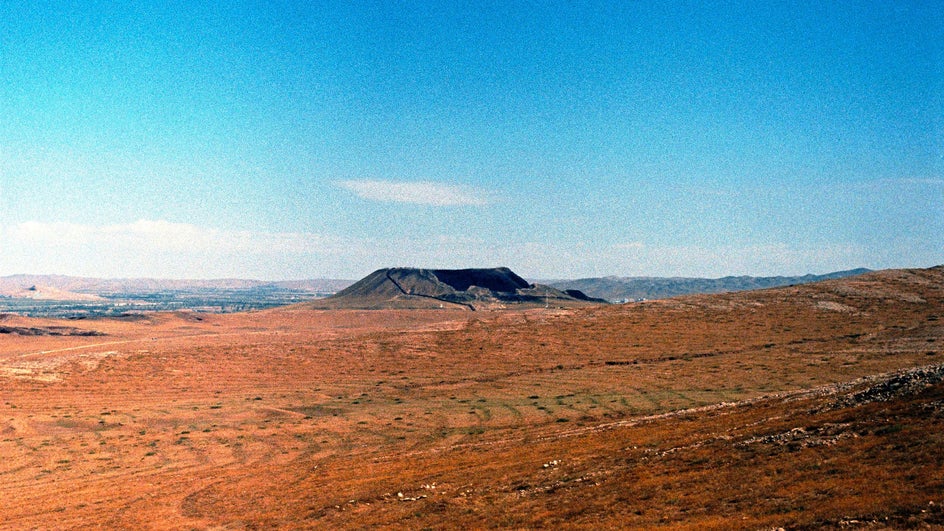
Reducing Noise Across Uniform Colors
Due to the uniformity of a blue sky and other solid-colored backgrounds and objects, the camera can often add subtle (or not so subtle!) defects when you take a photo. This can mean either digital graininess or color banding, but either way, using the Denoise tool can make those solid colors more uniform again.

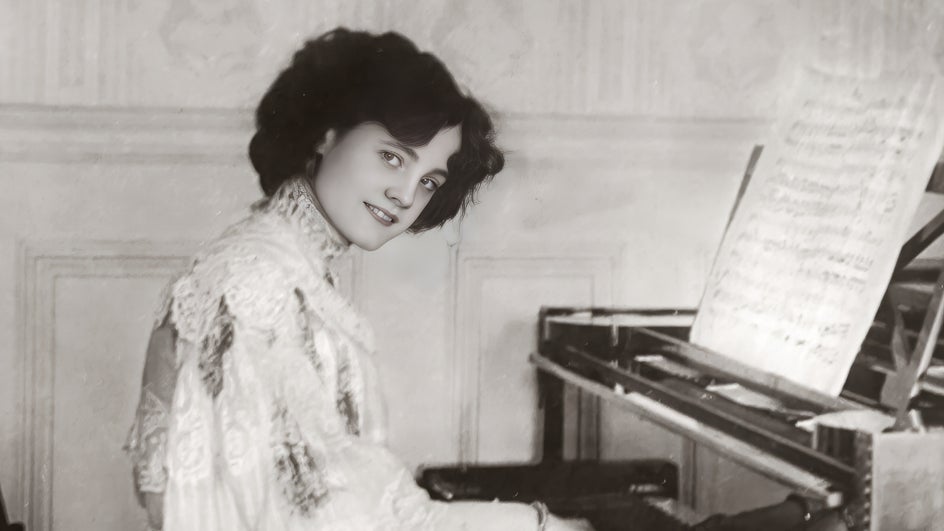
Reducing Noise in Old Photographs
Old film photos usually have a lot of grain and blurriness, especially if the camera or subject was moving at all. The Denoise tool’s Face Recovery feature in particular comes in handy for these types of photos, because it can clear up features and make your subject look like they were photographed yesterday instead of decades ago!
How to Reduce Image Noise With the Denoise Tool
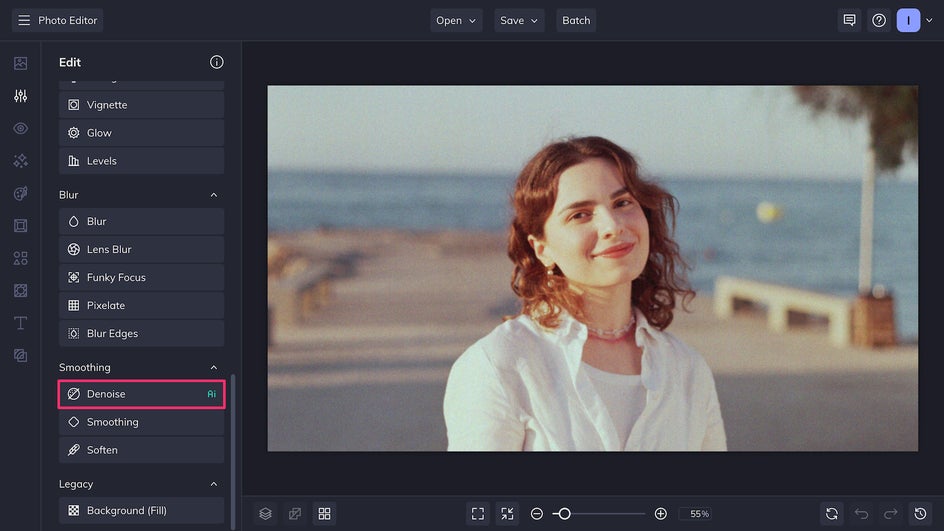
To get rid of the noise that’s affecting your photo, start by uploading your image into BeFunky’s Photo Editor. You’ll find Denoise under the Smoothing section in the Edit tab. Or, head right to it by clicking here.
Reduce Noise in Just One Click
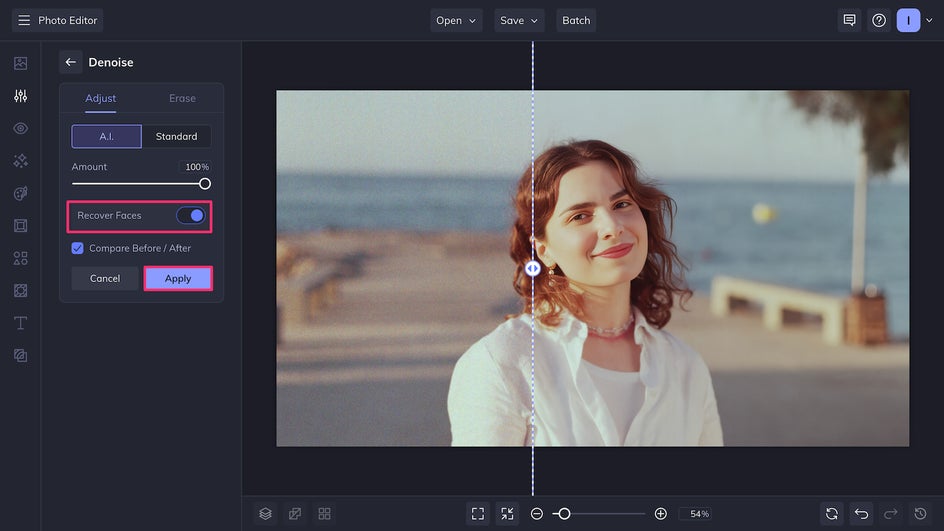
To use A.I. to smooth out the pixels in your photo and get rid of noisy areas, just adjust the Denoise slider to the level you’d like and click Apply! It’s as easy as that.

Optionally, before applying, you can check the Recover Faces box to make any faces in your photo as clear as possible.
Tailoring the Denoise Tool to Your Taste
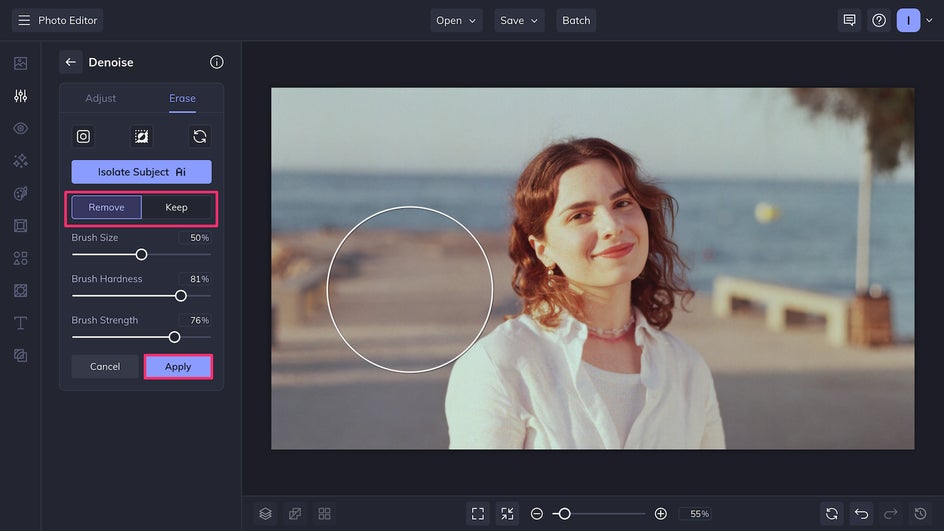
With the new A.I. Denoise tool, you can control the intensity of the effect, but everything else is left up to the A.I., making it super convenient! However, if you want more control over your denoising, you can also use the Erase tool to bring back some texture to areas where the smoothing looks too harsh. If you accidentally erase too much, just switch from the Remove tool to the Keep tool.
A.I. Denoise vs Standard Denoise
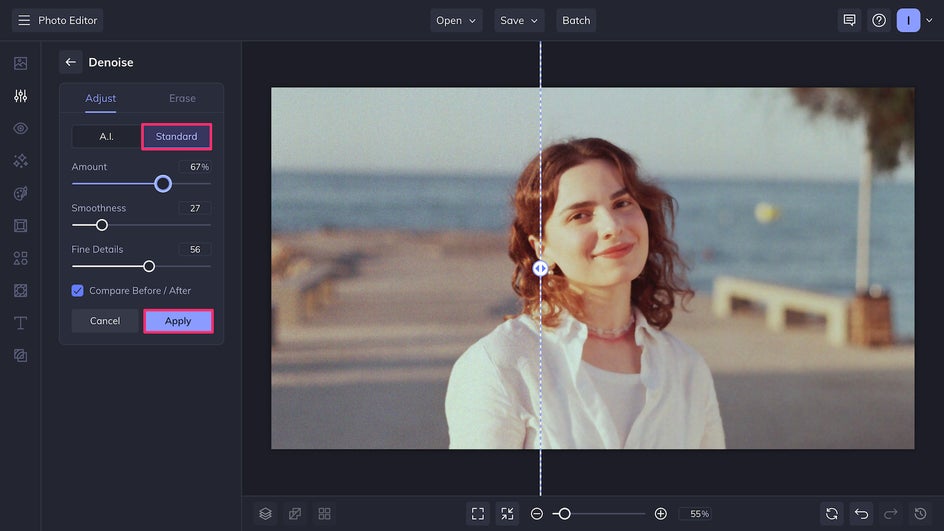
Another option that allows for greater customization is the Denoise Standard mode. This enables you to adjust the detail level and smoothness of your photo. (Note: Standard mode does not include the Face Recovery feature.)
The Amount slider controls how much impact you want the effect to have. Use it at a low percentage to spruce up a slightly grainy photo. Use a high percentage to smooth out bigger defects. The Smoothness slider will soften and blend the pixels, blending colors to create a more uniform look. Increasing the Fine Details slider will enhance the depth and contrast.
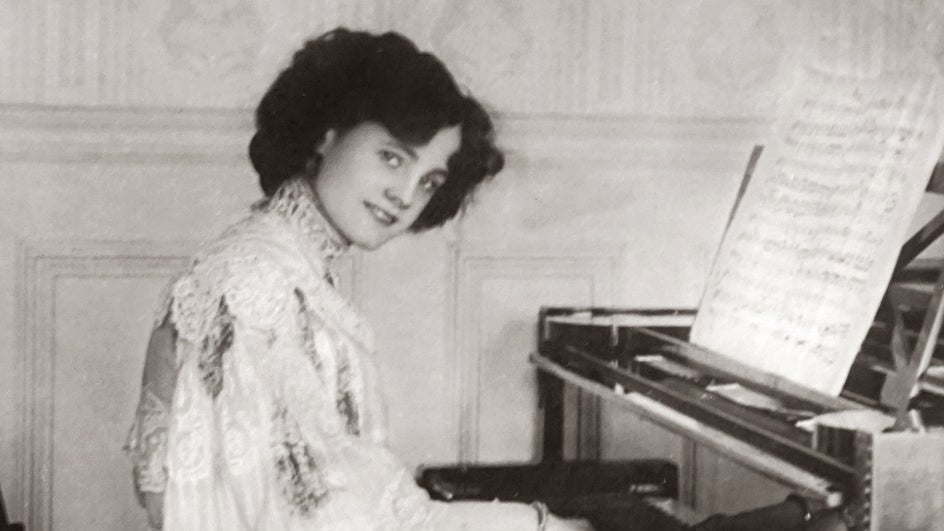
Final Noise-Free Image
After using the A.I.-powered Denoise tool, we end up with a photo that is smooth, well-balanced, noise-free, and still has all the details intact:


Rather than fussing with a ton of different adjustments to try and achieve the smoothness you want, Denoise allows you to clear up noise with one convenient, adjustable tool.
Create Higher Quality Images With Denoise
The Denoise tool is perfect if you want to reduce noise, add depth and detail, bring out vibrant colors, or enhance the sharpness of your image. All of these factors add up to creating a higher quality, more memorable photo.
As long as you’re using Denoise, you can also use the Photo Editor to adjust lighting, add cinematic effects, replace backgrounds, and more. Check out the Photo Editor today to see these tools in action!