Inkify Effect

From ancient Egypt to 8th century China, there's a lot of debate about when ink artistry first took shape. To those who love creating artwork with ink, it doesn't make a difference who the first ink artists were. What matters is having enough ink today to create masterpiece after masterpiece.
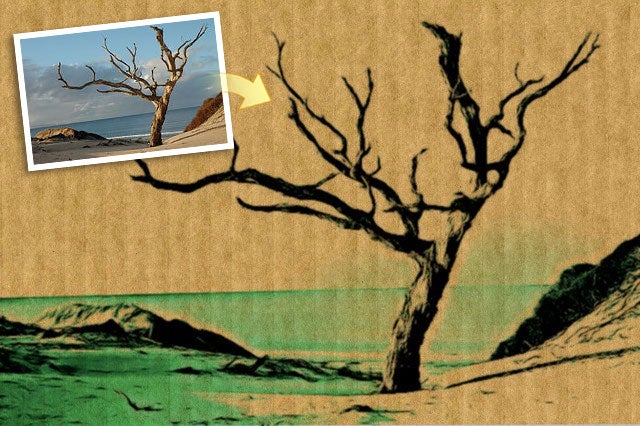
BeFunky's Inkify digital effect is an ink effect that converts a regular photo to ink artwork. It does it quickly. The results are amazing. And it creates the ink photo effect without the mess.
Choosing the right image before converting your photo to ink
Selecting the right image is key to getting great results from the photo to ink effect. We recommend vibrant photos with a strong object in the foreground and minimal clutter in the background. You'll also want to ensure that the majority of the photo is in focus in order to get crisp results when applying the ink photo effect.
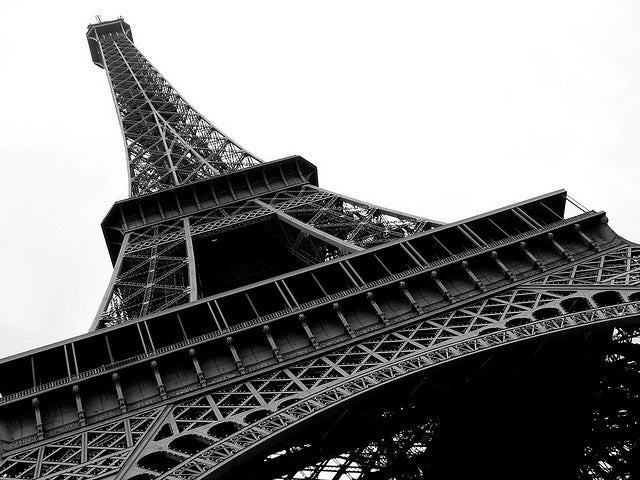
We used a photo of the Eiffel Tower for the examples below. The photo has a very clean background and a high contrast ratio, making it a very good choice for the Inkify effect.
Applying your photo to ink effect
You can keep the lid on your inkwell. Getting the perfect ink photo effect takes nothing more than a few mouse clicks. To begin, upload the photo you've picked out by navigating to the Create section of the BeFunky website. You'll see a tab located at the top right of the Create section with a bunch of icons. Hover over the Upload icon to get your photo ready for photo to ink conversion.
Once uploaded, your photo will appear in the middle of the screen. You can zoom in and out of the photo, crop the image and even rotate it to make sure it's perfect before you go crazy with the ink photo effect.
Now that your photo is on the screen, move your mouse over to the left side of the screen where the Photo Effects pane is located. Look for the Inkify dropdown menu and click it to reveal the four presets. Clicking any one of the presets will instantly transform your photo into an ink sketch. You can choose from black & white, one-color, two-color and multi-color presets.
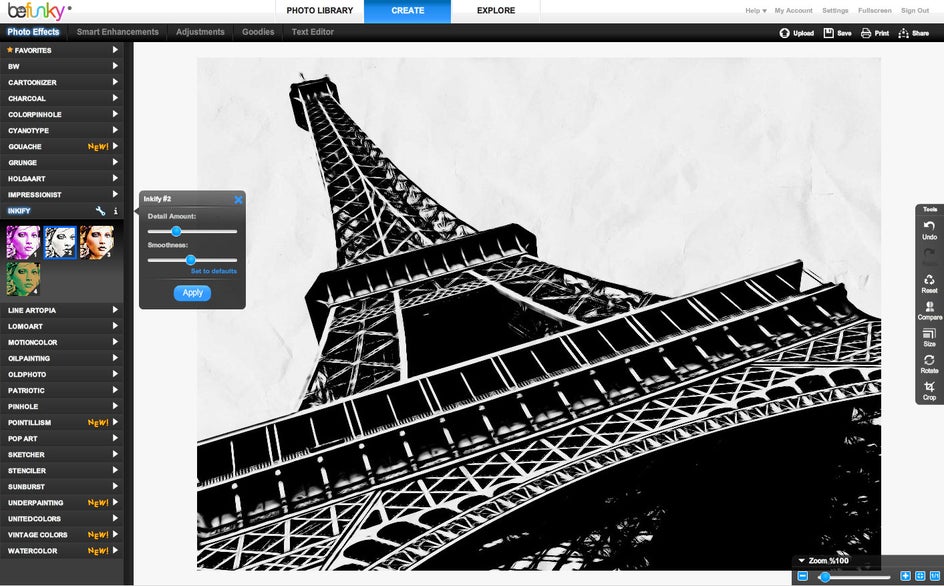
To get your ink photo effect just right, try playing with the advanced settings. To reveal them, bring your mouse pointer to the left side of your screen. If the effects panel doesn't show up, just to click the wrench icon above the presets. From the popup, you'll be able to adjust things like detail amount and smoothness of the sketch.
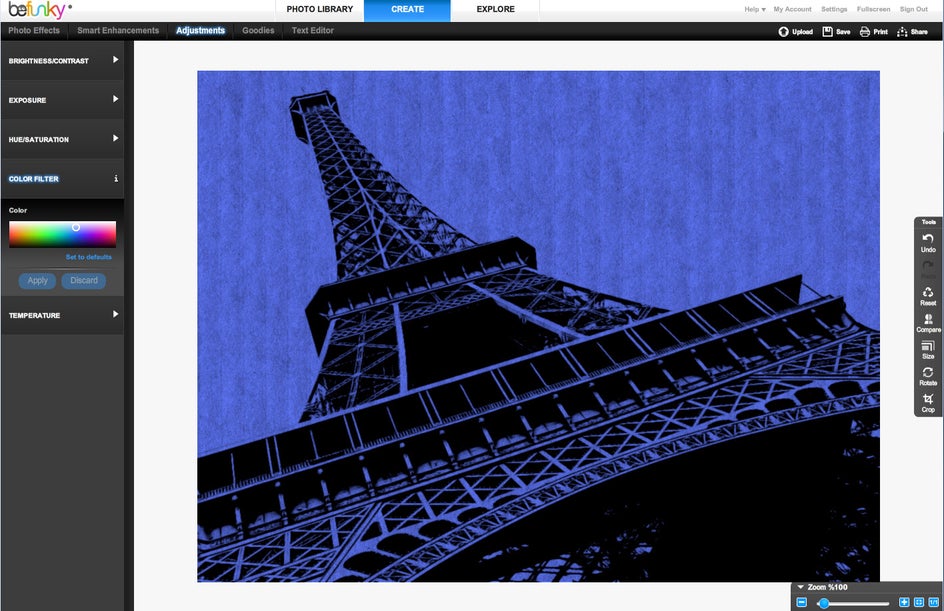
To make your artwork more unique, navigate to the Adjustments menu from the upper left menu. In the below example we increased the Contrast value a little bit and played around with the Color Filter setting to change the color, after applying the effect (Inkify #4). Hue, Saturation, Color Filter and Temperature settings will all let you modify colors. You can use different combinations of them to get a unique result to your liking.
Don't forget to save your photo as you go. When you're satisfied with your ink photo effect, print it or share it with your friends on your favorite social networking sites.
You can even have it printed on a t-shirt, key-chain or other keepsake item. The above example would look great on your wall when printed on a big canvas. Check the Print options at the upper right menu after creating your artwork at BeFunky. Just one warning: Everyone will want you to create an ink photo effect for them.