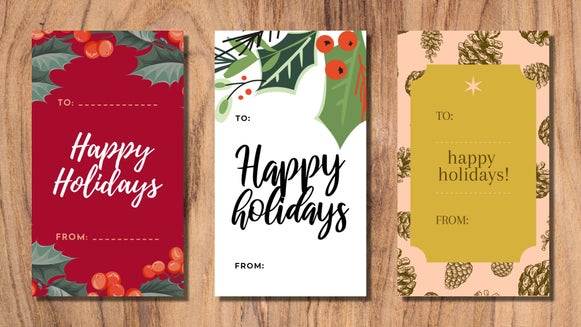
Kids’ Valentine’s Day Cards for the Whole Class

Valentine’s Day can be a stressful day for most people. With the pressure to have a partner or get a date, it can be a day that is typically avoided by most adults. Being able to live vicariously through a child during most holidays can be a huge gift.
When the only care in the world is concern over bringing the same Valentine’s cards as another classmate, it makes the holiday way more enjoyable – especially knowing that you can create your very own Valentine's card design right in BeFunky.
Not only are making your own cards unique and personal, but they are also a cheaper alternative to buying store-bought Valentine’s. If you are wondering how to make a Valentine’s Day card for kids or where to begin, Befunky’s Graphic Designer and Collage Maker are here to help!
How do you make Valentine's Day cards for kids?
The best Valentine’s Day cards for kids are short, sweet, and to the point. Just think of a few one-liners that would be perfectly witty and if you need help, do a quick Google search for some inspiration. If you’re wondering, “what size are kids valentine cards?”, we have everything handled in the tutorial below. We are going to create two variations of cards for this tutorial. You can create as many as you want but we recommend making 2-4 variations within the same theme. When you are ready, head to BeFunky’s Graphic Designer to get started.
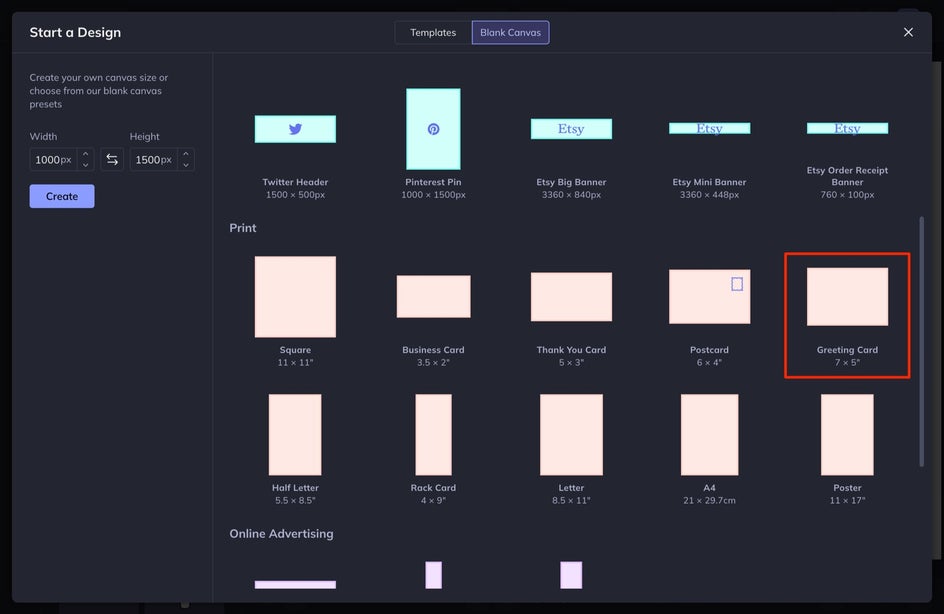
Step 1: Start With a Blank Canvas
We are going to start with a blank canvas, but you can choose any of our customizable Valentine's templates as well. Click Open and then the Blank Canvas tab at the top of your screen. Scroll down to the Print category. You’ll find a blank template for a 7 x 5 Greeting Card to use in your design.
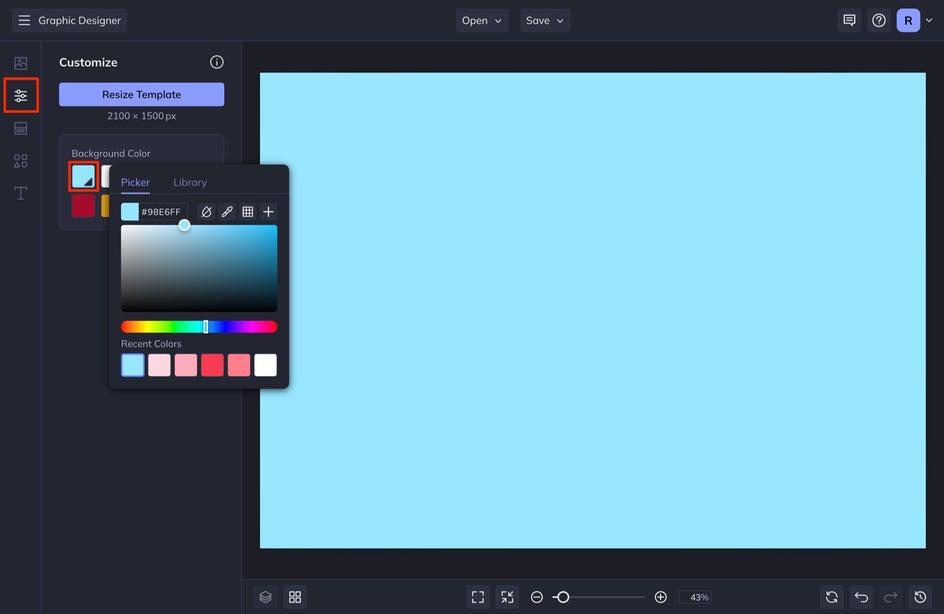
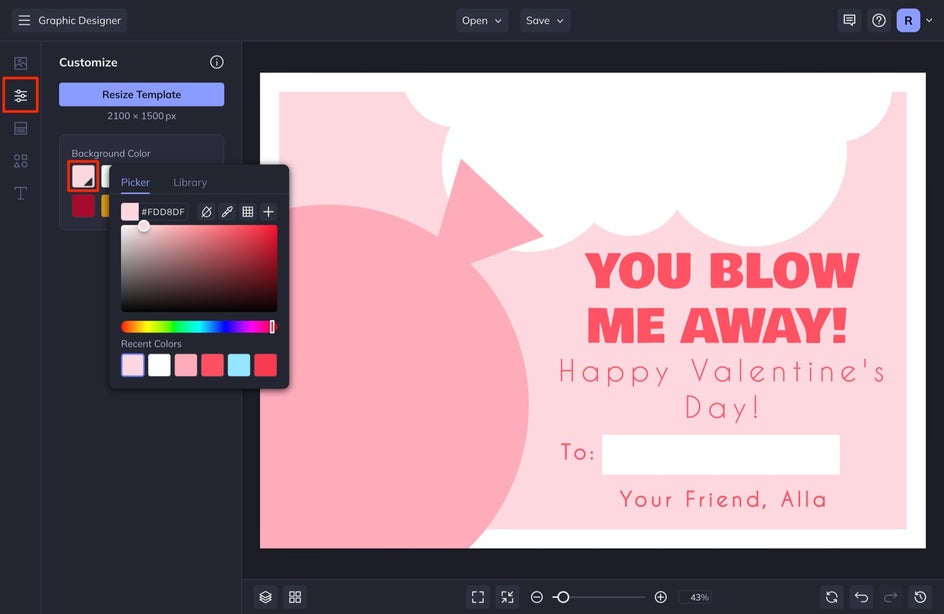
Step 2: Add a Background to Your DIY Card
Edit the background of your card by heading into the Customize tab in the left-hand menu. Select the first square within the Background Color section to choose the color you want. The first card we create is going to have a blue background.
Step 3: Add Text to Your Classroom Valentine’s Card
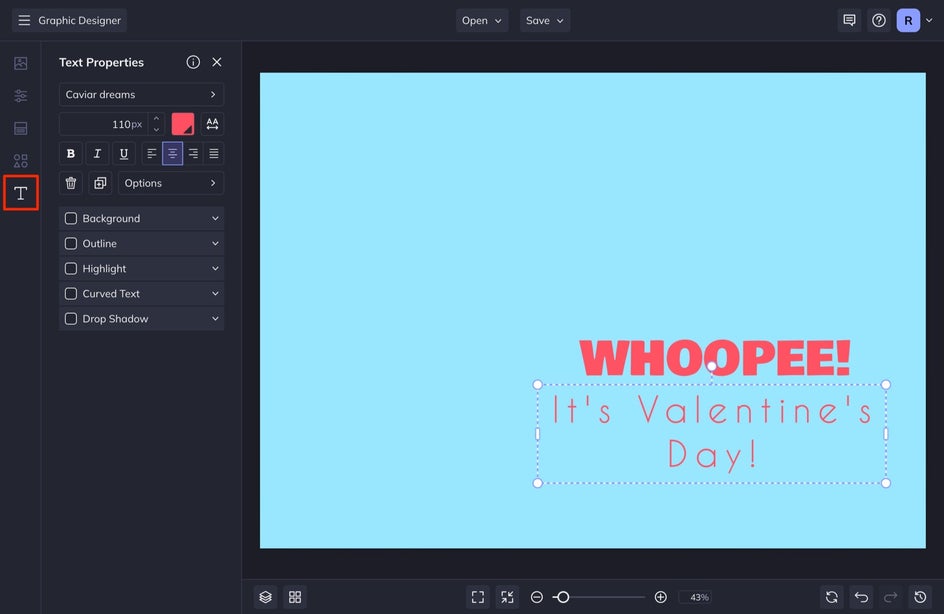
Once you have the background just right, it is time to add your text. We are going to make a couple of whoopie cushion valentines - one saying “WHOOPEE! It’s Valentine’s Day ” and the other saying “You blow me away! Happy Valentine’s Day!”. If you aren’t wanting to include candy in your valentines, this is a great alternative!
To add text, click on the Text tab in the left-hand menu and then select Add Text. Double-click the textbox and start typing your message.
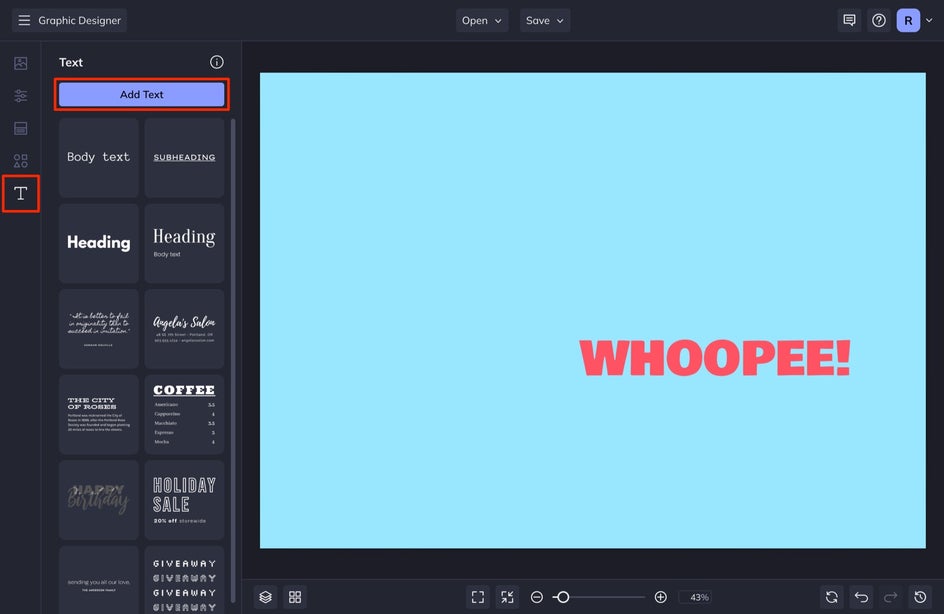
You can customize the Font, Font Color, Size, and more using the Text Properties toolbar that appears whenever a textbox is selected.
Step 4: Add Graphic Elements for Some Flair
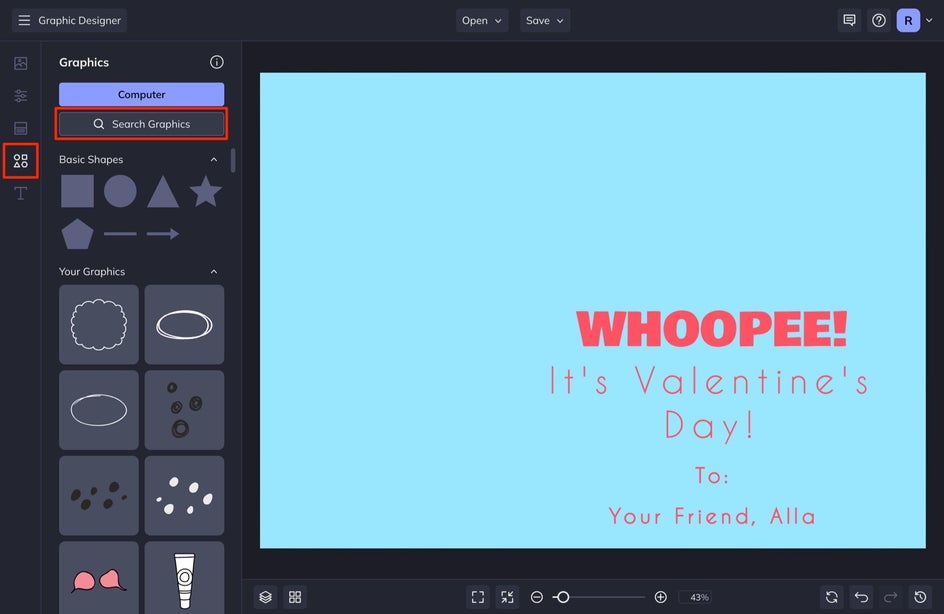
You’ll find tons of free graphics, stickers, and illustrations in the Graphics tab. Click Graphics in the left-hand menu and then select Search Graphics. In the menu that appears, click on any graphic thumbnail to automatically add it to Your Graphics.
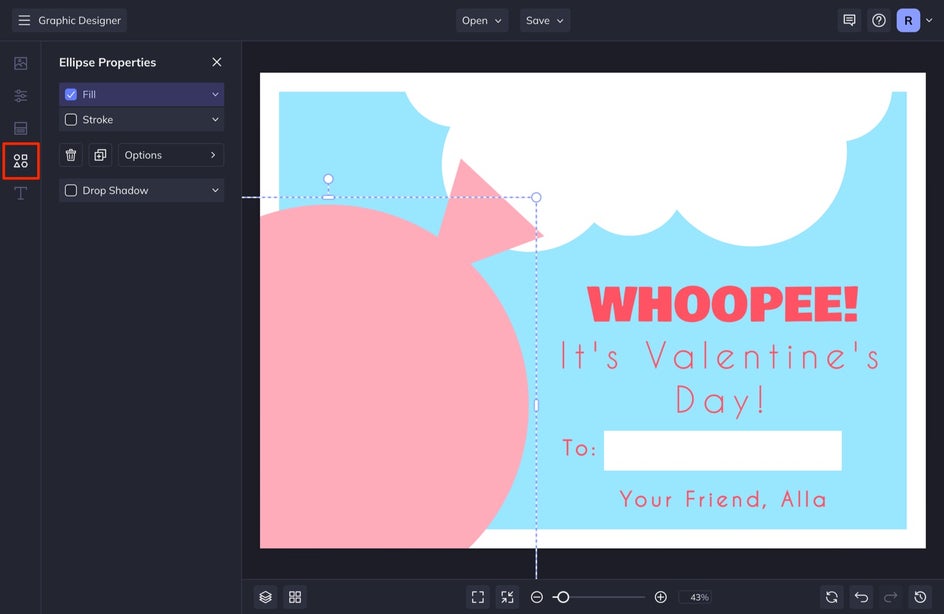
Don't be afraid to combine graphics to create new shapes. In our design, we've combined a circle graphic with a triangle to create a whoopee cushion and air! If you want to change the graphic’s color, opacity, and more, simply select it and change it within the Properties menu that appears.
Step 5: Save Your Valentine’s Card Design
When you’ve got your valentine looking perfect, use the Save button at the top of the Designer to save the design to your computer.
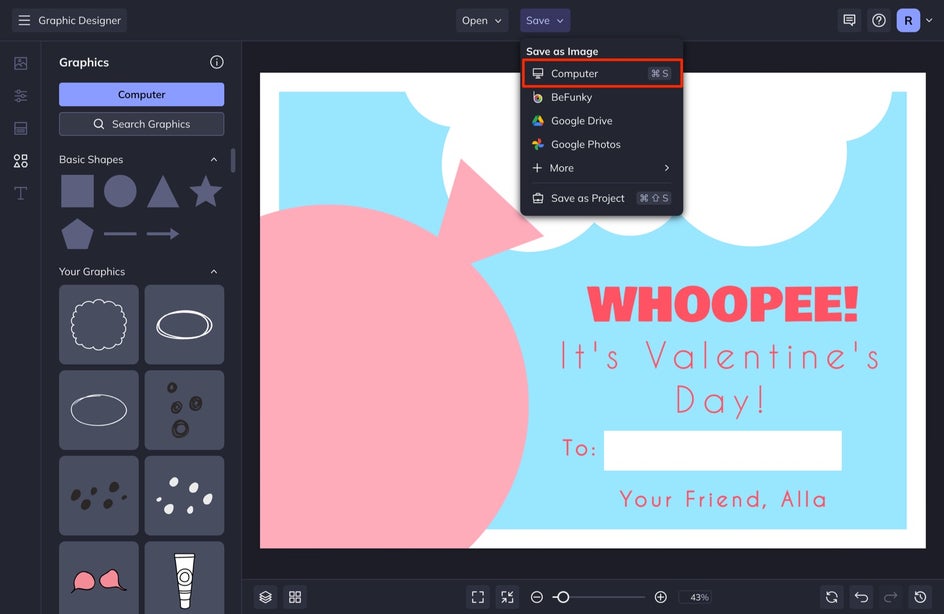
We also recommend using the Save as Project feature to save your design in an editable format, just in case you want to change things without having to start from scratch.
Step 6: Repeat and Add Variety
Since there’s more than one child in the classroom to exchange valentines with, it’s a good idea to have more than one design to hand out. Typically, the Valentine's Day card packs you get at the store have multiple designs so there are options for which card to give each classmate. Using the steps above, design a few more valentines. A really quick way to create a variety of valentines is to simply change the color scheme and text.
Once you’ve completed each design, use the Save button at the top of the Designer to save each design to your computer. Save them all in one place, like a special Valentine’s Day Card folder you can access in the next step.
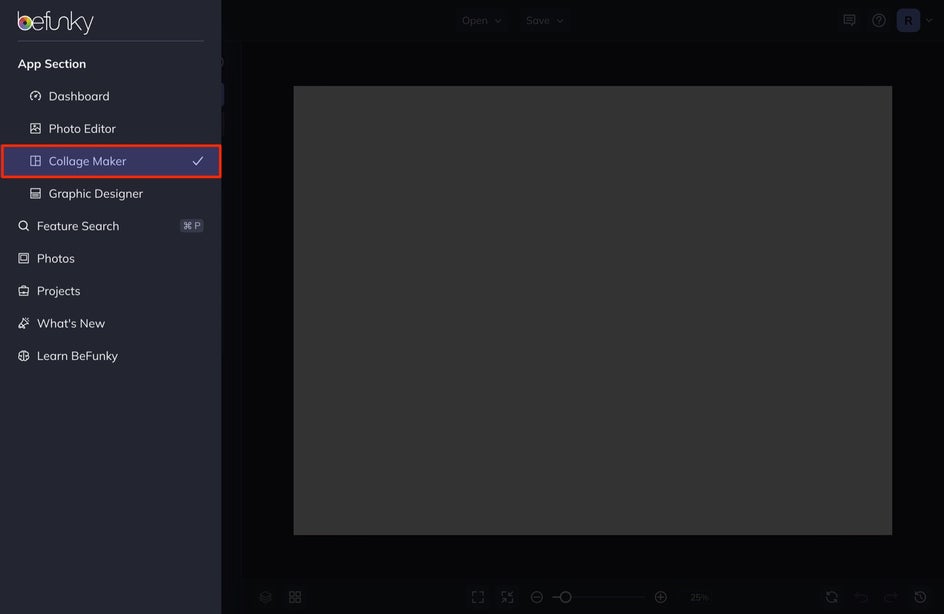
Step 7: Create a Collage Of Your Valentine’s Day Card Designs
Now that you’ve got your DIY valentines completed in digital form, it’s time to organize them into a sheet that you can print. Using the dropdown menu in the upper left corner of the Designer, you can easily navigate to BeFunky’s Collage Maker without even having to open a new browser window.
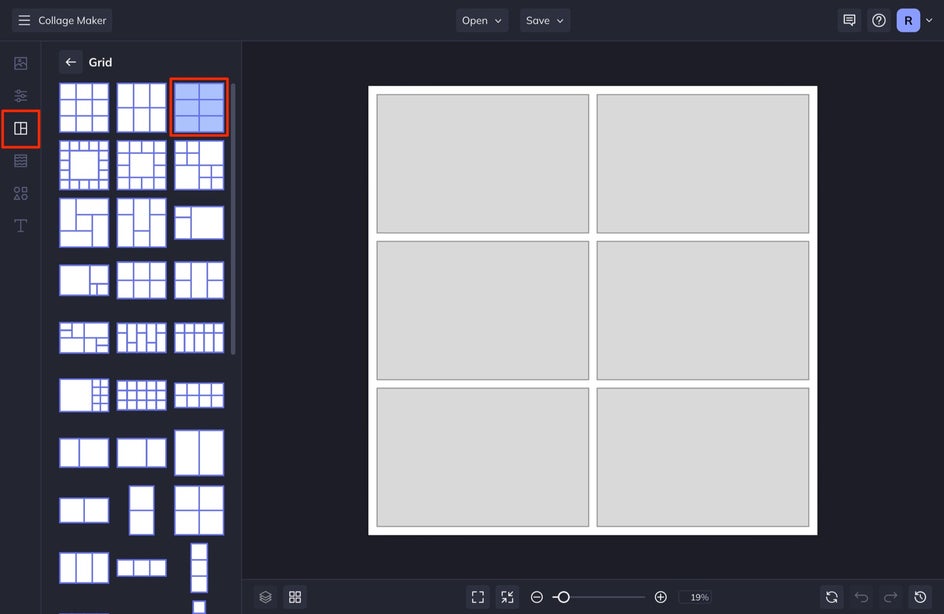
Once you’re in the Collage Maker, click on the Layouts tab and then select Grid in the Layout Presets section to find a collage layout that you can arrange your valentines on.
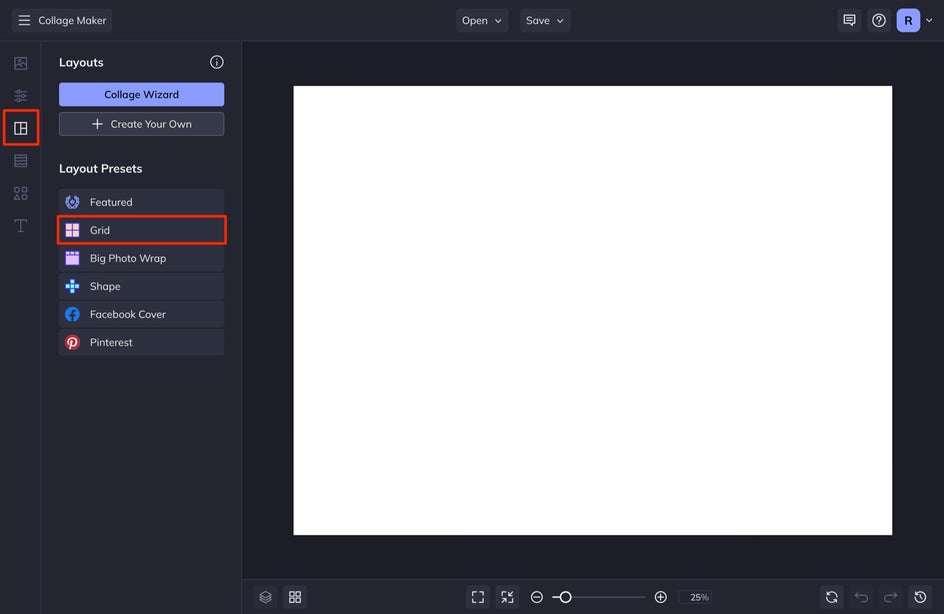
We recommend one of the layouts that will accommodate as many designs as will fit on an 8.5 x 11 sheet of paper
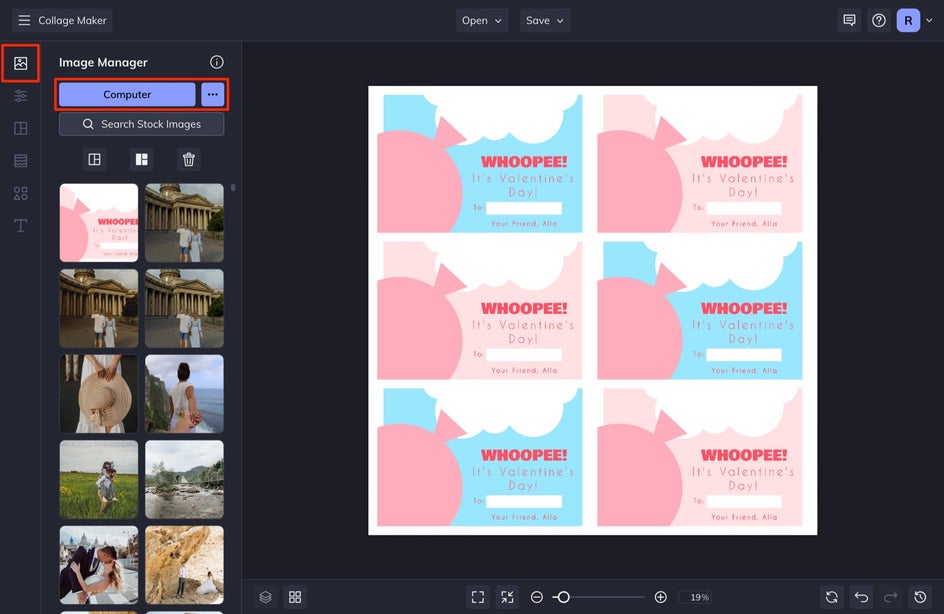
Next, click on the Image Manager in the left sidebar menu. Click the Computer button to select your Valentine’s Day Card image files you just created and you’ll see each one appear as a thumbnail. Drag and drop each one into a cell in your collage.
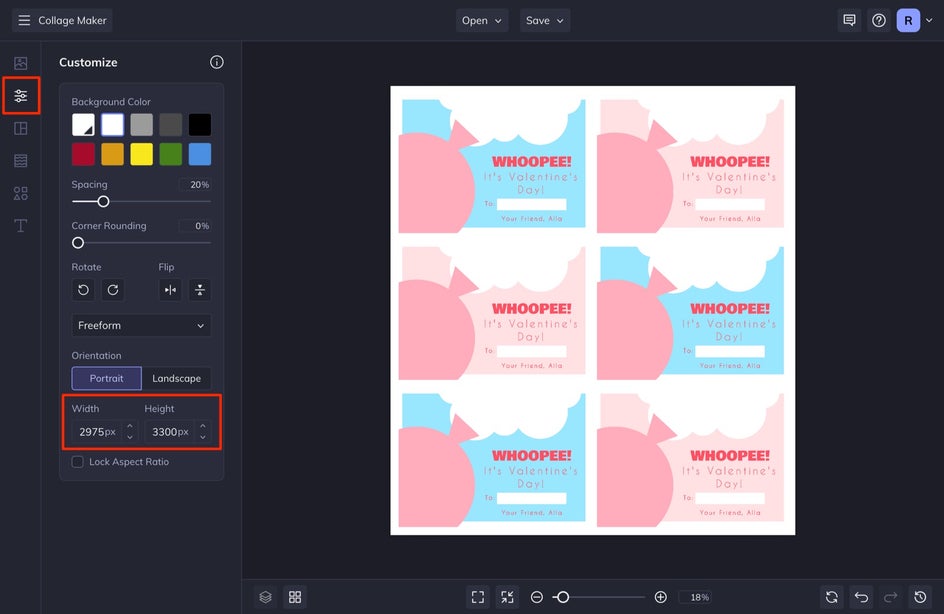
After you have all your collage cells filled, it’s time to resize the collage for printing. Click on the Customize menu in the left sidebar and type in the dimensions for a standard 8.5 x 11 piece of paper (2550 pixels by 3300 pixels) in the Width and Height boxes. If your card designs don’t fit, try keeping the height or width to one of these numbers and when you print, you can adjust the size of your overall image so that there isn’t anything getting cut off.
You should now have a print-ready sheet of Valentine’s Day cards to fill out!
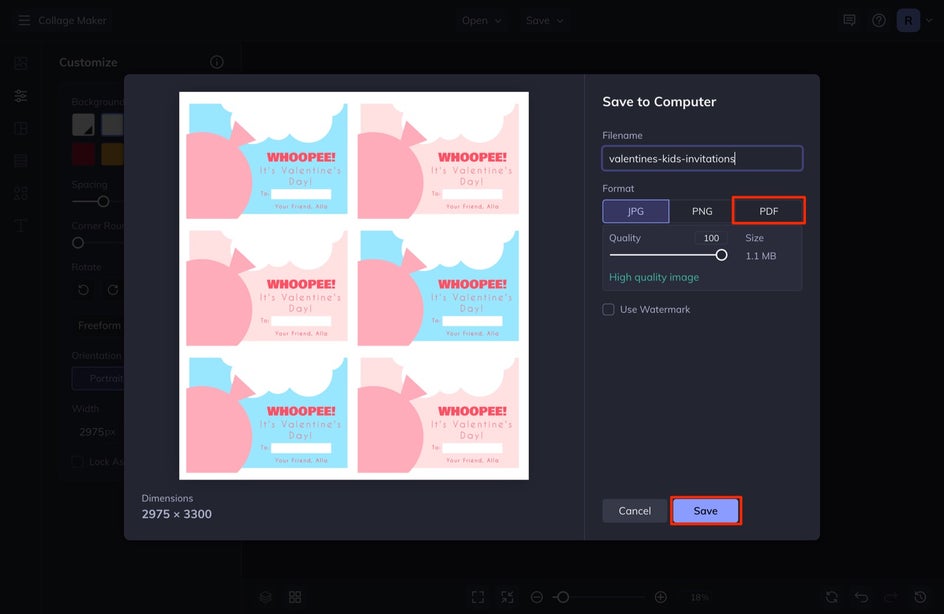
Step 4: Print And Prepare Your Cards
After clicking on the Save button at the top of the Collage Maker, you’ll have a file that’s print-ready and perfectly sized for the piece of paper you’re printing on.
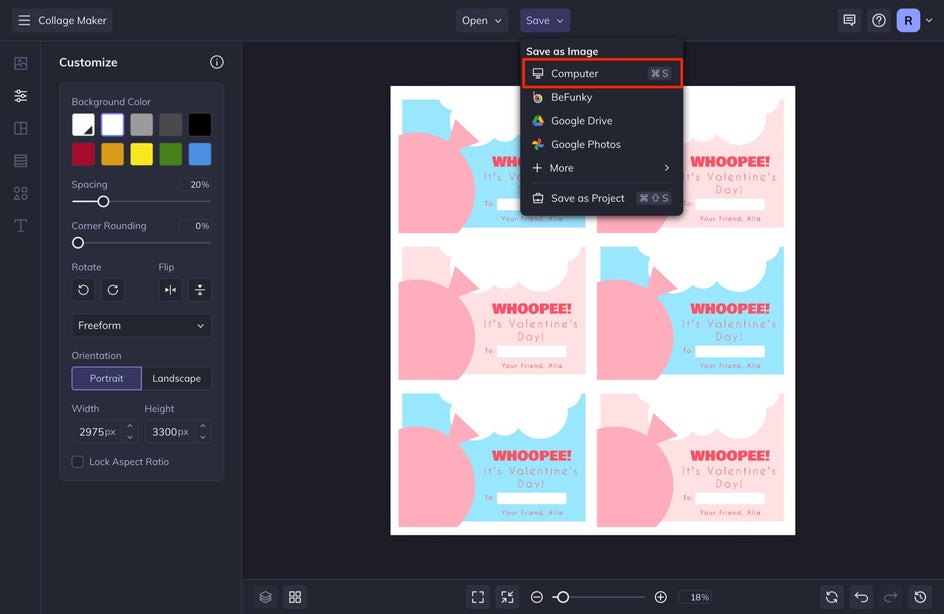
For printing, we recommend saving your cards as a PDF. If you have it available, try printing your sheet of cards on cardstock paper so they’re thicker than standard printing paper.
Create Fun Valentine's Day Cards for the Whole Class!
Now all that’s left to do is write the names of each classmate on the cards and start decorating a box to take to school. Voila, now all the kids are going to wonder where to get such cool cards next year!
Once you are finished creating cards for your kids, check out some inspiration by finding a Valentine’s Day Card for Every Relationship Status.