How To Make Your Photos Kijiji Friendly
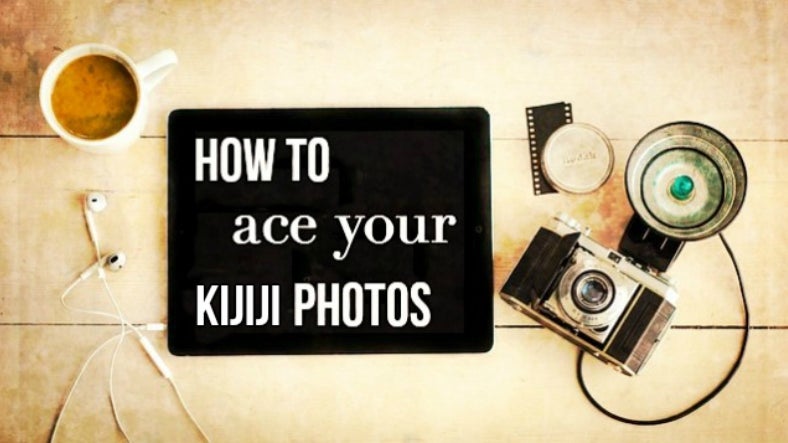
Did you know that Kijiji ads with photos get five times more views on average? Since the core objective of your Kijiji photos is to give your potential buyer the best possible sense of what the product actually looks like, it follows that if you want to create the most appealing Kijiji ad possible (think Craigslist, but Canadian) you'll need to upload the highest quality photo possible.
The fabulous BeFunky Photo Editor will bring the quality of your Kijiji ad photos up a couple notches so that your customers know what to expect from the product that you're selling. Here's my step-by-step guide to making your photo Kijiji proof.
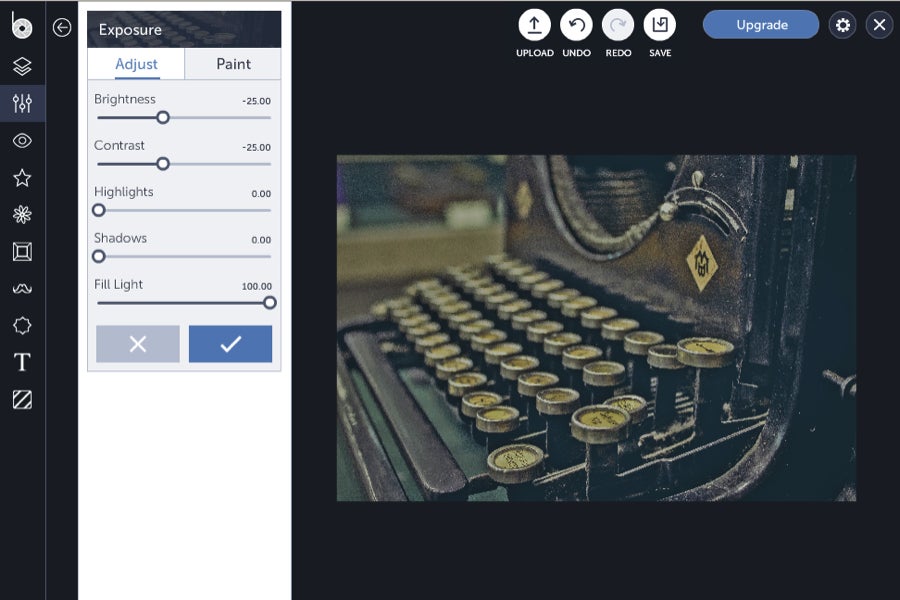
For the sake of this demonstration let’s pretend that I want to sell a used typewriter on Kijiji….

1) Increase the Fill Light
Although the typewriter’s keys are a bit blurry adjusting the exposure will fix that. In order to accomplish that I need to change up the colors and lighting. Step one involves putting the fill light, of the exposure tool on full blast.
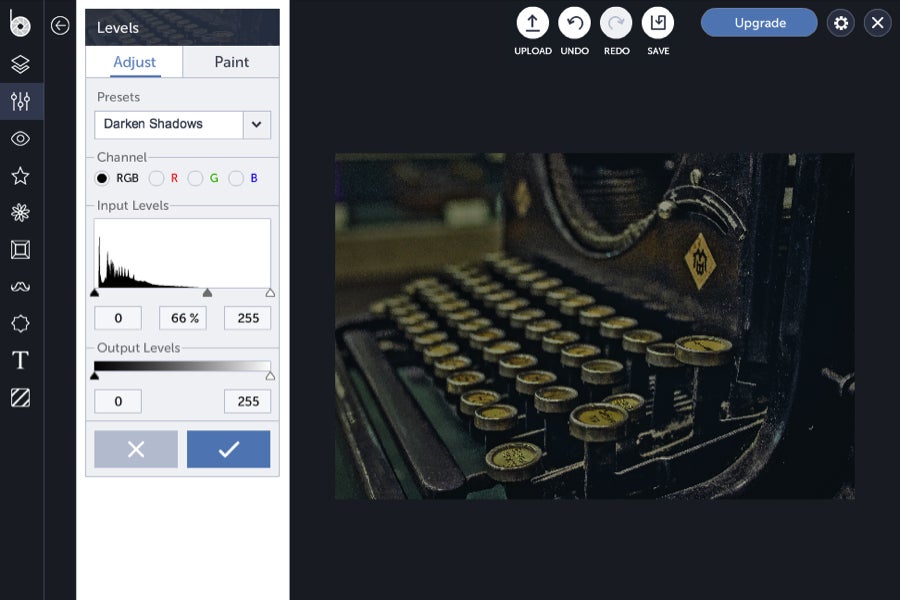
2) Darken the Shadows
Using the Levels tool to darken the shadows in the photo will help bring out the typewriter’s natural colors. This will help potential buyers get a more natural feel of what the typewriter will really look like, if they decide to make it part of their home or workplace.
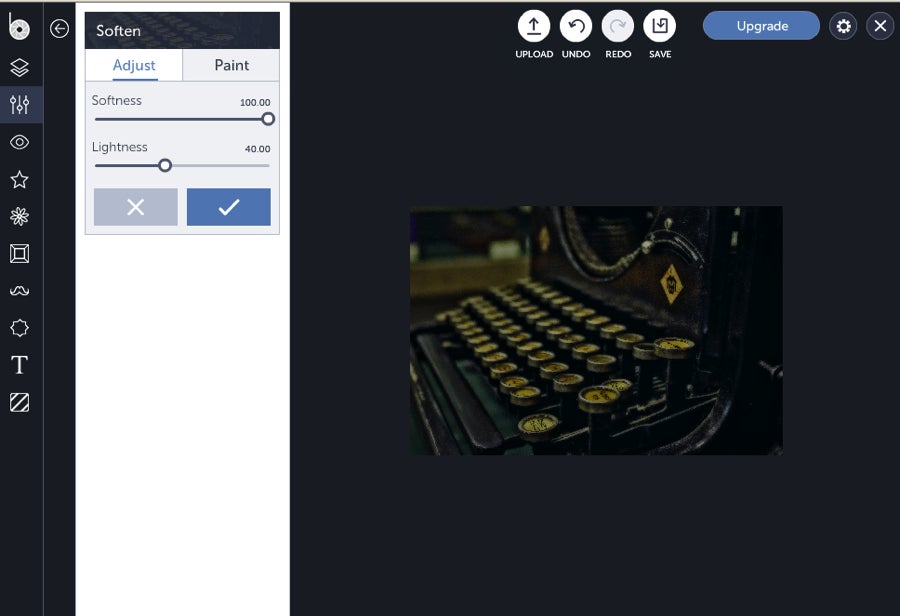
4) Add Some Softness
Now that the photo has been restored to its natural colors it’s time to add some softness. I decided I wanted to accentuate every nook and cranny to the max, so I headed to the Edit panel and turned the sliders all the way to the right under 'Soften'. You can also learn how to create the perfect light, bright and airy images here.
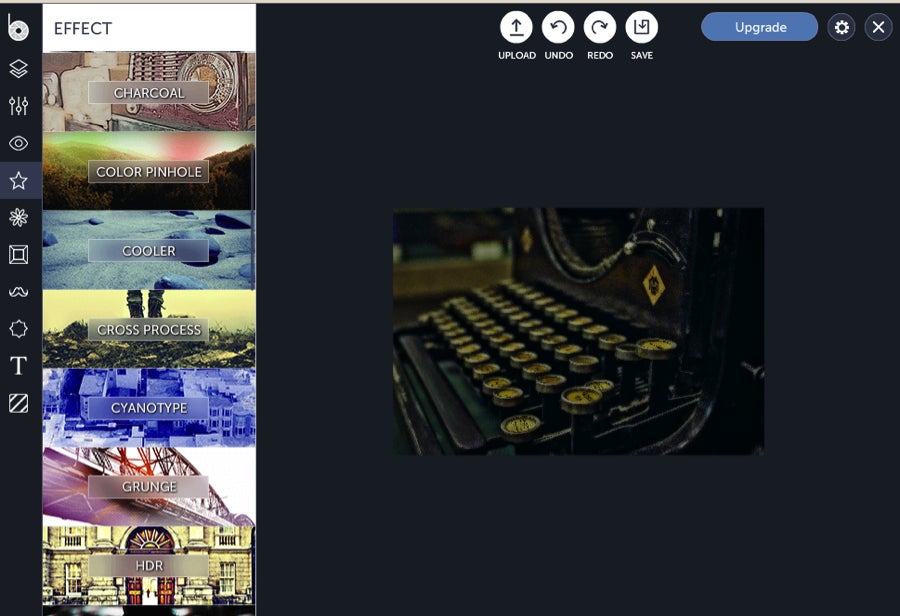
5) Cross Process the Colors
Cross Process is a great BeFunky photo effect for upping the contrast between your shadows and light. It’s also a great way to accentuate the photo’s dominant colors and add some drama into the shot. Head over to the Effects bar on the right to get started:
...then click on Cross Process 2:
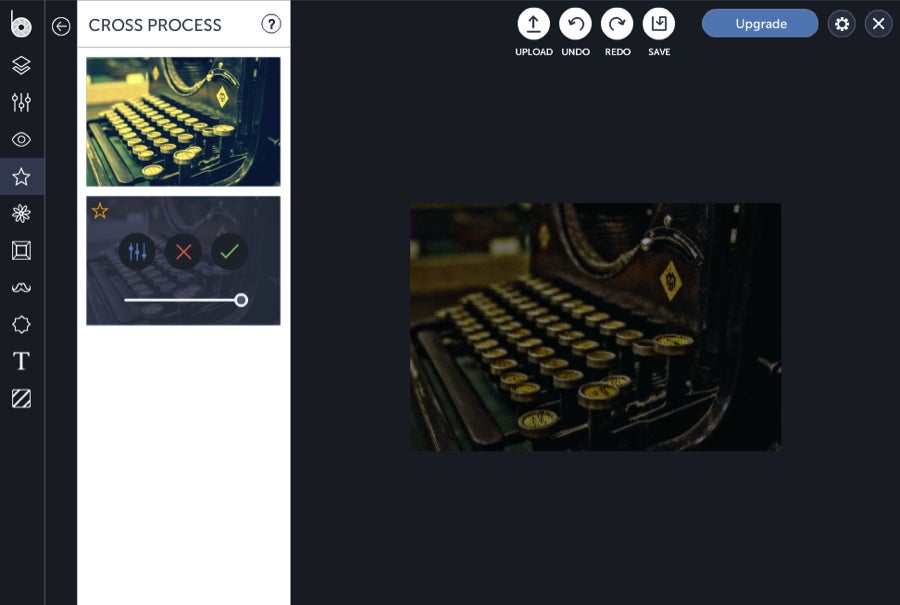
You should keep in mind that when you select Cross Process 2 you’re turning up the volume on the photo’s dominant colors: namely, the brown tint of the table and the typewriter.

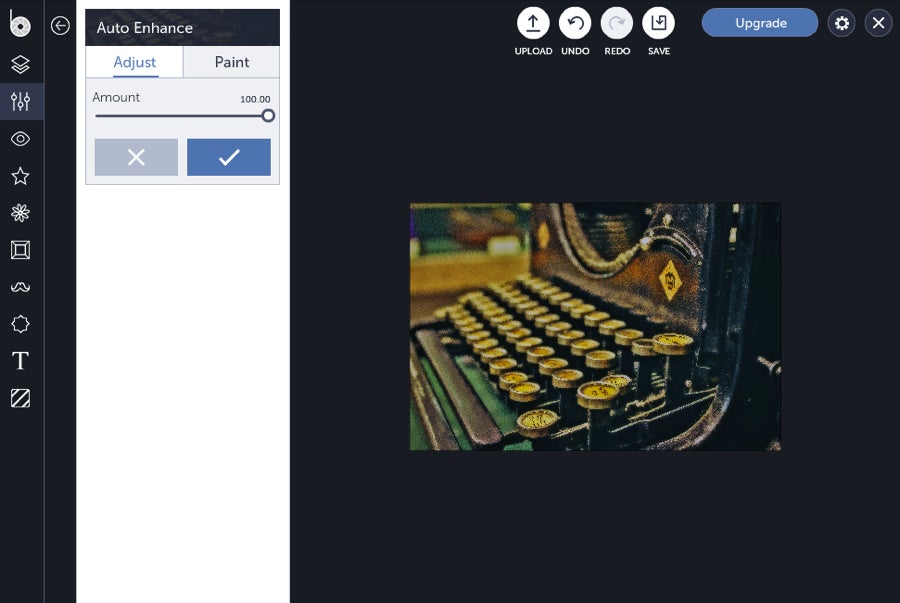
6) Auto-Enhance
The Auto-enhance tool is a great final step for your Kijiji Ad photo because it takes out all that messy guess work and automatically enhances the overall quality of your photo—ta da! Go to the Edit panel and you'll find the Auto-enhance tool at the top of the menu.
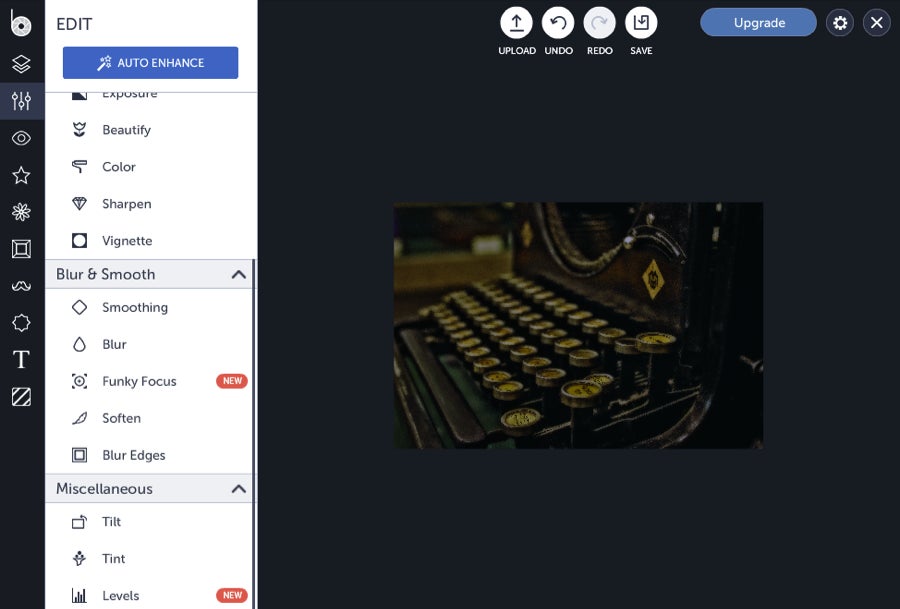
Click the Auto-enhance button to work its magic.
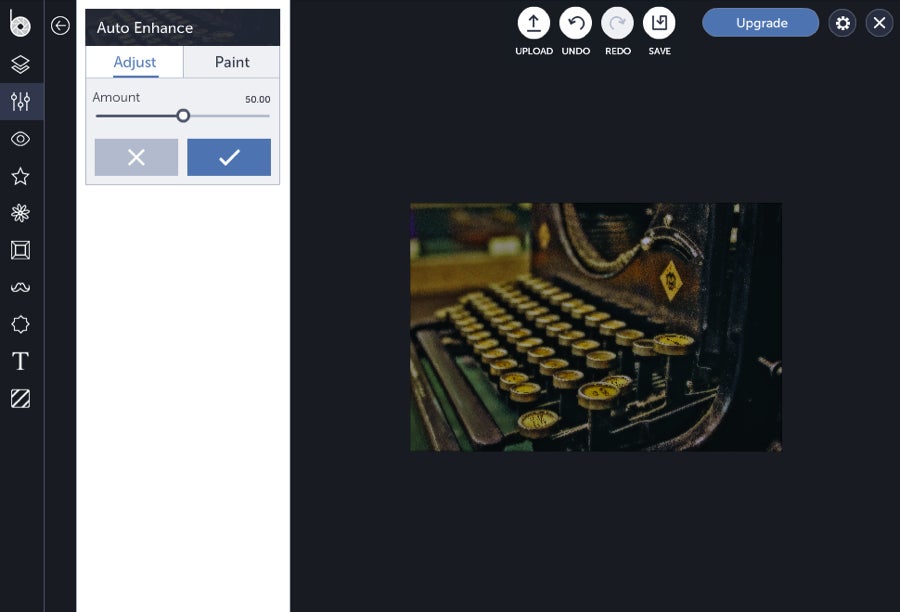
I’m going to turn the Auto-enhance down to 50% in order to get my desired appearance…
Now it’s time to save the image to my computer and log in to Kijiji.
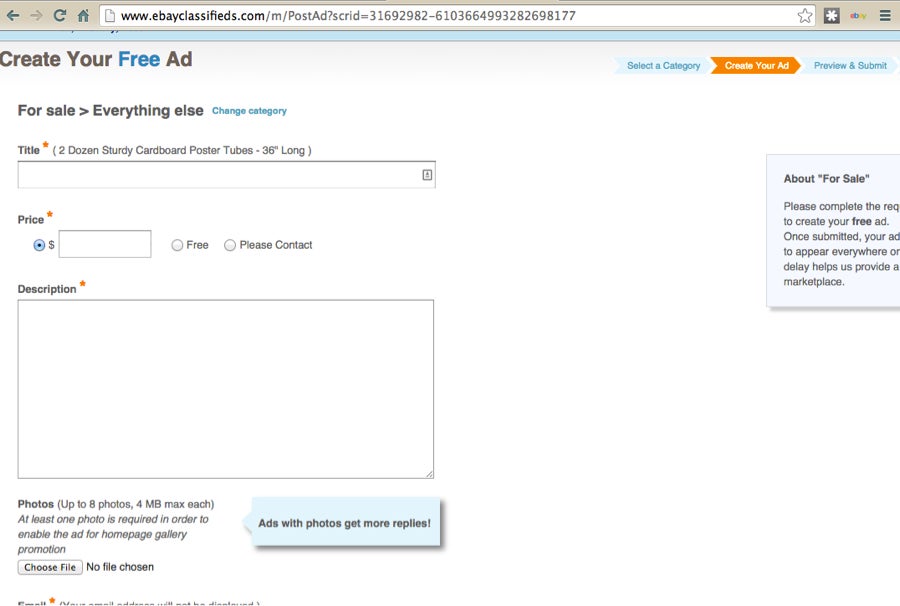
7) Upload You Photo via Kijiji (the site’s owner is ebay, by the way, in the US)
First log in to http://www.ebayclassifieds.com if you’re creating a classified ad in US or http://www.kijiji.ca/ if you’re selling something in Canada. Select “post ad free” or “create your ad” on the US interface. (Please note that the setup of the US interface means that you have to select your location first).

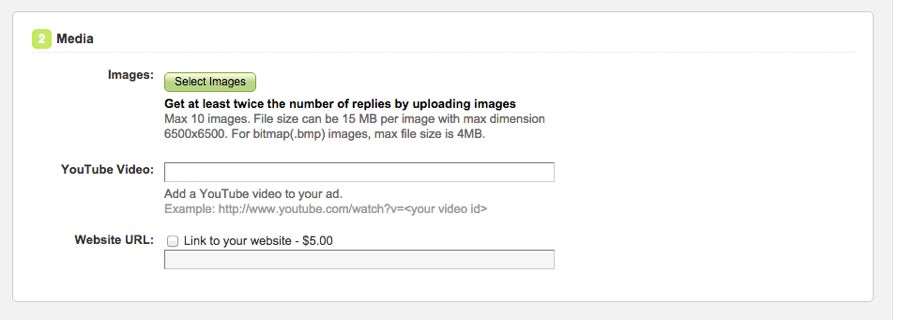
If you’re creating an ad in Canada scroll down to item number two, the media section, and click "Select images".
If you’re creating a Kijiji ad in the US you can upload a photo below the description box:
Want to create your own Kijiji ad? What are you waiting for?!