A Professional Photographer’s Tips for Fixing Exposure With the Levels Tool

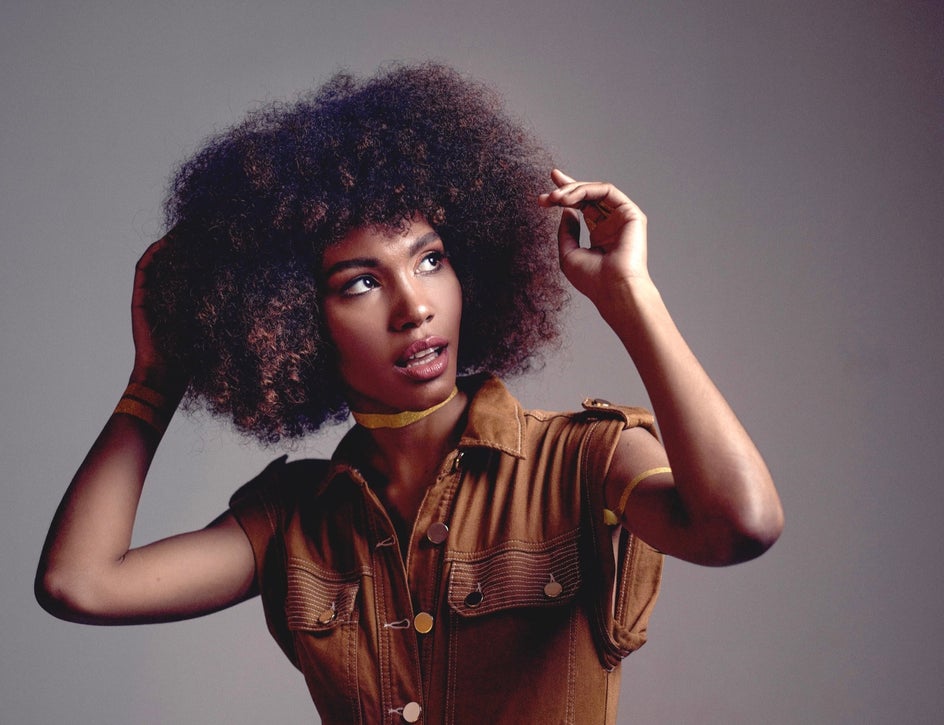
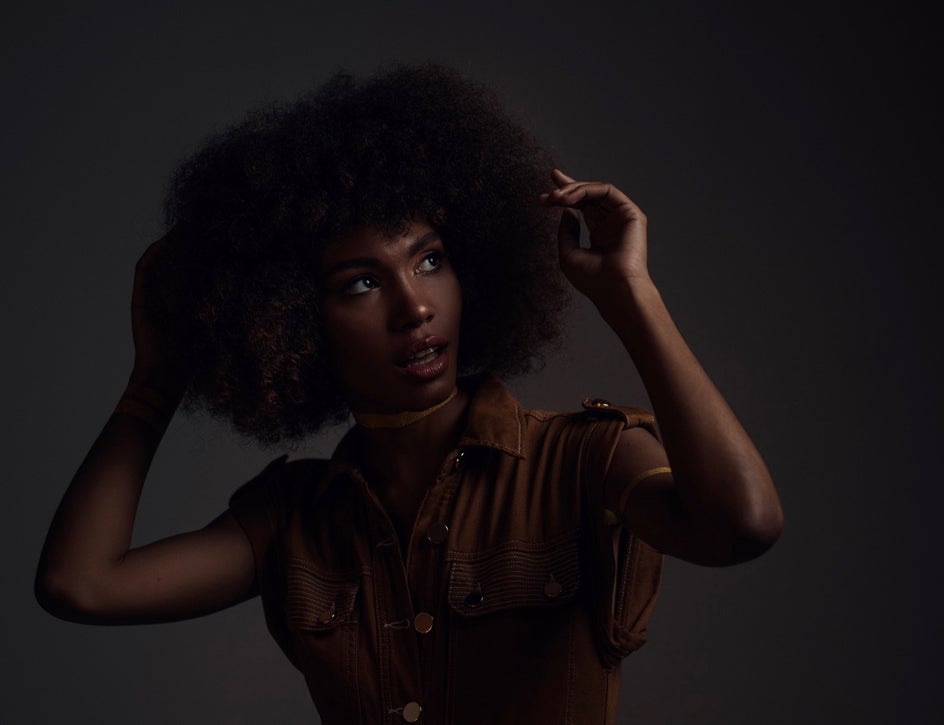
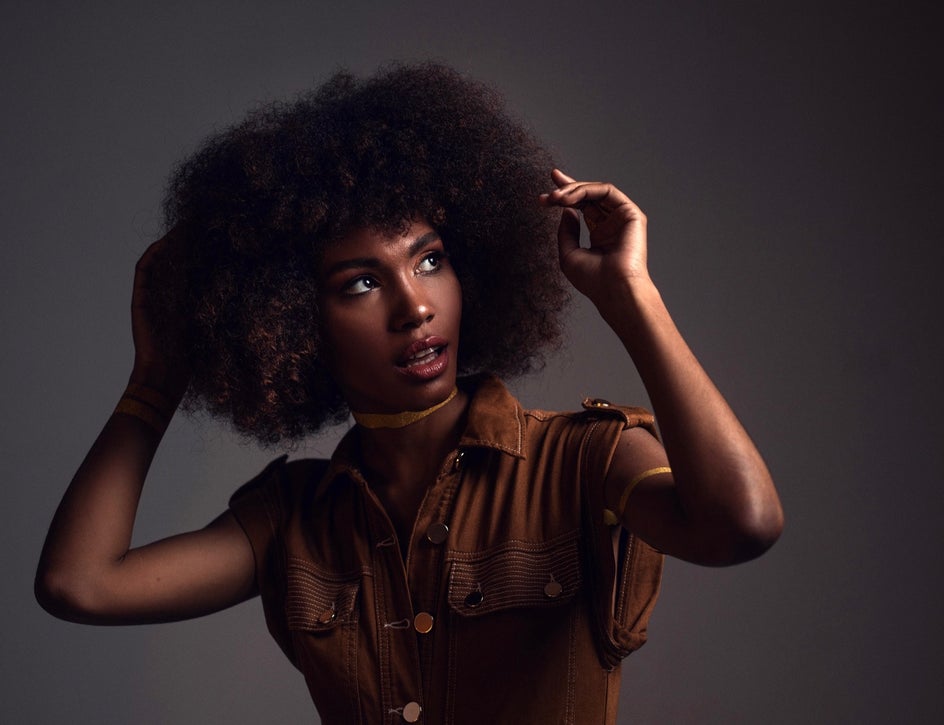
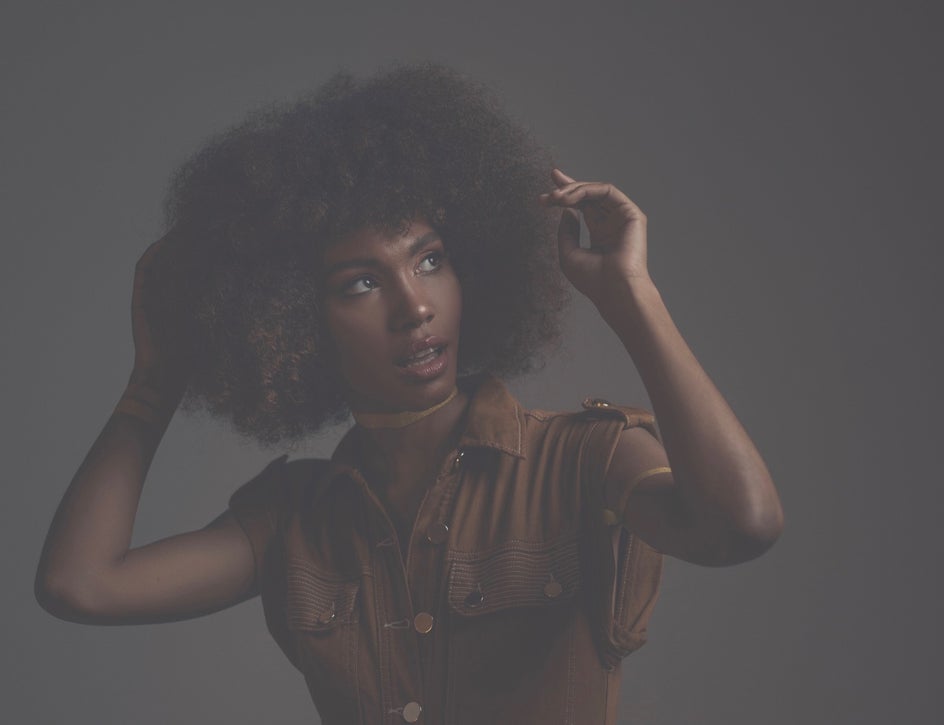
While some of the best photography is captured in natural light, it’s not always a perfect shot from the get-go. When you’re taking a portrait or a landscape photo, you may have to underexpose your photo when shooting to ensure that you don’t lose any data in the overexposed parts of the photo. I always used to get annoyed with photographers who did this because I was trained to rely on cameras for photography and not editing software – but let me tell you, most photographers shoot their photos underexposed for this reason and then adjust them in post-processing. If you shoot like this, you might be reaching for the Exposure tool to brighten the shot in the editing process, but I want to tell you about my favorite and most-used tool: Levels.
Contrary to the Exposure tool, which can quickly help you adjust the basics like overall brightness and contrast, the Levels tool gives you individual control over the highlights, mid-tones, and shadows. Even if the lighting was too dark or your camera settings were a little off while shooting, you can easily manipulate the light in BeFunky’s Photo Editor with the Levels tool. If you haven’t upgraded to a BeFunky Plus account, you can edit with the Levels tool in preview mode. But be warned, after seeing how much control you have with the Levels tool, you’ll want to be part of BeFunky Plus forever.
Anatomy of the Levels Tool
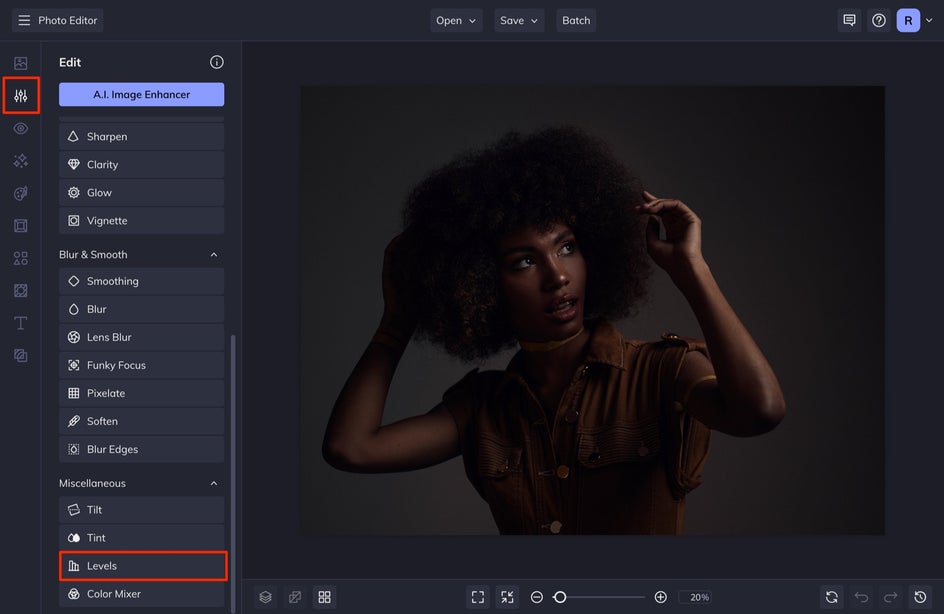
The adjustments within the Levels tool can seem a little overwhelming if you’ve never used it before but we are going to break down each option and tell you what they do so you have a better understanding – after all, knowledge is power. When you are ready to give this a try, navigate to BeFunky’s Photo Editor and upload an image by choosing a file from the Open button at the top of the screen, or simply dragging-and-dropping an image into the interface. From the Edit tab in the left-hand menu, scroll to the bottom to access the Levels tool. Now, check out what each of these options can do for adjusting your photo’s exposure.
Input Sliders
There are two Inputs in the Levels tool menu: Min Input and Max Input. The Min Input slider controls all of your Shadows within the image, and you'll notice as you gradually increase it, the entire image will turn black. Slight adjustments will give you better control over darkening the shadows already represented in your image, much like a shadow slider on other editing tools.

The Max Input, on the other hand, controls all of the highlights within your image. Decreasing the slider will brighten all of the light sources in your photos, and you'll find that moving the slider entirely to the left will turn your image white.
What we want here is harmony between each of the input sliders. These two let you control the overall shadows and highlights more precisely than the Exposure tool sliders will allow – but we aren’t even halfway through the Levels tool.
Output Sliders
Just like the Input sliders, there are two Output sliders represented in the Levels tool menu: Min Output and Max Output. These sliders will adjust the overall tonal range of your entire image, reducing the contrast of your shadows and highlights.
For example, if you increase the Min Output slider, it will limit the intensity of the shadows in your photo, making the overall effect look brighter - almost like adding a white overlay.
When you decrease the Max Output slider, it will limit the intensity of the highlights in your image, making the overall effect look darker - almost like adding a black overlay. Moving both sliders slightly inwards will allow you to achieve a matte effect if that’s the look you’re going for.

Gamma Slider
The Gamma slider is sandwiched between the two Input sliders and will control the overall exposure of your image. If you don't need a ton of fine-tuning and simply want to brighten or darken the overall image, the Gamma slider is your go-to.
Simply decrease the slider to darken the image, or increase the slider to brighten it. It's pretty failproof for making intuitive edits to exposure, taking all of the highlights and shadows into account.
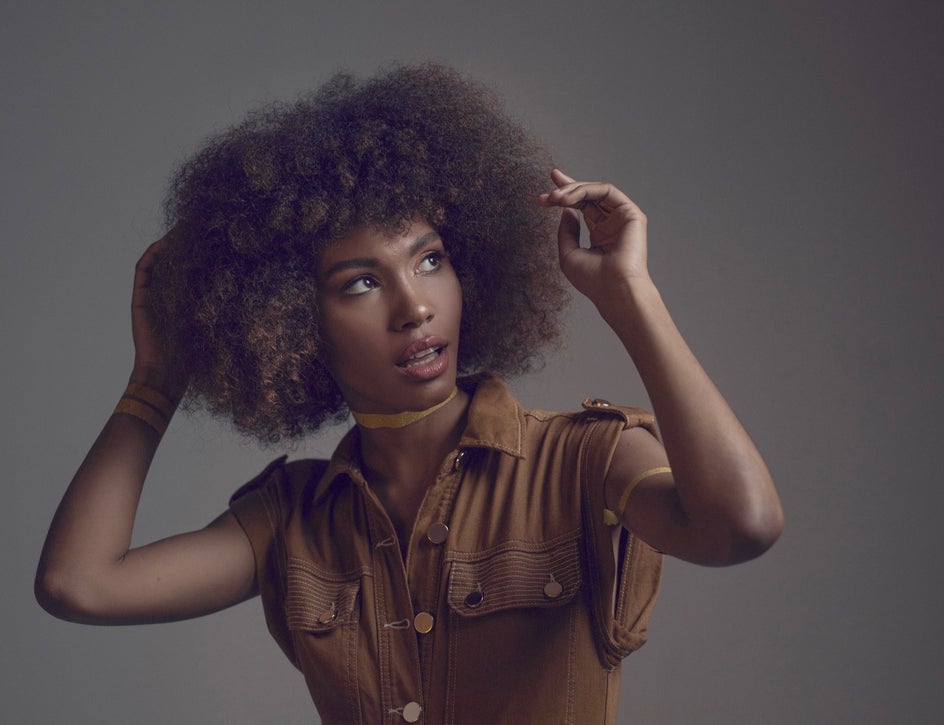
Now that you know your way around the Levels tool menu, it's time to put it into practice! The best thing to keep in mind when editing with the Levels tool is to create harmony and balance between all of the sliders. Check out what this photo looks like after all five of these options have been edited and balanced.
Start Editing Exposure With the Levels Tool
Check out how the Levels tool dramatically fixed the exposure and made all the elements in this image pop. It might be a bit of an adjustment to start using the Levels tool to fix your exposure, but if you’re looking for more control with your editing, this is the way to go! When you're ready to start balancing your exposure with the Levels tool, head to BeFunky's Photo Editor and begin!