No Lipstick? No Problem! Change Your Lip Color With the Lipstick Tool

I’ve taken some selfies before and noticed that my lips look dull and crusty, which is not a good look if you want to post a photo or send a selfie to your crush. With apps like FaceTune, you can make major adjustments to your body – but what if you just want to subtly enhance your features?
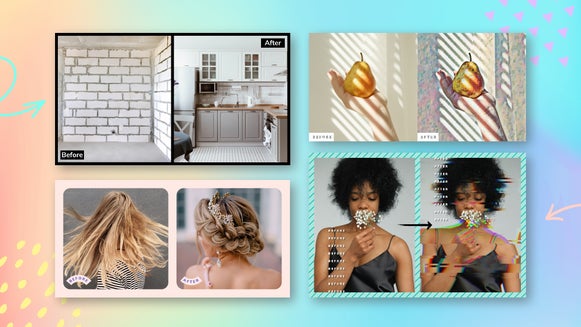
BeFunky has so many cool brushes and tools that allow you to virtually add makeup to any photo. From enhancing the eyes with the Mascara and Eye Brighten tool to giving your skin a complete makeover with Blemish Fix – BeFunky has all of the virtual makeup tools you need in your makeup toolbox.
The Lipstick tool in particular is a super handy way to sample shades, touch up the color in a photo, and get creative.
Choose Your Look With the Lipstick Tool
The Lipstick tool makes it easy to test out different lip colors before you buy. With this tool, you can apply a nude lip color for something more basic and casual, or something pigmented for a brighter and bolder lip color.

How to Change Your Lip Color in a Photo
The Lipstick tool is the perfect shade finder and the best virtual try-on. Not only can you find a shade of lipstick that suits you, but you can also add a little color to your lips if they look dull in your selfie.
The cool thing about this tool is that when it's applied, it remains partially transparent to ensure your lips maintain their natural texture. Let’s get started by heading to the Touch Up tab.
Step 1: Find the Best Shade for You
After you land in the Touch Up tab, simply drag and drop your photo onto the Canvas, or click Open choose one from another location. The Lipstick tool can be found in the Mouth dropdown menu.
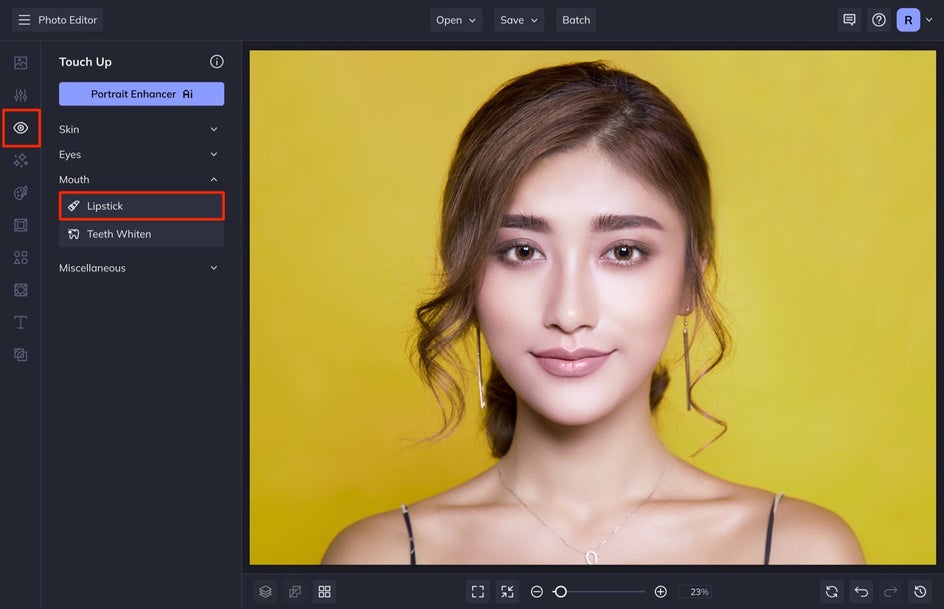
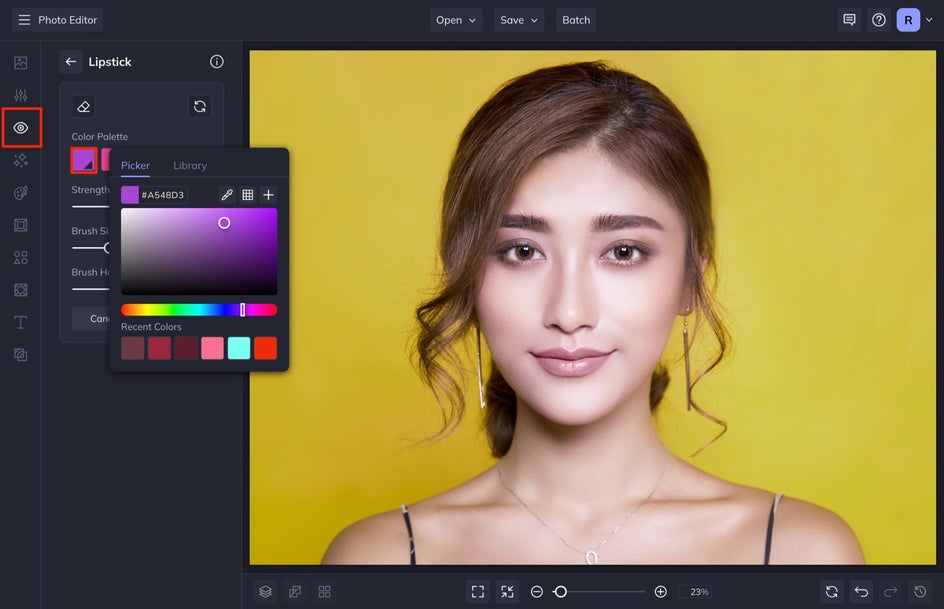
From here, you can choose from a variety of popular colors by selecting any of the color swatches seen. You can also select the first color swatch if you want to choose a custom color.
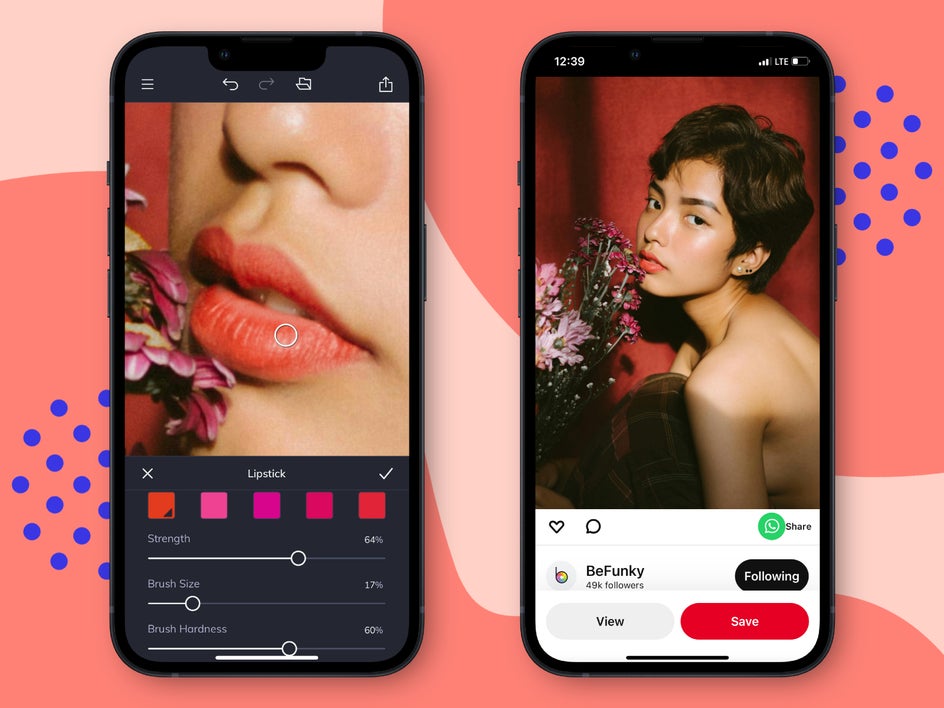
Step 2: Apply Digital Lipstick to Your Selfie
After selecting the color you want to apply, it’s time to adjust the Strength, Brush Size, and Brush Hardness sliders before applying. Brush Size adjusts the size of the brush, while Strength determines the intensity of the tool, and Brush Hardness defines the edge of the brush. Increasing Brush Hardness means that the brush will be a hard line, and decreasing it will mean the brush has more of a feathered look. I like to have my Strength at 70% and Brush Hardness at 25%.
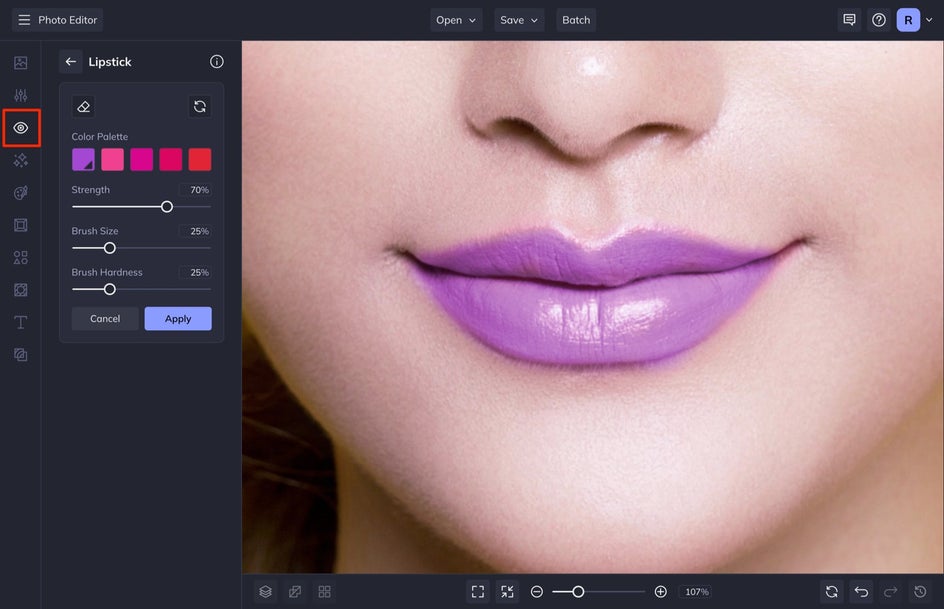
I like to zoom in on the photo by clicking on the Zoom button at the bottom of the screen. This will help you get more detailed during the process so that you don't color outside of the lines.
You will notice that to apply the brush, you have to click and drag over the lips in a back-and-forth motion to get the pigment to appear. This brush acts much like a normal makeup lipstick, which is kind of cool! You can apply a single swipe for a lighter effect, or continue to brush over the same areas to build up coverage. Lighter effects look like you applied a tinted chapstick or lip oil, and a bolder effect makes it look like you applied a pigmented lipstick or liquid lipstick.

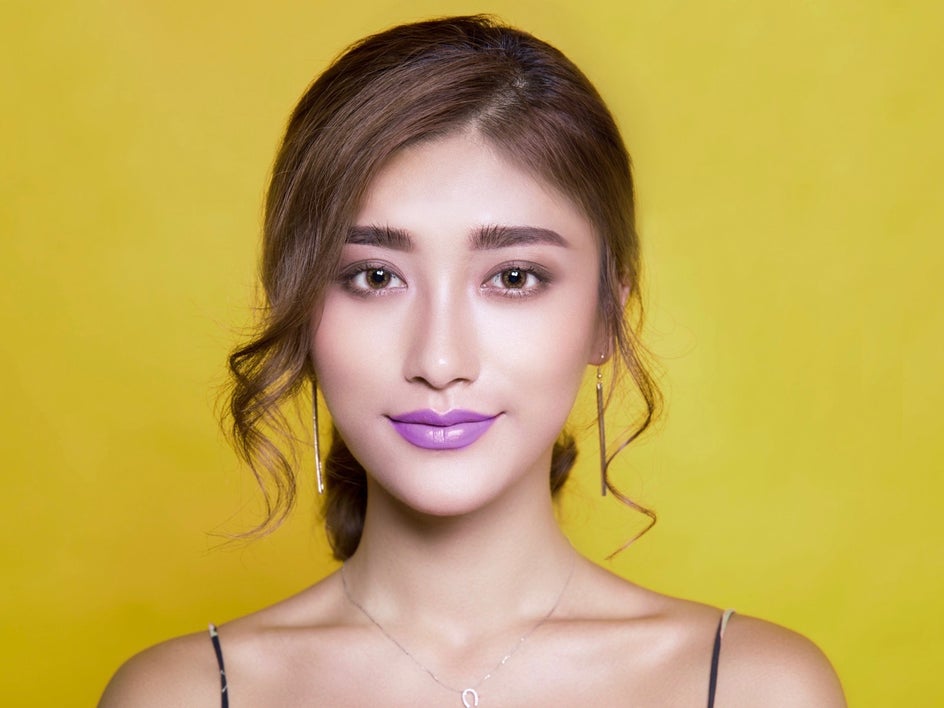
When you are happy with your results, select Apply. Check out how seamless this new lip looks!

Step 3: Add Volume With a Digital Lip Liner
This is optional, so feel free to skip this step if it isn't for you. Lip liners and full lips are in right now, so you may want to add some dimension to your new lip color so that it doesn’t look flat.
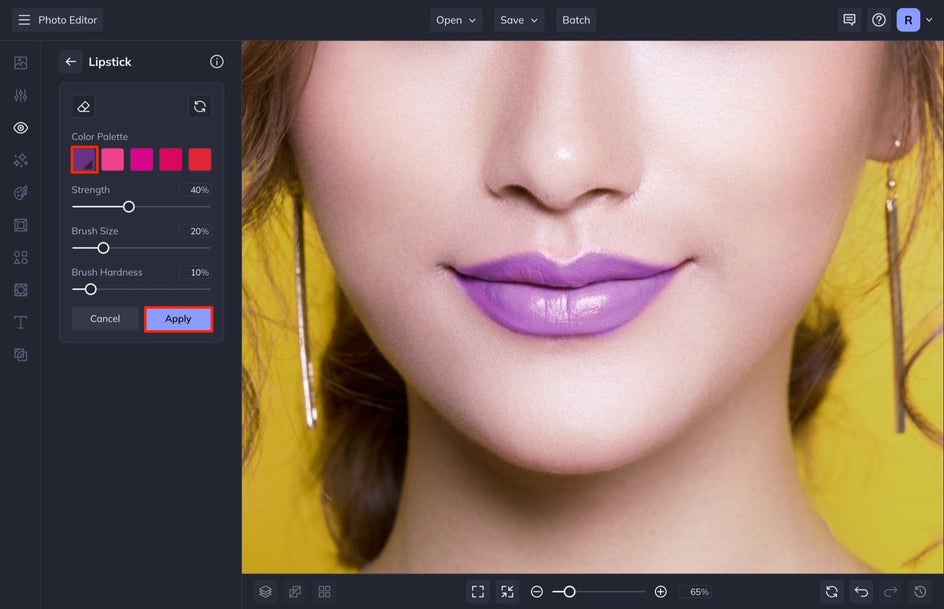
After you select Apply, you are going to click the Lipstick tool again, but this time with the Brush Size smaller and the Brush Hardness lower. Select a darker color than the lip shade and trace it along the outside of your lips. Compared to just lipstick, this look is far bolder and really pops.

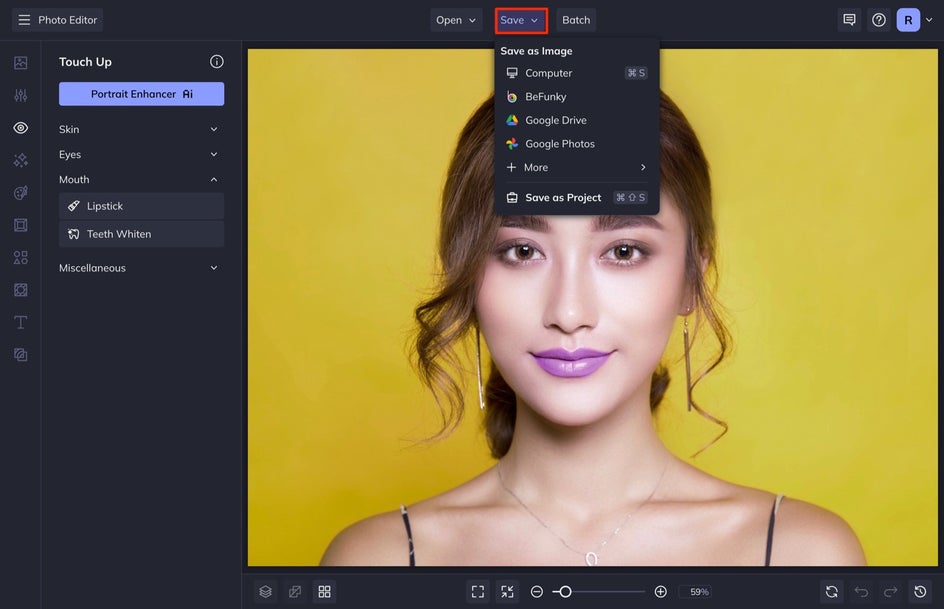
Step 4: Save Your New Look
Once you’re satisfied with the look, select Save, followed by your desired destination at the top of your screen.
The Best Mobile App to Apply Virtual Makeup
Not only can you do this on a desktop, but you can also use many of our Touch Up tools in the BeFunky app! Edit your selfies with makeup brushes and fix any lipstick errors virtually!
Change Your Lip Color With the Lipstick Tool
While lipstick isn’t free, retouching your lips can be done for free with the Lipstick tool! Now you don’t have to fork over fifty dollars for the perfect shade, you can wear all of the popular shades digitally! When you are ready to start trying on lipsticks, head over to BeFunky’s Photo Editor to try the Lipstick tool!