All About Lomo Effects

Lomo, also known as Lomography, has been a globally popular style of photography ever since it was first introduced in the early '90s. It changed how we think about taking photos, and redefined what an “artistic” photo could be. But what is lomo, really? What defines it as a style, and when should it be used? In this article, we’ll discuss just that, as well as how you can create your own lomo photos in BeFunky’s Photo Editor. (Here’s a little preview: All it takes is one click!)
What Does Lomo Mean in Photography?
Lomography is a style and movement of photography developed in the early 1990s. It began when a group of Austrian university students discovered the Russian LOMO LC-A compact camera. Because this camera was designed to be cheap and simple to use, the photos it took featured a variety of imperfections – warping, vignettes, light leaks, and more.
But the students using the LOMO LC-A didn’t consider these blurry, colorful images to be “imperfect.” They realized that they could take advantage of the camera’s effects to create uniquely beautiful images. Soon, Lomography became a style all its own, persisting even after the LOMO company discontinued production of the LC-A.
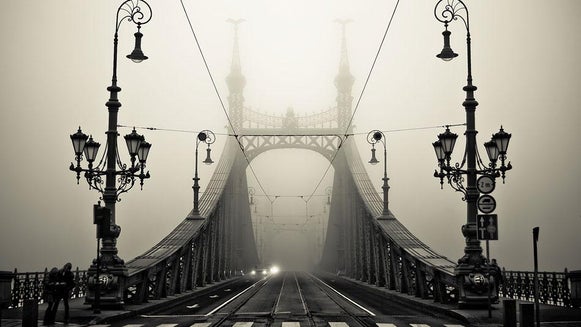
Today, lomo photos are characterized by bright colors, lens distortions, high-contrast vignettes, and a general feeling of spontaneity. These photos aren’t meant to look perfect. The subject hasn’t been carefully positioned; the photographer hasn’t planned the lighting in advance. Shapes, color, and texture are used to capture a particular feeling or moment rather than a particular image. It’s a casual style that allows for endless freedom and creativity, which might be why it’s still so popular even decades after the first LOMO camera was introduced!
How to Take Lomography Photos
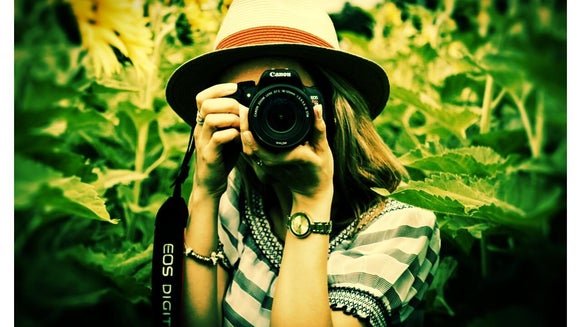
In the 90s, the best part about lomo photography was that anyone could create it. It didn’t require fancy, expensive cameras or deep knowledge of traditional photography. However, nowadays, most cameras are built to create very standard, “perfect” images – even the cheap ones. And cameras that can mimic the effect of the original LOMO LC-A aren’t so cheap anymore.
So while you could go out and buy yourself a camera just for Lomography, there’s a much cheaper and easier way to go about it: Use a Lomo Art Effect! These effects, available in BeFunky’s Photo Editor, can recreate the colors and textures of traditional Lomography in just one click. You can use them on any photo you want and even customize them to your liking. With these effects, just like the original founders of Lomography, you’re not restrained by the limitations of your camera or your surroundings. You can create unique art anywhere, out of anything you see.
When to Use a Lomo Effect
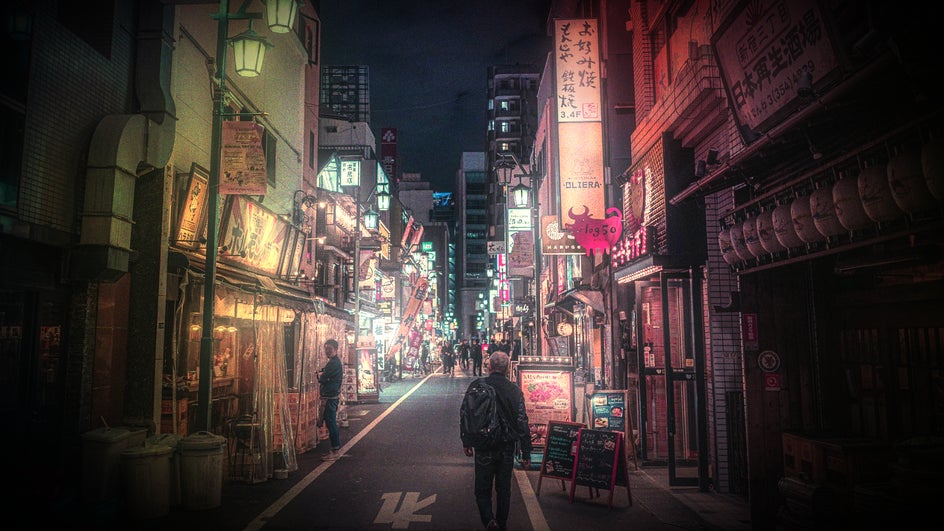
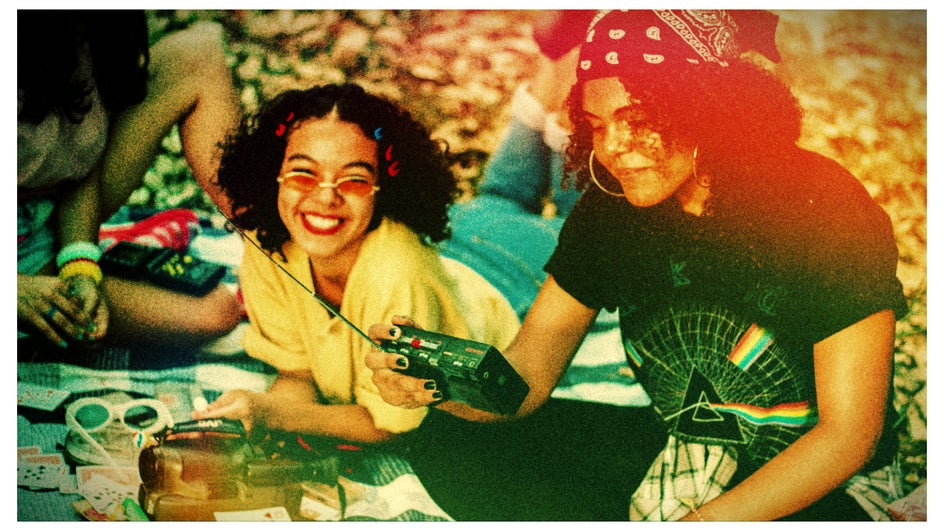
Historically, lomo has been used as a way to capture spontaneous, casual moments: Taking the train, hanging out with your friends, going to a concert. Lomo photos are usually unplanned and unrehearsed. Because of this, lomo style lends itself better visually to spur-of-the-moment snapshots.
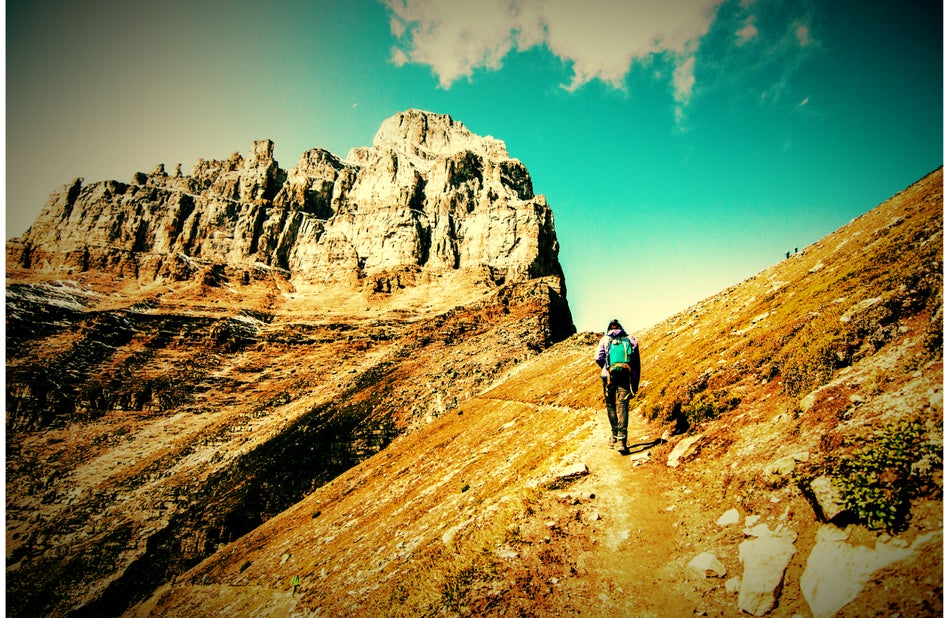
However, there are no real rules to Lomography, which means you can use a Lomo Art Effect for any photo you want! Have fun and don’t take yourself too seriously, and you’ll end up with amazing lomo photos – no matter what.
How to Add a Lomo Effect to Any Photo
Once you’ve decided what photo you’d like to give a lomo makeover, the rest is almost too easy. All it takes is one click of a button! However, you can also customize your Lomo Art Effect to get the exact look you want.
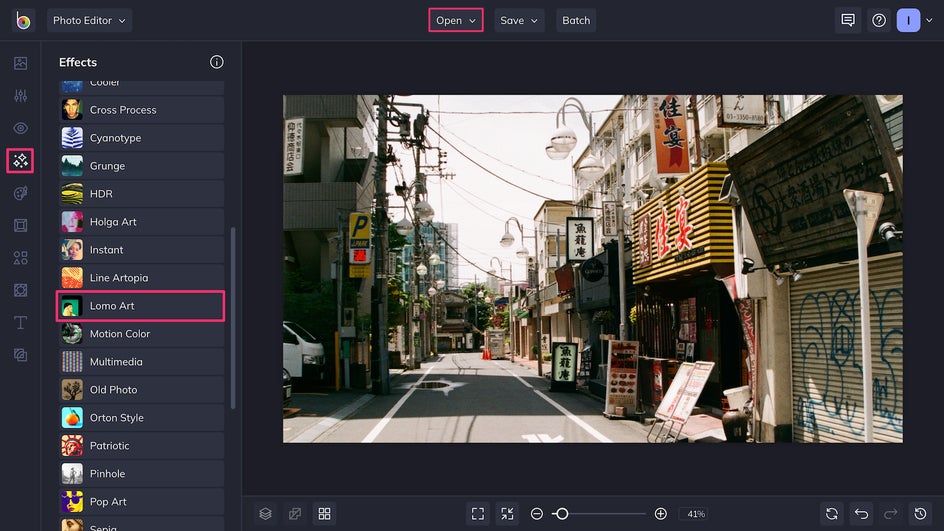
Step 1: Open Your Image
Click the Open button at the top of the Photo Editor to get started. After you’ve opened your image and made any necessary edits, click on the sparkly Effects icon on the left-hand side. Scroll down and you’ll find the Lomo Art Effect. Similarly, if your photo is ready, you can head to the Effects tab by clicking this link.
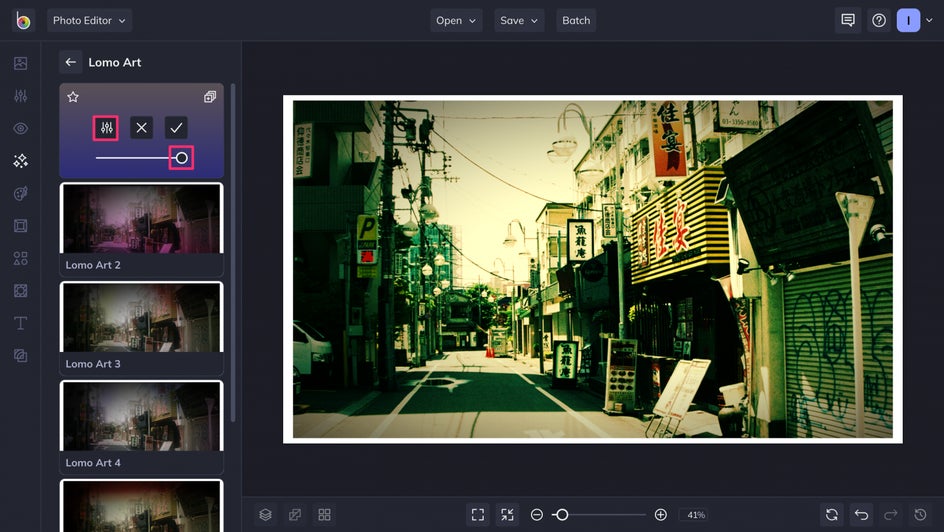
Step 2: Choose Your Lomo Effect
There are a few different Lomo Art Effects to choose from. Some add a blurry softness, while others provide intense contrast. Either way, the nod to traditional Lomography will bring out something special in your image. Once you choose your effect, you can adjust the overall Amount, or click the leftmost icon to adjust individual aspects. If you don’t want to adjust anything, just click the checkmark icon to apply!
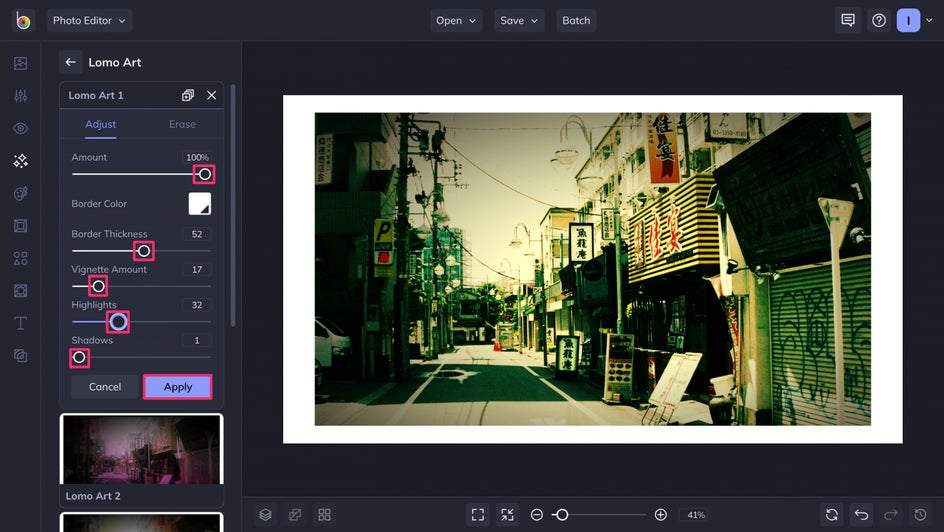
Step 3: Customize Your Lomo Effect to Your Liking
Here, you can adjust the Border Color, Border Size, Vignette, and more. Try playing around with the Highlights and Shadows to achieve the balance of light you’re looking for. Once you’re finished with your adjustments, click Apply.
And that’s it! Don’t forget to Save your new lomo artwork to your computer, Google Drive, or BeFunky library.
Make Your Photos Stand Out With Lomo Art Effects
There’s a reason the lomo style has remained popular throughout the decades. It’s a unique look based on a unique culture that focuses on the fun and joy of casual photography. Lomo art is both simple and beautiful, and there’s no pressure to create something perfect. If you want to branch out from traditional photos and make something new, try experimenting with our Lomo Art Effects in the Photo Editor today!