Make Your Own Temporary Tattoo
Tattoos. Is there anyone else out there who loves them, positively adores them, in fact, but is just too damn scared to take the plunge?
I’m right there with you brother. While I’m decked out with enough piercings to fit into a Hell’s Angels meeting, I’m sorely lacking in the tat department. I’ll admit it: the idea of committing something so totally (and so very permanent) is mildly terrifying.
Wanting to break free of this cycle, I headed over to the magical place that is Pinterest and, lo and behold, found myself a way to whip up my very own temporary tattoo! Excellent. The next logical step, of course, was to design it in BeFunky using the Designer Toolset—let me show you how.
Step 1: Prepare Your Design
What kind of tattoo do you want? A nice ‘mom’ tattoo? Some arrows and an anchor? Whatever floats your boat, baby. I couldn’t quite decide what I wanted, so I decided to come up with a few different tattoo ideas.
First up: the skeleton. In the spirit of Halloween, I thought I could whip up something delightfully macabre. I headed to Pixabay in search of scary, typing in ‘skeleton’ to see what would come up.
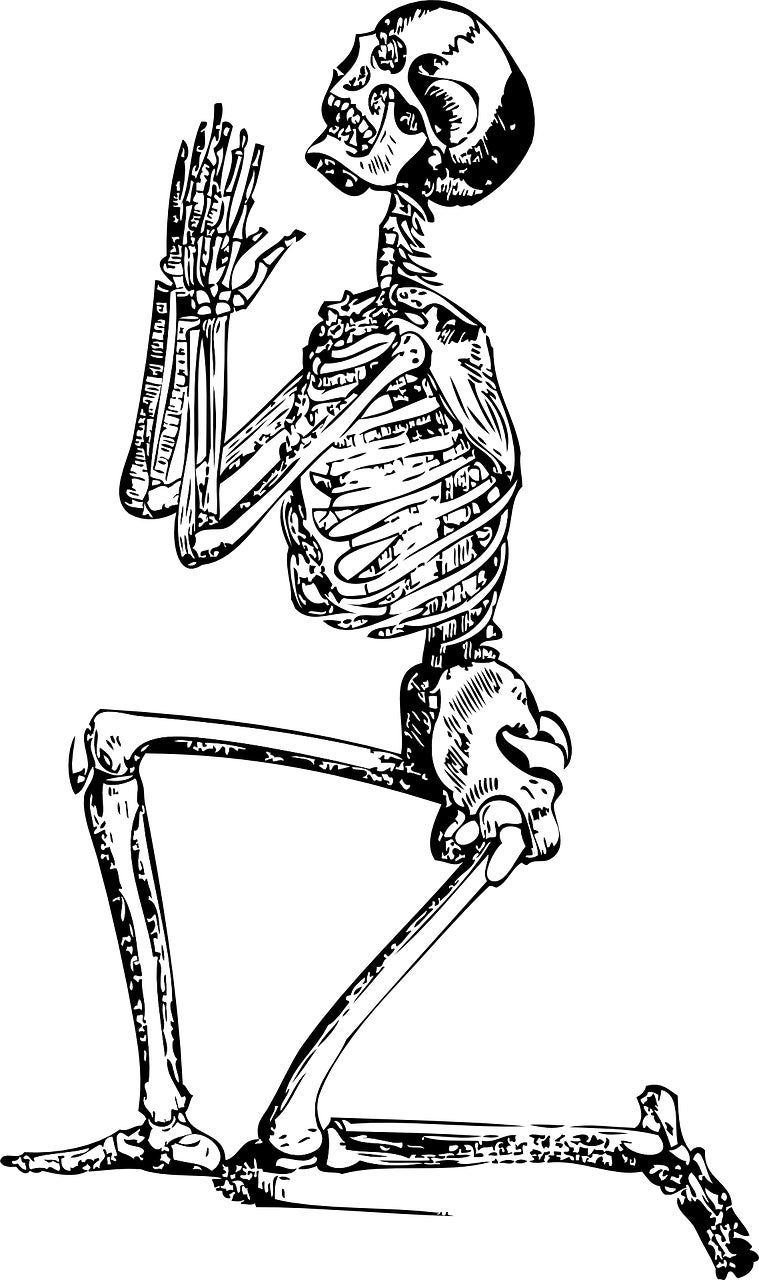

A lot of great stuff, actually. It was almost hard to choose which I’d use, until I found this beauty:
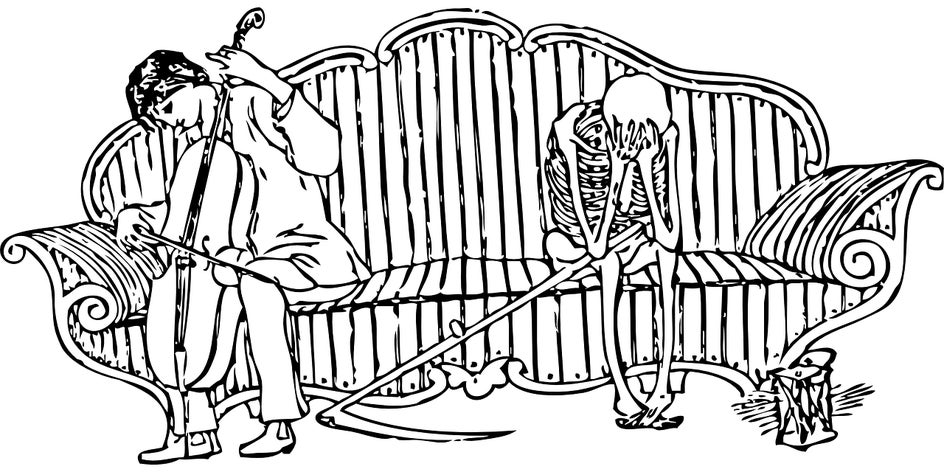
I had to make something cool with it. I just had to.
Step 2: Upload Your Design
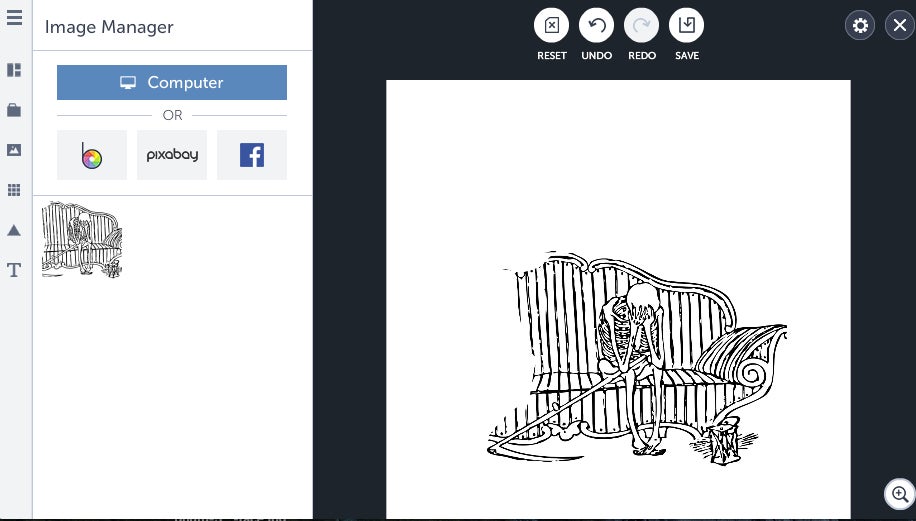
I cropped the image to cut out the musician (pesky little fellow that he is) and was left with my sobbing skeleton. Once I had him alone—saved as a PNG file—I headed into the Designer, clicked on Blank Template, Event Graphics, then selected the 8.5 x 11” portrait template.
Using the Image Manager, I then uploaded my skeleton onto the template:
Step 3: Add Text
Maybe I’m just a little macabre that way, but I saw so much emotion in just this simple graphic that I had to give it some text. The phrase that immediately occurred to me?
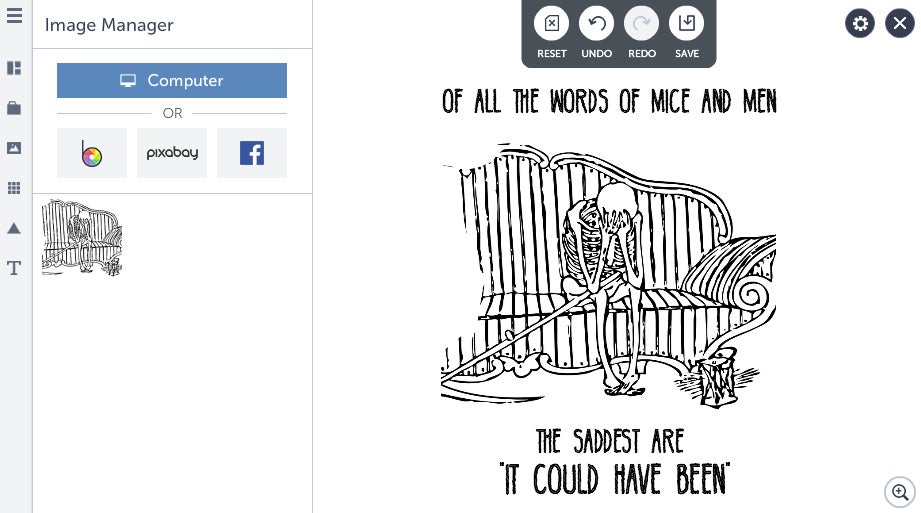
“Of all the saddest words of mice and men, the saddest are ‘it could have been’.”
It would be my hero, Kurt Vonnegut, who would of course know what to say. I added the text in using a font called Bellaboo which I downloaded for free.
Step 4: Finish With Effects
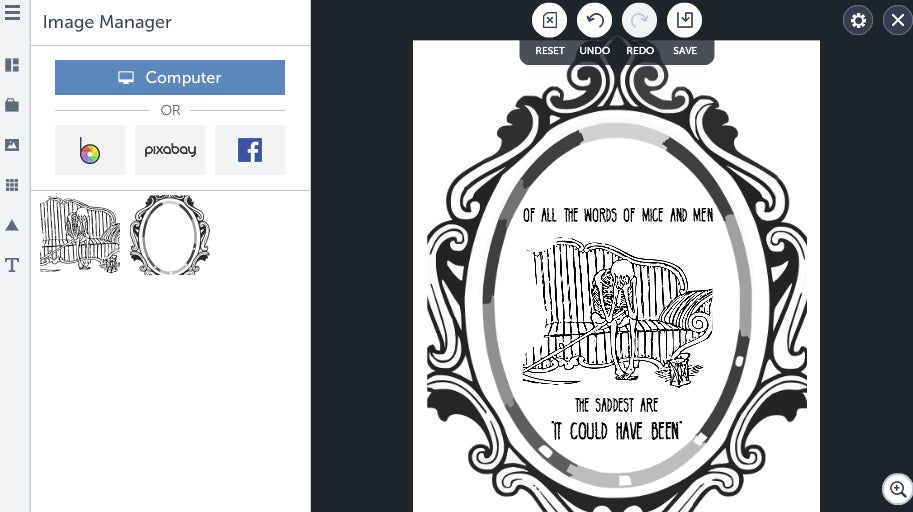
The next step was to give it an old, Victorian feel—I’m a sucker for that kind of thing—so I headed back to Pixabay to find a frame.
I added it in over the image…
...saved the image, then opened it up in the Photo Editor and hit it with a few effects—Paper 7 plus Paper 8, with Scratches, to yield this:
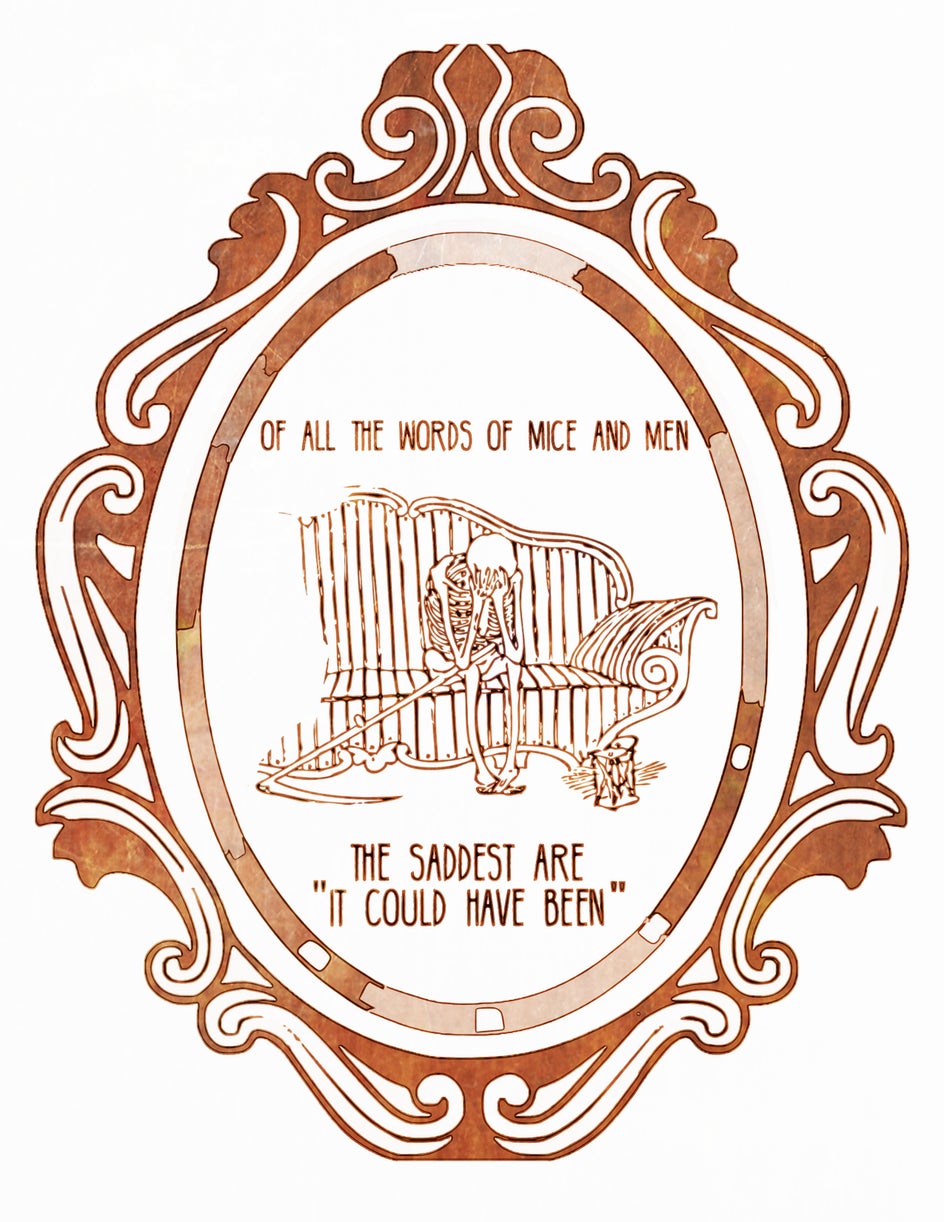
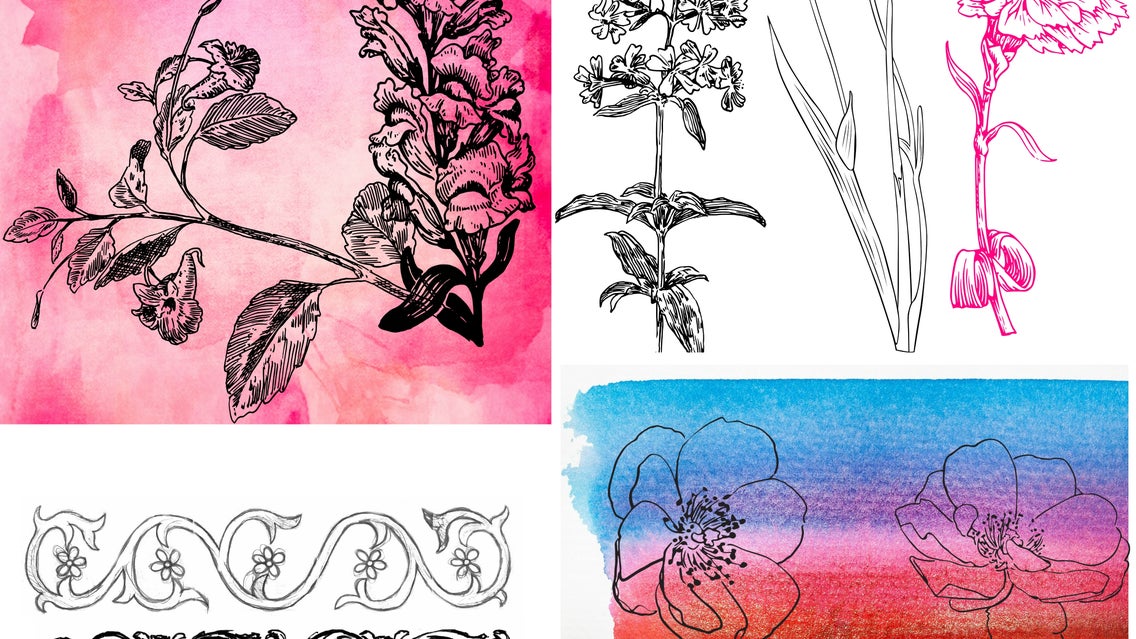
The last step was simply to flip it horizontally, since the image would be reversed in the process. And to make sure I didn’t exclude anyone with my creepy designs, I used the same method to create a “tattoo sheet” filled with simple floral designs. I searched for ‘watercolor’ on Pixabay, saved the images and then simply overlaid flowers (PNG files) over the watercolors:
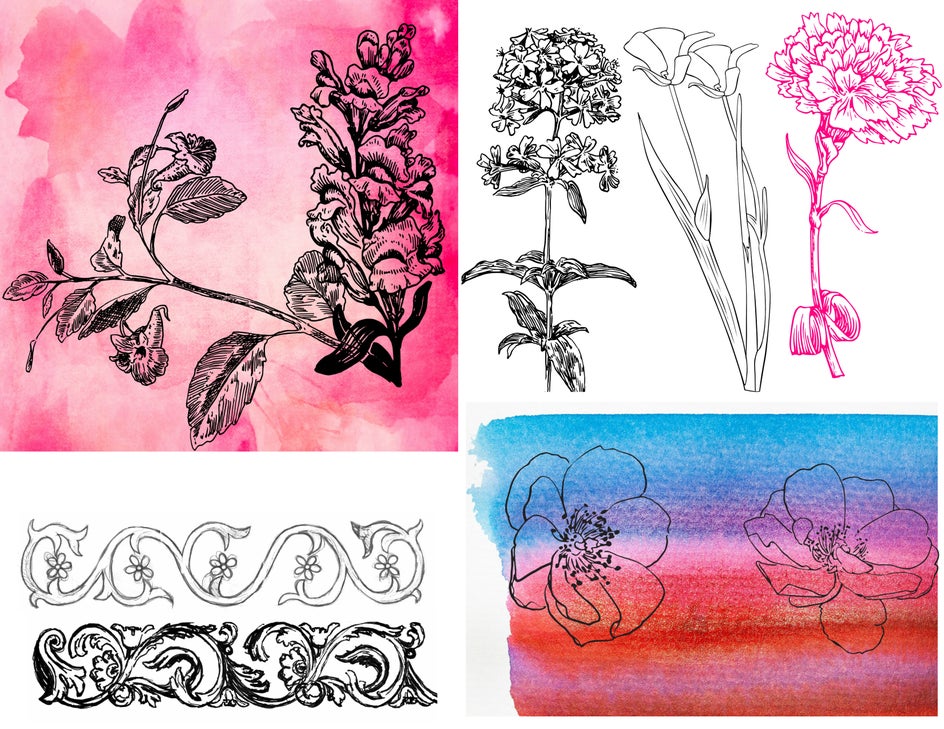
To test out the tattoo, I decided to use the flowers at the bottom right of my sheet since they were fairly simple.
Step 5: Apply Your Tattoo
Materials you’ll need:
Tracing or parchment paper
Gel pens (I highly suggest getting the most saturated ones you can find)
Baby powder
Scissors
Rubbing alcohol
A wet cloth or damp sheet
Hairspray
- Start out by tracing over your design with the tracing paper.
- Color it in and cut it out.
- Prep your skin by cleaning it with the rubbing alcohol. Allow it to fully dry.
- Place the paper over the area and cover it with a damp cloth. Hold down firmly for about 30 seconds, then release.
- Gently tap some baby powder over the area, clearing away any excess.
- Finish with a light coating of hairspray.
Here’s a little visualization of my journey:

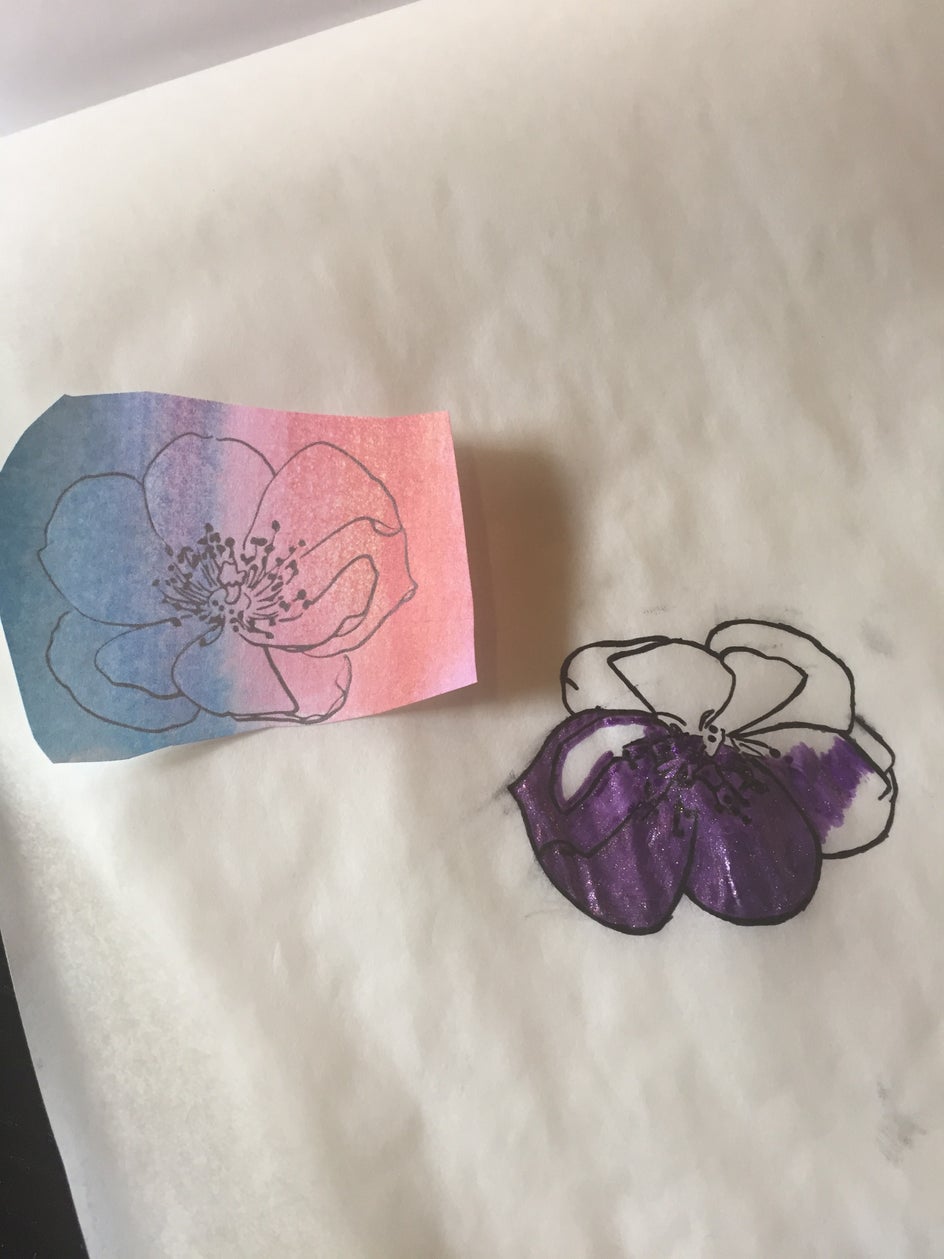
Keep in mind that I had to recolor this several times to get the paper really saturated with ink. I did a layer of purple first, waited for it to dry a bit, then colored it in with pink. The finished result?

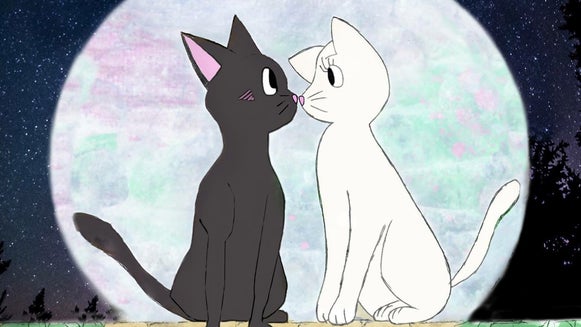
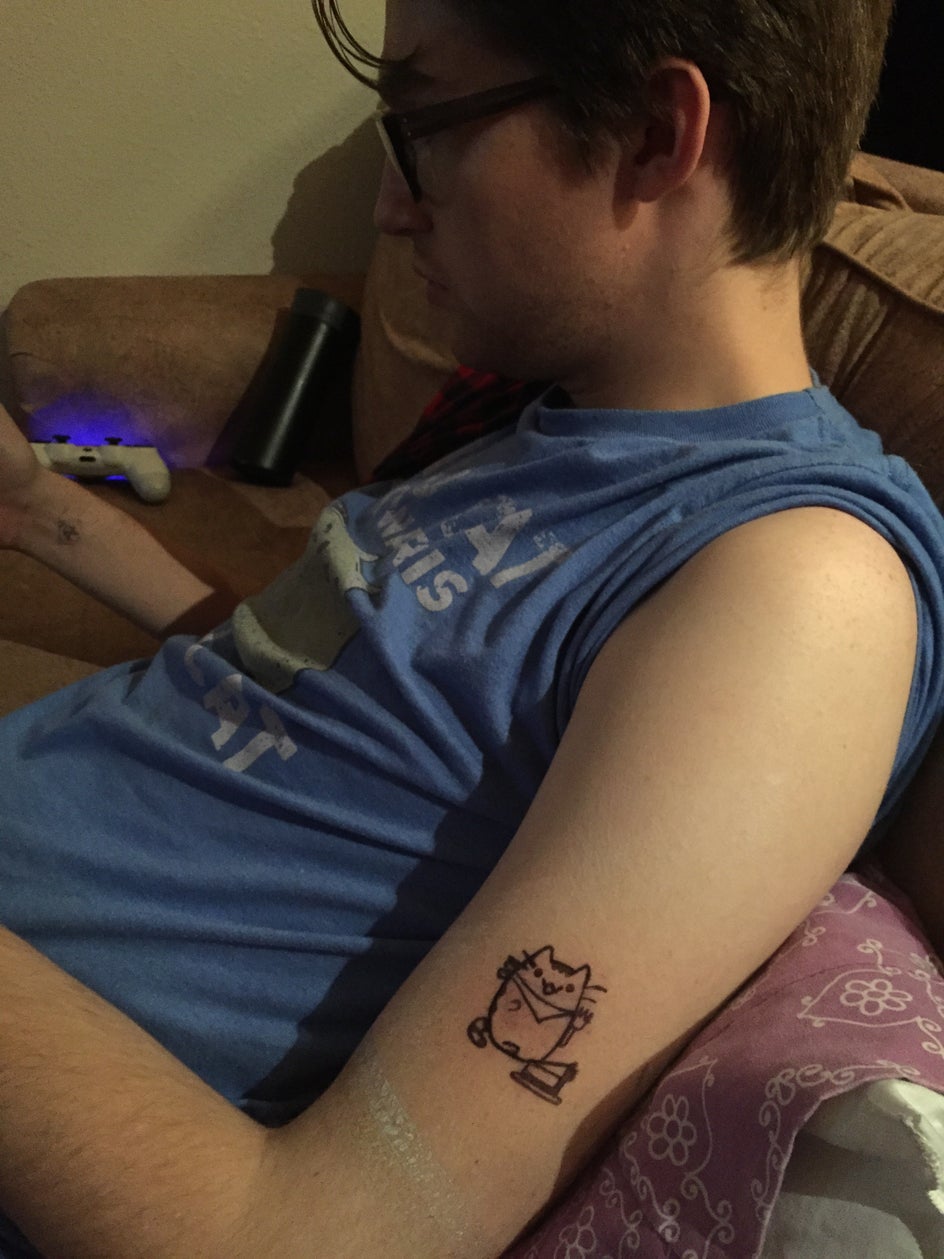
I liked it so much I did another little one for my boyfriend, Arthur, featuring none other than the magical Pusheen the cat. This was my inspiration:

The final result? SO TOTALLY WORTH IT.
My tattoos bring all the boys to my yard.
Want to finally test out that tat you've always been dreaming of? Design it yourself today: