How to Make Photos Look Retro With Multimedia Effects
If you’ve ever stumbled upon an image from decades gone by, you might’ve been struck with a sense of nostalgia. Whether it was a faded magazine clipping or an old photo with inky splotches, there’s no doubt the imagery of today has come a long way since then.
The past might be behind us, but that doesn’t mean we still can’t recreate photos that celebrate these eras. That’s where our Multimedia Photo Effects come in handy, as they help you to instantly turn your imagery into retro-inspired magic!
Keep reading to find out more about these retro filters, as well as how you can achieve the same incredible look!
Make Your Photos Look Retro With these Multimedia Effects
Before we reveal how you can turn your own images into retro multimedia, let’s take a look at each of our popular Multimedia Photo Effects. You’ll find all of these in the Photo Editor!
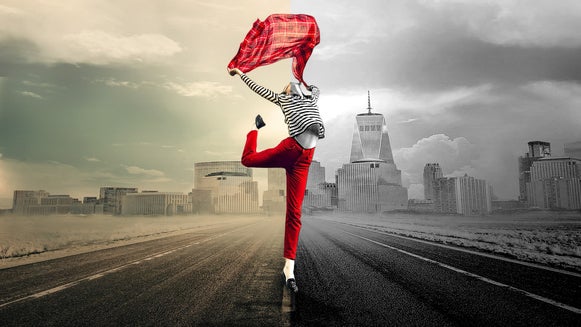
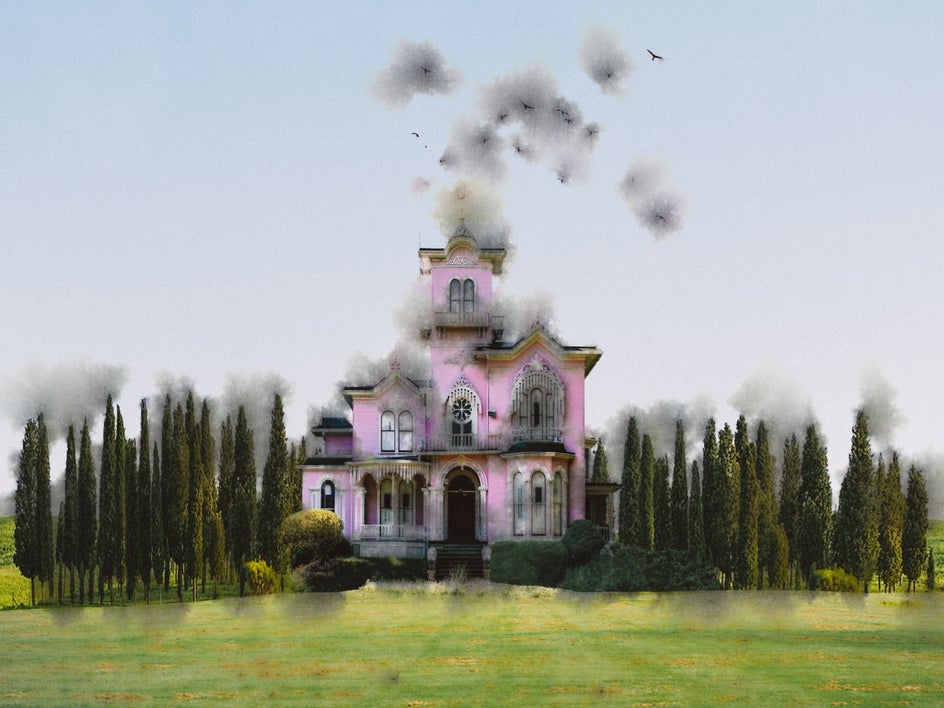
Color Bleed
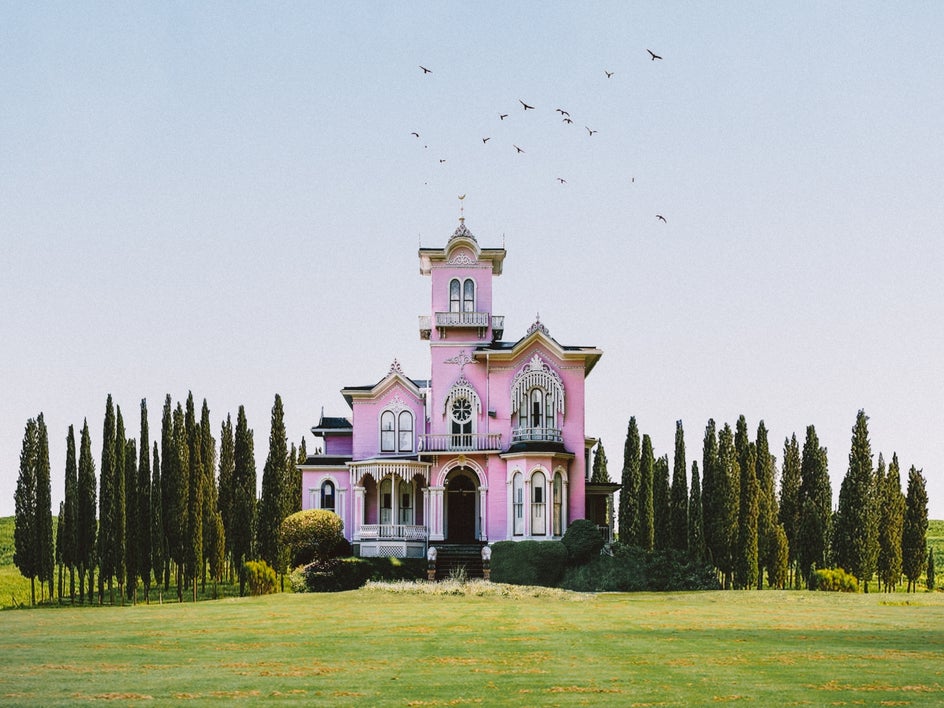
If you’ve ever noticed an old photo that has had its colors bleed into watercolor-like blotches, then you’re already familiar with this effect. Color Bleed has Darken and Lighten modes, which means you can apply this effect to both darker and lighter images.
Darken bleeds the darker colors and is best used on lighter photographs to accentuate, rather than wash out your subject. To avoid generating a murky image, a darker shot would benefit from Lighten mode, which bleeds the lighter colors instead.
Scan Lines
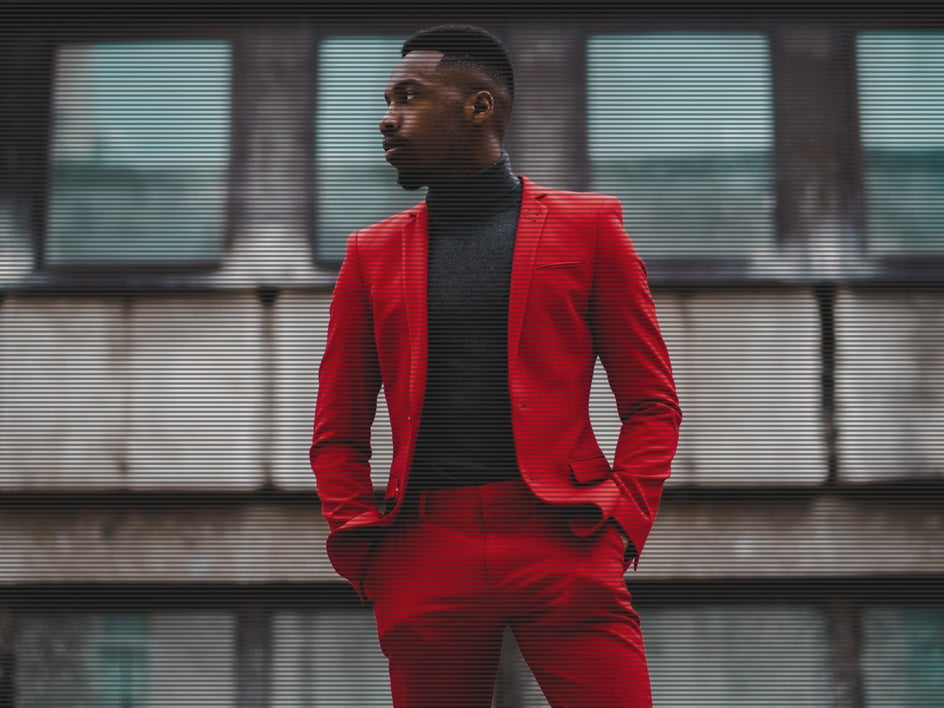
If you’re old enough to remember life before high-definition computer monitors, then this Multimedia effect might be right up your alley! The Scan Lines effect looks like an old computer screen, reminiscent of the MS-DOS days.
When CRT (Cathode Ray Tube) screens were commonly used in computers, you could see horizontal lines across the whole screen that could be seen from a distance. Using the Scan Lines effect, you can now recreate this retro appearance!
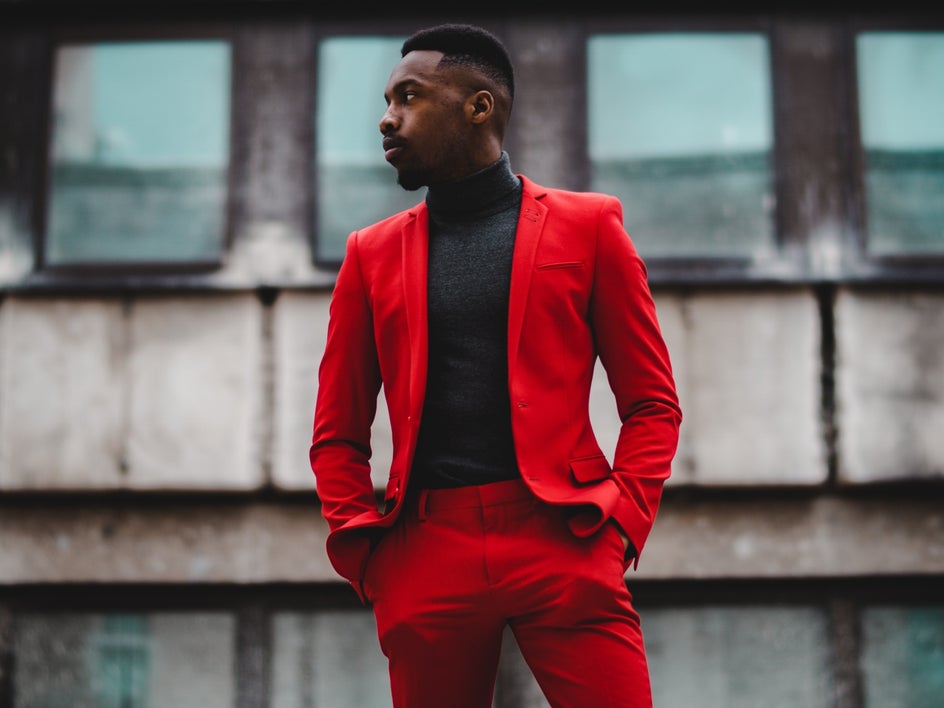
Television
Speaking of CRT, these tubes were also used in televisions, meaning they always had horizontal lines across their screens. The Television effect replicates this look of a retro color TV – without having to go back in time. Once you apply the effect to your image, you can zoom in to find that it’s now composed of tiny RGB (red, green, and blue) boxes. In the past, these colored boxes would combine to create the image you’d see in front of you.
While these televisions have thankfully made way for Ultra-High Definition, there’s no stopping you from recreating the look with your own images.
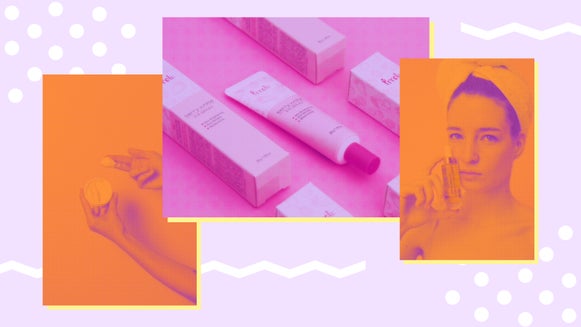
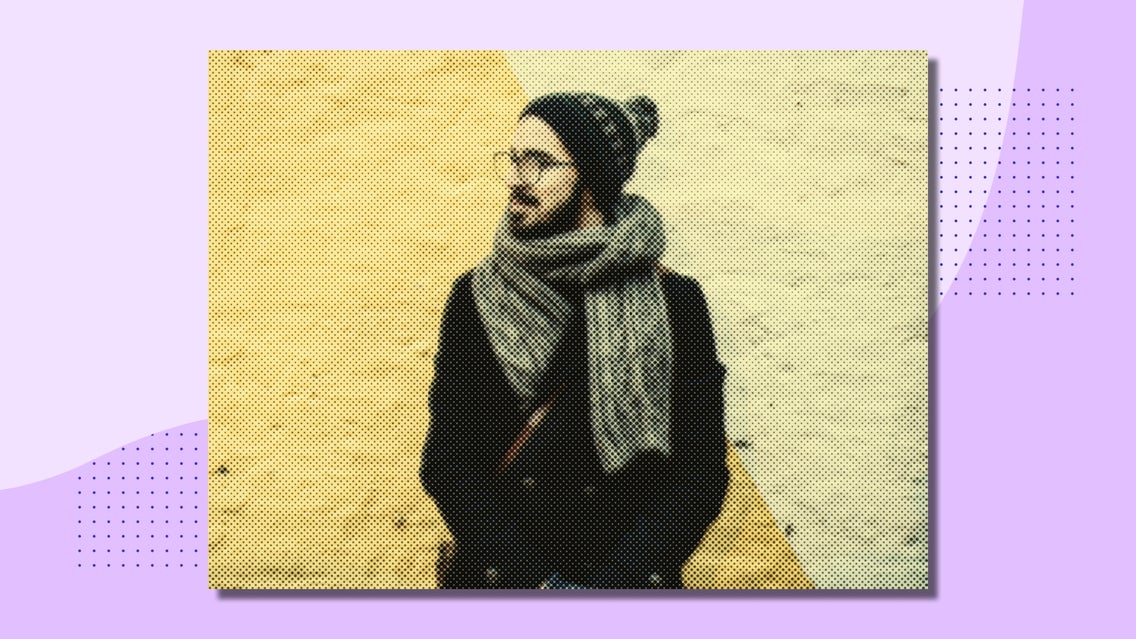
Halftone Duo
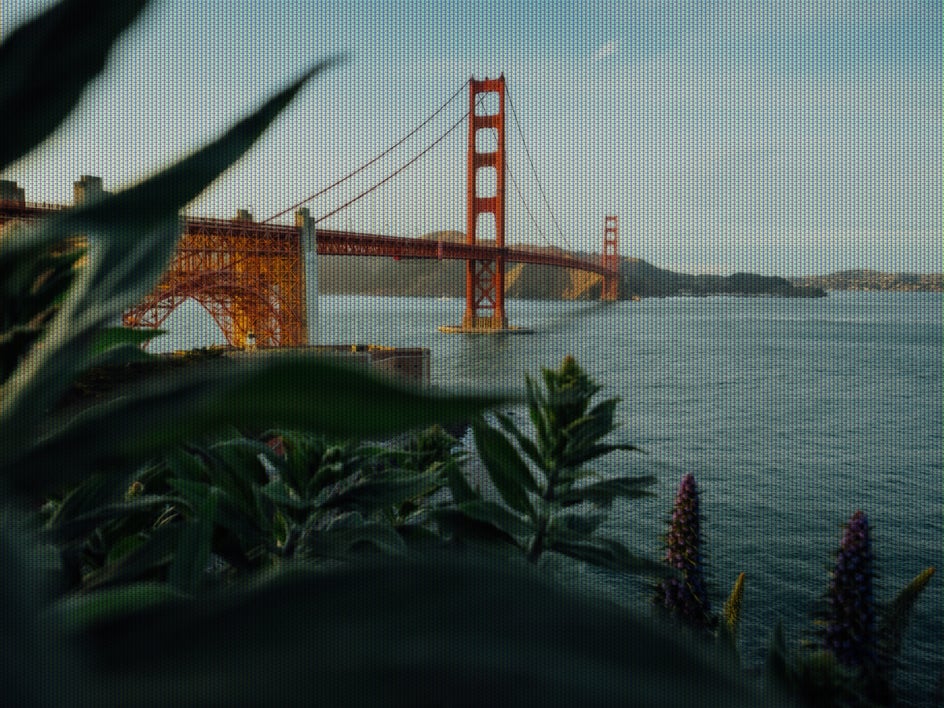
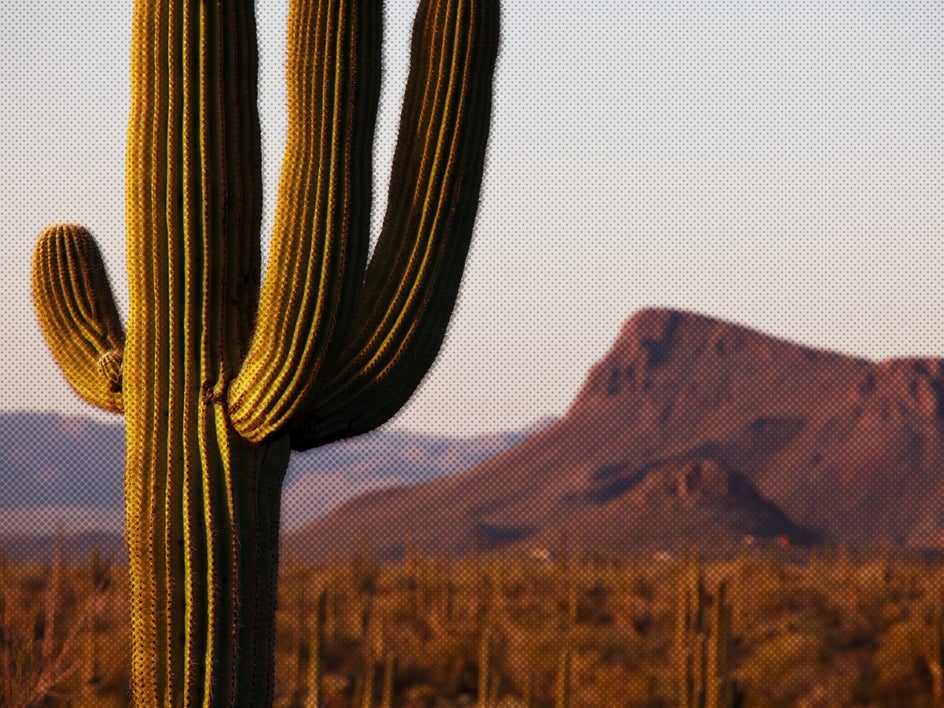
In print, halftone is a retrographic method that replicates images using dots in a variety of sizes and spacing. If you look closely at a newspaper image (especially one from decades ago), you'll notice that the picture is made up of tiny dots that mix together to form the imagery.
Our Halftone Duo effect recreates this look by adding dots of varied sizes and densities to your image. You can even add a Highlight Color and Shadow Color to take your picture to new heights!

How to Make Photos Look Retro With Multimedia Effects
Ready to turn your own images into retro-inspired multimedia? To get started, head to BeFunky’s Photo Editor and upload your image using the Open button at the top of the page, or simply drag and drop your image file into the interface.
Step 1: Locate the Multimedia Effects
Click on the Effects tab in the menu on the left, then scroll down to the Multimedia category and click to open it.

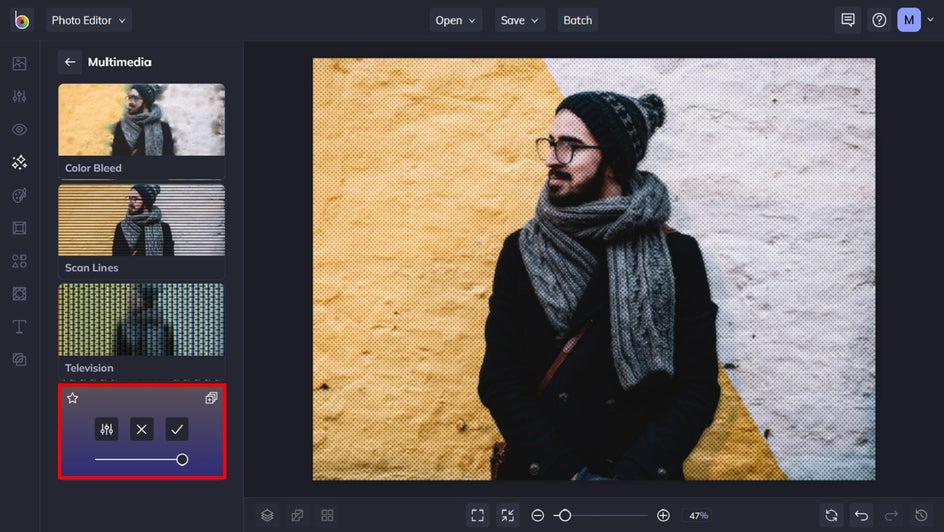
Step 2: Select Your Desired Multimedia Effect
You’ll be able to preview each of the effects on your photo by clicking on the effect thumbnails. When you find an effect you love, you can use the slider on the thumbnail to adjust the strength of the effect. From here, you can either click the checkmark to apply the effect or click on the Settings menu (the mixing board icon) on the effect thumbnail for even more customization options.
Step 3: Adjust Your Multimedia Effect
The Settings menu for each of these effects will look different based on the effect you choose. For this example, we’re using the Halftone Duo effect.
The Amount slider controls the opacity of the effect, while the Density slider refers to how condensed or spread apart the dots are. This means you can slide the Density slider to the left for dots that are further apart, or to the right to make the dots closer together. The Tolerance slider controls where the dots are present on your photo. More tolerance gives you more clusters of dots in the darker areas of the image, while less tolerance keeps the clusters of dots to a minimum.
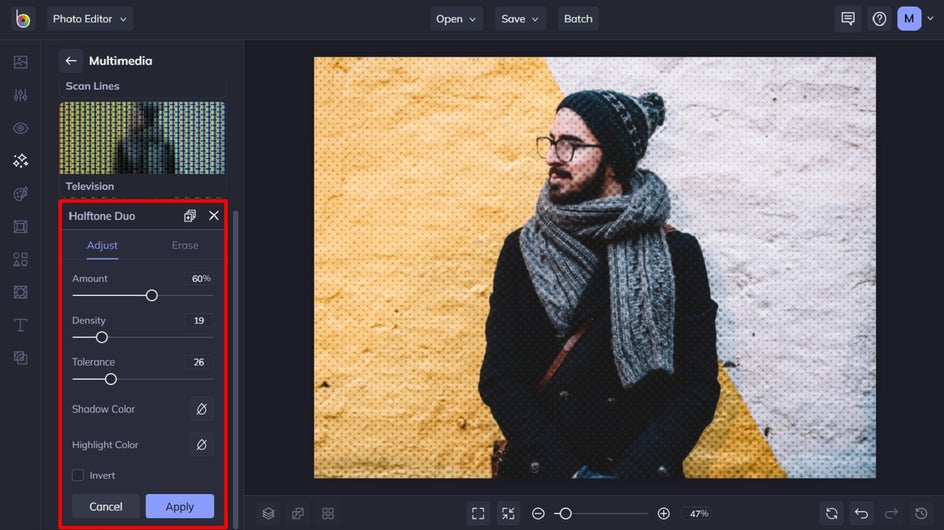
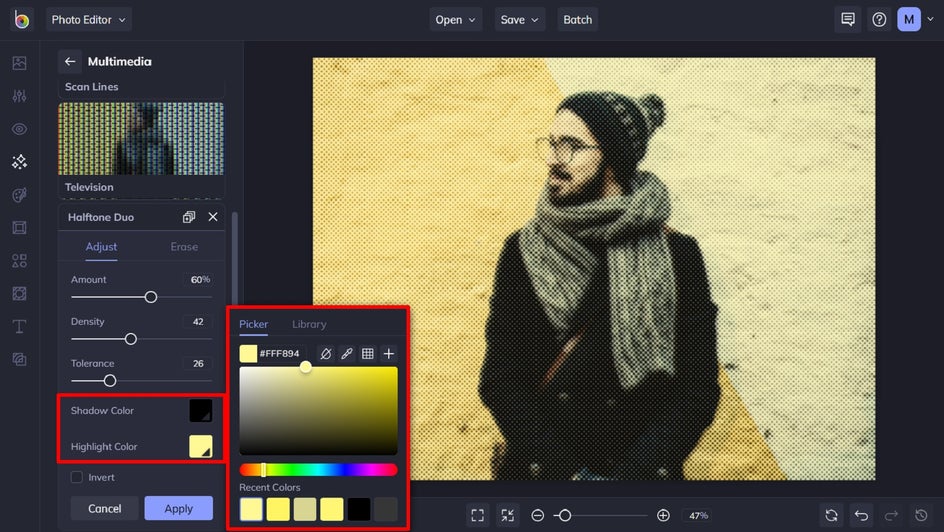
Step 4: Add a Highlight/Shadow Color (Optional)
Continuing down the Settings menu, you’ll notice you can control the color of the Halftone Duo effect, giving your image a duotone look.
Clicking the box next to Shadow Color will bring up a Color Palette that allows you to choose the color of the shadows (darker areas) of your image. The box next to Highlight Color will allow you to choose a color for the highlights (lighter areas) of your image.
The Shadow Color and Highlight Color settings will work together to take your image from completely halftone to a halftone duotone. You’ll also notice an Invert option, which allows you to essentially invert the colors. Check the box to see which look you like the most.
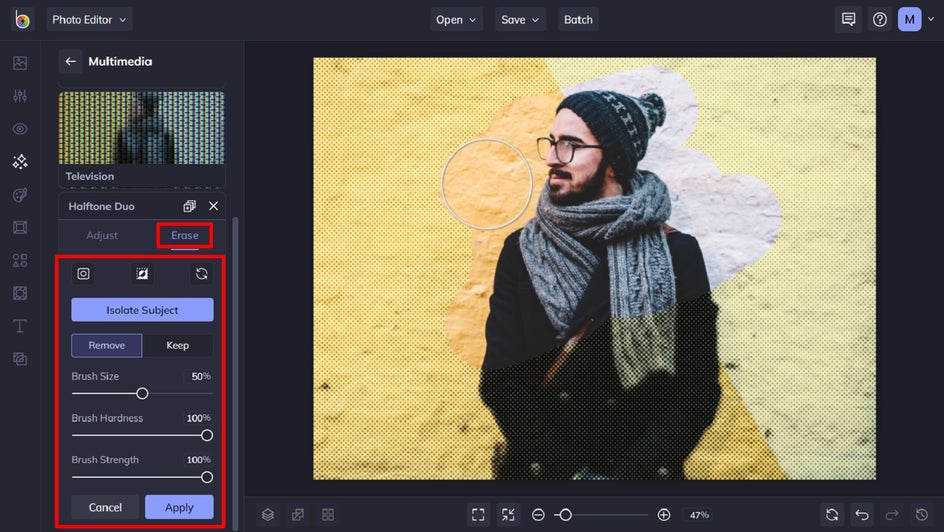
Step 5: Use Paint Mode for Selective Application (Optional)
Lastly, each Multimedia effect allows you the option of applying the effect selectively. To do this, simply click the Erase tab in the effect’s Settings menu, and use your mouse to paint on the areas of the image you’d like to remove the effect from. Remember that that increasing the Brush Hardness gives your paint brush sharper edges, while decreasing it gives you softer edges.
you can also isolate the subject of your image by clicking the Isolate Subject button for easy and precise application. You can then click the Invert Selection button if you'd rather apply the effect to just your subject and not the background.
When you’ve finished editing your image, click the Apply button.
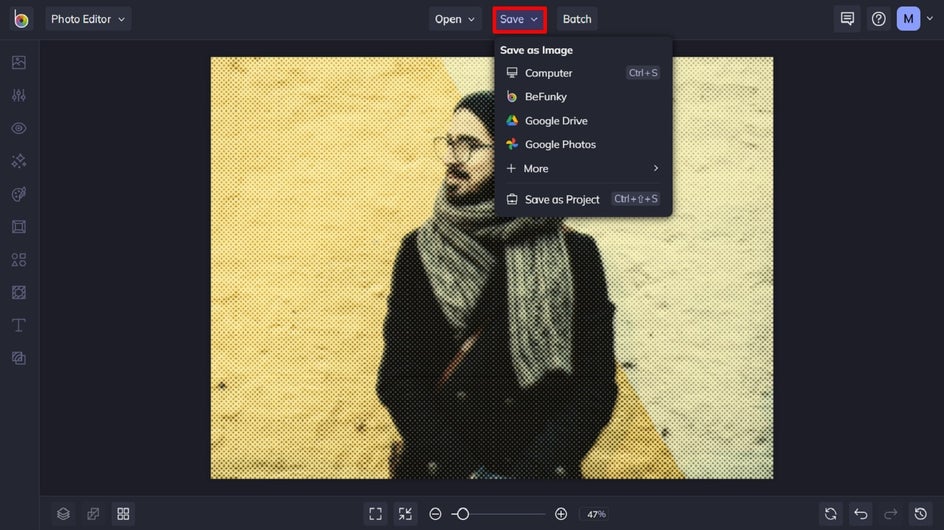
Step 6: Save Your Retro Multimedia Photo
Finally, click the Save button at the top of the screen, then select your desired save location.
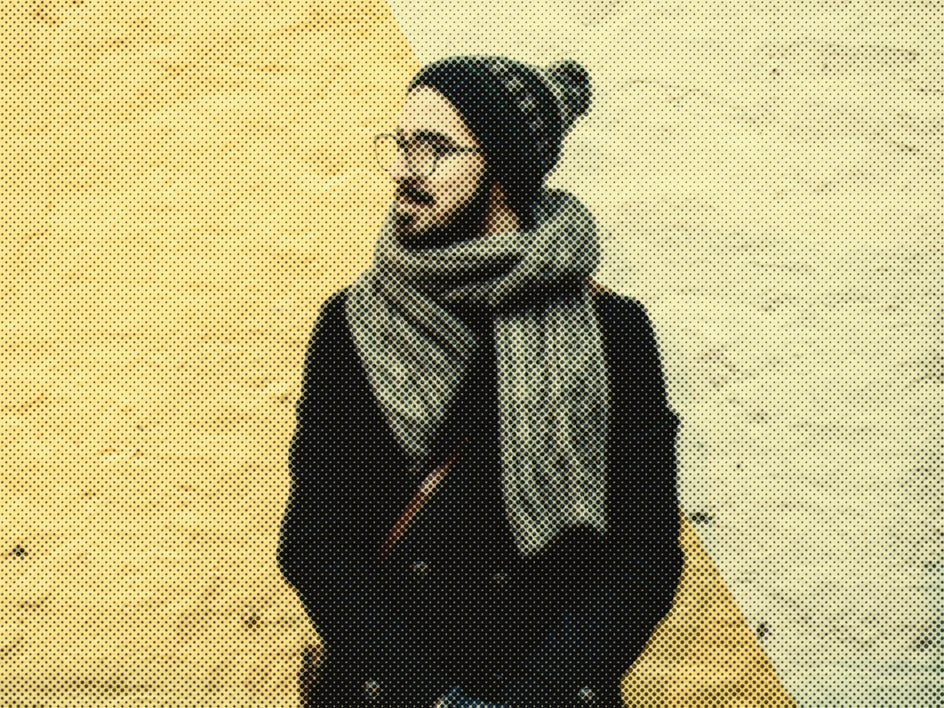
Final Results
There you have it! Who says old school has to be boring? With our retro-inspired Multimedia effects, you can instantly infuse your imagery with nostalgia.

Retro Filters Made Easy
Thanks to our Photo Editor’s Multimedia Effects, you can turn your own photos into retro imagery – all in a few clicks! From vintage television screen filters to a print magazine look and everything else in-between; there’s a nostalgic effect to suit your needs.
Try the Multimedia effects for yourself to see just how amazing they are!