NEW! Introducing Group Selection

We here at BeFunky are so passionate about giving you all the best photo editing and graphic design tools on the web to help bring your creative visions to life. Not only are we constantly working to release powerful new tools to help you shine, we’re always thinking of ways to improve your creative workflow. So after a real good think sesh, we realized something that’s going to make your BeFunky experience a whole lot more efficient.

Now in all of our BeFunky online platforms, you have the ability to use GROUP SELECTION when you’re working with multiple layers! That means you can select several items at once (and by items we mean textboxes, graphics, photos, and other layers!) to reposition, resize, align, and delete things as a group. Gone are the days of repositioning all twenty textboxes on your design template one by one, resizing each graphic you’ve added to a photo one at a time, or doing anything individually for that matter. We’re about to help you design cool things faster than ever before!
When To Use Group Selection In Your Projects
Group selection means is just what it sounds like: taking multiple elements of your BeFunky project and treating them as one group for editing. By treating things as a group, you’re easily able to move a few textboxes at once, resize multiple graphics at the same rate, and so on. Not only will it save you time and make you feel like the creative wizard you’re meant to be, group selection is going to seriously improve your workflow. Here’s where the action comes in handy:
Designing Items With Multiple Layers
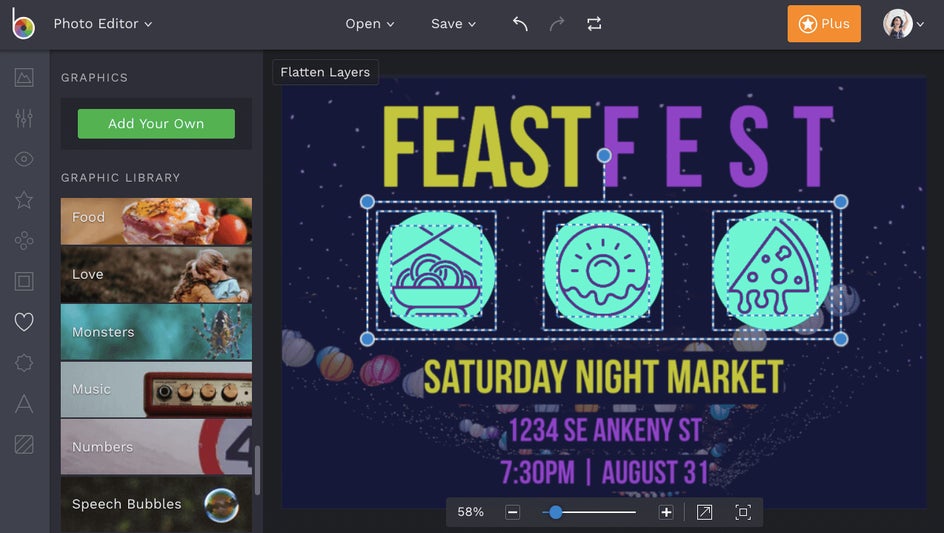
Certain designs require layering one (or more!) items on top of each other. For instance, designing a logo might mean adding a graphic to your design template, then adding another object like a textbox with your company name on top of that graphic, and so on to create one big beautiful graphic.
Let’s say that after creating the design you want to make all the items slightly larger or smaller, or move them to a different part of your template all at once. In the past, you would have to drag and resize each item separately. But now, all you have to do is select all the items in your multi-layered design, then click and drag a single blue circle system to resize or reposition. Brilliant!
Working With Groups Of Textboxes
Designs that involve several textboxes, such as a wedding invitation or business card, can be tedious if you’re wanting to align all of the textboxes to a certain side of the template or even delete a few.

In the past, you’d have to use each individual textbox’s Text Properties toolbar to realign things one by one. Now, you can select multiple textboxes at once and use a single menu to realign, reposition, and duplicate faster than ever before!
Resizing Objects At The Same Rate
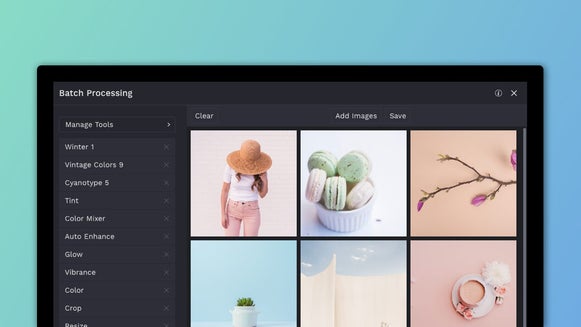
Let’s say you want to design a pattern with twenty different graphics. In the past, you’d have to click on a graphic to select it, use the blue circles around that graphic to resize, then move on to the next graphic and repeat the process again and again - but now you can select all of your graphics at once and resize them at the same time! Talk about a time saver.

Bulk Rotating
Let’s say you want to rotate a few textboxes diagonally. Instead of individually rotating each item and waiting for the snap lines to tell you when your angles are matched, you can now rotate all of your items as a group. So easy!

These are just a few instances where group selection comes in handy, and we’re sure it’ll become a natural part of your creative workflow in no time. Whether you’re in the Photo Editor, Collage Maker, or Graphic Designer, this is is going to save you tons of time and seriously up your game.
Your Guide To Group Selection In BeFunky
The best part about group selection is it can be done in any part of BeFunky’s web app. Open the Photo Editor, Graphic Designer, or Collage Maker to start using this new function. Here’s how it works:
There are two ways to select multiple items for your group: either click and drag with your mouse over the items you want to select, or hold down the Command key while you click on each item. You’ll see each one become highlighted, with a blue dashed box around all of the items you’ve selected. If there's an item that you didn't mean to highlight, fear not! All you have to do is hold down the Command key and click on that item to deselect it.
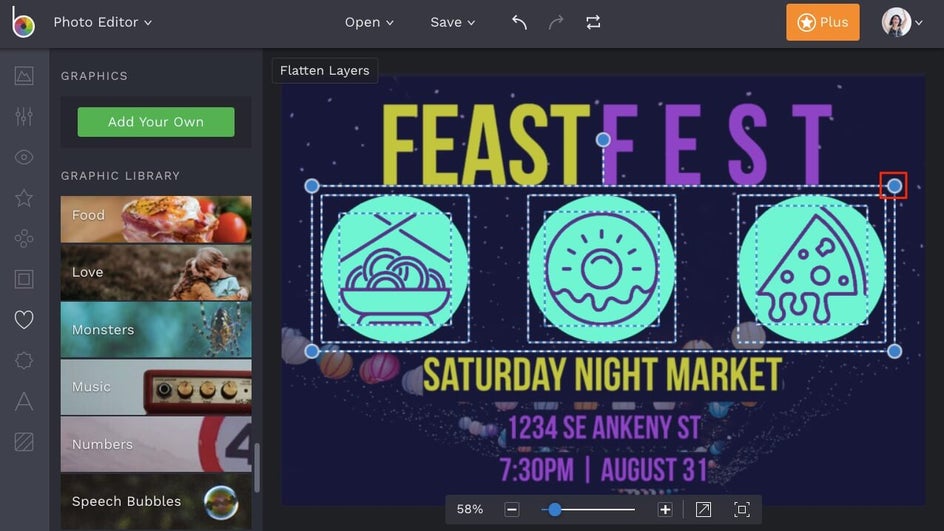
To resize these items as a group, simply click and drag the blue circles around your group to make them smaller or larger. You can also use the taller blue circle at the top of the group to rotate these items all at once.
To delete items as a group, simply press the Delete key on your keyboard once your group is highlighted. Alternatively, you can right click on your group and delete from the menu that appears.
When you right click on your group, you’ll also see that you have all sorts of alignment options to move everything within your group to your chosen destination on a template, collage, or photo. You can also click and drag your group around the template to reposition things in freehand mode.

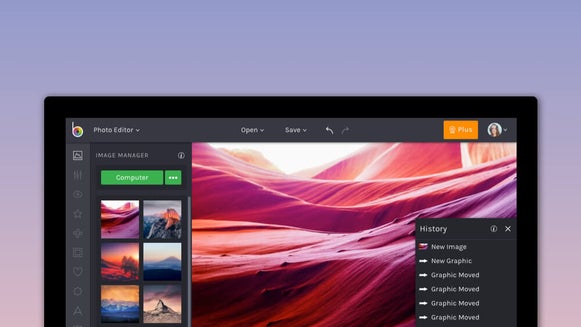
And finally, you can use that same menu that appears when you right click your group to move the items forward or backward between other layers you’re working with.

Ready to start using group selection in your next project? We bet you are! Head to the link below to get started and you’ll feel like a creative wizard in no time.