10 Photo Editing Tips for Creating Dreamy Wedding Photos
Whether you’re looking to save some money on your big day or have had a friend ask you to wrangle the camera on theirs; DIY wedding photography can be a huge task. Aside from having to capture the event’s most precious moments, you’ll also need to edit your photos to perfection.
One of the first questions you might be wondering is “How do you take good wedding pictures?” Before you begin frantically Googling “how to shoot a wedding by yourself”, we’ve got some words of advice. When it comes to dreamy wedding photography, a little editing can go a long way. However, the key lies in knowing exactly what edits to apply, and when.
Rather than invest a small fortune in professional photo editing software, let us save you time and money. BeFunky’s Photo Editor is home to every photo editing tool you’ll ever need to turn good wedding photos into great ones. Keep reading, because we’ll reveal which editing tools you’ll want to add to your wedding photography arsenal.

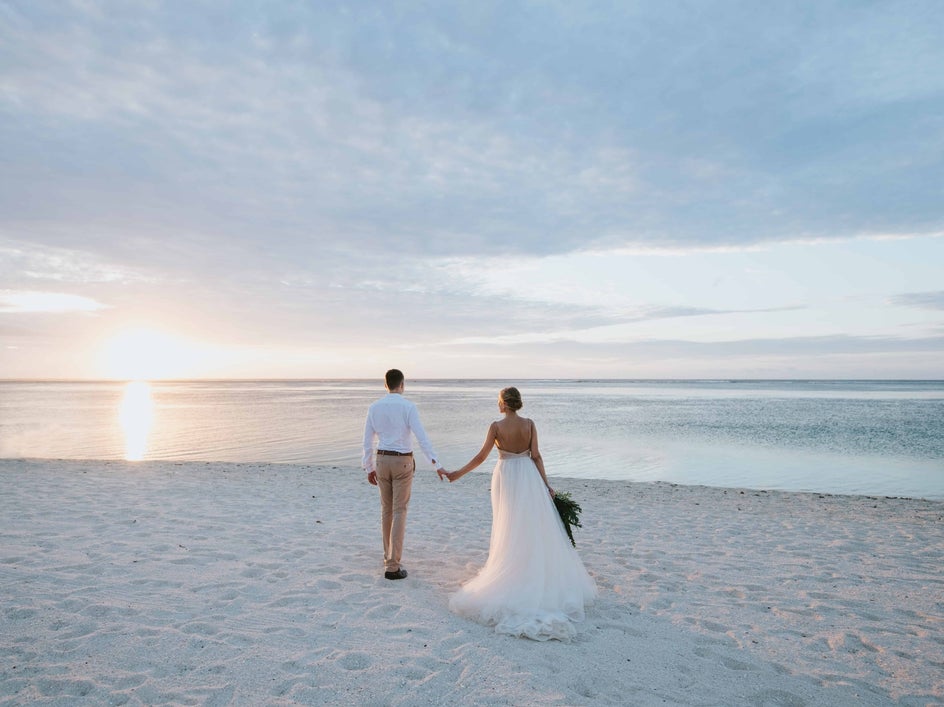
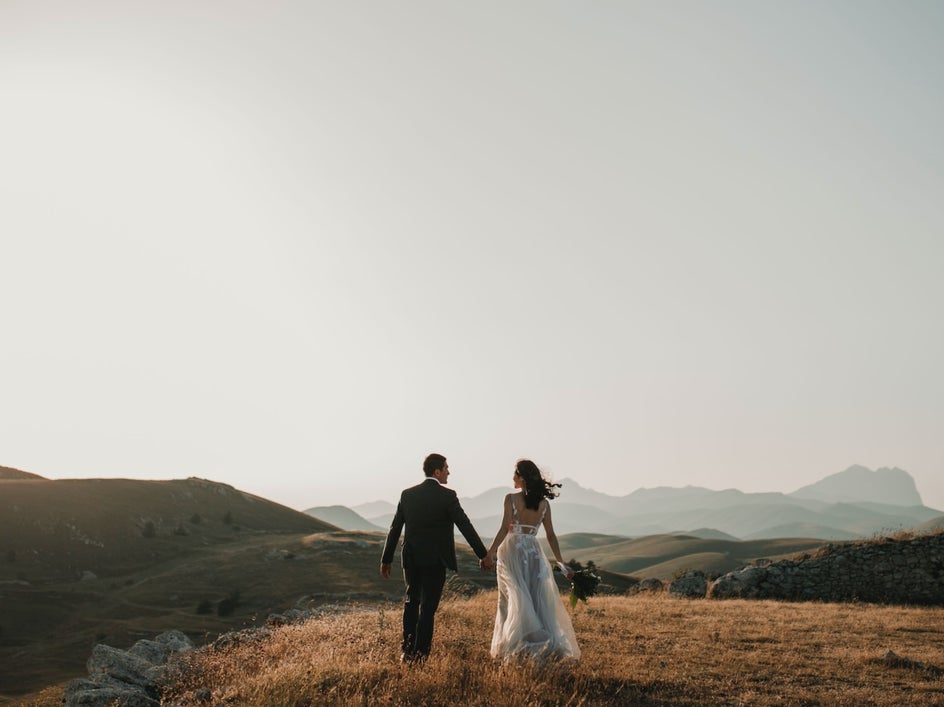
1. Embrace the Colors of Your Location
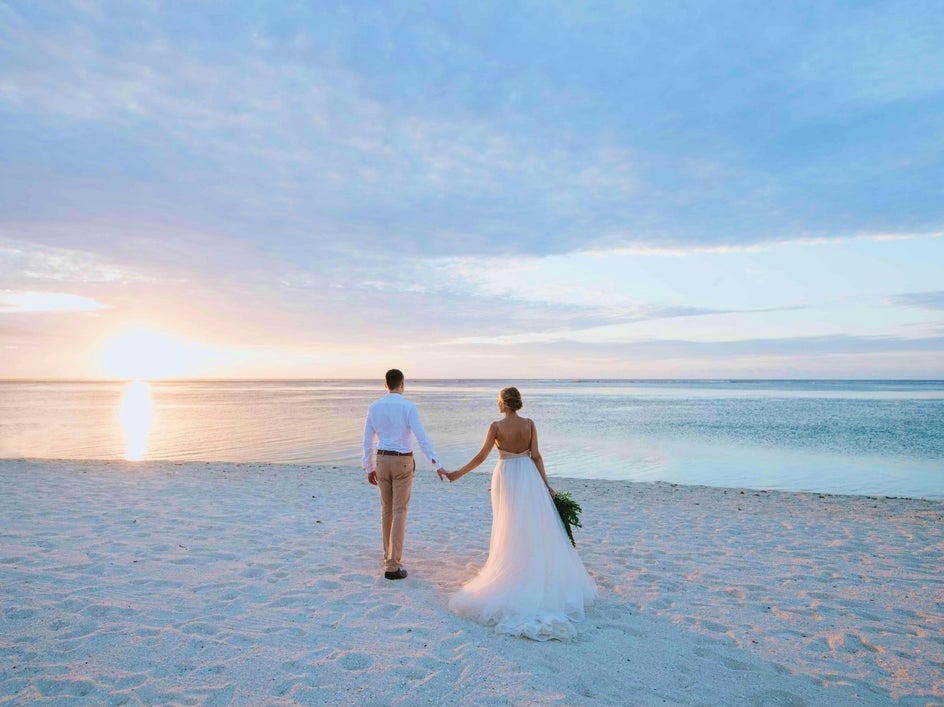
When editing photos from a wedding, your focus might be on the happy couple. However, be sure to turn your attention to what’s going on in the background of your images too. Whether the bride and groom are posing in front of a seaside, forest, or garden backdrop (among others), you can perform some simple editing tweaks to make the location shine.
In this photo, the beach backdrop looks lackluster. However, by applying Vibrant Colors DLX at 100% strength and 50% color amount, we’ve instantly turned up those serene and tropical tones for a more eye-catching image.
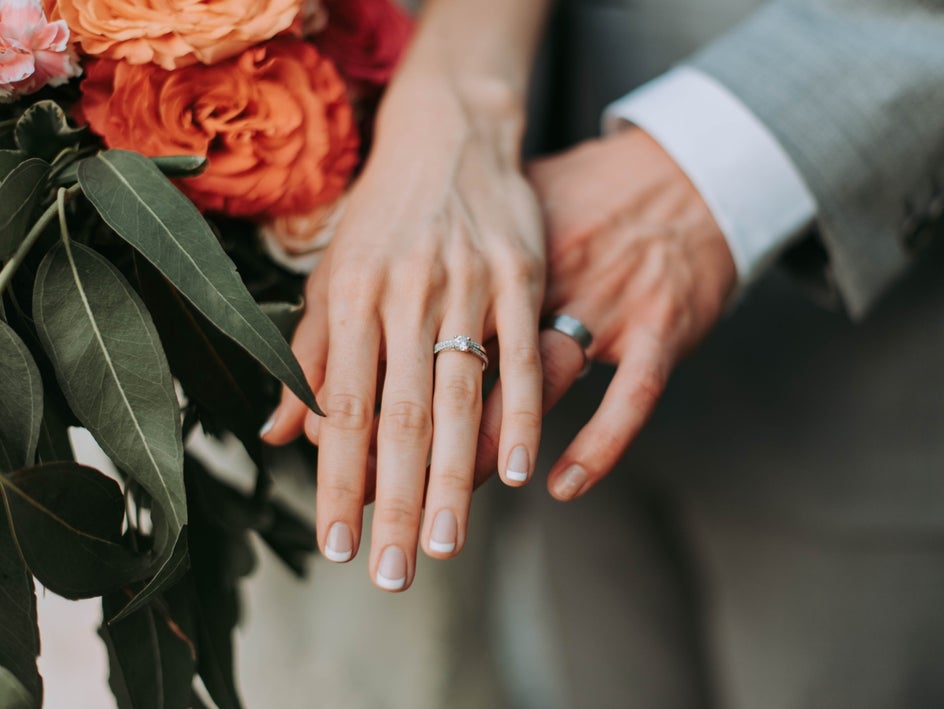
2. Play Around With Focus and Blur
Did you know that you can recreate the popular depth-of-field effect through editing? Even if your camera didn’t capture a blurry background at the time, you can simply use one of three tools within the Photo Editor to achieve depth of field: Funky Focus, Blur, or Lens Blur.
In this image, the focus should be on the wedding rings. However, the sharp and in-focus leaves in the foreground compete for our attention. By using the Funky Focus tool in Radial mode (at 50% blur), we were able to shift the focus entirely to the wedding rings, while allowing everything else to remain out of focus. Using Paint mode in the Sharpen tool to selectively sharpen just the rings also allowed them to stand out even more.

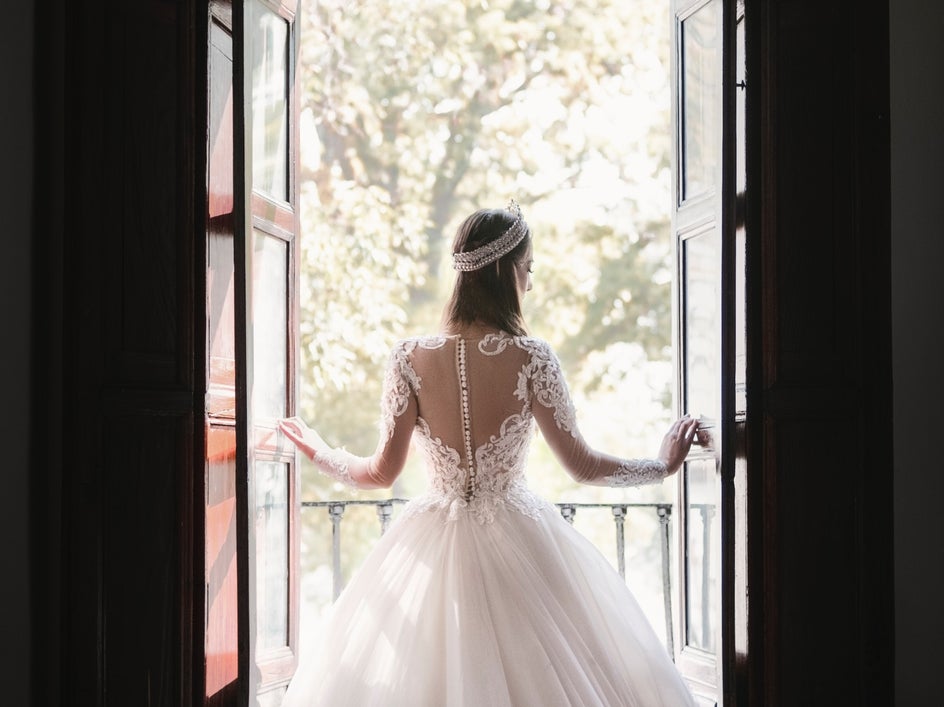
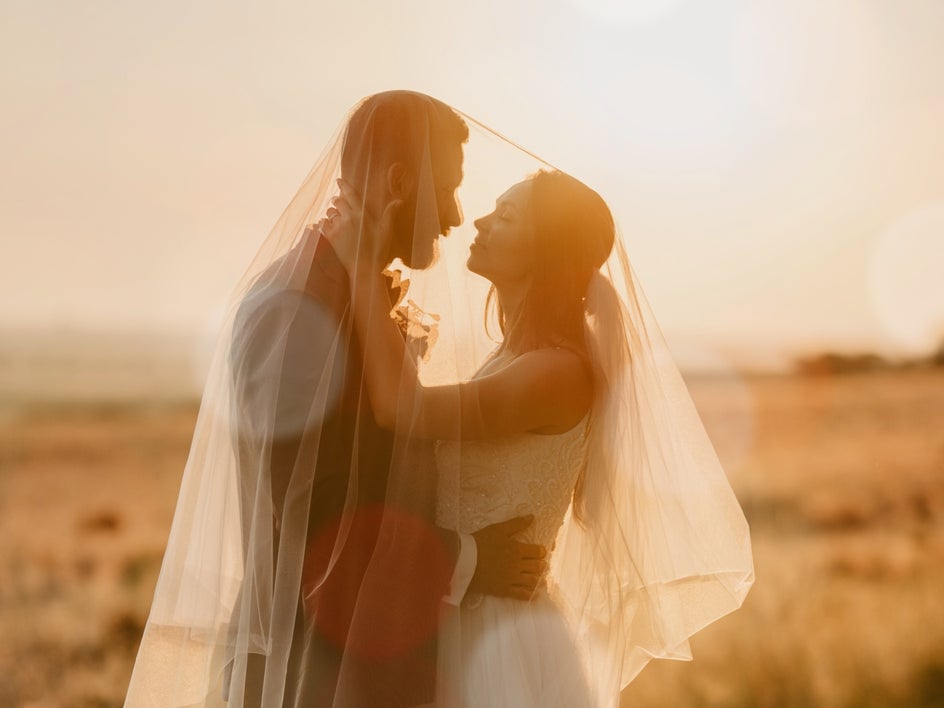
3. The Slightest Effect Can Make a Difference
If a photo already looks perfect as-is, it can be tempting to simply leave it be. However, we’d encourage you to still try an enhancement – even if it’s the smallest of tweaks.
Take this photo, for example. We haven’t altered the color, brightness, or contrast. However, by adding a Lens Flare effect (Flash), we’ve given it a magical quality within just seconds.

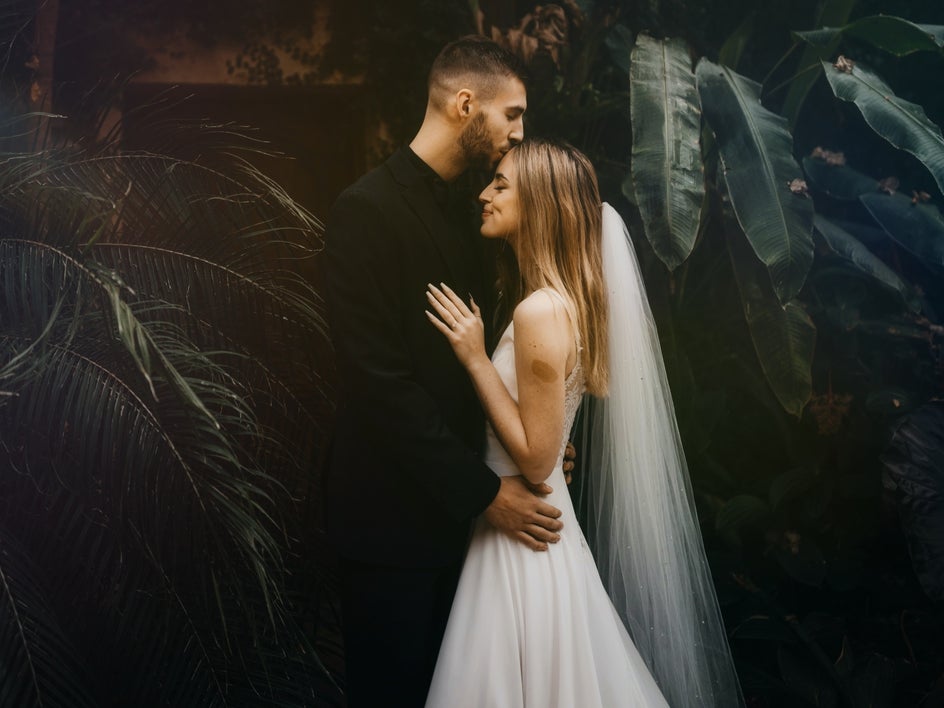
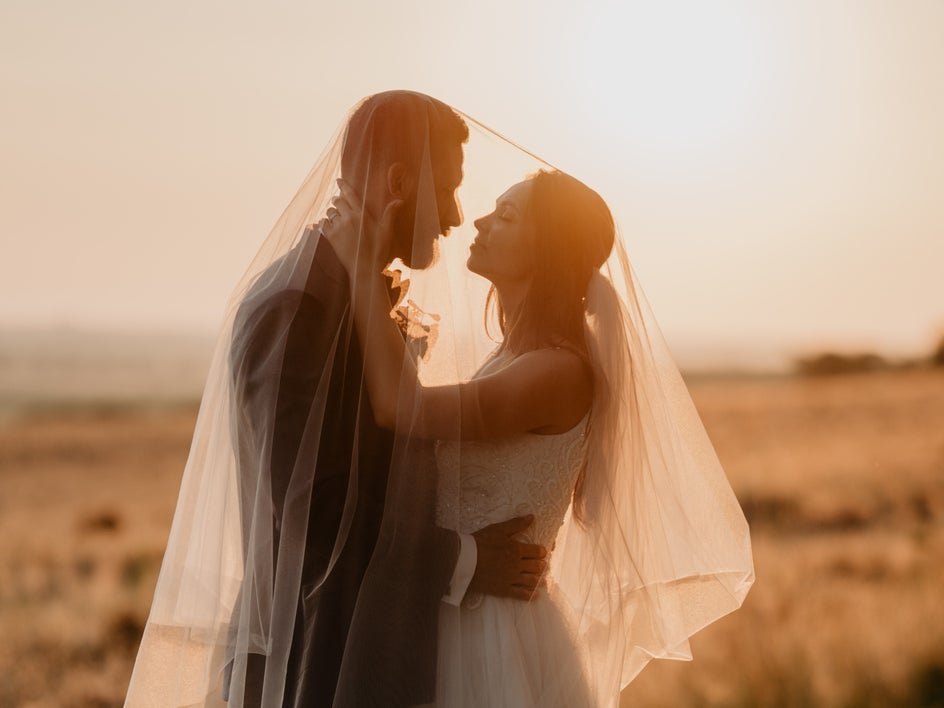
4. Create a Magical Atmosphere With Layered Effects
Another helpful tip when it comes to editing wedding photography is that you don’t need to put all of your effort into just one effect. You can also layer up complimentary photo effects to achieve that magical look you’re after – like creating a mystical glow or a sun-drenched vibe, for example. You can easily undo any effect you apply within the Photo Editor, so don’t hesitate to experiment!
In this image below, we layered effects including Summer 2 and Orton Style 1, as well as the texture Light Leaks 9 to give it an ethereal quality.
5. Don’t Be Afraid to Eliminate Color
While some wedding photos will look beautiful in all of their colorful glory, others will be just as striking when stripped right back to just black and white. Many professional wedding photographers even include both a black and white and color version of some of their photos, allowing the couple to choose their favorite.
With a ton of black and white photo filters, you’ll be spoilt for choice in the Photo Editor. For this photo, we applied the B&W Tones 3 effect, while increasing the shadows (within the effect’s settings) to 45. While the original, colored version was stunning, we think this black and white effect has given it some Old Hollywood glamor.

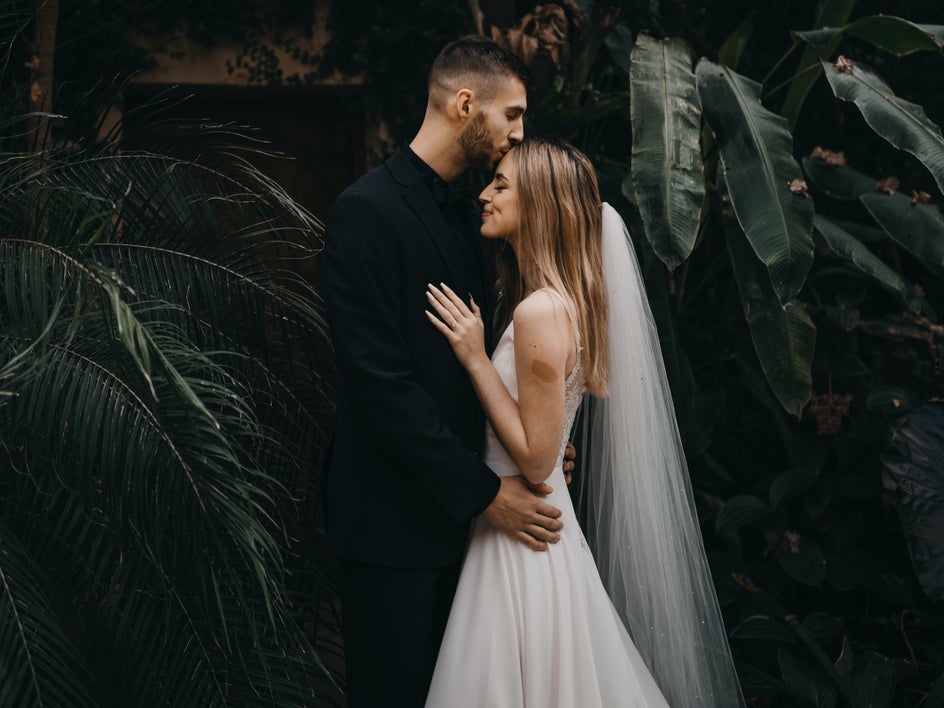
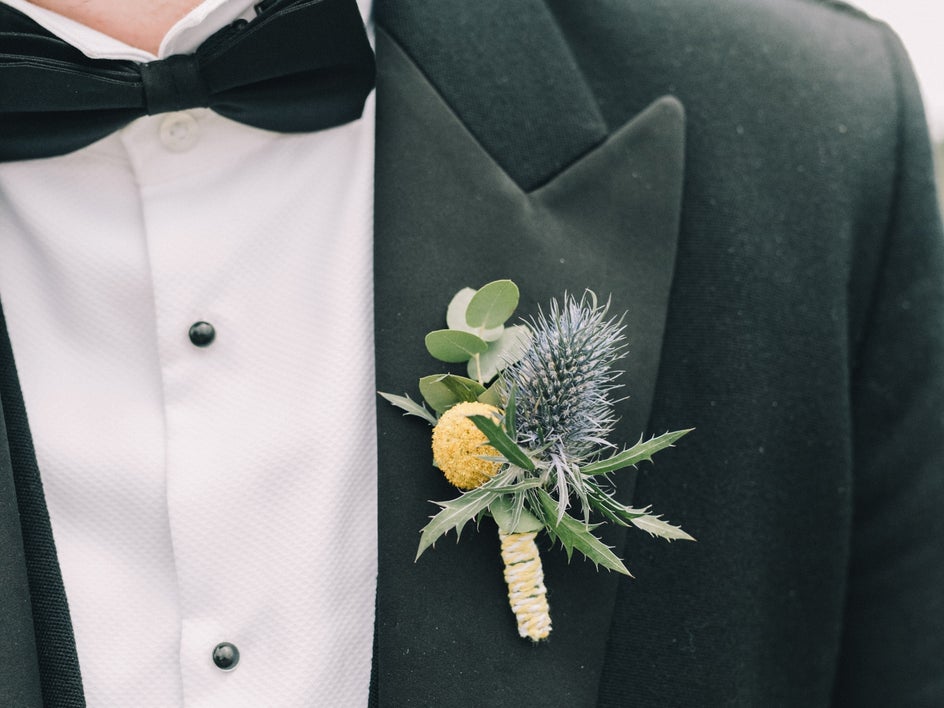
6. Bring Attention to Those Dreamy Details
Whether it’s the groom’s boutonniere or an intricate lace pattern on the bride’s outfit, close-up shots from the big day can also create beautiful memories to look back on. You’ll want to ensure these details are sharp and in focus to really make them stand out. Thankfully, our Sharpness and Clarity tools are perfect for perfecting this.
In this image, we applied Sharpen in Standard mode at 20% strength, followed by Clarity at 15% strength to make the groom’s subtle outfit details pop.

7. Consider the Tone
Images often fall into one of two tones: warm or cold. Depending on what vibe you’re going for with your wedding photos, you may prefer your imagery to fall into either category. Warm wedding photos tend to be most popular, however, as they represent that summery, Golden Hour glow we all love.
When editing wedding photos, you’ll want to ensure the tone is consistent across your set of your photos. Thankfully, you can easily adjust the tone of each image in the Photo Editor with the Color tool. Our Batch Processing tool also makes it incredibly easy for you to apply the same effect across an entire set of images, meaning your collection of images from the big day will be cohesive.
The image below had some subtle warm hues, however we increased the Temperature (featured within the Color tool) to 20% to give it a beautiful golden tone. Adding the Vibrance effect at 30% gave it that final touch of perfection.
8. A Little Saturation Goes a Long Way
Most photos can do with a little color enhancement, however the trick is to increase saturation in a subtle and natural way. When editing your wedding photos, try using the Saturation and/or Beautify tools to achieve just that.
Take this photo, for example, which was low in saturation. By increasing the Saturation at 35% strength, the result is more colorful without being over the top.

9. Add in Beautiful Bokeh
Bokeh are those beautiful, out-of-focus orbs of light which appear in photos. This look is created using specific settings within a DSLR, however you can achieve the stunning look during your post-processing thanks to BeFunky’s Bokeh effects. You’ll find these within the Textures section.
In this example, we’ve applied Bokeh 2 at around 30% strength.
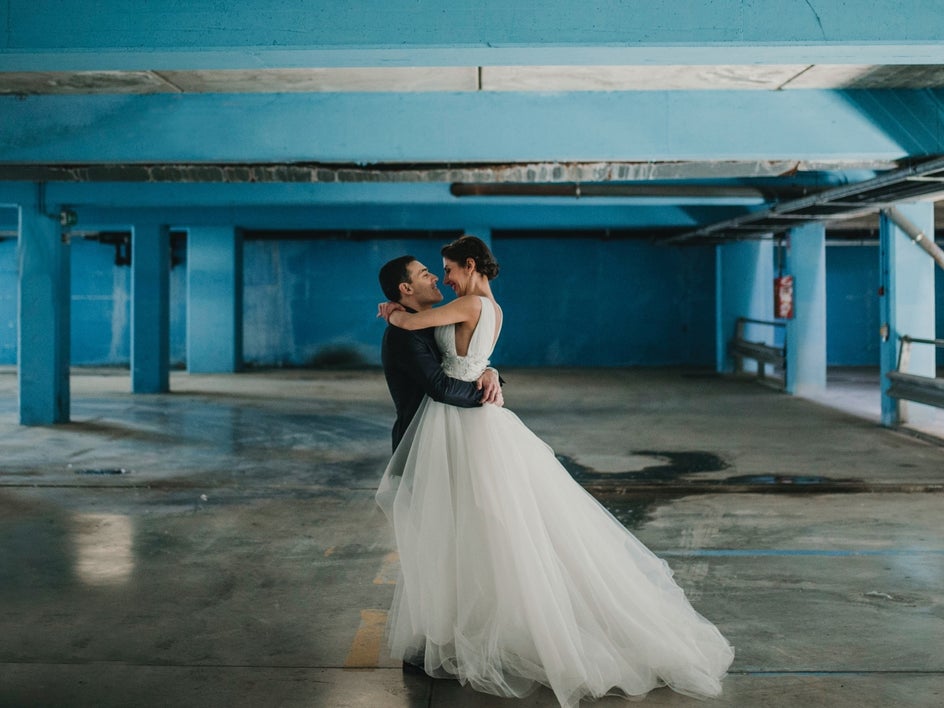
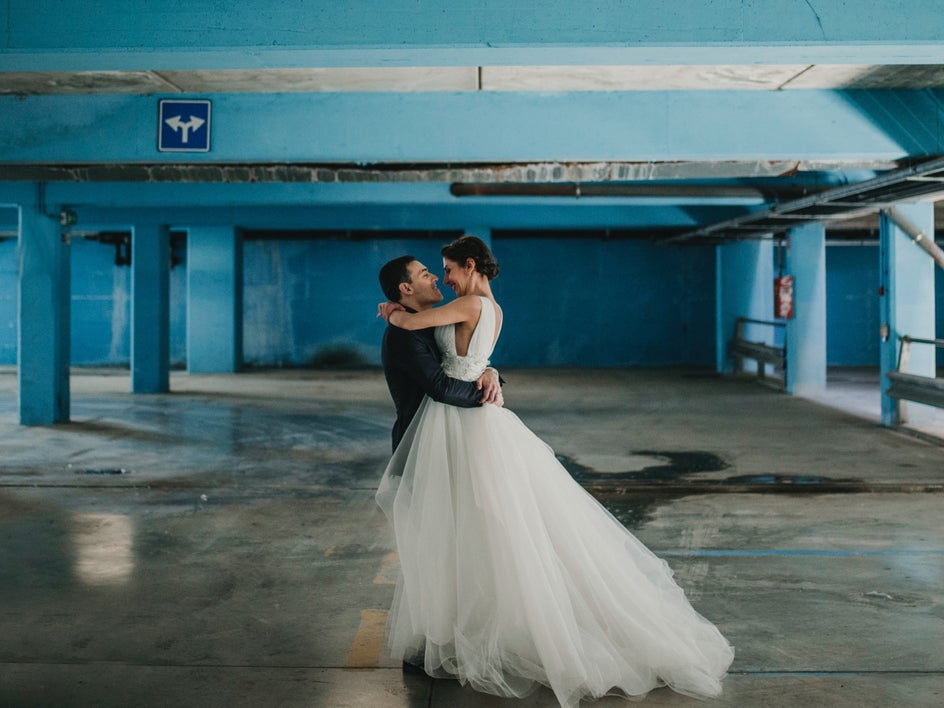
10. Remove Anything That Doesn’t Belong
Is there a stray piece of trash in the background of your photo? Or perhaps an unsightly sign is ruining one of your favorite shots of the happy couple? Rather than cropping a wedding photo to strange proportions (or deleting it entirely), you can simply remove the unwanted object or person altogether using a variety of tools within the Photo Editor.
In this image, we wanted to remove the arrow sign in the top left and were able to achieve this using a combination of the Clone and Blemish Fix tools, both located within the Touch Up section.
Althoug our results with these tools are pretty flawless, you can also use our A.I. powered Object Eraser to remove objects with a single click!
Editing for Beginner Wedding Photographers Made Easy
There are plenty of wedding photography guides out there which teach you how to get good at wedding photography, yet many of them fail to reveal important editing hacks to transform ordinary wedding images into the extraordinary.
Thankfully, BeFunky’s Photo Editor features all of the best tools and tricks to create the most stunning images from any special day. In fact, it’s one of the best wedding photography hacks you’ll ever need!
Try out the Photo Editor for yourself to see how it can help you with your next wedding shoot.