How to Enhance a Photo With Sharpen DLX
The human eye is able to see contrast with incredible clarity, but that doesn’t always translate through your camera lens. When you’re dealing with a lack of image contrast and clarity, our Sharpen DLX effect is here to make your photos look more realistic than ever before!
Sharpen DLX applies just the right amount of contrast to bring out the finer details of your image by sensing the difference between the sharper and softer edges in your photo. Keep reading to learn more about this exciting tool, including how you can use it to perfect your own images!
What Does Sharpening a Photo Do?
A common misconception about using sharpening effects on your images is that they will add in meticulous details that are missing. That’s not entirely the case. Instead, sharpening effects are more about edge enhancement - increasing the contrast of the edges within your photo, which brings more definition to the details in your photo.
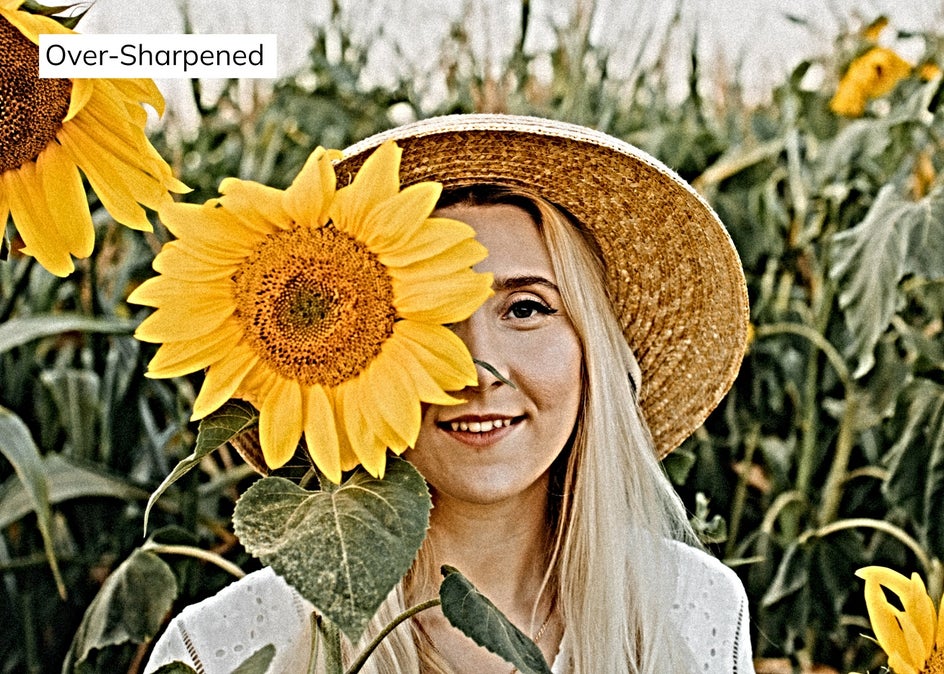
Normally, sharpening effects work to identify the boundaries of the sharp edges in your images, like the edge between a subject and its background, and then darken the dark pixels and brighten the bright pixels that surround those edges. Most image sharpeners treat all edges the same, applying a uniform amount of contrast across your entire photo. This works in minuscule amounts, go too far and you'll overexpose your highlights and cause an unsightly 'halo effect' like in the example below.
Our Sharpen DLX effect is a step beyond. It has the ability to sense the difference between the sharper edges in your photo and the softer ones, applying just the right amount of contrast where your photo needs it the most. The result is a well-balanced image that makes your subjects pop without the dreaded halo effects that other sharpen tools produce.
When to Use Sharpen DLX
There are many reasons why photos end up lacking detail after you hit the capture button, but luckily the details can be restored with our Photo Enhancer! Here are four of the most common situations where Sharpen DLX will work to your advantage:
Low-Contrast Photos
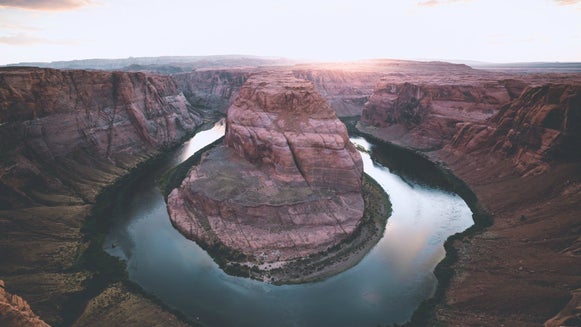
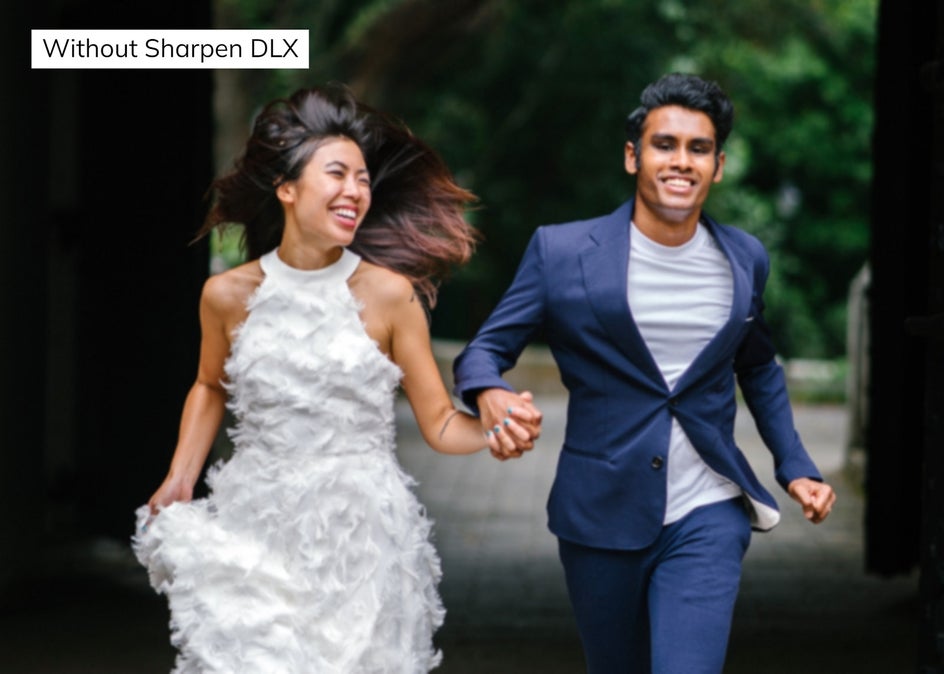
If you want to really make your subjects pop, using Sharpen DLX will make the edges in your photo appear crisper between the light and dark portions of your image, giving it more contrast.

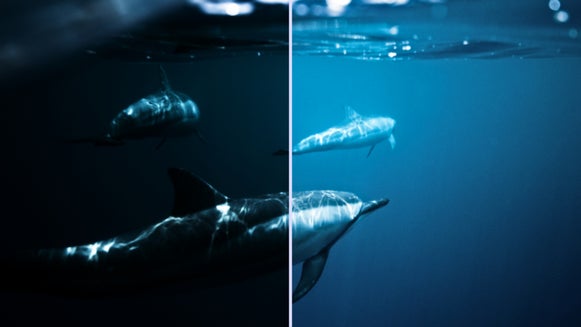
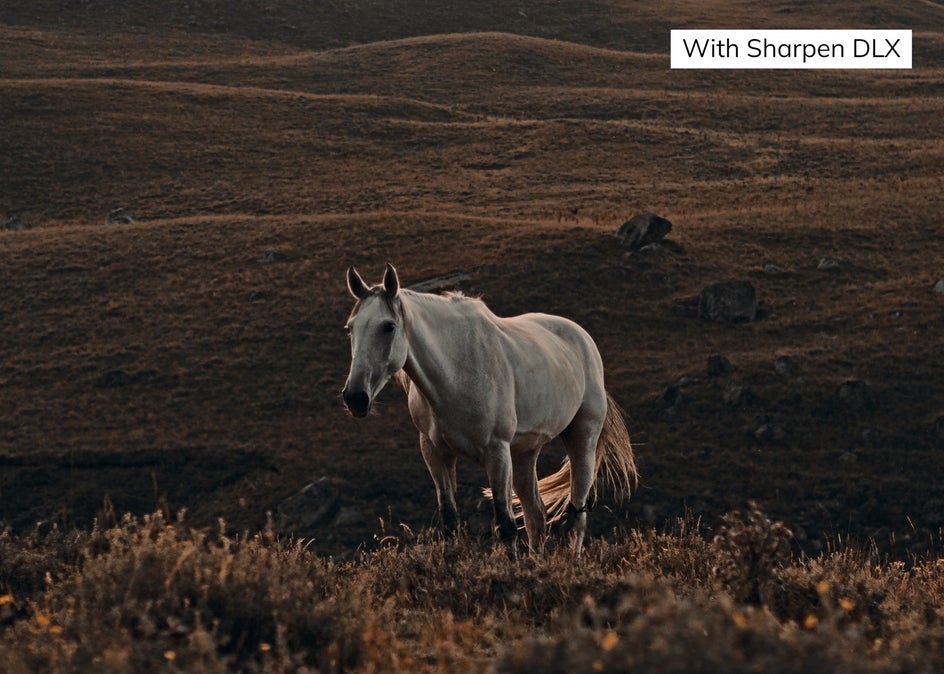
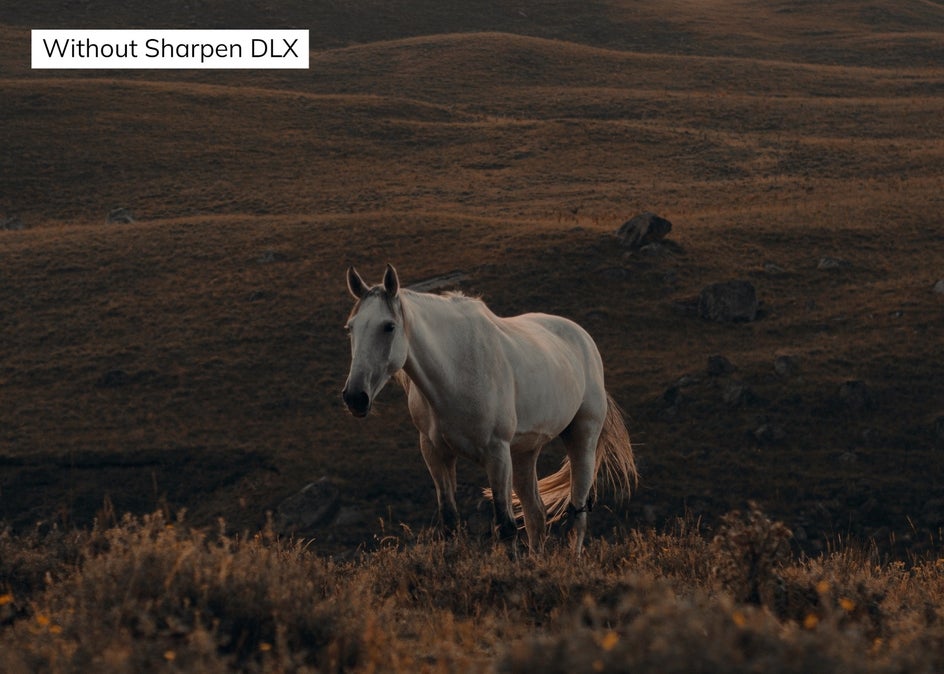
Low-light Situations
When you shoot in a dark environment, the details tend to get lost because there isn’t enough light to bring them out. Sharpen DLX works to identify the edges in low-light photography and bring the details out of the shadows.
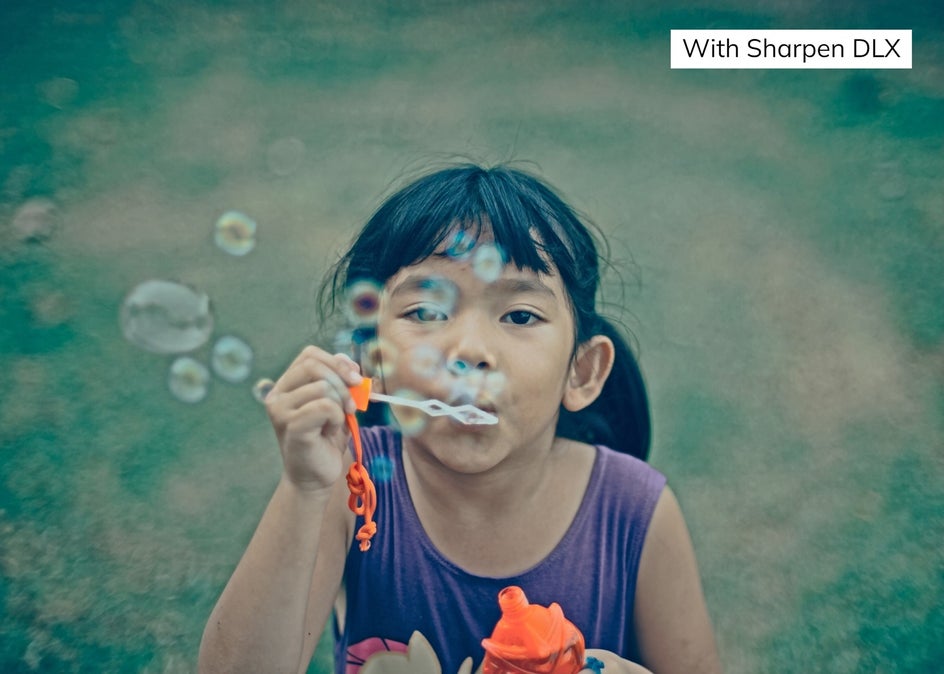
Moving Subjects
When you’re trying to photograph something that’s moving and you hit the capture button, especially if your shutter speed is on the slow side, you’ll end up with some fuzziness in your photo. Our Sharpen DLX effect can still sense the edges in your photo and clarify them.

Photos With Texture
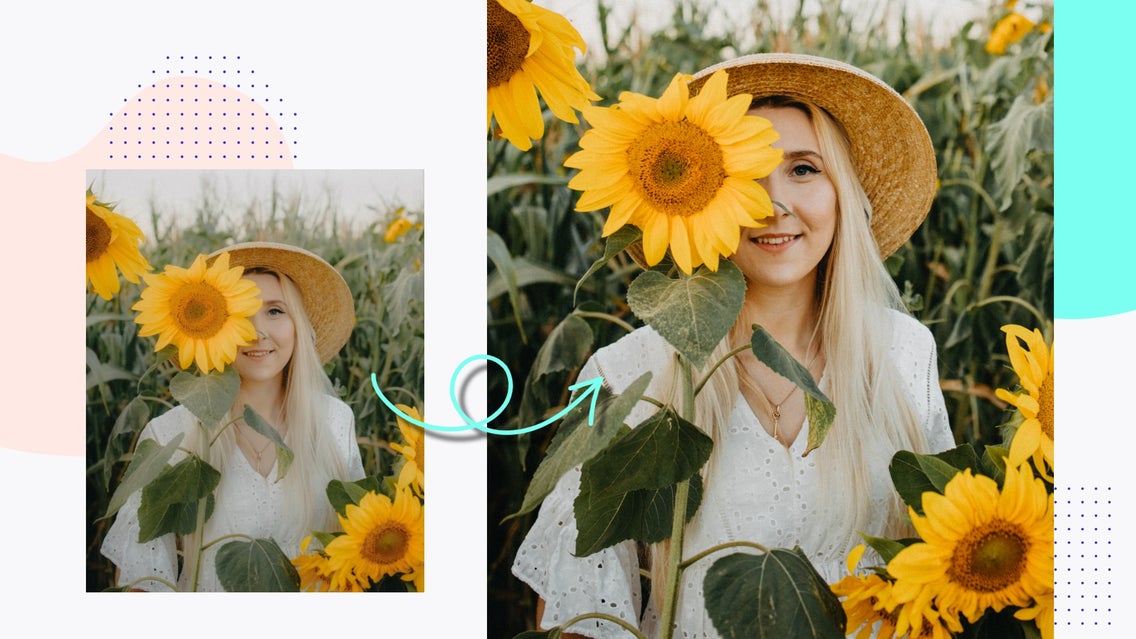
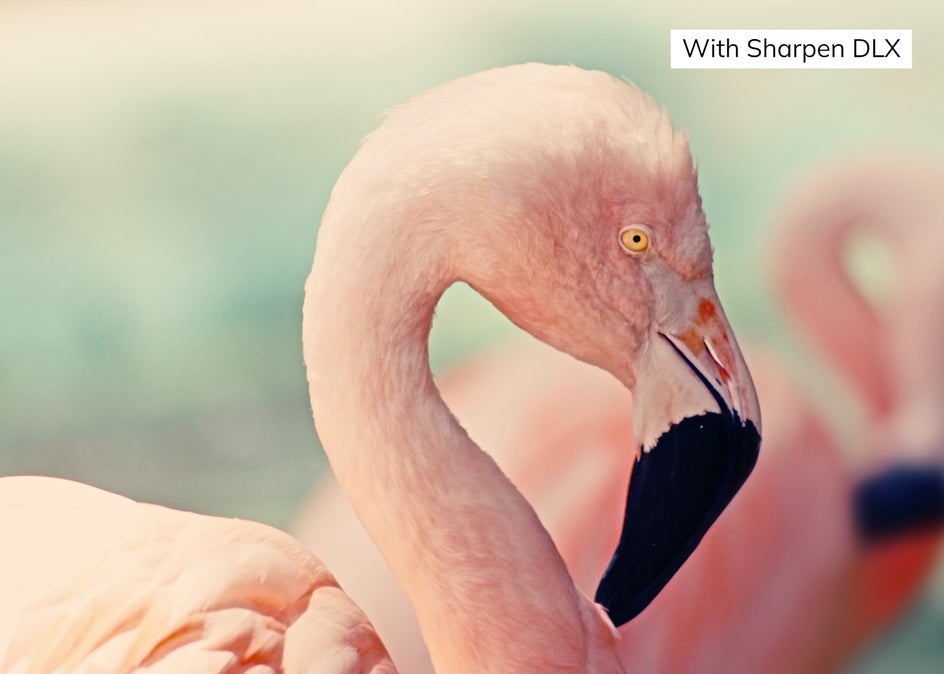
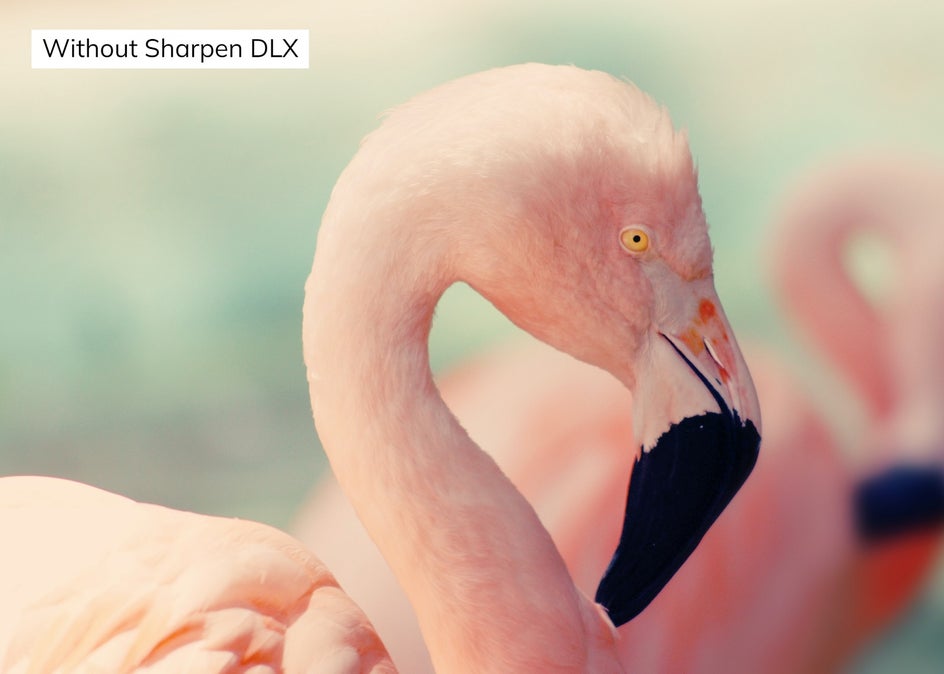
Whether you’re trying to bring out the detail in animal fur or distinguish the lines of a cityscape, the contrast that our Sharpen DLX effect adds will help enhance the clarity and realism. In the next section, I'll show you how to bring out all the details with Sharpen DLX
How to Apply Sharpen DLX in BeFunky’s Photo Editor
Ready to reveal better detail and clarity in your photos? Head on over to BeFunky’s Photo Enhancer and upload a photo of your choice.
Step 1: Locate Sharpen DLX
Click on Sharpen DLX, which is featured underneath Enhance DLX. In seconds, Sharpen DLX will automatically start sensing both the softer and the sharper edges in your photo and add varying amounts of contrast to both.

Step 2: Adjust the Effect
Before you apply your new Sharpen DLX effect, you’ll notice some sliders located underneath Adjust, including Amount, Strength, and Detail Level.
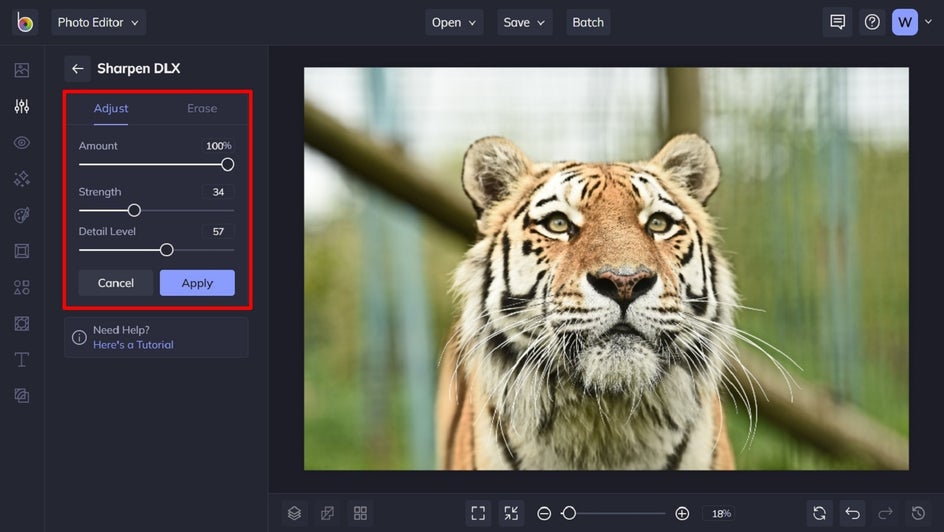
The Amount slider controls the layer of the Sharpen DLX effect that sits on top of your original photo. Decreasing it will lessen the entire effect, making your original photo show through underneath.
The Strength slider represents the intensity of the Sharpen DLX effect. Increasing this slider is going to provide higher image contrast in your textures and edges. If you really want the details in your photo to stand out, increasing the Strength could be a good option.
Finally, increasing Detail Level allows Sharpen DLX to sense even more texture in your photo and add more contrast where it's needed.
Once you’re happy with how your image looks, simply click Apply.
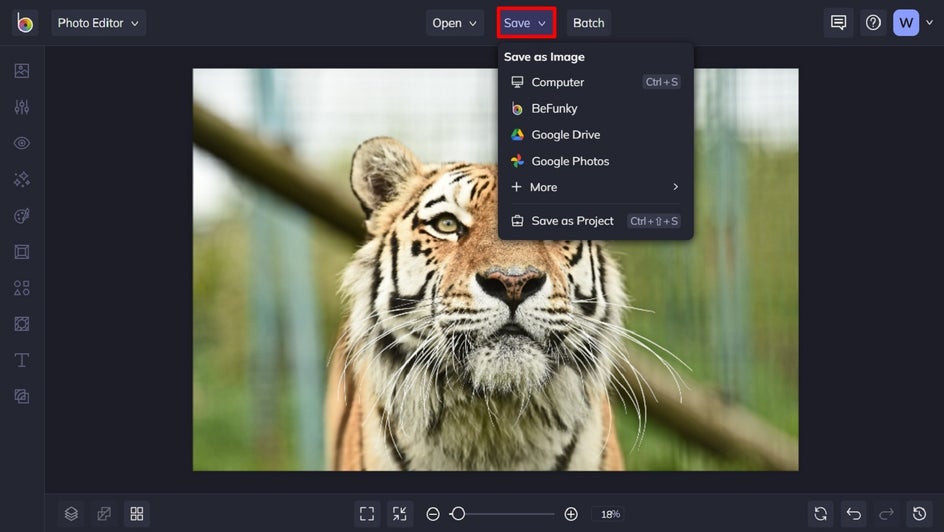
Step 3: Save Your Photo
Click Save at the top of the screen, followed by your desired save location. You can save your image as a project for future edits, to BeFunky, your computer, and more.
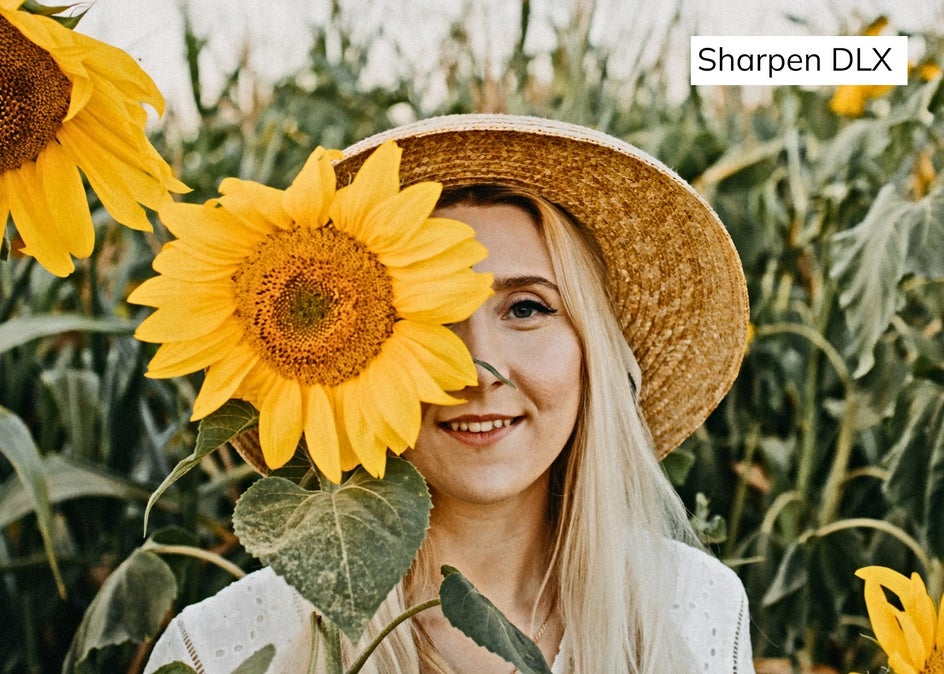
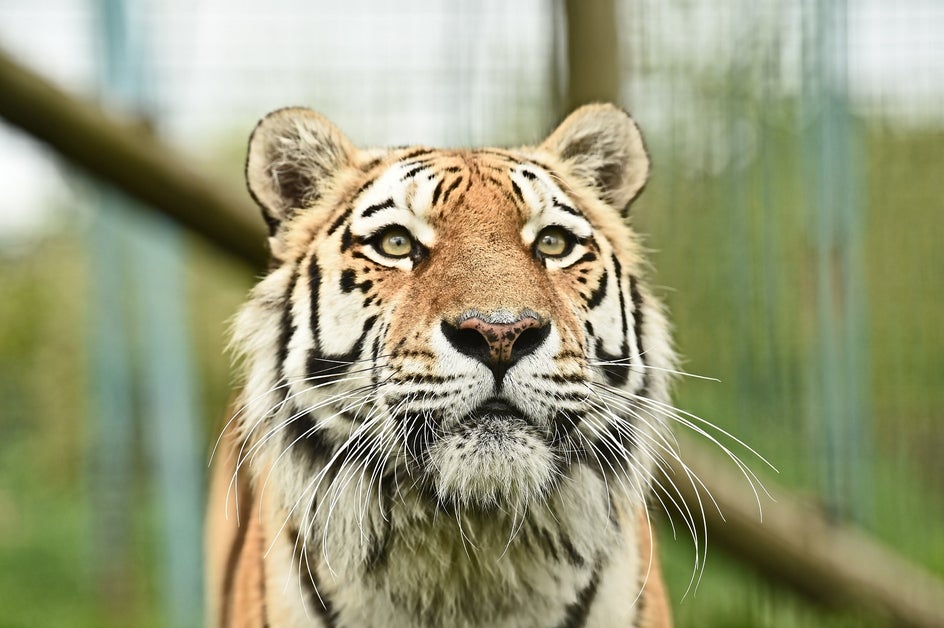
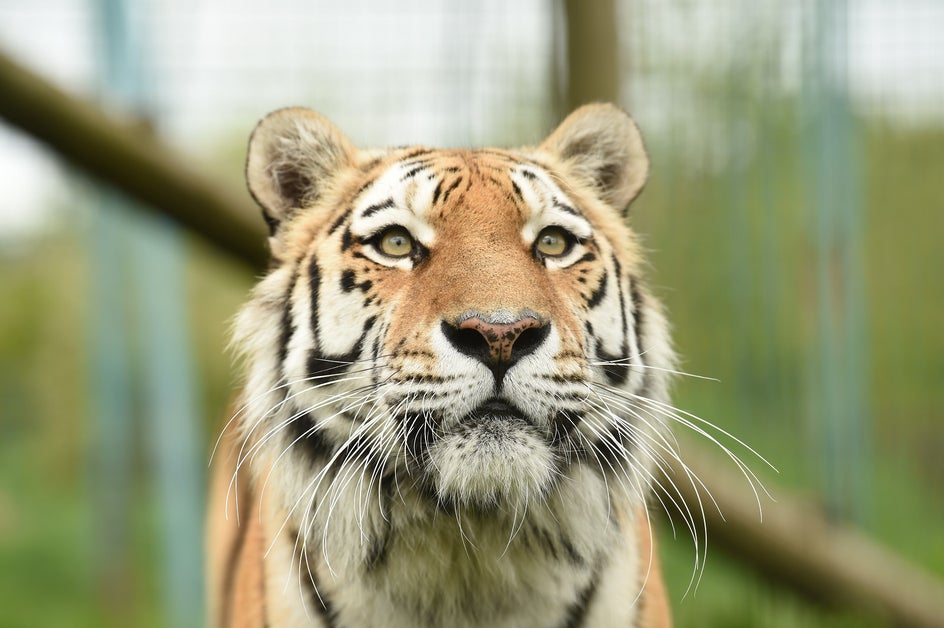
Final Results
With the Sharpen DLX photo enhancer, it’s so easy to save those low-contrast images that plague every photographer. It's able to sense every edge in your photo, knowing exactly where to add more contrast and where to let the natural details shine. The result is a well-balanced photo that’s closer to what your eye saw in the first place.
Add Clarity to Your Photos with Ease
Thanks to BeFunky’s Sharpen DLX effect, you’ll never have to settle for photos that lack clarity or detail ever again. All it takes is a click of a button to create the crispest, clearest photos imaginable.
Try the Sharpen DLX effect for yourself!