Learn the Basics of Detail Enhancement in BeFunky’s Photo Editor
We’ve learned about the essentials of the Edit tab in BeFunky’s Photo Editor, the basics of removing and replacing elements with the Remove/Replace category, and how to enhance the colors of your photos with the Color Enhancement tab. Now, we are moving forward with learning the basics of BeFunky’s Detail Enhancement tab!
When it comes to detail enhancement in photography, sharpness usually comes to mind – and most sharpness tools make images look a little gritty. With BeFunky’s AI-powered Detail Enhancement tools in the Photo Editor, you can Deblur, Upscale, and even restore old photos at the click of a button. Let’s learn the basics of the Detail Enhancement tab.
The Basics of the Detail Enhancement Tab
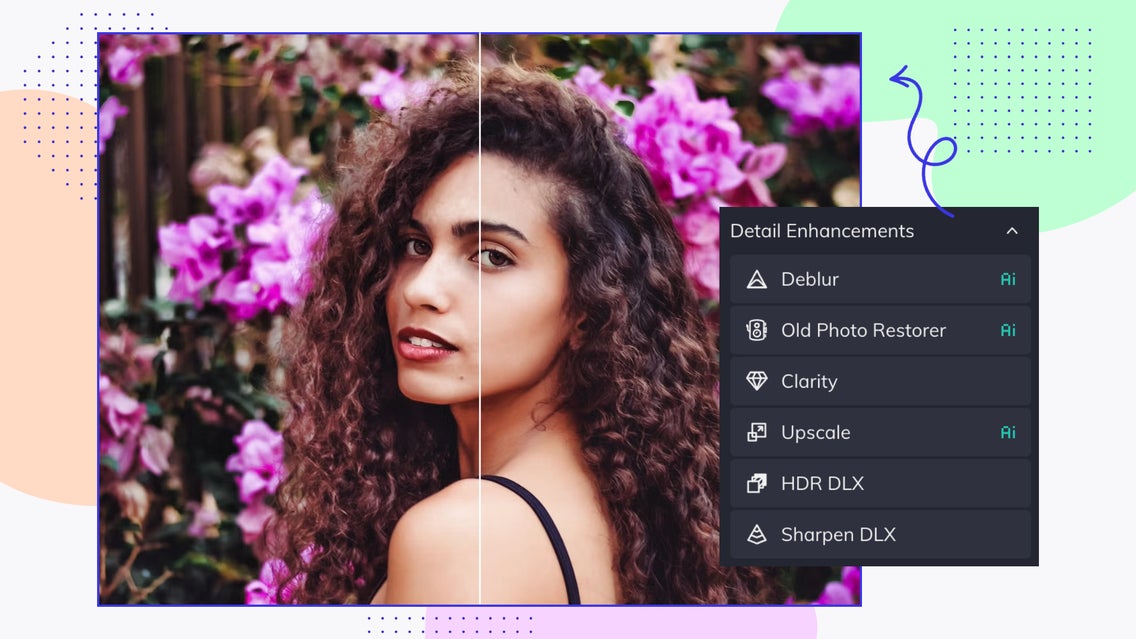
Let’s take a look at the tools featured in the Detail Enhancement tab. These include Deblur, Old Photo Restorer, Clarity, Upscale, HDR DLX, and Sharpen DLX. Each of these tools performs differently and can enhance the details of your image in unique ways. Let’s learn how to use these tools in BeFunky’s Photo Editor.
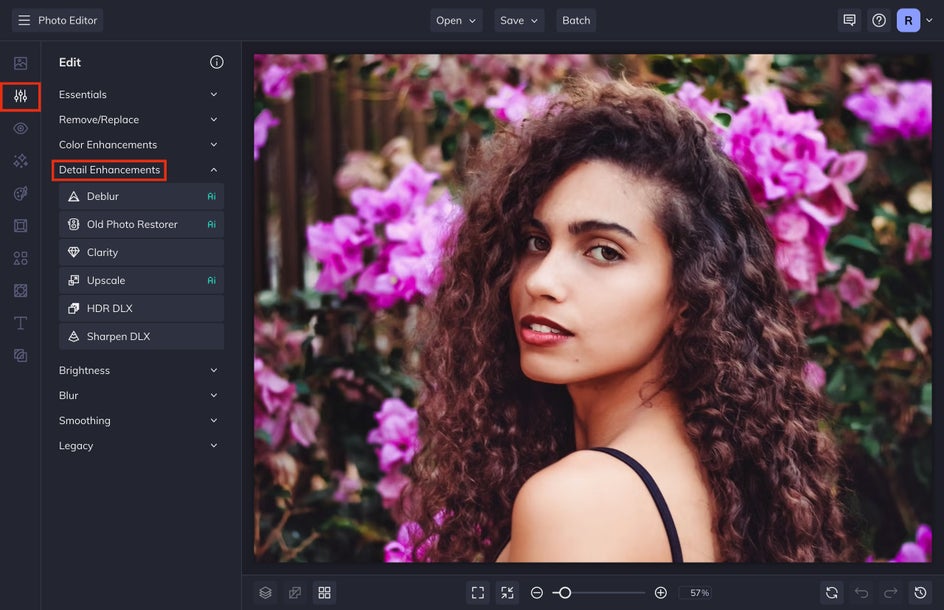
To start using the Detail Enhancement tools, upload an image to BeFunky’s Photo Editor by selecting Open and then Computer, or simply dragging and dropping your image straight onto the Photo Editor. After you do this, select Edit from the left-hand menu. We are going to use the top five tools in the Detail Enhancement tab. These tools are really powerful and can transform your photos in a few simple clicks.
The Deblur Tool
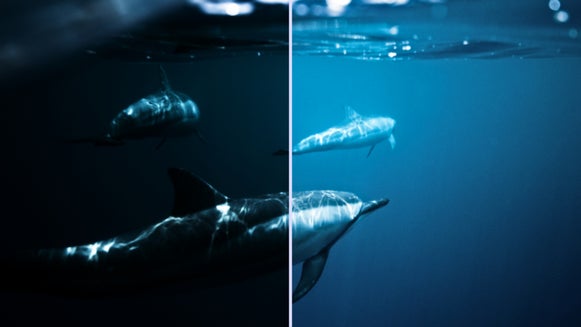
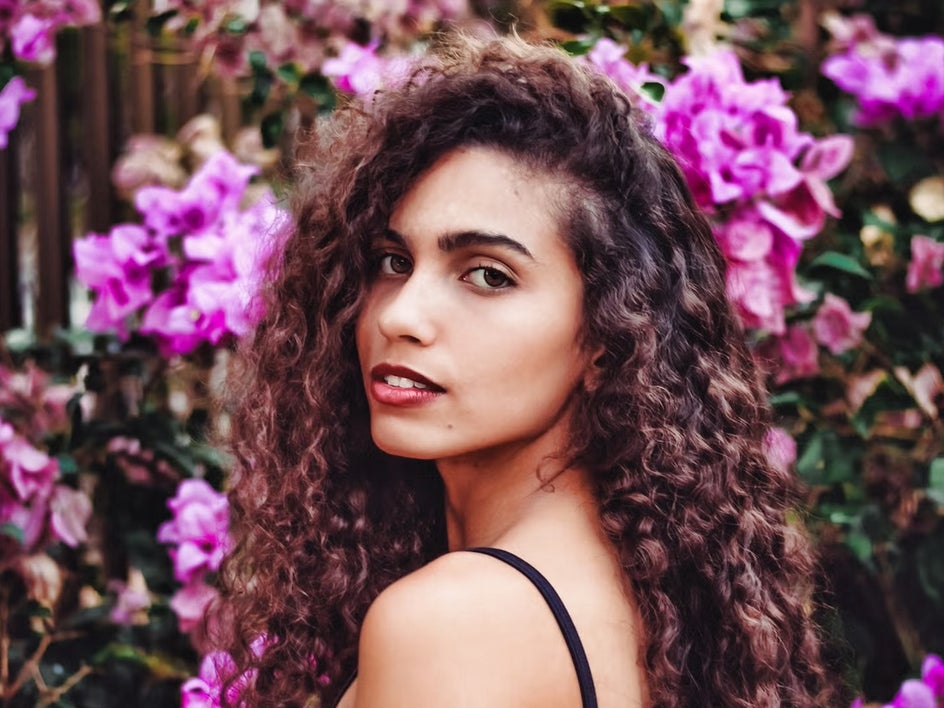
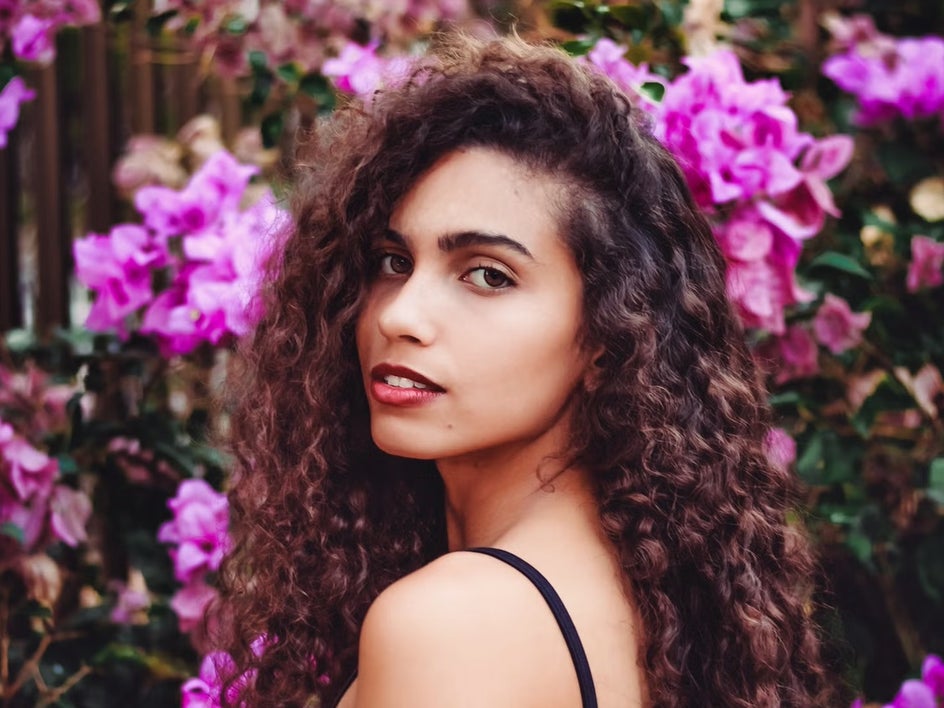
The Deblur tool uses A.I. to fill in the blanks of your image. It doesn’t just sharpen what’s already in your photo, but intuitively reproduces the subject or scene so that it is no longer blurred. The Deblur tool works on all types of blur, including motion blur, lens blur, and soft focus.
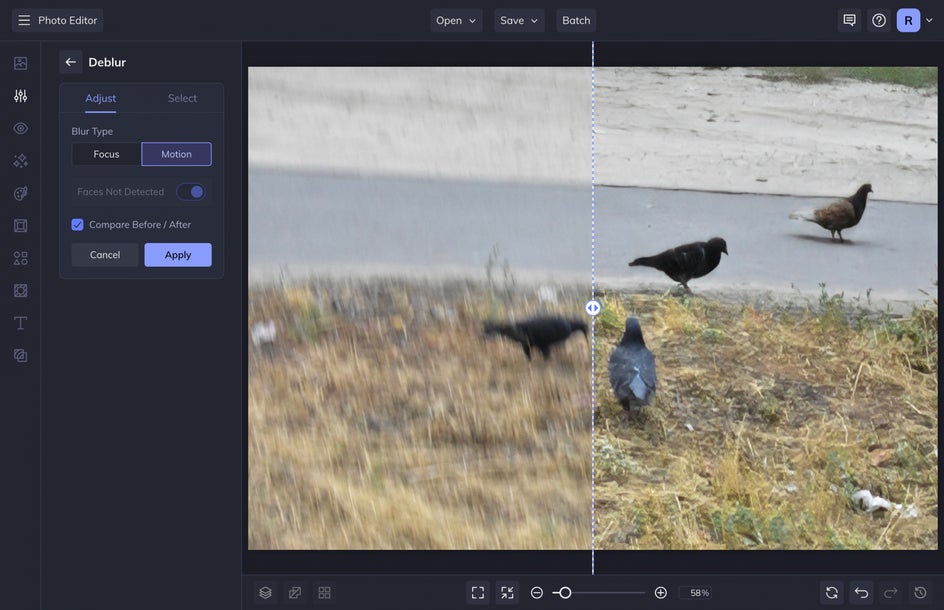
To use this tool, select Deblur from the Detail Enhancement tab in the Edit menu. You can also head straight to the tool by clicking here.
There are two choices to fix the blur: Focus and Motion. The Focus option works well for images that lack clarity in their entirety or have subjects that appear blurry. Motion, on the other hand, is perfect for images impacted by blurring caused by either the subject or camera movement.
If you’re using the tool to remove a face blur from a photo online, you have the option to select Recover Faces. After you’ve finished deblurring the image, click Apply.
Take a look at what it can do:

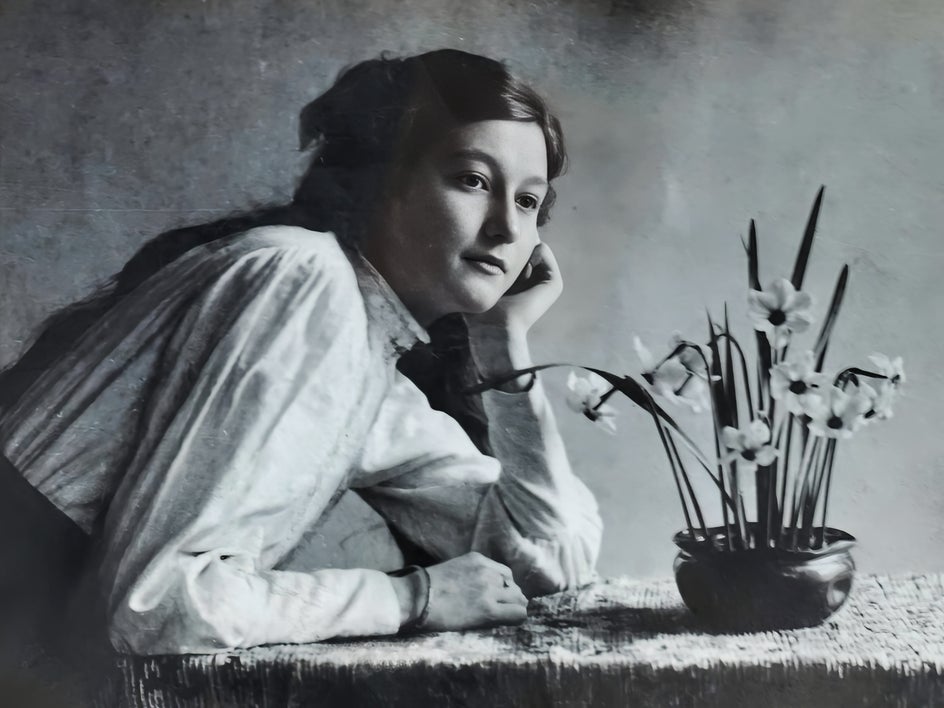
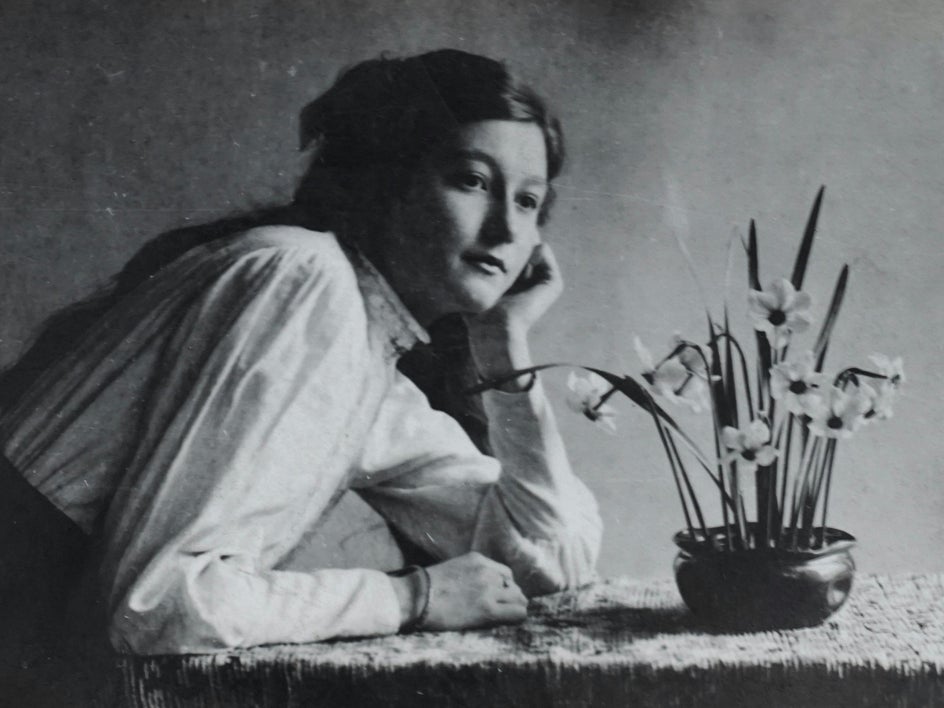
The Old Photo Restorer Tool
The Old Photo Restorer tool is perfect for restoring old photos that have been damaged due to scratches or sun damage. Not only that, but this tool can enhance people’s faces and do color restoration so you can see a sharper and clearer representation of what they look like in real life.
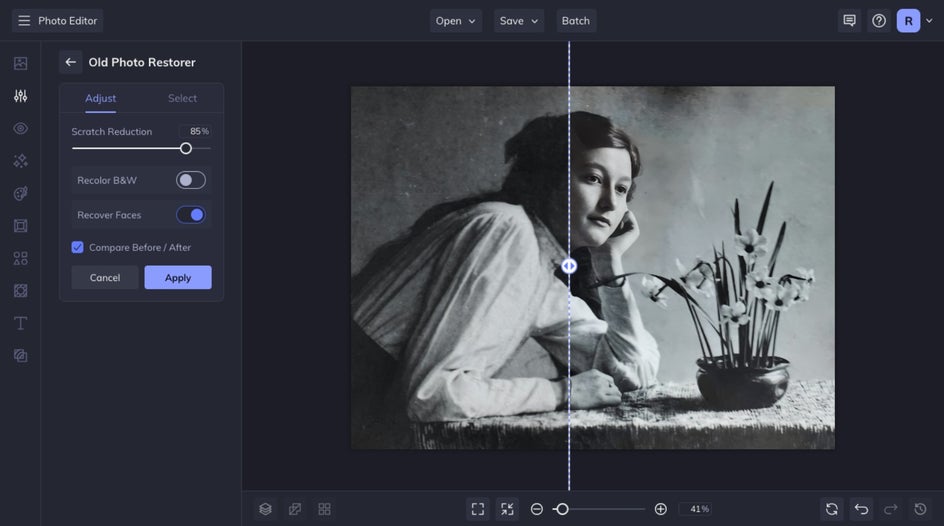
From the Detail Enhancements drop-down, select Old Photo Restorer. In seconds you’ll see a before and after slider to compare the original to the results. Increase the Scratch Reduction if you need to smooth the rough wear on your old photo. You can also select Recover Faces to enhance facial features and Recolor B&W to add color back to an old black-and-white photo. When you are happy with the results, select Apply.
Take a look at what it can do:
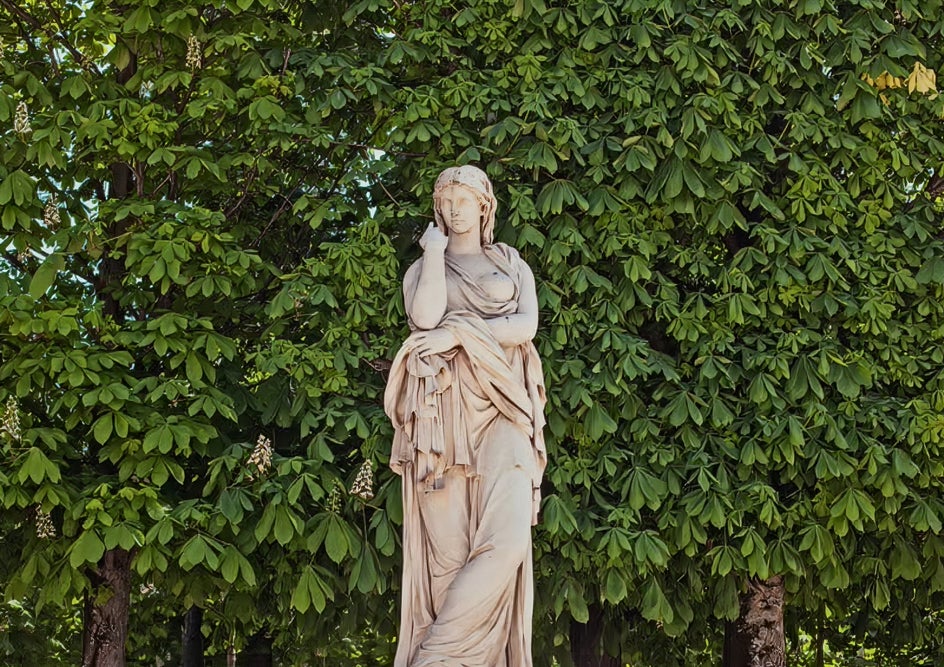
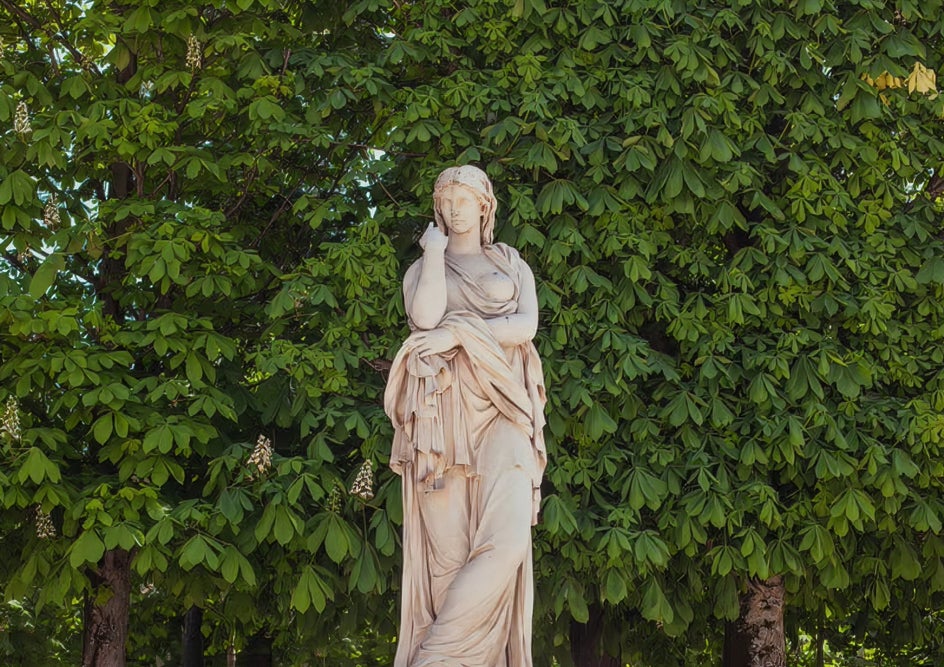
The Clarity Tool
The Clarity tool allows you to enhance a wider area in your image by adding contrast to the midtones. That means you’ll get sharp details and depth within your image, without creating the look of an oversharpened photo.
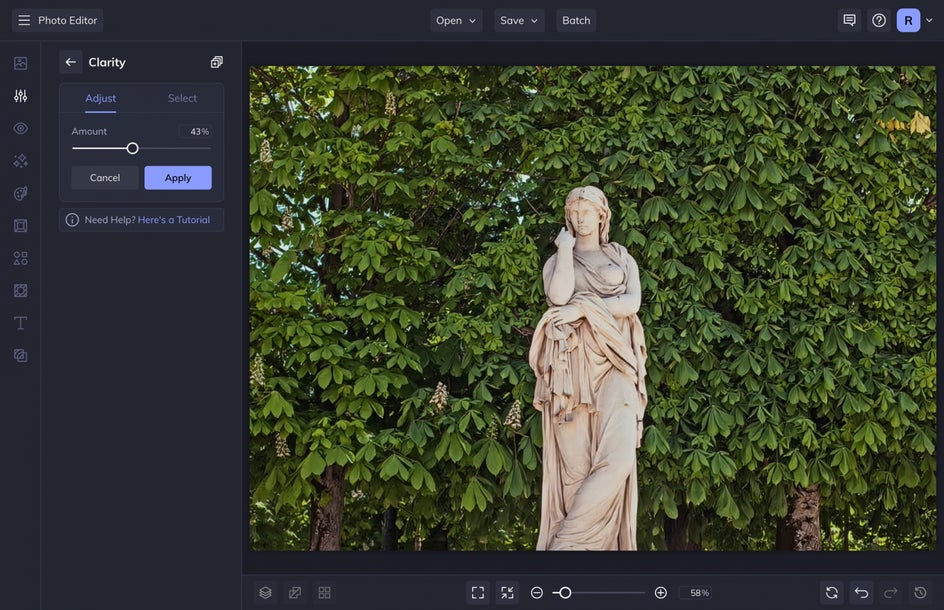
This is a professional-grade tool that makes your images look clear, even when they look like they can't be rescued. To use this tool select the Clarity tool in the Detail Enhancements menu. Then, simply adjust the Amount until you get your desired effect. Select Apply when you are happy with the results.
Take a look at what it can do:
The Upscale Tool
The Upscale tool acts as a magnifying glass that zooms in and reveals finer details that weren’t visible in the original, low-resolution image. It will then upsize images up to 4x the original size in seconds.

To use this tool select the Upscale tool in the Detail Enhancements menu. It will automatically get to work to scale. You can keep the Compare Before / After selected to see the tool at work. Select Apply when you are happy with the results.
This tool can be great for old travel photos that you, your parents, or even your grandparents took from years past. Because the Upscale tool increases the image resolution, you can now print your images at a larger scale without losing quality.


The HDR DLX Tool
The HDR DLX tool is perfect for all types of photos, ranging from portraits to landscapes and everything in between. HDR stands for High Dynamic Range. This tool uses adaptive exposure technology, meaning it will automatically separate your photo into virtual regions and apply different levels of enhancement to both the light and dark areas of each region.
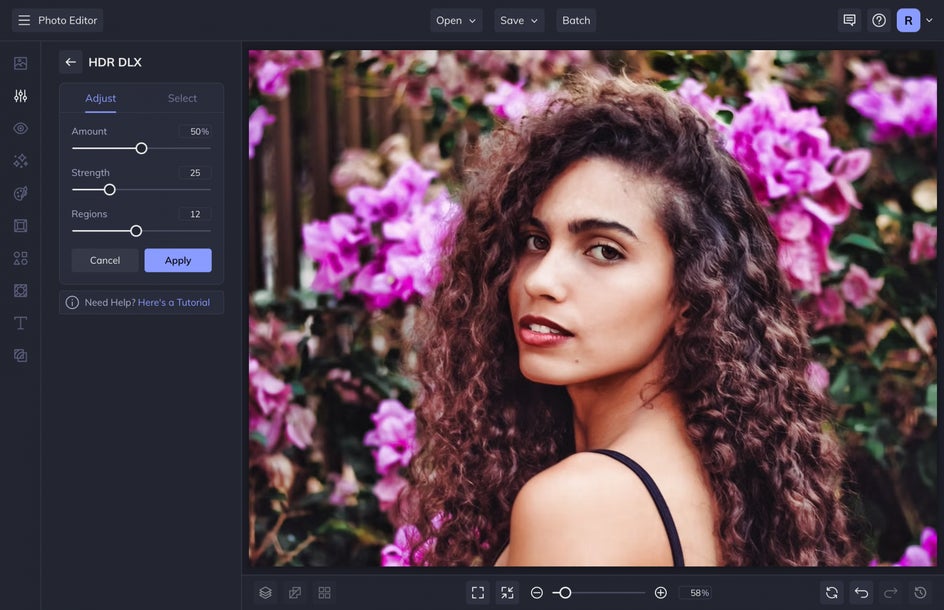
To use this tool select the HDR DLX button in the Detail Enhancements menu. All it takes is one click of the HDR DLX to add depth and balance to your photo.
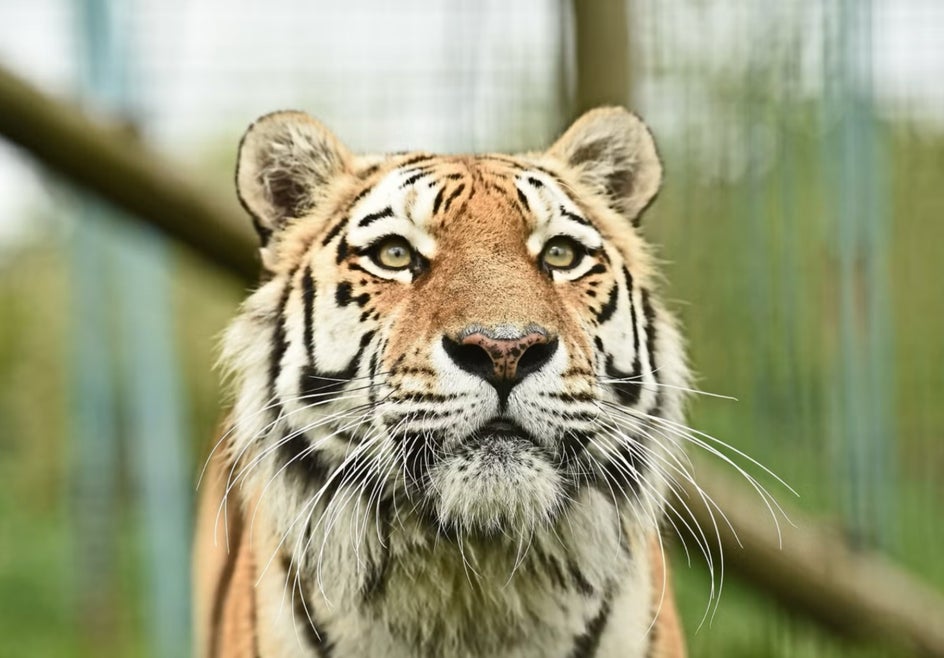
The Sharpen DLX Tool
Sharpen DLX applies just the right amount of contrast to bring out the finer details of your image by sensing the difference between the sharper and softer edges in your photo.
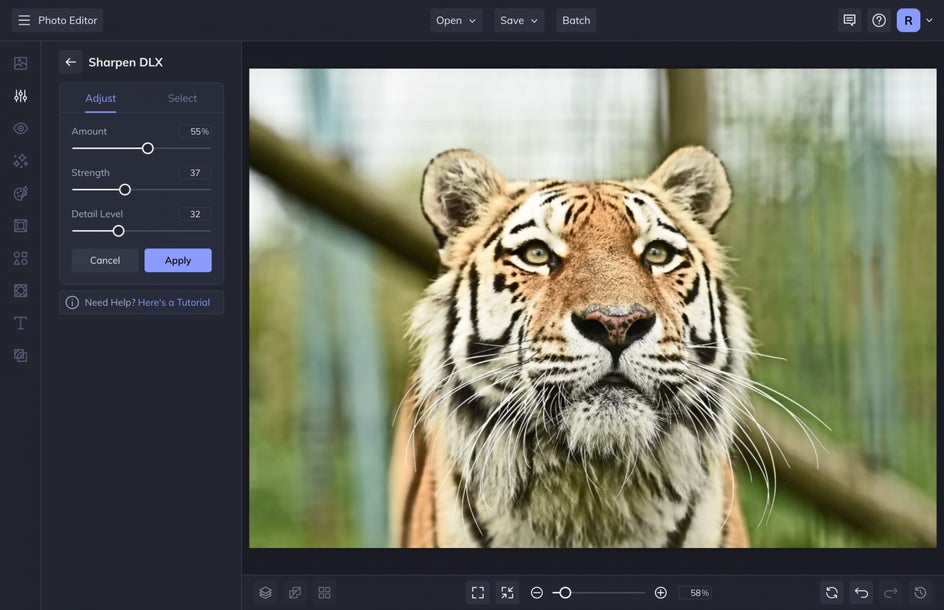
To use this tool select the Sharpen DLX button in the Detail Enhancements menu. The tool will automatically get to work to sharpen your image. After this, you can adjust the Amount, Strength, and Detail Level. When you are finished, select Apply.

Easily Enhance Details With BeFunky’s Photo Editor
These tools in the Detail Enhancements drop-down are the best tools to use when you need to sharpen, fix, or enhance the details in your image. BeFunky’s Photo Editor has so many tools for you to master. Once you learn the Essentials, the Remove/Replace tools, and the Color Enhancement tools, it’s time to master the Detail Enhancement tools.